一、准备
两台虚拟机
192.168.252.148 CA
192.168.252.149 客户端
二、构建私有CA
192.168.252.148 CA
安装openssl
1.检查是否存在
rpm -qa openssl
2.安装或者更新openssl
yum install openssl openssl-devel -y
查看CA相关配置
/etc/pki/tls/openssl.cnf这个文件是CA的配置文件。
此文件对于是证书签署者的身份会使用到此文件
此文件对于证书的申请者的身份是无用的。
根证书服务器目录:
根CA服务器:/etc/pki/CA 192.168.252.148
网站服务器:/etc/pki/tls 192.168.252.149
查看文件
cat  /etc/pki/tls/openssl.cnf
创建所需文件
cd /etc/pki/CA/
ls
certs  crl  newcerts  private

1.创建生成证书索引数据库文件
touch index.txt
2.指定第一个颁发证书的序列号
echo 01 > serial

ls
certs  crl  index.txt  newcerts  private  serial
创建秘钥
1.使用openssl创建秘钥
cd /etc/pki/CA/
(umask 066; openssl genrsa -out private/cakey.pem 2048)

Generating RSA private key, 2048 bit long modulus
.....................+++
...............................+++
e is 65537 (0x10001)

2.在private中查看
ls private/
cakey.pem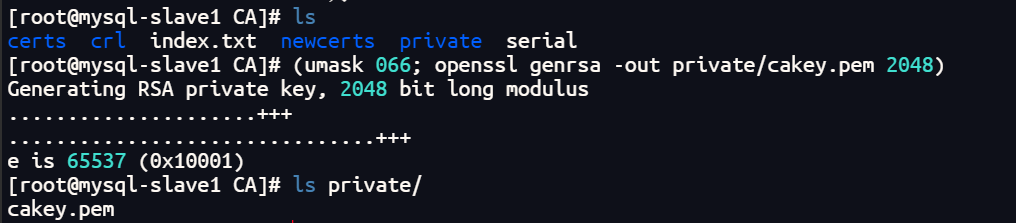
生成自签名的证书
根CA自签名证书,根CA是最顶级的认证机构,没有人能够认证他,所以只能自己认证自己生成自签名证书。
1.生成自签名证书通过秘钥
openssl req -new -x509 -key /etc/pki/CA/private/cakey.pem -days 7300 -out /etc/pki/CA/cacert.pem -days 7300

You are about to be asked to enter information that will be incorporated
into your certificate request.
What you are about to enter is what is called a Distinguished Name or a DN.
There are quite a few fields but you can leave some blank
For some fields there will be a default value,
If you enter '.', the field will be left blank.
-----
Country Name (2 letter code) [XX]:CN                         //签发国家
State or Province Name (full name) []:BEIJING                //签发省份
Locality Name (eg, city) [Default City]:BEIJING              //签发城市
Organization Name (eg, company) [Default Company Ltd]:CA     //签发公司
Organizational Unit Name (eg, section) []:OPT                //签发部门
Common Name (eg, your name or your server's hostname) []:www.syh.com   //签发域名
Email Address []:3146359748@qq.com                           //签发邮件

2.查看文件
ls
cacert.pem  certs  crl  index.txt  newcerts  private  serial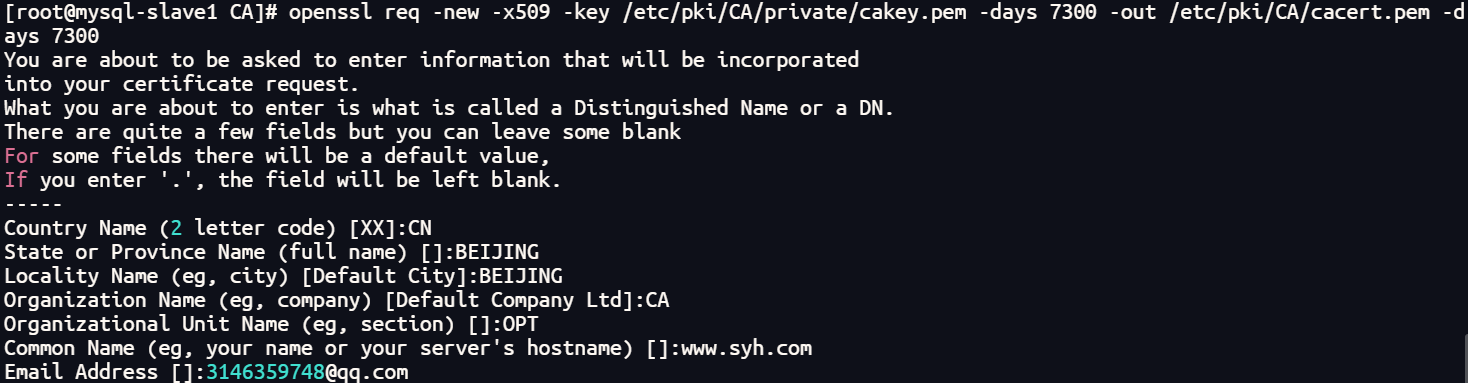

参数解释:
-new 			生成新证书签署请求
-x509 		专用于CA生成自签证书
-key 			生成请求时用到的私钥文件
-days 		证书的有效期限
-out 		 	证书的保存路径
下载安装证书
yum install -y lrzsz
sz /etc/pki/CA/cacert.pem
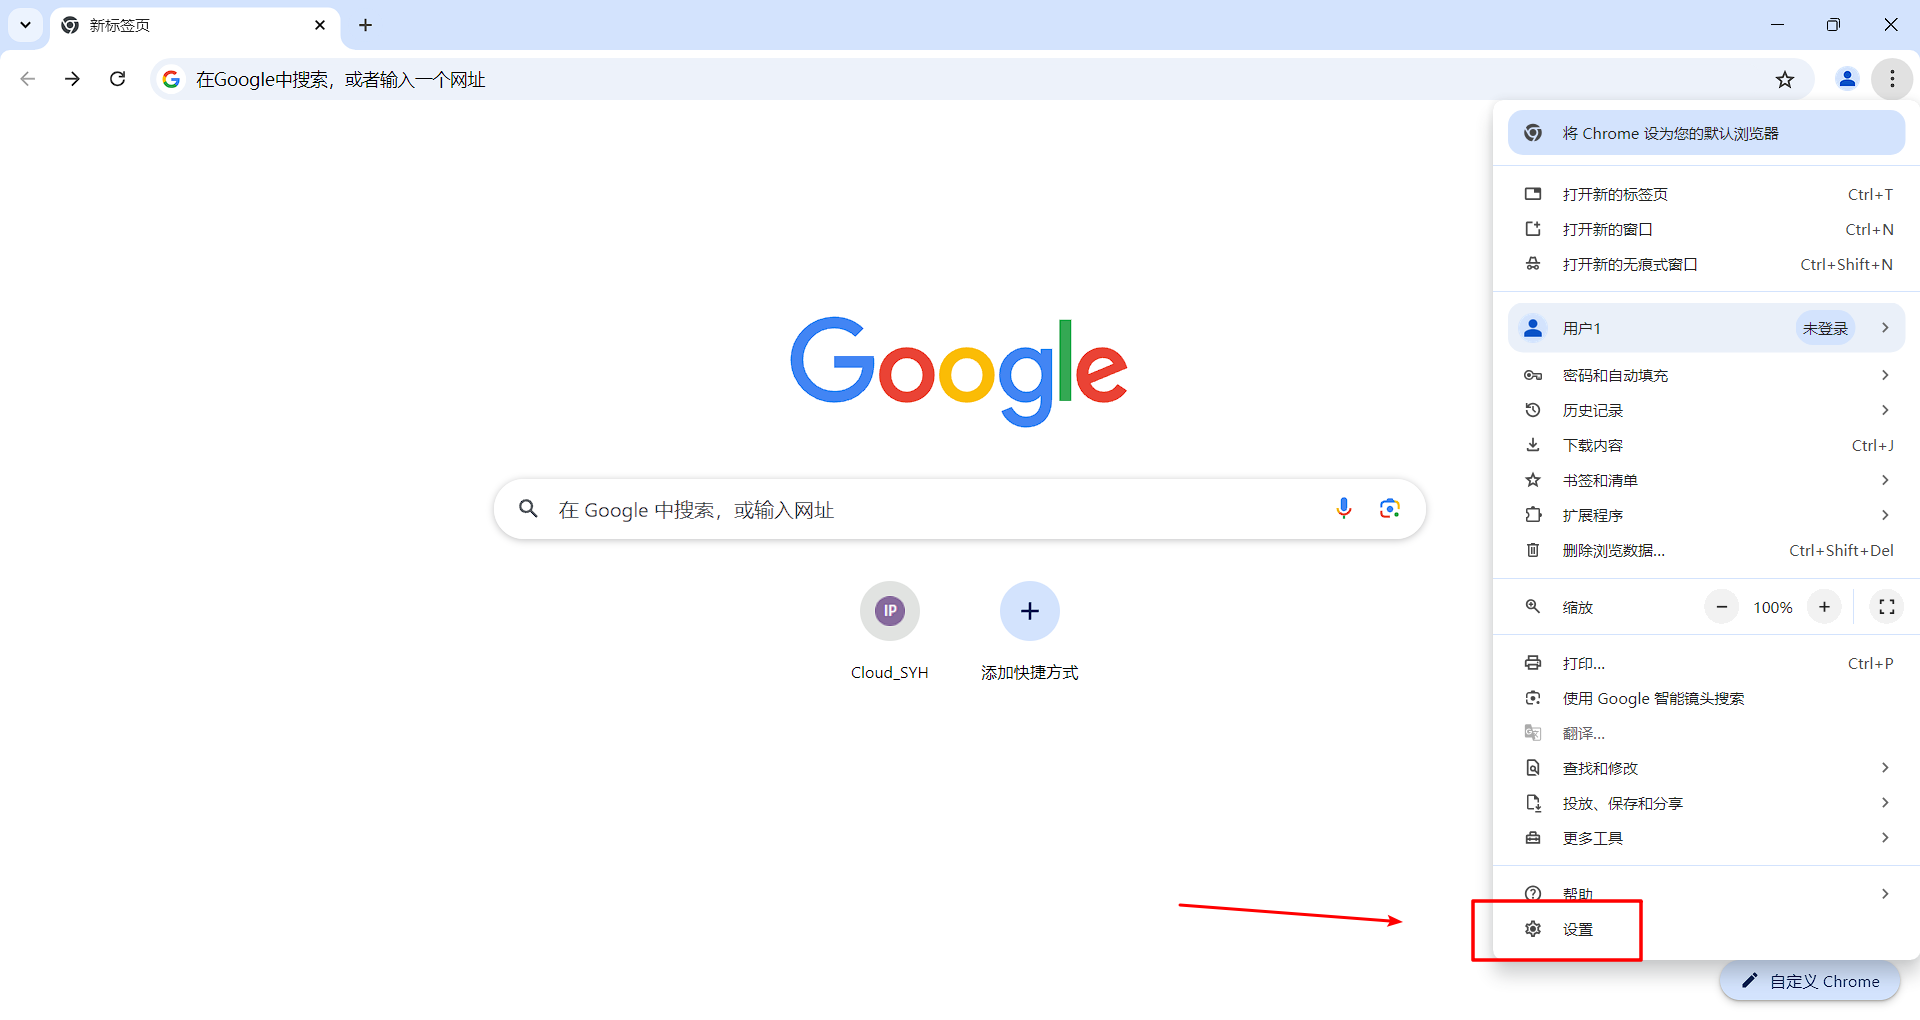
以谷歌浏览器为例:
点击设置
点击安全和隐私
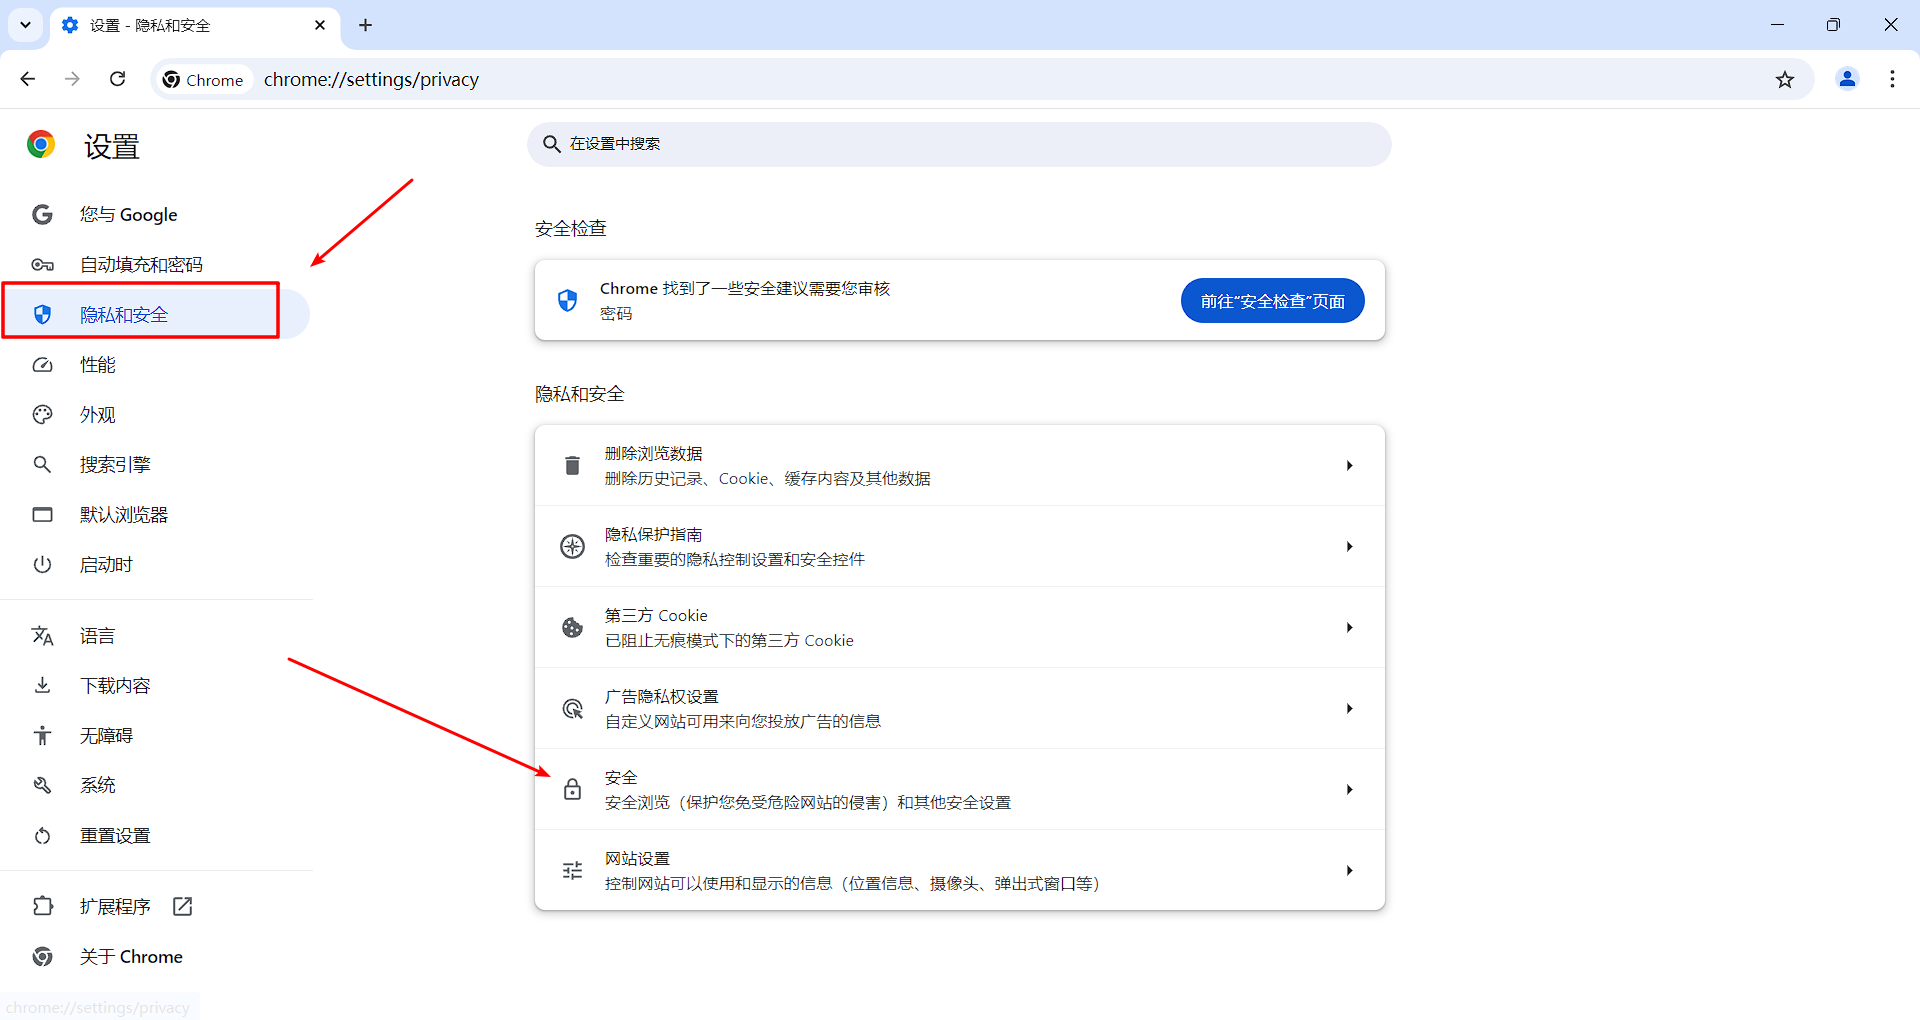
向下滑
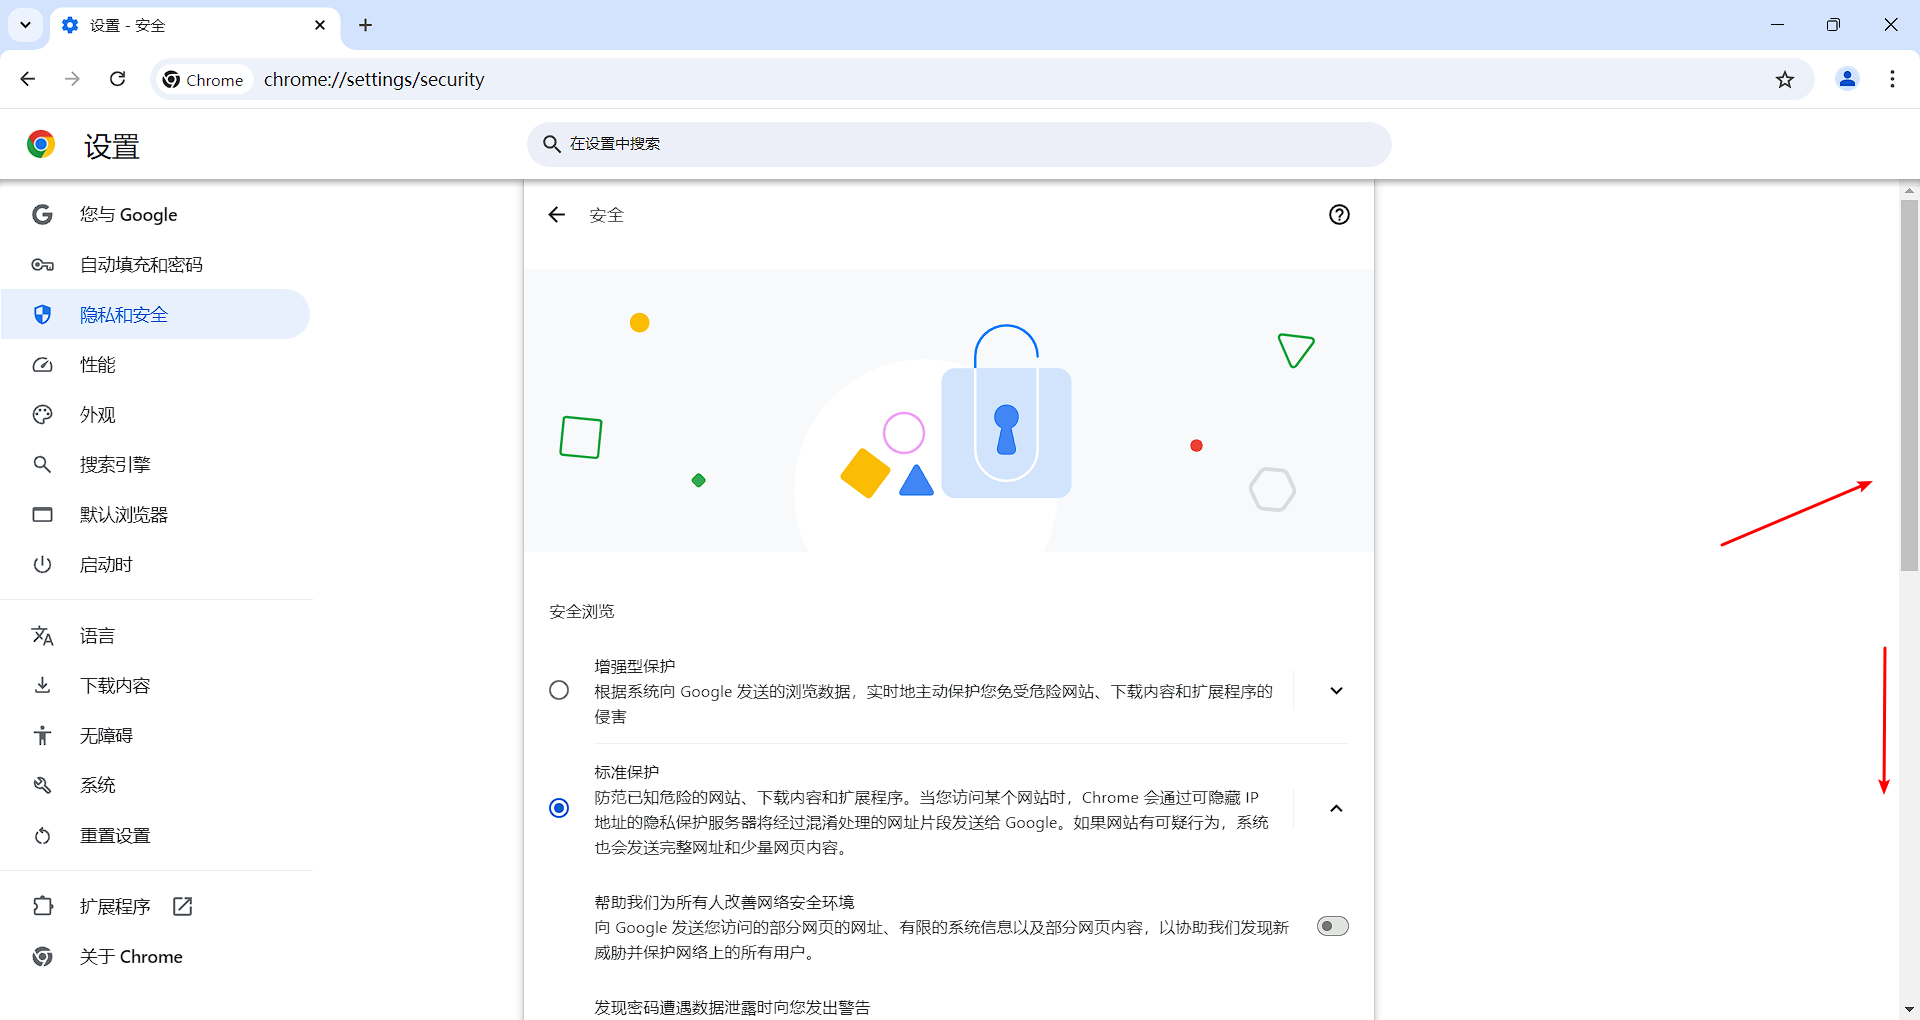
找到证书管理会出现一个弹窗
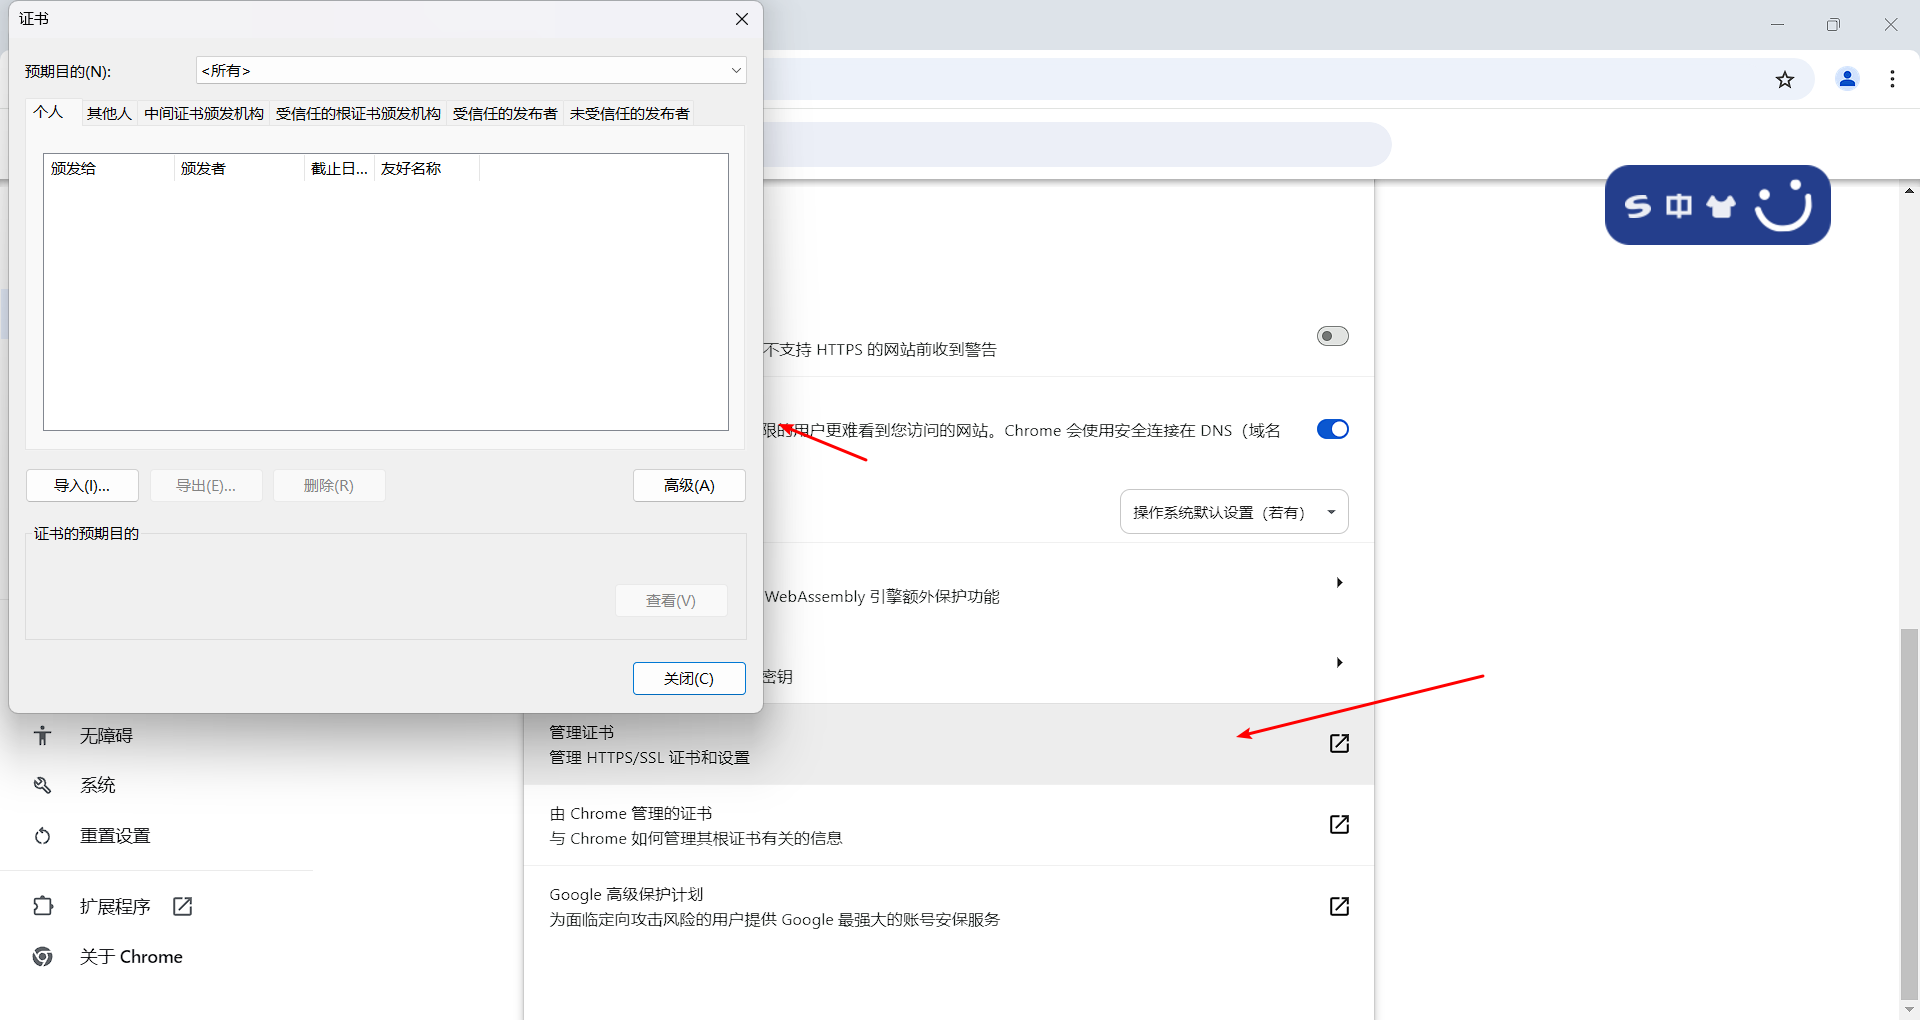
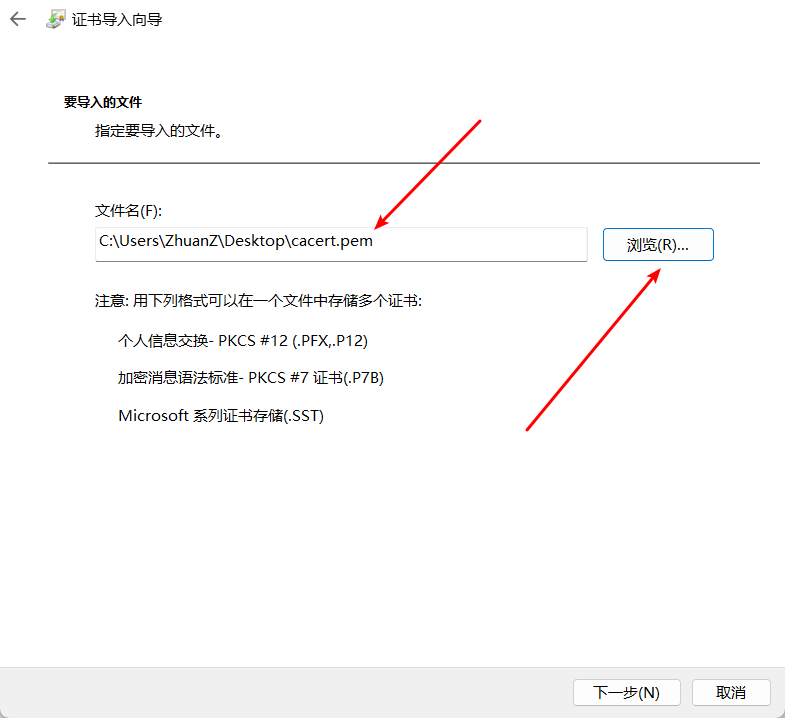
导入刚才上传电脑的证书
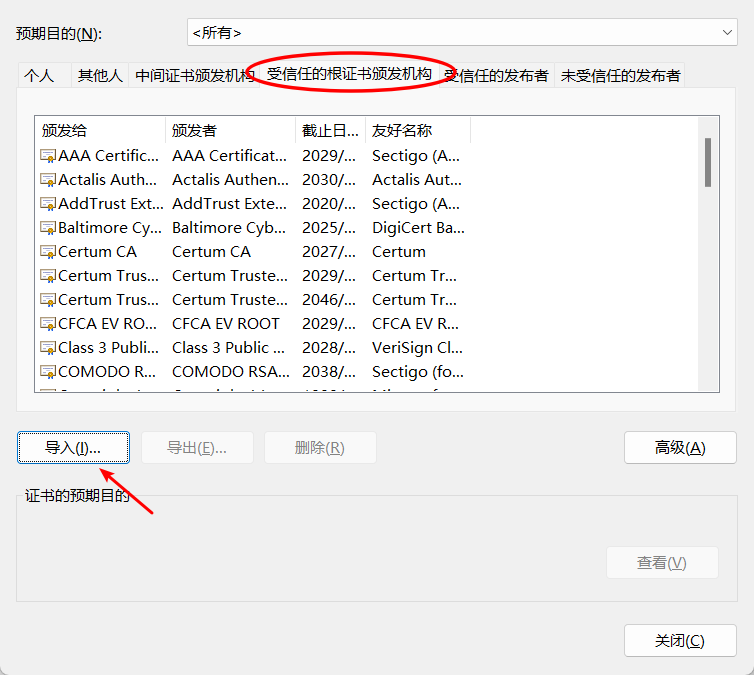
根据向导导入证书

导入刚才上传的证书
完成
三、服务器端进行CA证书申请和签名
192.168.252.149 客户端
安装openssl
1.检查是否存在
rpm -qa openssl
2.安装或者更新openssl
yum install openssl openssl-devel -y
生成私钥文件
1.生成私钥
(umask 066; openssl genrsa -out /etc/pki/tls/private/www.syh.com.key 2048)

Generating RSA private key, 2048 bit long modulus
...........................................................................................+++
.....+++
e is 65537 (0x10001)

2.查看私钥
ls /etc/pki/tls/private/
localhost.key  www.syh.com.key
私钥加密生成证书
1.私钥加密生成证书
openssl req -new -key /etc/pki/tls/private/www.syh.com.key -days 365 -out /etc/pki/tls/www.syh.com.csr

ww.syh.com.csr
You are about to be asked to enter information that will be incorporated
into your certificate request.
What you are about to enter is what is called a Distinguished Name or a DN.
There are quite a few fields but you can leave some blank
For some fields there will be a default value,
If you enter '.', the field will be left blank.
-----
Country Name (2 letter code) [XX]:CN
State or Province Name (full name) []:BEIJING
Locality Name (eg, city) [Default City]:BEIJING
Organization Name (eg, company) [Default Company Ltd]:CA
Organizational Unit Name (eg, section) []:OPT
Common Name (eg, your name or your server's hostname) []:www.syh.com
Email Address []:3146359748@qq.com

Please enter the following 'extra' attributes
to be sent with your certificate request
A challenge password []:
An optional company name []:

//此处的信息要一定与在生成自签名的证书的信息一致

2.查看证书的生成
ls  /etc/pki/tls/
cert.pem  certs  misc  openssl.cnf  private  www.syh.com.csr
四、证书签署
客户端的证书传输到CA端上
传输这个证书/etc/pki/tls/www.qf.com.csr到CA端
192.168.252.149:
cd  /etc/pki/tls/
scp  www.syh.com.csr  192.168.252.148:/etc/pki/CA/private

192.168.252.148:
cd /etc/pki/CA/private
ls
cakey.pem  www.syh.com.csr

证书签署
1.修改配置文件/etc/pki/tls/openssl.cnf,修改organizationName=supplied
192.168.252.148:
1.编辑配置文件
vim /etc/pki/tls/openssl.cnf
/organizationName搜索这个
找到这个模块修改:
# For the CA policy
[ policy_match ]
countryName             = match
stateOrProvinceName     = match
organizationName        = supplied
organizationalUnitName  = optional
commonName              = supplied
emailAddress            = optional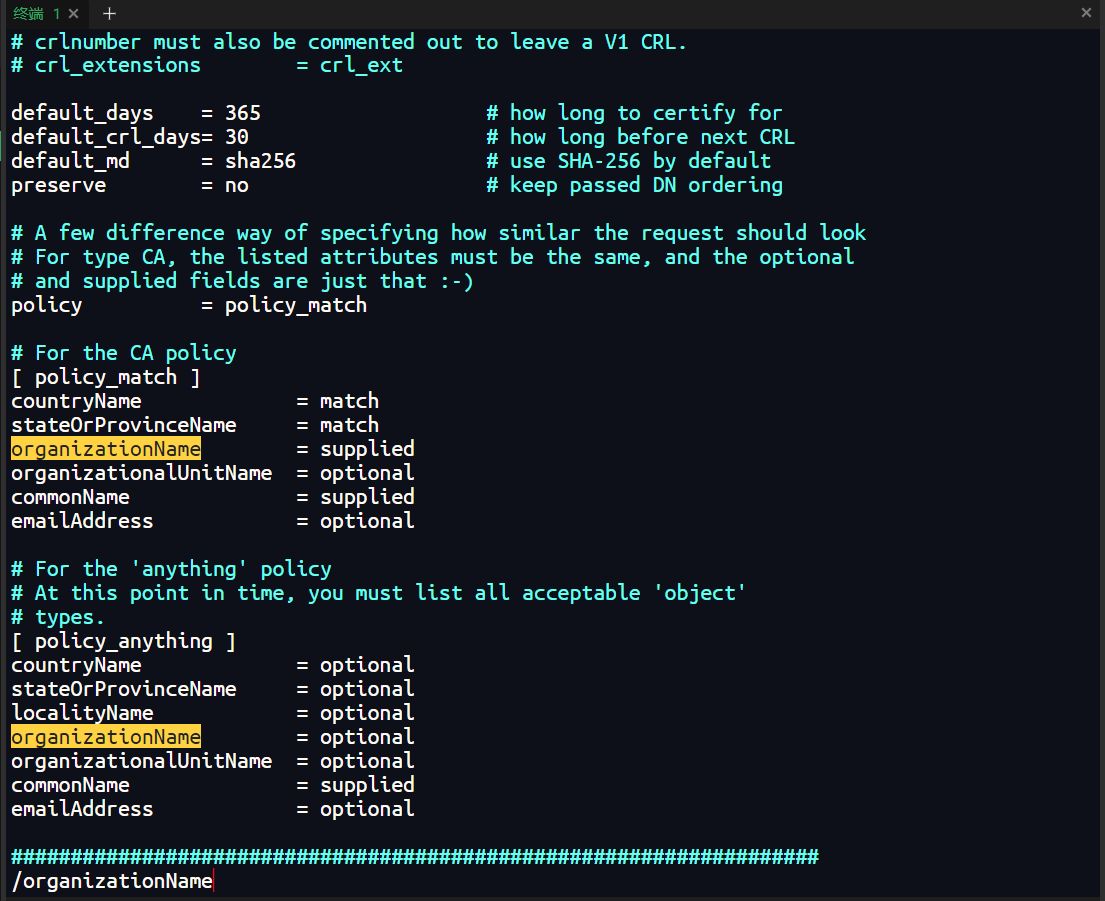
2.CA签署
192.168.252.148:
1.签署证书
openssl ca -in /etc/pki/CA/private/www.syh.com.csr -out /etc/pki/CA/certs/www.syh.com.crt -days 365
Using configuration from /etc/pki/tls/openssl.cnf


Using configuration from /etc/pki/tls/openssl.cnf
Check that the request matches the signature
Signature ok
Certificate Details:
        Serial Number: 1 (0x1)
        Validity
            Not Before: Sep  3 12:09:17 2024 GMT
            Not After : Sep  3 12:09:17 2025 GMT
        Subject:
            countryName               = CN
            stateOrProvinceName       = BEIJING
            organizationName          = CA
            organizationalUnitName    = OPT
            commonName                = www.syh.com
            emailAddress              = 3146359748@qq.com
        X509v3 extensions:
            X509v3 Basic Constraints:
                CA:FALSE
            Netscape Comment:
                OpenSSL Generated Certificate
            X509v3 Subject Key Identifier:
                FA:A5:D7:6B:7D:8A:C2:BA:06:BA:7B:DF:71:35:40:5E:A1:AF:3A:F1
            X509v3 Authority Key Identifier:
                keyid:AF:0C:F8:02:B7:C0:51:E3:B7:AB:3A:A0:15:EE:0A:39:8A:03:AB:6A

Certificate is to be certified until Sep  3 12:09:17 2025 GMT (365 days)
Sign the certificate? [y/n]:y


1 out of 1 certificate requests certified, commit? [y/n]y
Write out database with 1 new entries
Data Base Updated

2.查看证书
ls /etc/pki/CA/certs/
www.syh.com.crt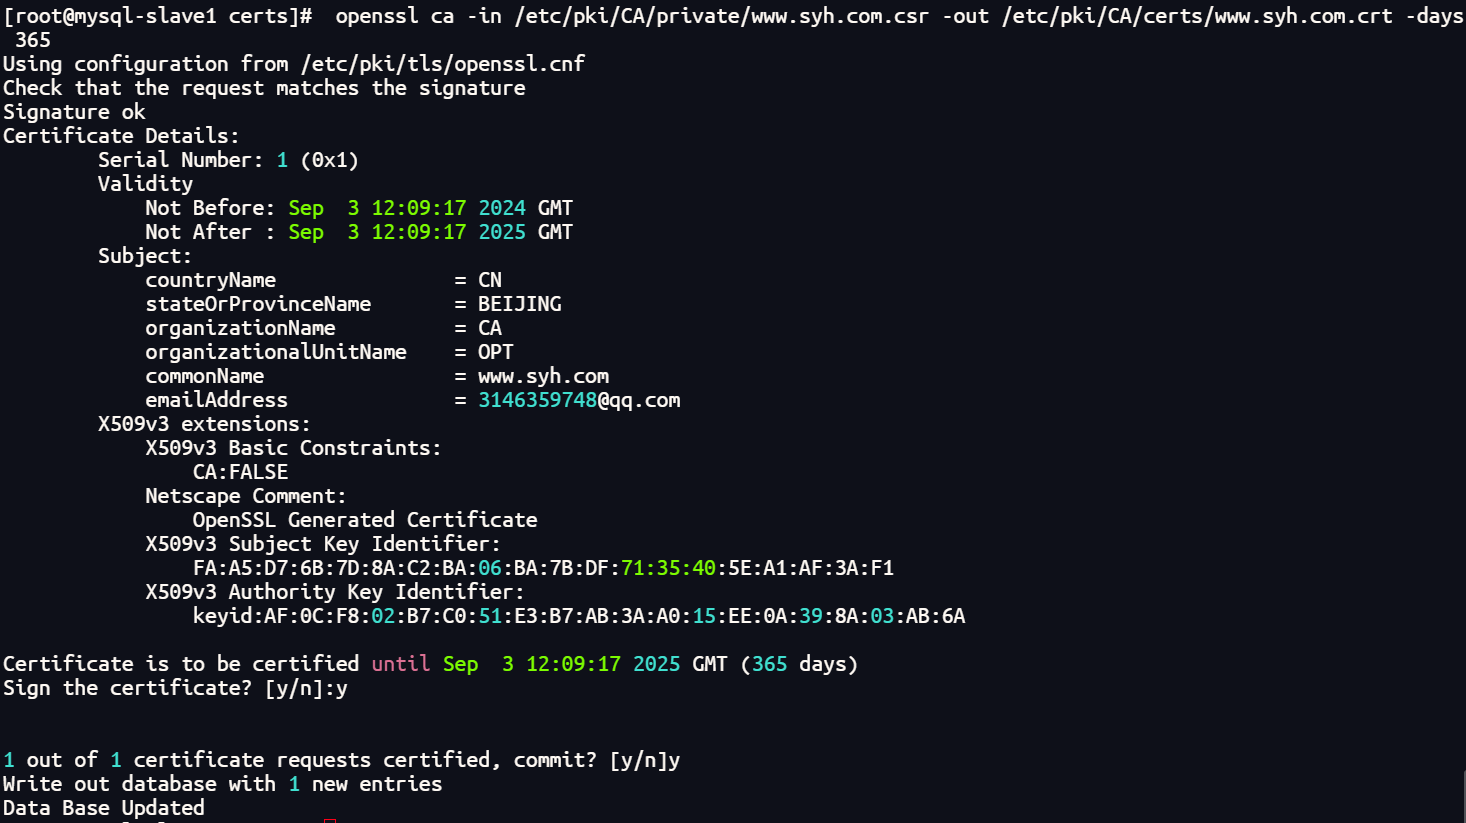

发送签署后的证书
192.168.252.148:
1.发送证书
cd /etc/pki/CA/certs/
scp www.syh.com.crt 192.168.252.149:/etc/pki/CA/certs/

192.168.252.149:
1.查看证书
ls /etc/pki/CA/certs/
www.syh.com.crt

五、测试
证书文件和密钥文件
证书文件路径:
/etc/pki/CA/certs/www.syh.com.crt
密钥文件路径:
/etc/pki/tls/private/www.syh.com.key
配置Nginx配置文件
1.编辑配置文件:
vim /etc/nginx/conf.d/nginx_ca.conf
server {
listen 443 ssl;
server_name www.syh.com;
ssl_certificate /etc/pki/CA/certs/www.syh.com.crt; #指定证书路径
ssl_certificate_key /etc/pki/tls/private/www.syh.com.key; #指定私钥路径
ssl_session_timeout 5m; #配置用于SSL会话的缓存
ssl_protocols SSLv2 SSLv3 TLSv1 TLSv1.1 TLSv1.2 TLSv1.3; #如果出现无法访问的连接就将此注释注释掉
ssl_ciphers ALL:!ADH:!EXPORT56:RC4+RSA:+HIGH:+MEDIUM:+LOW:+SSLv2:+EXP; #密码指定为OpenSSL支持的格式
ssl_prefer_server_ciphers on; #设置协商加密算法时,优先使用服务端的
加密,而不是客户端浏览器的。
location / {
root /jump/html;
index index.html index.htm;
}
}
2.创建发布目录
mkdir -p /jump/html
发布一个跳一跳
3.重启
nginx -t
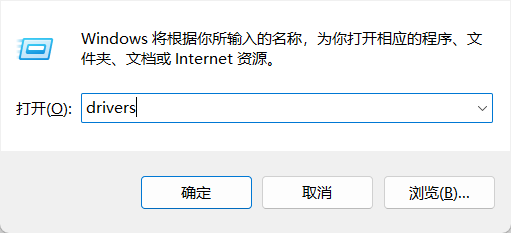
systemctl restart nginx配置windows解析
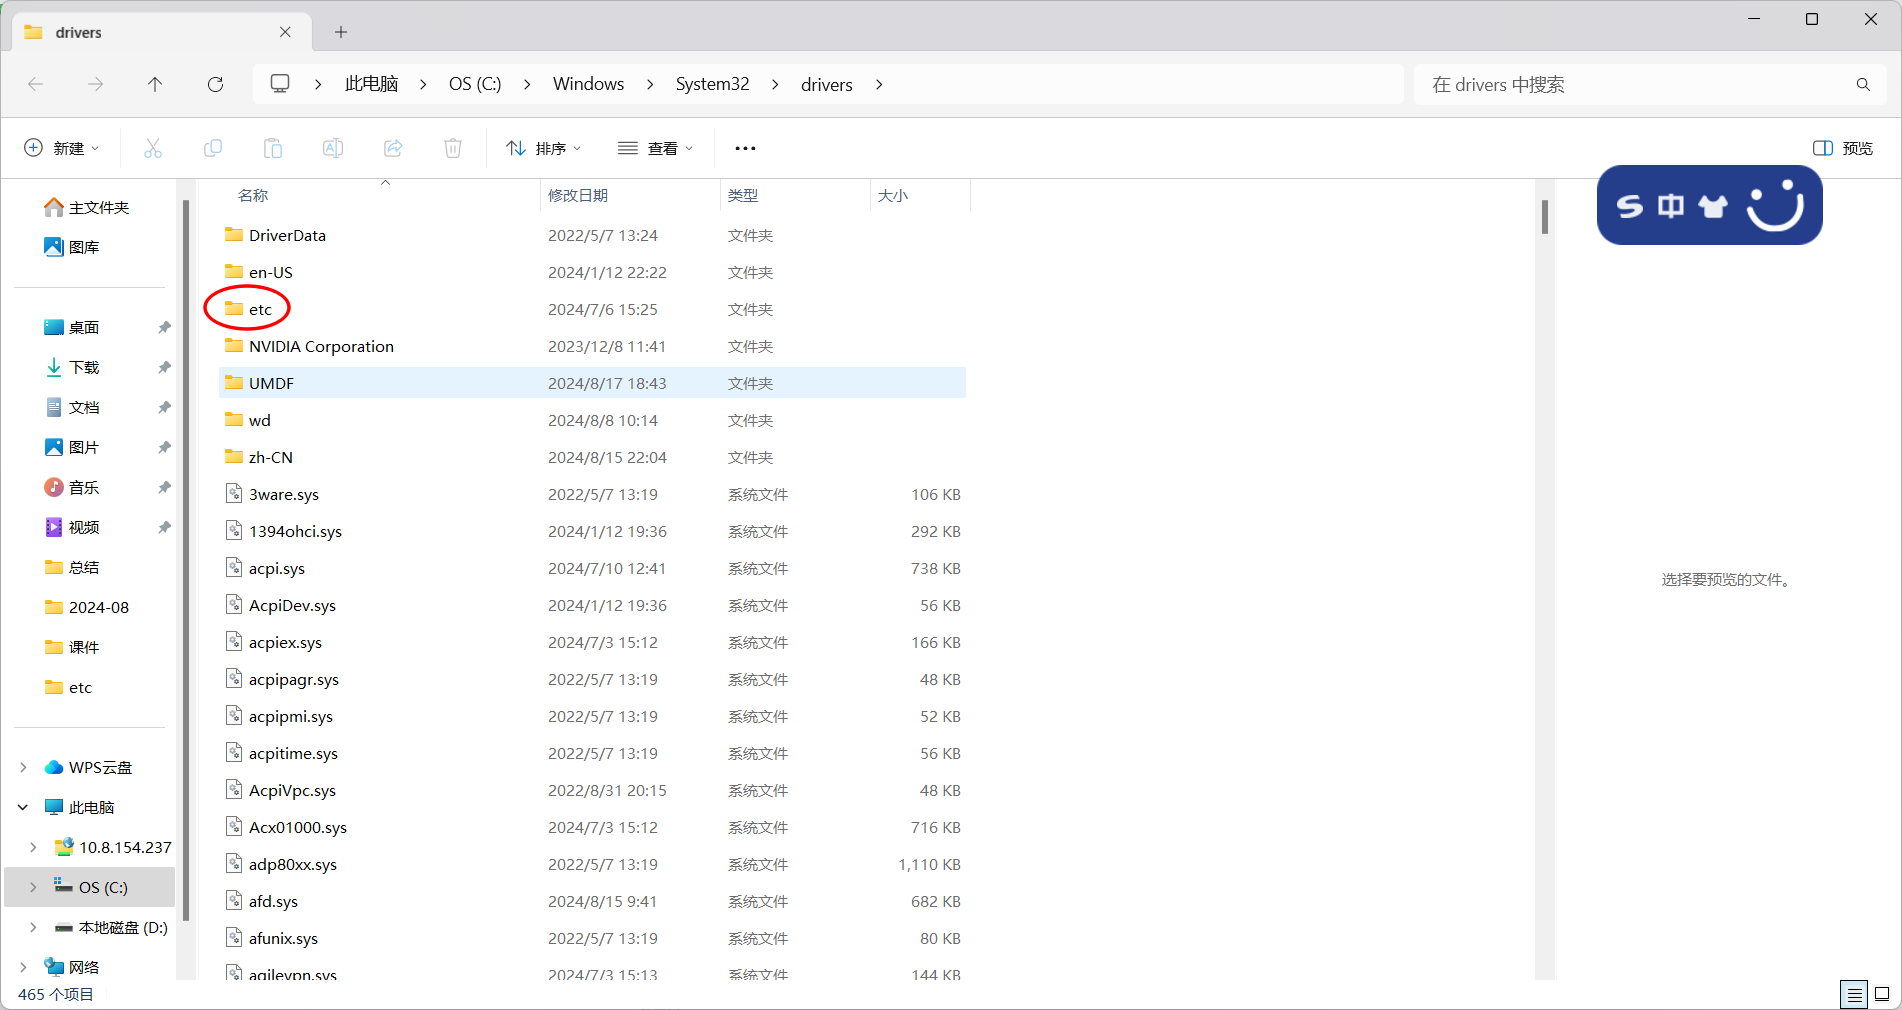
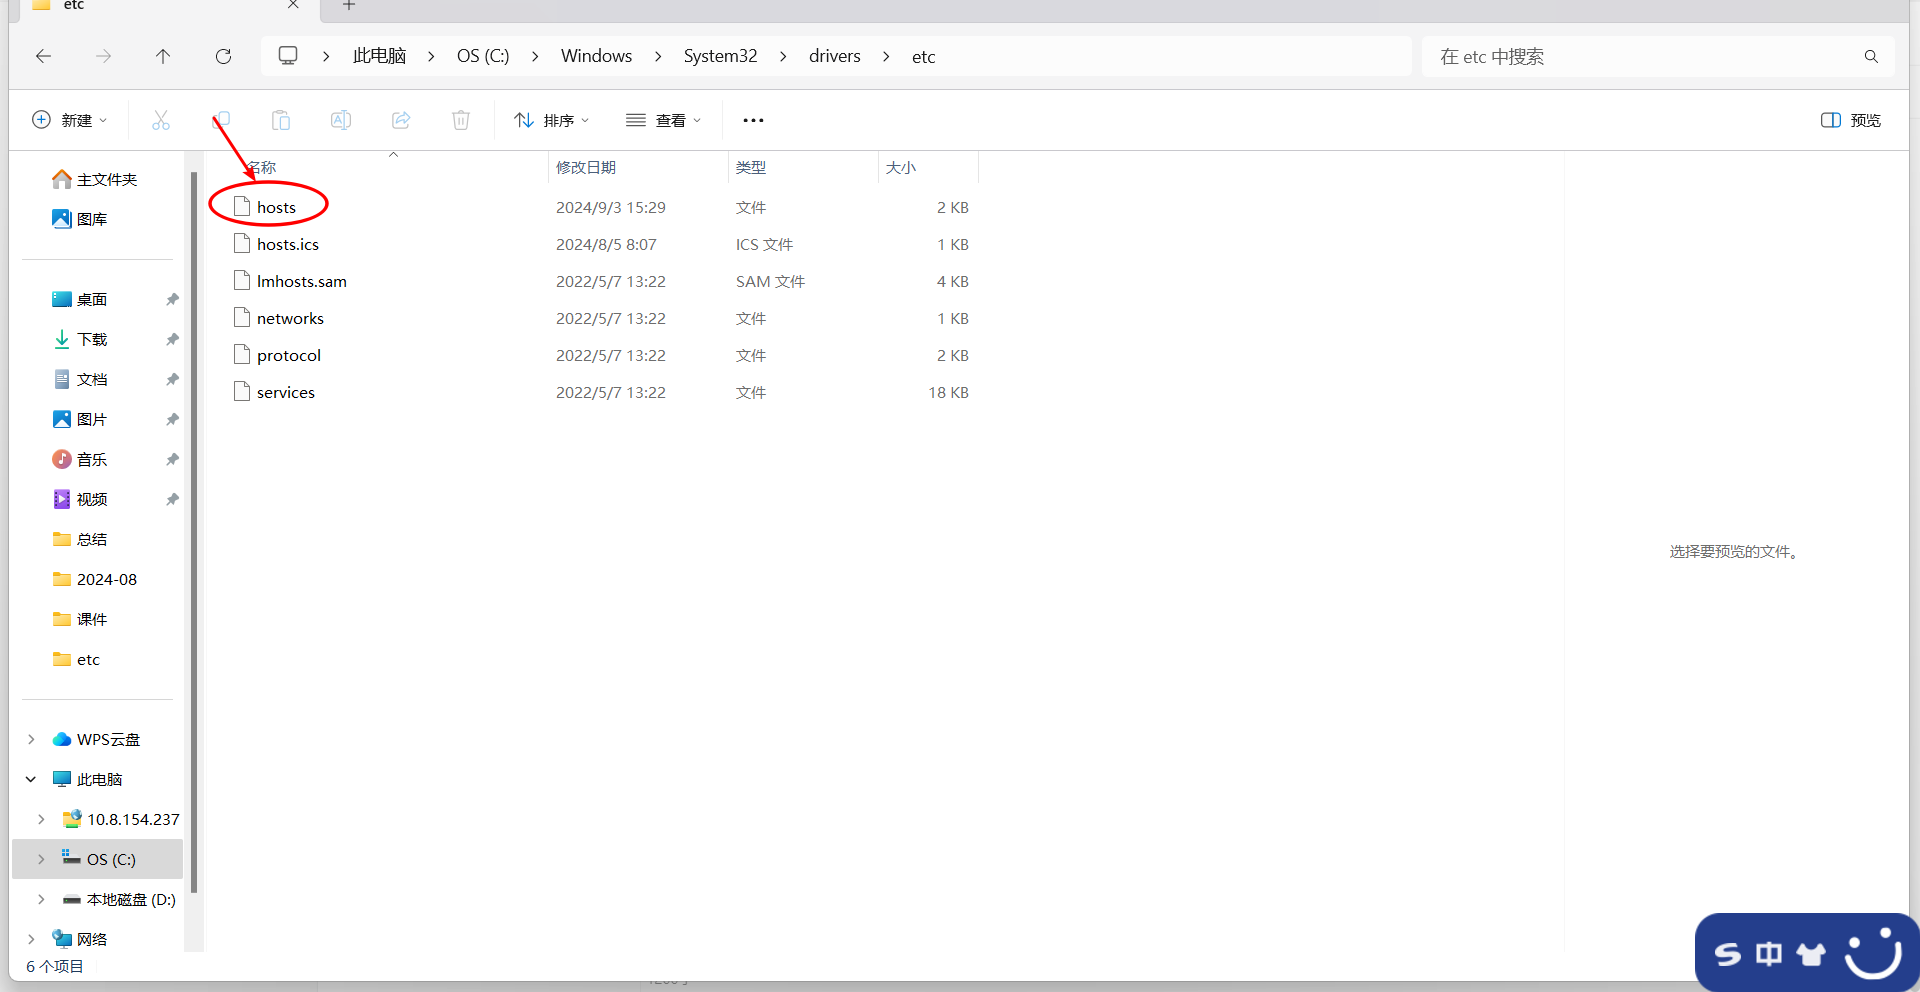
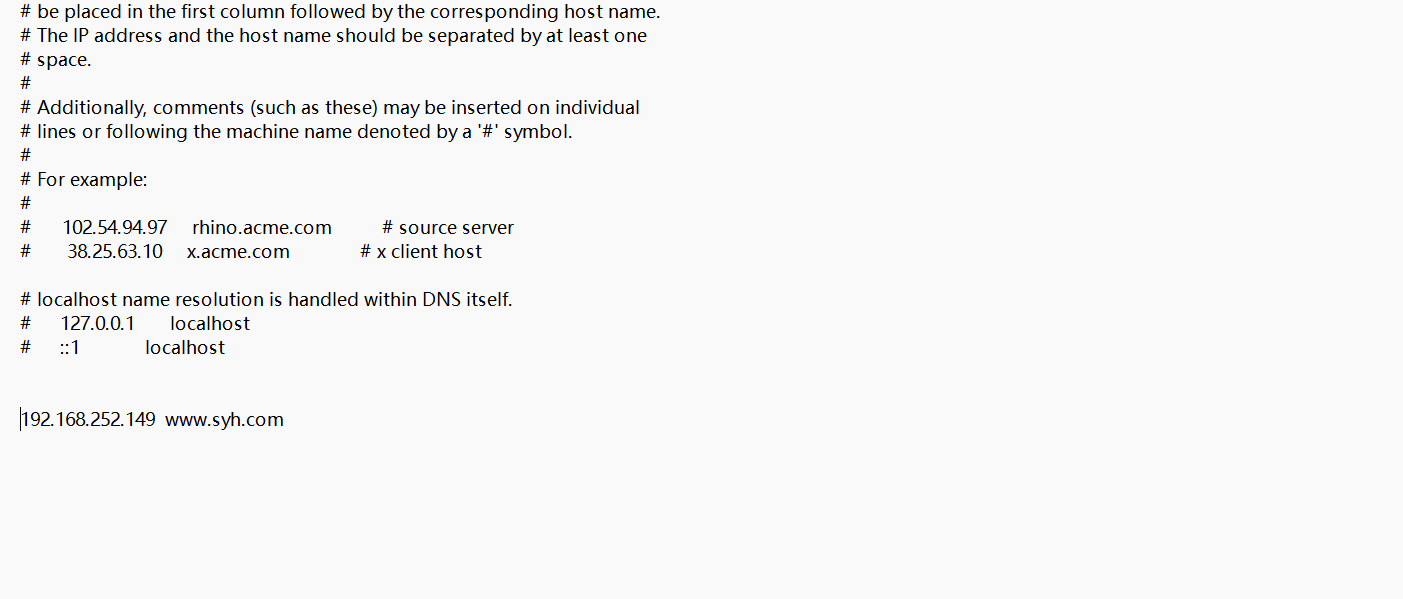
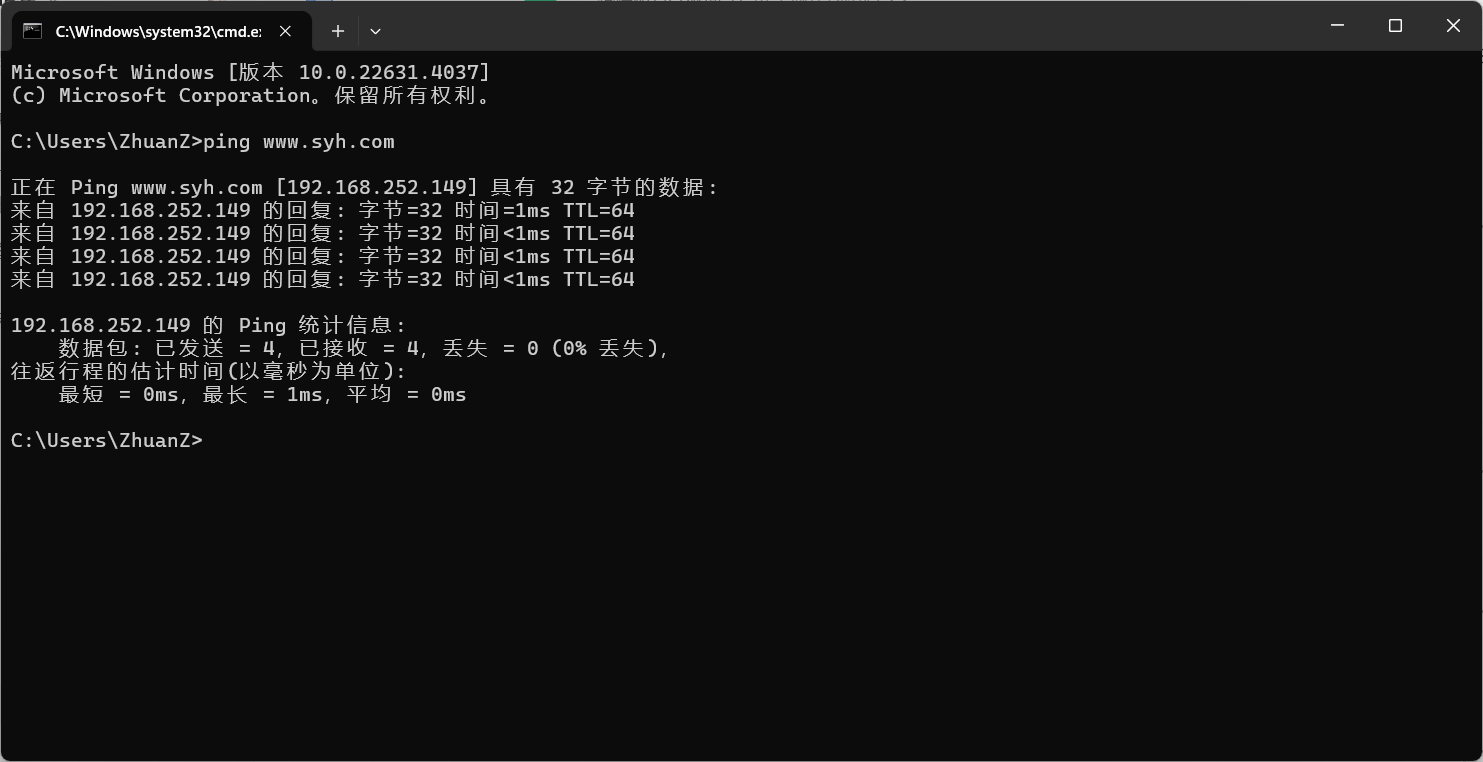
访问
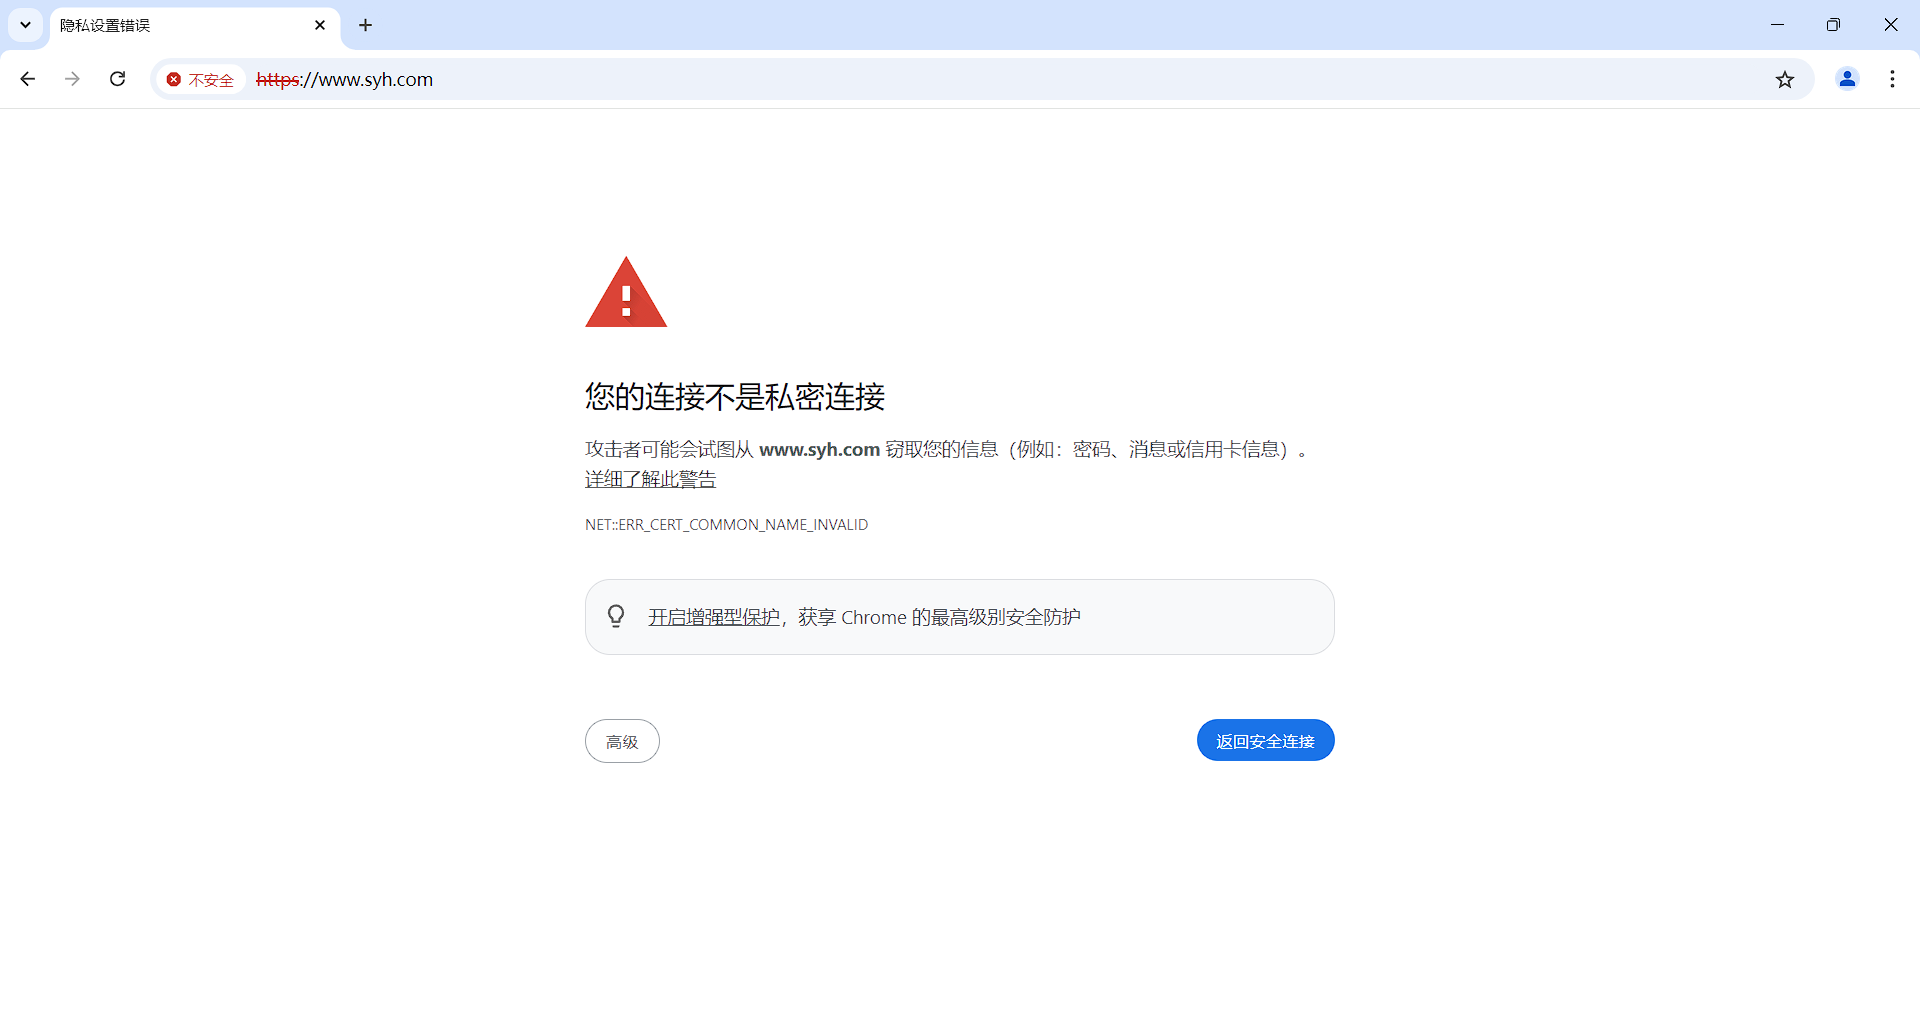
因为私有证书不受此浏览器信任所以会出现不安全的https连接