style标签的lang
html
<template>
<view class="content">
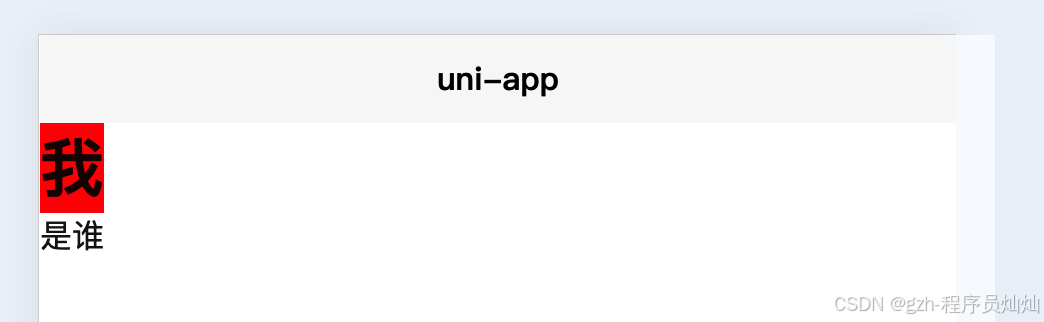
<h1 class="test"><span class="test1">我</span></h1>是谁
</view>
</template>
scc
<style lang="scss">
	.content {
		// content中允许定义下个层级标签或多层级中的样式,不能定义同级标签或者样式
		.test1 {
				background-color: red;
			}
		// h1和 test属于同级则不生效
		h1 {
			.test {
				background-color: red;
			}
		}
	}
	</style>
scss是css样式增强版定义
样式中可以嵌套,标签或者class定义
视图容器
组件scroll-view的使用(滚动)
html
<template>
	<view class="content">
		<!-- 左右上下滑动 -->
		<scroll-view class="scroll" scroll-x="true">
			<image class="item" src="../../static/img/小猫测试.jpeg">
			</image>
			<image class="item" src="../../static/img/小猫测试.jpeg">
			</image>
			<image class="item" src="../../static/img/小猫测试.jpeg">
			</image>
		</scroll-view>
	</view>
</template><style lang="scss">
.content {
.scroll {
// scroll标签中内容不换行
white-space: nowrap;
.item {
width: 300rpx;
height: 200rpx;
margin-right: 1rpx;
// 在父级的标签中排列一行,超过父级宽度则在下一行
display: inline-block;
}
}
}
</style>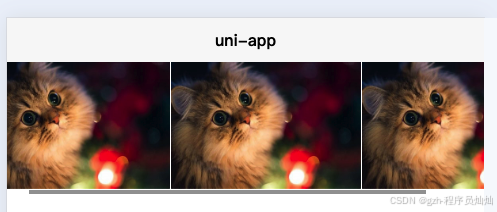
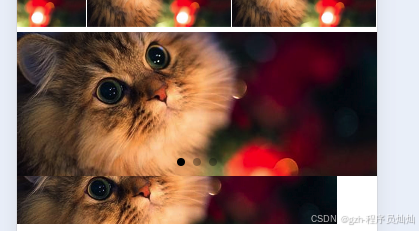
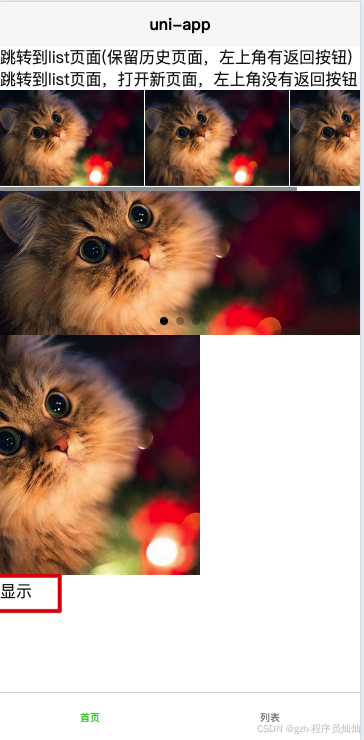
组件swiper的使用(轮播)
html
<swiper indicator-dots class="swiper">
	<swiper-item>
		<image class="swiper-image" src="/static/img/小猫测试.jpeg" mode="aspectFill"></image>
	</swiper-item>
	<swiper-item>
		<image class="swiper-image" src="/static/img/小猫测试.jpeg" mode="aspectFill"></image>
	</swiper-item>
	<swiper-item>
		<image class="swiper-image" src="/static/img/小猫测试.jpeg" mode="aspectFill"></image>
	</swiper-item>
</swiper>.swiper {
height: 300rpx;
.swiper-image {
height: 300rpx;
width: 750rpx;
}
}
媒体组件
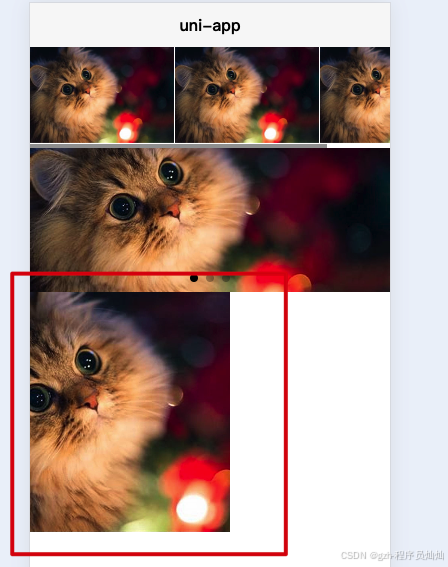
组件image的使用(图片)
html
<view>
	<image class="image-t" src="/static/img/小猫测试.jpeg" mode="aspectFill"></image>
</view>
aspectFill: 始终保持宽或者高全部展示
当容器image的宽度小于图片宽度时,图片高度完全展示,当容器image的高度小于图片高度时,图片宽度完全展示
图片: 320px 240px
css
.image-t {
	width: 200px;
	// height: 300px;
}
路由与页面跳转
navigator
html
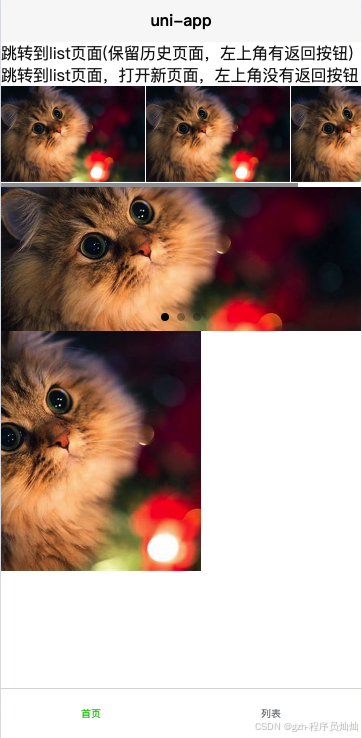
<navigator url="/pages/list/list">跳转到list页面(保留历史页面,左上角有返回按钮)</navigator>
<navigator url="/pages/list/list" open-type="redirect">跳转到list页面,打开新页面,左上角没有返回按钮</navigator>
navigate: 保留历史页面,可以跳转到非 tabBar 的页面的路径
redirect: 不保留历史页面打开新页面,不可跳转到非tabBar页面路径
switchTab: url不能携带参数
reLaunch: url可以携带参数,可以跳转到非 tabBar 的页面的路径但不能带参数
tabBar底部导航配置
json
{	"tabBar": {
		"color": "#7A7E83",
		"selectedColor": "#3cc51f",
		"borderStyle": "black",
		"backgroundColor": "#ffffff",
		"list": [{
				"pagePath": "pages/index/index",
				"text": "首页"
			},
			{
				"pagePath": "pages/list/list",
				"text": "列表"
			}
		]
	}
}
表单提交
html
<template>
	<view>
		<form @submit="toSubmmit">
			<view class="name row">
				<input type="text" name="username">
			</view>
			<view class="desc row">
				<textarea name="content"></textarea>
			</view>
			<view class="row">
				<radio-group name="gender">
					<label>
						<radio value="1" /><text>男</text>
					</label>
					<label>
						<radio value="0" /><text>女</text>
					</label>
					<label>
						<radio value="2" checked /><text>保密</text>
					</label>
				</radio-group>
			</view>
			<view class="row">
				<picker :range="options" name="address" :value="selectedAddress" @change="selectedName">
					地址: {{options[selectedAddress]}}
				</picker>
			</view>
			<view class="row">
				<button form-type="submit" type="primary">提交表单</button>

				<button form-type="reset">重置表单</button>
			</view>
			{{form}}
		</form>
	</view>
</template>

<script>
	export default {
		data() {
			return {
				form: null,
				options: ['北京', '上海', '广州', '深圳'],
				selectedAddress: 2
			}
		},
		methods: {
			toSubmmit(e) {
				console.log(e.detail.value);
				this.form = e.detail.value
			},
			selectedName(e) {
				this.selectedAddress = e.detail.value;
			}

		}
	}
</script>

<style lang="scss">
	.name {
		border: 1px solid #000000;
		padding: 10rpx;
	}

	.desc {
		border: 1px solid #000000;
		// 内边距
		padding: 10rpx;
	}

	.row {
		margin-bottom: 10rpx;
	}
</style>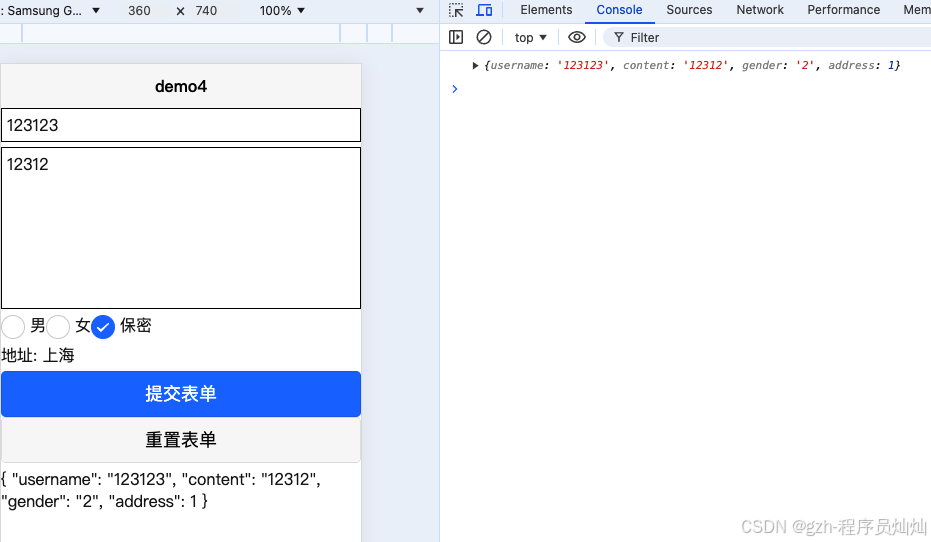
提交表单三个条件:
1.标签中添加name
2.button添加form-type='submit'
3.form标签添加提交事件方法
组件
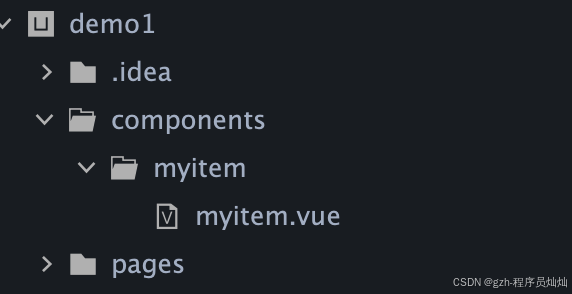
根目录下在components目录下创建组件文件夹,符合'components/组件名称/组件名称.vue'目录结构
html
<template>
	<view>
		<view class="block">自定义组件</view>
	</view>
</template>

<script>
	export default {
		name: "myitem",
		data() {
			return {

			};
		}
	}
</script>

<style lang="scss">
	.block {
		width: 100%;
		height: 200rpx;
		background-color: red;
		// 居中
		display: flex;
		justify-content: center;
		align-items: center;
	}
</style>
引入组件myitem
html
<myitem></myitem>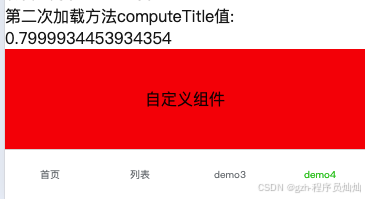
动态赋值子组件的属性字段props
props 可以是数组或对象,用于接收来自父组件的数据
新闻标题组件
html
<template>
	<view>
		<view class="pub-title">
			<view class="first">{{title}}</view>
			<view class="second">新闻二标题</view>
			<view class="line"></view>

			<view>组件中data属性:{{commonData}}</view>
			<view>组件中data属性随机值只加载一次:{{randomNum}}</view>
			<view>组件中数组类型:{{list}}</view>
			<view>组件中Object类型:{{obj}}</view>
		</view>
	</view>
</template>

<script>
	export default {
		props: {
			title: {
				type: String,
				// 属性默认值
				default: '新闻大标题'
			},
			subTitle: {
				type: String,
				default: '新闻二标题'
			},
			// 数组字段必须使用function返回
			list: {
				type: Array,
				default: function() {
					return [1, 2, 3]
				},
			},
			// 对象字段必须使用function返回
			obj: {
				type: Object,
				default: function() {
					return {
						name: '张三',
						age: 18
					}
				}
			}
		},
		data() {
			return {
				"commonData": "初始化commonData",
				"randomNum": Math.random().toFixed(2)
			}
		}
	}
</script>

<style lang="scss">
	.pub-title {
		background-color: #FFEAC5;
		display: flex;
		flex-direction: column;
		align-items: center;
		justify-content: center;
		margin: 30rpx 0;

		.first {
			font-size: 40rpx;
			font-weight: bold;
			margin-right: 10rpx;
		}

		.second {
			font-size: 30rpx;
			color: #666;
			margin-right: 10rpx;
		}

		.line {
			width: 80rpx;
			height: 5rpx;
			background-color: #666;
			border-radius: 2rpx;
			margin-top: 20rpx;
		}
	}
</style>
使用组件
html
<!-- 把newBigTitle值赋值给组件的title属性 -->
<pub-title :title="newBigTitle"></pub-title>
js
export default {
	data() {
		return {
			newBigTitle: "demo4新闻大标题"
		}
	}
}
1.组件中定义props属性字段
2.组件中使用props属性
3.引入组件,赋值props属性值
组件中的数组类型和Object类型,必须使用function函数返回。
VUE语法
data 属性
data 必须声明为返回一个初始数据对象的函数(注意函数内返回的数据对象不要直接引用函数外的对象);否则页面关闭时,数据不会自动销毁,再次打开该页面时,会显示上次数据。
data: 初始化页面属性值
js
//正确用法,使用函数返回对象
	data() {
		return {
			title: 'Hello'
		}
	}

	//错误写法,会导致再次打开页面时,显示上次数据
	data: {
		title: 'Hello'
	}

	//错误写法,同样会导致多个组件实例对象数据相互影响
	const obj = {
		title: 'Hello'
	}
	data() {
		return {
			obj
		}
	}
数据不会自动销毁,再次打开该页面时,会显示上次数据
html
<view>data属性随机值只加载一次:{{randomNum}}</view>
js
export default {
	data() {
		return {
			"randomNum": Math.random().toFixed(2)
		}
	}
}
刷新页面重新加载

指令
v-if/v-else
vue
<view v-if="state">显示</view>

<!-- v-else必须在v-if下面 -->
<view v-else>不显示</view>
js
data() {
	return {
		title: 'Hello',
		state: true
	}
},
v-show
vue
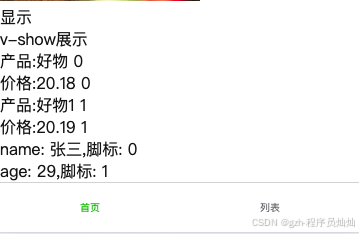
<view v-if="state">显示</view>
<view v-else>1</view>
<view v-show="state">v-show展示</view>
<view v-show="!state">v-show不展示</view>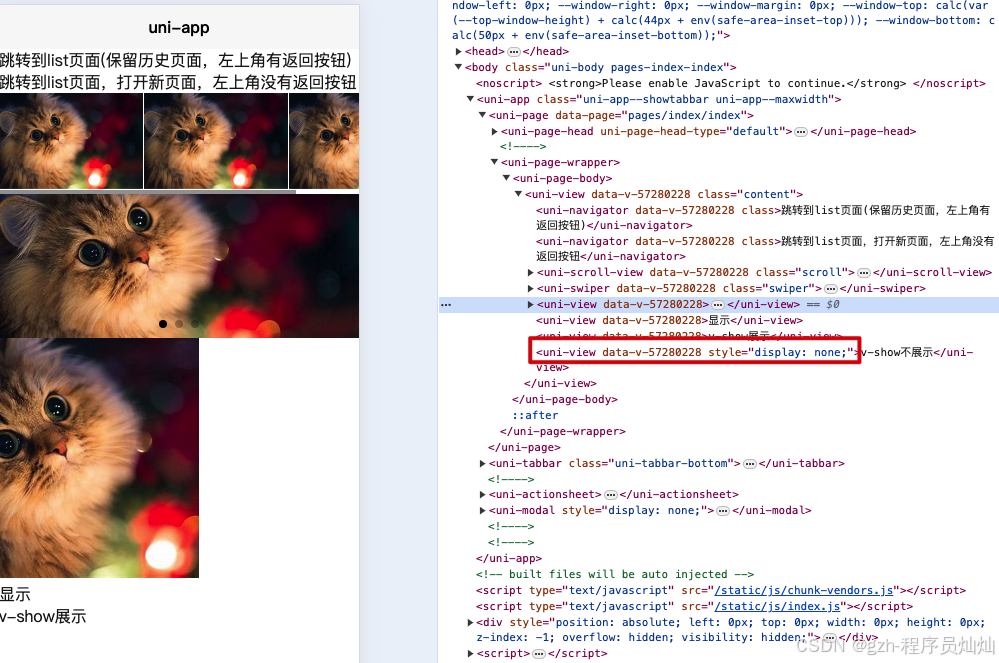
v-show: 通过判断属性值真假,使用css样式控制内容是否显示
v-for循环
html
<view v-for="(item,index) in products" :key="index">
	<view>产品:{{item.name}} {{index}}</view>
	<view>价格:{{item.price}} {{index}}</view>
</view>
<view v-for="(value,key,index) in forObject">
	<view>{{key}}: {{value}},脚标: {{index}}</view>
</view>
js
	export default {
		data() {
			return {
				title: 'Hello',
				state: true,
				products: [{
						name: "好物",
						price: "20.18"
					},
					{
						name: "好物1",
						price: "20.19"
					},
					forObject: {
						name: "张三",
						age: "29"
					}
				]
			}
		}
	}
html
<view class="test-for" v-for="index in 3">
	<image :src="image"></image>
</view>
v-for会遍历标签及其子内容
v-html标签
html
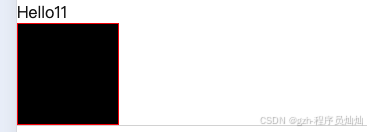
<!-- 解析html标签 -->
<view v-html="title"></view>
<view v-html="htmlStr"></view>
js
htmlStr: "<h1>Hello</h1>",
title: 'Hello',
v-bind动态绑定
v-bind: 动态绑定组件中的属性值
html
<view>
	<!-- v-bind缩写 -->
	<image :src="image" mode=""></image>
</view>
js
image: "/static/img/小猫测试.jpeg",v-on 指令
指的是事件
html
<view v-on:click="onlickOn">
	{{title}}
</view>
<!-- 缩写 -->
<view @click="onlickOn">
	{{title}}
</view>
class与style绑定
html
<view class="box" :style="{background: bgcolor}"></view>
js
export default {
	data() {
		return {
			bgcolor: "#000"
		}
	}
}
html
<!-- 动态使用类样式 -->
<view class="box" :class="{myclass: state}"></view>
js
export default {
	data() {
		return {
			state: true
		}
	}
}
css
.myclass{
	width: 200rpx;
	height: 200rpx;
	border: 1rpx solid red;
	background: blue;
}
.box {
	width: 200rpx;
	height: 200rpx;
	border: 1rpx solid red;
	background: red;
}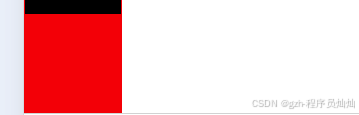
动态指定myclass生效,背景色为蓝色,但仍被box样式覆盖了。说明动态指定的样式优先级低于静态样式的
使用三元表达式使类样式生效
html
<view class="static" v-bind:class="[isActive ? activeClass : '', errorClass]">222</view><!-- 三元表达式 -->导航栏示例
默认首页tab背景色红色,选中tab背景色变为红色,其他tab无背景色
html
<view class="nav">
	<view class="item" :class="activeIndex!=index ? '' : 'active'" v-for=" (item,index) in navs" :key="index"
		@click="activeNav(index)">
		{{item.name}}
	</view>
</view>
js
export default {
		data() {
			return {
				activeIndex: 0,
				navs: [{
						name: "首页"
					},
					{
						name: "介绍"
					},
					{
						name: "产品"
					},
				]
			}
		},
		methods: {
			activeNav(index) {
				this.activeIndex = index;
			}
		}
	}
css
.nav {
	// 子标签内容展示在同一行
	display: flex;
	.item {
		// 使view的宽度在父标签中平均分布
		flex: 1;
		// 内容行间距,可以让内容垂直居中
		line-height: 100rpx;
		// 水平居中
		text-align: center;
		&.active {
			background-color: red;
		}
	}
}
v-model双向绑定
html
<template>
	<view>
		<view @click="changeInput">
			标题: {{title}}
		</view>
		<input class="text" v-model="title" />
	</view>
</template>

<script>
	export default {
		data() {
			return {
				title: '双向绑定',
			}
		},
		methods: {
			changeInput() {
				this.title = '改变后的标题'
			}
		}
	}
</script>

<style lang="scss">
	.text {
		width: 100%;
		height: 100rpx;
		border: 1px solid #000;
	}
</style>
双向绑定: 修改input值,data属性值跟着改变,修改data属性值,input值也会改变。

v-model示例
html
<view class="out">
	<view class="row">
		<input class="border" type="text" placeholder="请输入姓名" v-model="message.name">
	</view>
	<view class="row">
		<input class="border" type="text" placeholder="请输入电话" v-model="message.mobile">
	</view>
	<view class="row">
		<textarea class="border" placeholder="请输入内容" v-model="message.content"></textarea>
	</view>
	<button type="primary">提交</button>
	{{message}}
</view>
js
message: {
	name: '',
		mobile: '',
		content: ''
}
css
.out {
	padding: 30rpx;
	.row {
		margin-bottom: 20rpx;
	}
	.border {
		width: 100%;
		// 四个边填充10rpx
		padding: 10rpx;
		border: 1px solid #000;
		// 内填充
		box-sizing: border-box;
		// 设置圆角
		border-radius: 10rpx;
	}
}
计算属性和侦听器
计算属性computed
html
<view>
	{{ message.split('').reverse().join('') }}
</view>
在模板中绑定表达式是非常便利的,但是它们实际上只用于简单的操作。在模板中放入太多的逻辑会让模板过重且难以维护,这里是想要显示变量 message 的翻转字符串。当你想要在模板中多包含此处的翻转字符串时,就会更加难以处理。
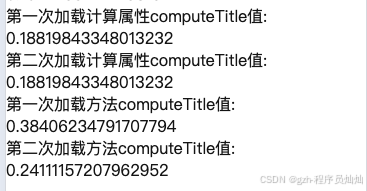
所以,对于任何复杂逻辑,你都应当使用计算属性。计算属性完全可以使用方法代替,区别在于计算属性存在缓存,对于加载不变数据计算属性性能高于方法。
html
<view>
	<!-- 使用方法 -->
	第一次加载计算属性computeTitle值: {{computeTitle}}
	<br>
	第二次加载计算属性computeTitle值: {{computeTitle}}
	<br>
	第一次加载方法computeTitle值: {{computeTitleMethod()}}
	<br>
	第二次加载方法computeTitle值: {{computeTitleMethod()}}
</view>
js
methods: {
	computeTitleMethod() {
		return Math.random();
	}
},
computed: {
	computeTitle() {
		return Math.random();
	}
}
子组件触发自定义事件传递给父组件
子组件my-event
html
<input type="text" placeholder="请输入" @input="onInput" />


methods: {
	onInput(e) {
		// 使用emit向父组件传递数据
		console.log("子组件输入值:" + e.detail.value);
		this.$emit('customEventName', e.detail.value)
	}
}
引入my-event
html
<!-- 引用子组件传值 -->
<my-event @customEventName="inputValue"></my-event>

methods: {
	inputValue(e) {
		console.log("父组件接收值:" + e);
	}
}
- 子组件自定义事件名称
- 父组件引入子组件
- 父组件使用子组件定义的事件名称
- 子组件触发事件传递到父组件
父组件引入子组件时,如果使用原生事件,需要指定事件为本地事件
如:
html
<my-event @customEventName="inputValue" @clink.native="onClick"></my-event>在使用子组件的同时,使用原生事件click,指定.native标识。
子组件向上传值案例
实现弹窗隐藏的功能
子组件my-pop弹窗
html
<template>
	<view>
		<!-- 弹出层 -->
		<view class="box" :hidden="hiddenStatus">
			<view class="row">
				<view class="pop">弹窗内容</view>
			</view>
			<view class="row">
				<button @click="shut">关闭</button>
			</view>
		</view>
	</view>
</template>

<script>
	export default {
		name: "my-pop",
		data() {
			return {
			};
		},
		props: {
			hiddenStatus: {
				type: Boolean,
				default: false
			}
		},
		methods: {
			shut() {
				this.$emit('shut');
			}
		},
	}
</script>

<style lang="scss">
	.box {
		background-color: #000000;
		opacity: 0.5;
		position: fixed;
		top: 0;
		left: 0;
		// 屏蔽父页面不可点击
		z-index: 999;
		// 屏蔽父页面滚动
		height: 100%;
		width: 100%;

		.row {
			display: flex;
			justify-content: center;
			align-items: center;

			.pop {
				width: 300rpx;
				height: 200rpx;
				background-color: #FFFFFF;
				border-radius: 10rpx;
				text-align: center;
				line-height: 300rpx;
				font-size: 40rpx;
				margin-top: 80%;
			}

			button {
				height: 100rpx;
				background-color: #000000;
				border-radius: 10rpx;
				color: #FFFFFF;
			}
		}
	}
</style>
父组件引入
html
<!-- 弹出框 -->
<view>
	<button @click="showPopStatusClick">点击弹出框</button>
	<my-pop :hiddenStatus="hiddenPop" @shut="shutPop"></my-pop>
</view>

data() {
	return {
		hiddenPop: true
	}
},
methods: {
	showPopStatusClick() {
		this.hiddenPop = false
	},
	shutPop(e) {
		this.hiddenPop = true
	}
}
- 父组件默认弹窗隐藏
- 父组件点击事件显示弹窗
- 子组件弹窗触发自定义关闭事件
- 父组件接收事件,关闭弹窗
.sync 修饰符
当一个子组件改变了一个 prop 的值时,这个变化也会同步到父组件中所绑定。 .sync 它会被扩展为一个自动更新父组件属性的 v-on 监听器
使用sync修饰符,通过修改子组件的props可以修改父组件的属性值,因此在上面的案例中,可以通过修改子组件的hiddenStatus值,从而修改父组件的hiddenPop值。
html
<!-- <my-pop :hiddenStatus="hiddenPop" @shut="shutPop"></my-pop> -->
<!-- 这里不再需要点击事件修改hiddenPop值,而是通过sync修饰,把父组件的hiddenPop和子组件的hiddenStatus属性进行绑定 -->
<my-pop :hiddenStatus.sync="hiddenPop"></my-pop>
子组件修改
html
export default {
	props: {
		hiddenStatus: {
			type: Boolean,
			default: true
		}
	},
	methods: {
		shut() {
		    // 子组件修改绑定值格式为update:hiddenStatus,从而修改了父组件的hiddenPop值
			this.$emit('update:hiddenStatus', true);
		}
	},
}- 父组件使用.sync修改子组件hiddenStatus属性,从而绑定父组件的hiddenPop值
- 子组件自定义触发事件,事件名格式为
update:子组件属性值 - 通过子组件修改hiddenStatus值,从而修改了父组件的hiddenPop值
- 父组件监听hiddenPop改变,动态赋值子组件props属性值
sync修饰作用就像v-model双向绑定,只是作用在父子组件之间。