具体使用方法在官网:
概述 | uniCloud![]() https://doc.dcloud.net.cn/uniCloud/storage/dev.html#clouduploadfile下面以用户上传头像为例:
https://doc.dcloud.net.cn/uniCloud/storage/dev.html#clouduploadfile下面以用户上传头像为例:
当我们把button组件中的open-type改为"chooseAvatar"时,就能够选择图片

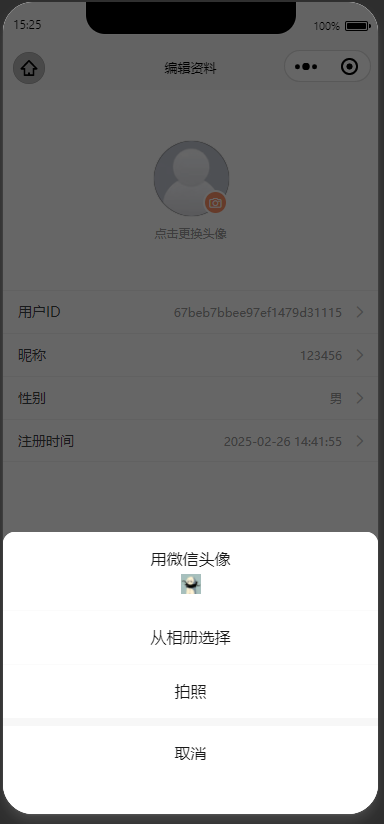
给这个button添加一个点击事件,并接收到事件对象

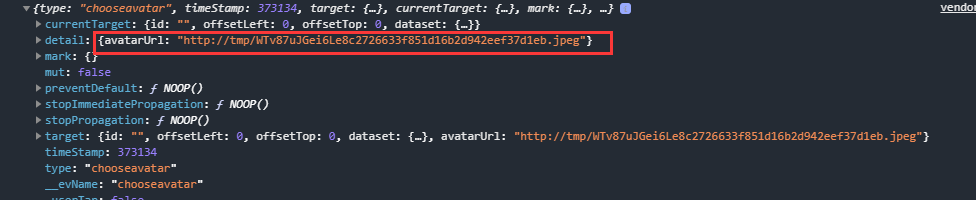
在打印出来的对象中可以看到该图片的临时路径,我们只需要把这个临时路径上传到云存储中就行
现在我们用uniCloud.uploadFile将图片上传到云存储:
javascript
function onChooseAvatar(e) {
	let avatarUrl = e.detail.avatarUrl;
	uniCloud.uploadFile({
		filePath:avatarUrl,
		cloudPath:""  // 上传到云存储的文件名
	}).then(res=>{
		console.log(res);
	})
}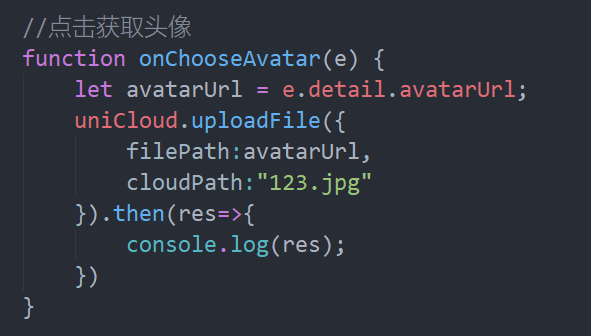
我们可以在res中获取返回的图片路径,并且在云存储库中能够看到保存的图像,名字为我们定义的cloudPath

 注:上传后图像会被压缩
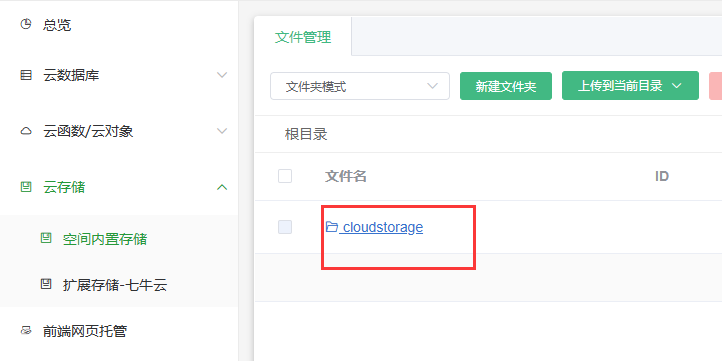
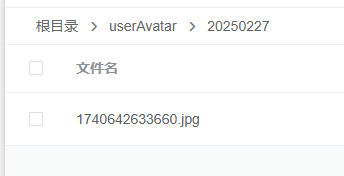
我们所有上传的图像都会被存储在cloudstorage文件夹中
如果我们想把图像上传到其他文件夹下,可以使用如下操作:
首先设置cloudPathAsRealPath:true,然后配置文件路径
我这里把所有上传的图像放在userAvatar文件中,又单独按照日期分类,把当前的时间戳作为图像名。
有效路径是res中的fileID

所以我们可以把数据更新到数据库中
 并渲染出来
并渲染出来