一、介绍
你现在已经学过tasks和handlers,那么,最好的playbook组织方式是什么呢?答案很简单:使用roles!roles基于一种已知的文件结构,能够自动加载特定的vars_files、tasks以及handlers。通过roles对内容进行分组,我们可以轻松地与其他用户共享roles。
二、作用解释
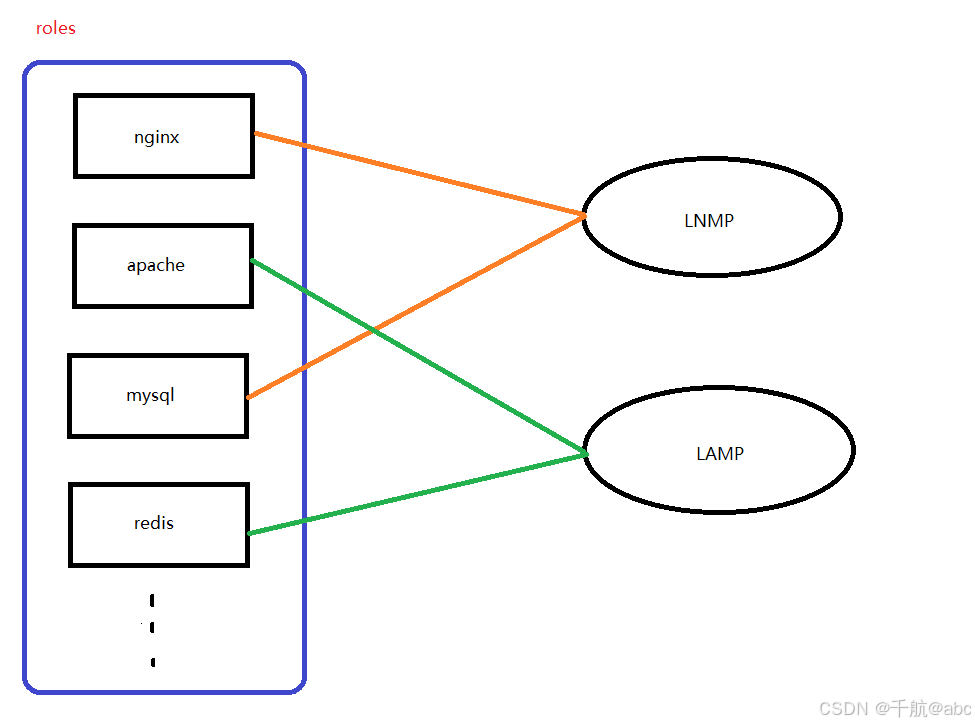
我可以预先构建出nginx、apache、mysql、redis等一系列的角色,当我要构建一个LNMP时,我可以去调用nginx和mysql角色,当我要构建一个LAMP时,我可以去调用apache和mysql角色,又或者说我要构建一个redis的哨兵集群或者分配集群,我可以去调用redis角色。角色就好比计算机语言里面的函数,当我需要的时候不需要再去重复的去构建,而是直接拿过来使用,这样简洁方便还不浪费时间。
三、使用方法
1.存放角色的位置
/etc/ansible/roles
2.角色目录子目录构成与功能
- files: 存放模块调用的文件(如:copy 和 script的文件,nginx/apache的html网页)。
- **templates:**存放模板文件(比如nginx/apache的配置文件)。
- **tasks:**任务存放的目录,至少包含一个main.yml的文件,该目录下也可以有其他.yml文件,但是需要在main.yml文件中用include指令将其他.yml文件包含进来(类似 puppet)。
- **handlers:**存放相关触发执行器的目录,至少应该包含一个main.yml的文件,文件中定义了触发器的任务清单,该目录下也可以有其他.yml文件,但是需要在main.yml文件中用include指令将其他.yml文件包含进来 。
- vars: 变量存放的目录,至少应该包含一个main.yml的文件,文件中定义了相关的变量及其值,该目录下也可以有其他.yml文件,但是需要在main.yml文件中用include指令将其他.yml文件包含进来 。
- defaults: 默认变量存放的目录,至少应该包含一个main.yml的文件,文件中定义了此角色使用的默认变量,该目录下也可以有其他.yml文件,但是需要在main.yml文件中用include指令将其他.yml文件包含进来 。
- meta: 用于存放此角色元数据,至少应该包含一个main.yml的文件,文件中定义当前角色的特殊设定及其依赖关系, 该目录下也可以有其他.yml文件,但是需要在main.yml文件中用include指令将其他.yml文件包含进来 。
(default和meta我们用到的很少,用的最多的就是files、templates、tasks、handlers、vars)
3.如何调用定义的角色?
(比如定义了一个apache的角色,下面是调用的方法)
- hosts: webserver
remote_user: root
roles:
- apache
四、创建一个roles
我们这里做一个nginx的角色,内容是nginx的源码包安装,只不过这一次不是打包到本机,编译好后再拷贝到被管控端,这一次是在被管控端直接下载nginx源码包然后编译安装。
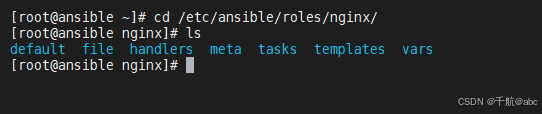
1.创建角色的目录结构
root@ansible \~# mkdir -pv /etc/ansible/roles/nginx/{file,templates,tasks,handlers,vars,default,
meta} #创建一个nginx角色
(先写tasks,如果我们在写任务的时候需要用到文件了,就去file目录下准备文件,需要用到变量了,就去vars下准备变量)
2.定义任务
root@ansible tasks# cd /etc/ansible/roles/nginx/
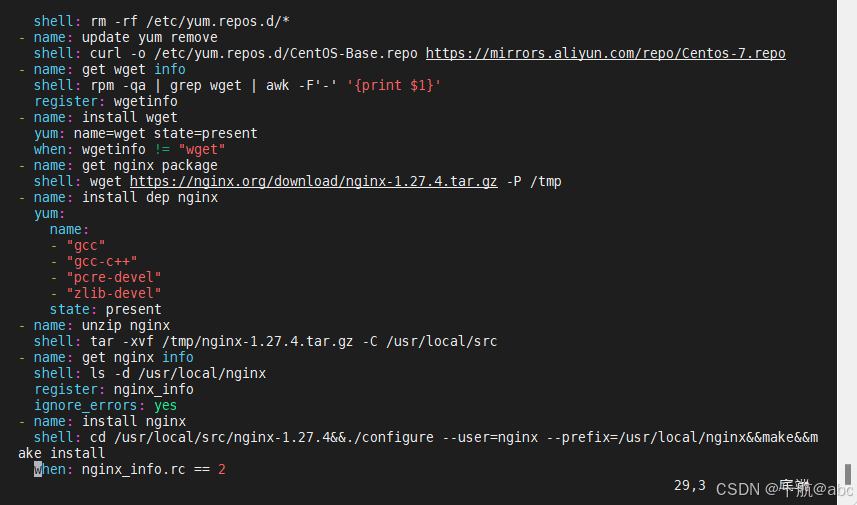
root@ansible nginx# vim tasks/main.yaml
- name: remove yum source
  shell: rm -rf /etc/yum.repos.d/*
- name: update yum remove
  shell: curl -o /etc/yum.repos.d/CentOS-Base.repo https://mirrors.aliyun.com/repo/Centos-7.repo
- name: get wget info
  shell: rpm -qa | grep wget | awk -F'-' '{print $1}'
  register: wgetinfo
- name: install wget
  yum: name=wget state=present
  when: wgetinfo != "wget"
- name: get nginx package
  shell: wget https://nginx.org/download/nginx-1.27.4.tar.gz -P /tmp
- name: install dep nginx
  yum:
    name:
    - "gcc"
    - "gcc-c++"
    - "pcre-devel"
    - "zlib-devel"
    state: present
- name: unzip nginx
  shell: tar -xvf /tmp/nginx-1.27.4.tar.gz -C /usr/local/src
- name: get nginx info
  shell: ls -d /usr/local/nginx
  register: nginx_info
  ignore_errors: yes
- name: install nginx
  shell: cd /usr/local/src/nginx-1.27.4&&./configure --user=nginx --prefix=/usr/local/nginx&&make&&make install
  when: nginx_info.rc == 2
- name: remove yum source #移除被管控端的源
shell: rm -rf /etc/yum.repos.d/*
- name: update yum source #更新被管控端的源
shell: curl -o /etc/yum.repos.d/CentOS-Base.repo https://mirrors.aliyun.com/repo/Centos-7.repo #因为不确定有没有wget工具,所以统一使用curl
- name: get wget info #获取wget的信息判断是否安装了wget
shell: rpm -qa | grep wget | awk -F'-' '{print $1}'
register: wgetinfo
- name: install wget #wget安装:根据获取的wget信息判断是否安装
yum: name=wget state=present
when: wgetinfo != "wget"
- name: get nginx package #在nginx官网获取nginx源码包
shell: wget https://nginx.org/download/nginx-1.27.4.tar.gz -P /tmp
- name: install dep nginx #安装nginx的依赖
yum:
name:
"gcc"
"gcc-c++"
"pcre-devel"
"zlib-devel"
state: present
- name: unzip nginx #解压nginx源码包到/usr/local/src目录下
shell: tar -xvf /tmp/nginx-1.27.4.tar.gz -C /usr/local/src
- name: get nginx info #获取nginx信息判断被管控端是否安装了nginx
shell: ls -d /usr/local/nginx
register: nginx_info
ignore_errors: yes #跳过错误,继续执行任务
- name: install nginx #编译安装nginx:根据获取的nginx信息判断是否安装
shell: cd /usr/local/src/nginx-1.27.4&&./configure --user=nginx --prefix=/usr/local/nginx&&make&&make install
when: nginx_info.rc == 2

3.测试
root@ansible nginx# vim /playbook/roles_test.yaml #调用nginx角色
- hosts: webservers
  remote_user: root
  roles:
  - nginx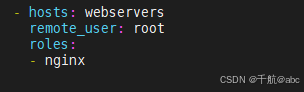
root@ansible tasks# ansible-playbook /playbook/roles_test.yaml
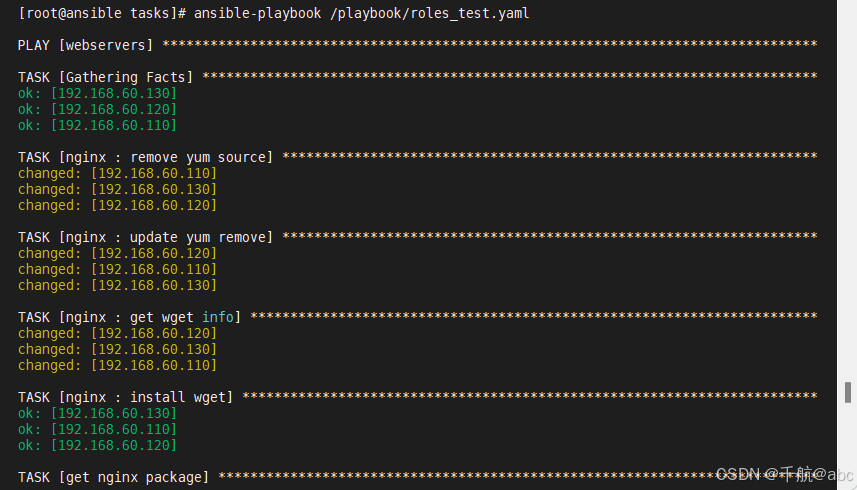


 (测试成功!)
五、files目录的使用
1.修改角色使用files
root@ansible nginx# vim files/test.html #在file文件创建网页测试文件
<h1>Ansibel Nginx test</h1>(files目录下的文件可以直接src = test.html使用,集中管理这些文件)
root@ansible nginx# vim tasks/main.yaml
- name: copy test page
copy: src = test.html dest=/usr/local/nginx/html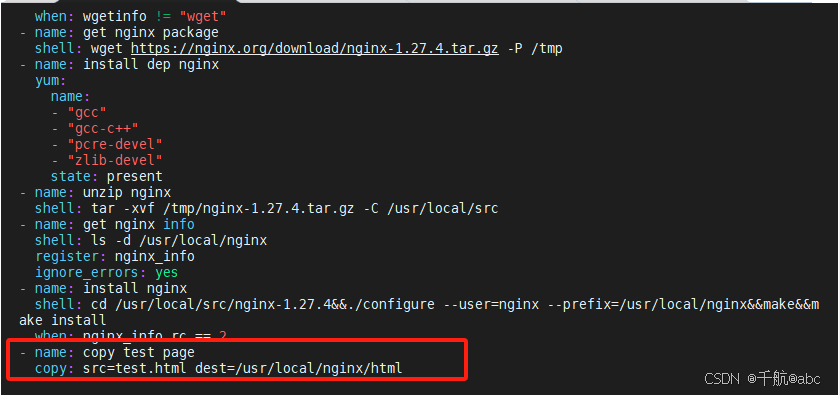 (在之前写的角色最后加上这几行)
2.测试
root@ansible nginx# ansible-playbook /playbook/roles_test.yaml
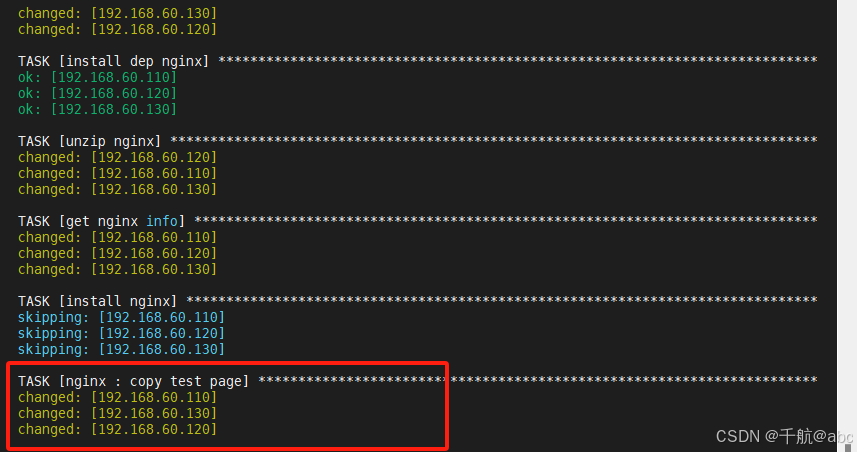
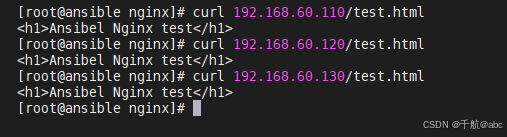
(访问成功!)
六、handlers目录的使用
1.修改角色使用handler
当nginx的配置文件发生改动时重启nginx服务
root@ansible nginx# cp /usr/local/nginx/conf/nginx.conf /etc/ansible/roles/nginx/files/
(其实是应该放到templates目录下的,这里放到files目录下是为了做展示,后面会介绍templates目录的相关使用)
#准备一份配置文件
root@ansible nginx# vim tasks/main.yaml #修改角色
- name: copy config
  copy: src=nginx.conf dest=/usr/local/nginx/conf
  notify:
  - restart nginx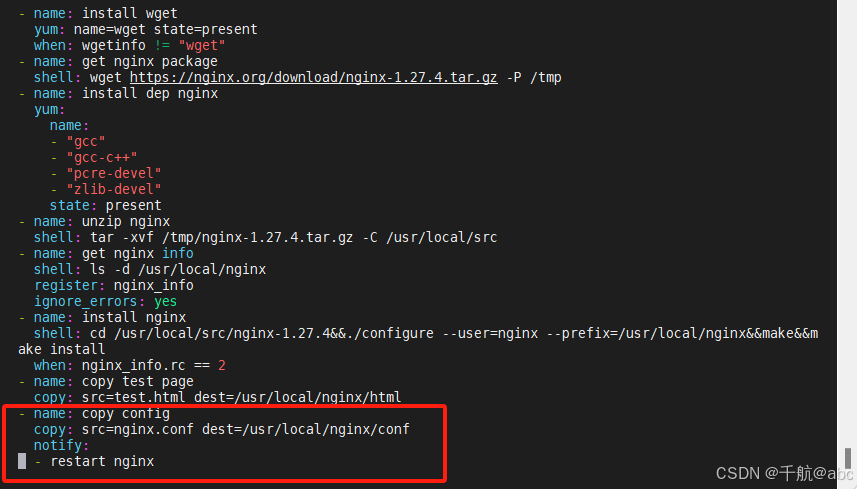
(在之前写的角色最后加上这几行)
root@ansible nginx# vim handlers/main.yaml #编写handlers
- name: restart nginx
  shell: /usr/local/nginx/sbin/nginx -s reload
2.测试
root@client-1 \~# /usr/local/nginx/sbin/nginx #启动被管控端的nginx服务
root@client-2 \~# /usr/local/nginx/sbin/nginx
root@client-3 \~# /usr/local/nginx/sbin/nginx
配置文件没有发生改变
root@ansible nginx# ansible-playbook /playbook/roles_test.yaml
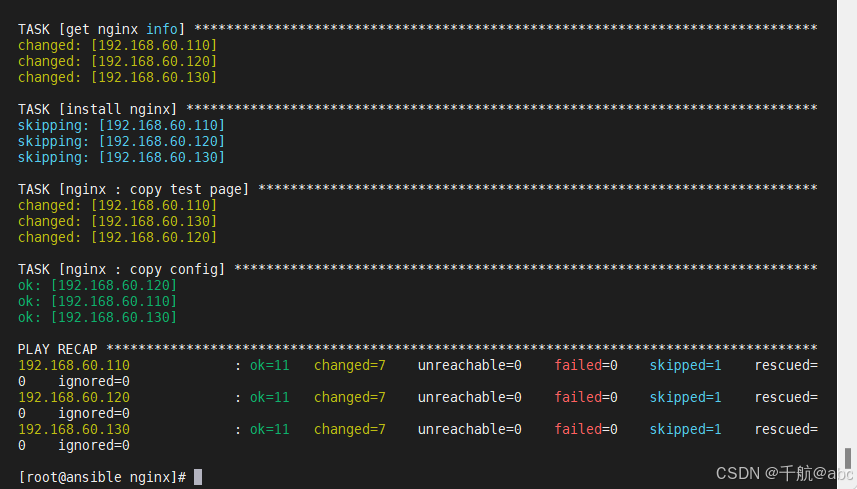
(服务没有被重启)
当配置文件发生了改变
root@ansible nginx# vim file/nginx.conf #修改端口为8080
listen 8080;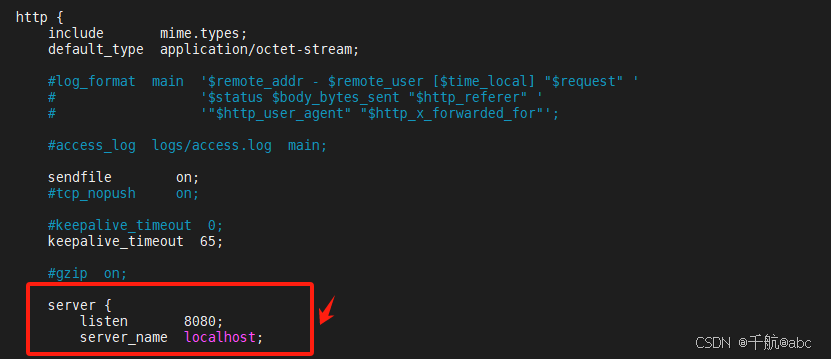
root@ansible nginx# ansible-playbook /playbook/roles_test.yaml
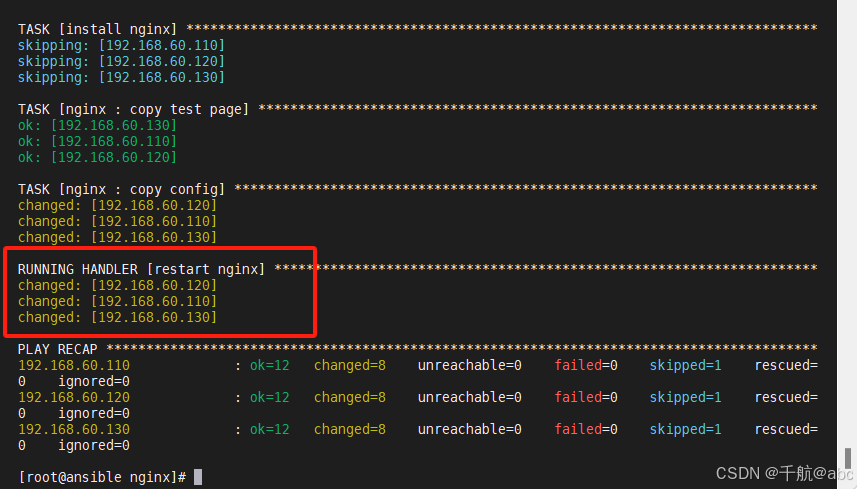
(服务被重启)
七、templates目录的使用
1.解释
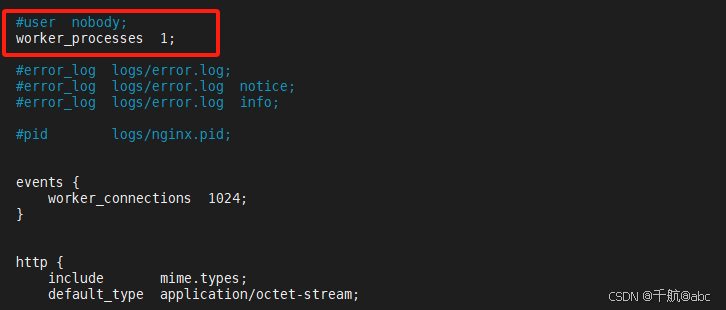
nginx的配置文件里面有这样的一条参数用于设置nginx服务器工作进程的数量,这是需要根据服务器的硬件配置(如 CPU 核心数、内存大小)来配置的,假如我有的nginx服务器有2个CPU核心,有的服务器有4个CPU核心,而我files目录下的nginx配置文件设置worker_processes为4,那对于只有两个CPU核心的服务器来说就不支持了,这时候templates目录的作用就体现出来了,将nginx的配置文件放到templates目录下面,templates可以根据ansible webserver -m setup查到的变量来设置参数,拿上面的例子来说吧,查到被控端主机有2个cup核心,templates就可以把worker_processes设置成2,查到4个就可以设置成4,所以templates目录的功能还是很重要的。
2.修改角色使用templates
root@ansible nginx# mv files/nginx.conf templates/nginx.conf.j2
root@ansible nginx# vim templates/nginx.conf.j2
worker_processes {{ ansible_processor_vcpus }};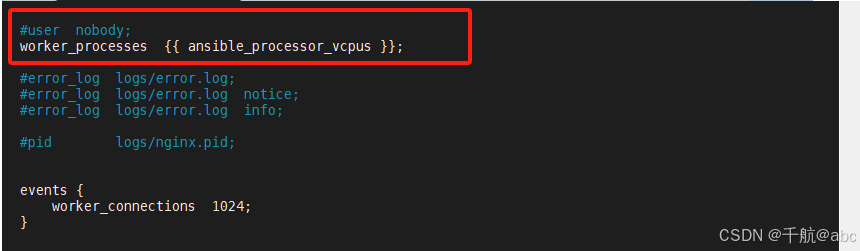
root@ansible nginx# vim tasks/main.yaml
- name: copy config
  template: src=nginx.conf.j2 dest=/usr/local/nginx/conf/nginx.conf
  notify:
  - restart nginx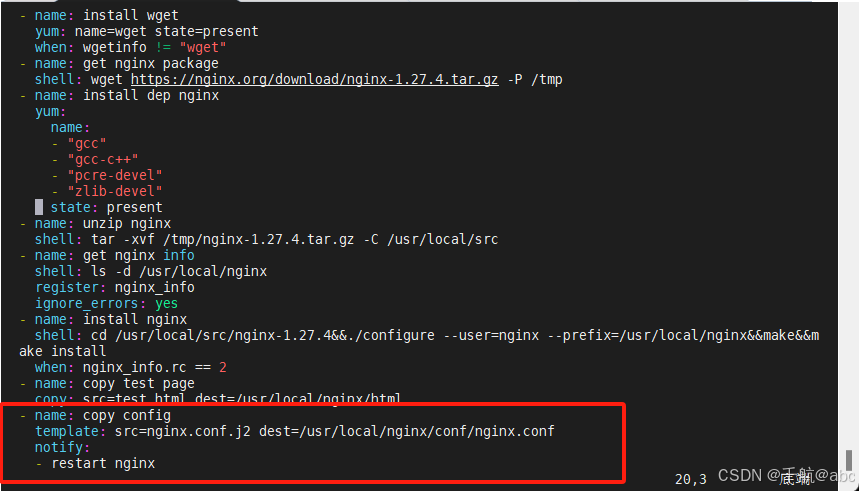
3.测试
root@client-1 \~# lscpu | grep CPU\(s\):

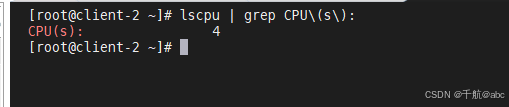

(每台主机的CPU核心数量为4)
root@client-1 \~# cat /usr/local/nginx/conf/nginx.conf | grep worker_processes


(没有修改之前 )
root@ansible nginx# ansible-playbook /playbook/roles_test.yaml
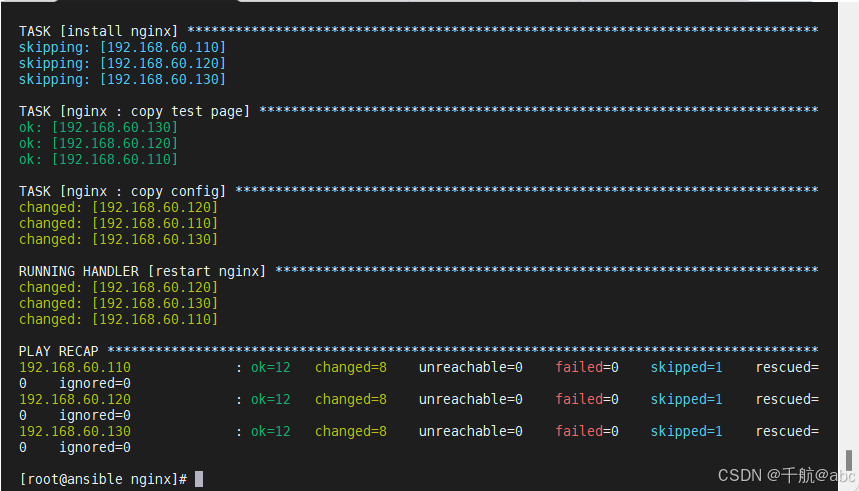
(执行剧本)
root@client-1 \~# cat /usr/local/nginx/conf/nginx.conf | grep worker_processes

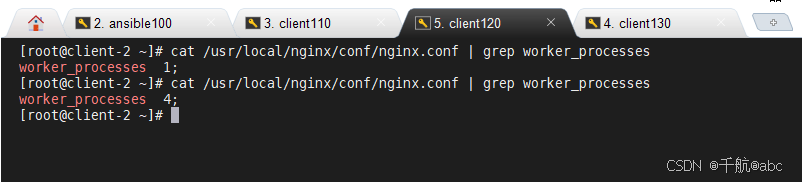

(修改后,核心的数量发生改变且等于当前的CPU核心数量)