目录:
-
- 1、flutter路由和导航简介
- 2、路由的使用
-
- [2.1、使用 Navigator](#2.1、使用 Navigator)
- 2.2、使用命名路由
- 2.3、使用路由器
- 3、应用中添加Tab导航
- 4、页面跳转一个新页面和回退
- 5、传递数据到新页面
- [6、使用 RouteSettings 传递参数](#6、使用 RouteSettings 传递参数)
1、flutter路由和导航简介
Flutter 提供了一个完整的系统,用于在屏幕之间导航和处理 深层链接。没有复杂深度链接的小型应用程序可以使用 Navigator,而具有特定深度链接和导航的应用程序 要求还应该使用 Router 来正确处理 Android 和 iOS,并在应用程序运行时与地址栏保持同步 在 Web 上运行。
2、路由的使用
2.1、使用 Navigator
小组件使用正确的过渡将屏幕显示为堆栈 动画。要导航到新屏幕,请通过 route 访问 并调用命令式方法。
dart
child: const Text('Open second screen'),
onPressed: () {
  Navigator.of(context).push(
    MaterialPageRoute(builder: (context) => const SecondScreen()),
  );
},
因为会保留一堆对象(表示历史记录 stack),该方法还接受一个 object。
2.2、使用命名路由
dart
child: const Text('Open second screen'),
onPressed: () {
  Navigator.pushNamed(context, '/second');
},
/second表示在列表中声明的命名路由。有关完整示例,请按照 Flutter 说明书中的使用命名路由导航 recipe 进行作。MaterialApp.routes
局限性:
- 尽管命名路由可以处理深度链接,但行为始终相同,并且 无法自定义。当平台收到新的深度链接时,Flutter 将新用户推送到Navigator 上,而不管用户当前位于何处。
- Flutter 也不支持使用 命名路由。由于这些原因,我们不建议在大多数 应用。
2.3、使用路由器
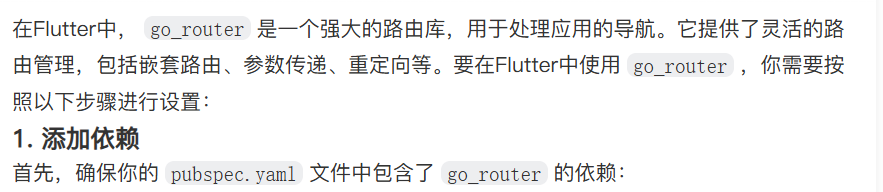
具有高级导航和路由要求(例如 使用指向每个屏幕的直接链接的 Web 应用程序,或具有多个小组件的应用程序)应使用路由包,例如 go_router 解析路由路径并配置每当应用程序收到 new deep link 的 intent 值。
要使用 Router,请切换到 or 上的构造函数,并为其提供一个配置。路由包, 如 go_router,通常提供路由配置和路由 可以按如下方式使用:
dart
child: const Text('Open second screen'),
onPressed: () => context.go('/second'),
因为像 go_router 这样的包是声明性的,所以它们将始终显示 收到深度链接时的相同屏幕。
go_router的使用案例:
dart
dependencies:
  flutter:
    sdk: flutter
  go_router: ^x.y.z  # 替换x.y.z为最新版本号
dart
import 'package:flutter/material.dart';
import 'package:go_router/go_router.dart';

void main() {
  runApp(MyApp());
}

class MyApp extends StatelessWidget {
  @override
  Widget build(BuildContext context) {
    final _router = GoRouter(
      initialLocation: '/',
      routes: [
        GoRoute(
          path: '/',
          builder: (context, state) => HomePage(),
        ),
        GoRoute(
          path: '/details',
          builder: (context, state) => DetailsPage(),
        ),
      ],
    );

    return MaterialApp.router(
      routerConfig: _router,
    );
  }
}- 创建页面和导航
确保你已创建了相应的页面(如HomePage和DetailsPage),这些将作为路由的目标。例如:
dart
class HomePage extends StatelessWidget {
  @override
  Widget build(BuildContext context) {
    return Scaffold(
      appBar: AppBar(title: Text('Home')),
      body: Center(
        child: ElevatedButton(
          onPressed: () {
            context.go('/details'); // 使用context.go进行导航
          },
          child: Text('Go to Details'),
        ),
      ),
    );
  }
}- 使用参数和嵌套路由(可选)
你可以在路由中使用参数,并设置嵌套路由:
dart
GoRoute(
  path: '/user/:id', // 参数使用冒号标记
  builder: (context, state) {
    final userId = state.params['id']; // 获取参数值
    return UserPage(userId: userId); // 将参数传递给页面
  },
  routes: [ // 嵌套路由示例
    GoRoute(
      path: 'profile',
      builder: (context, state) => ProfilePage(),
    ),
  ],
),
在页面中使用参数:
dart
class UserPage extends StatelessWidget {
final String userId; // 页面接收参数构造函数或初始化列表赋值方式之一
// 构造函数接收参数userId 初始化列表赋值方式也行 如 final String userId; UserPage({Key? key, required this.userId}) : super(key: key); 然后在build中使用userId。 例如显示在文本中:Text('User ID: $userId')。 嵌套路由的使用同理,你可以在ProfilePage中通过context访问嵌套路由的参数。 例如:final profileId = state.params['profileId'];
// 在ProfilePage的build方法中使用。 注意这里的state是从context获取的,通常在build方法中通过ModalRoute.of(context).settings来获取。 但由于我们使用了GoRouter,可以直接通过builder的state参数获取。 例如在ProfilePage的build方法中可以直接使用String profileId = state.params['profileId']; 来获取参数。 若要导航到嵌套路由,可以使用context.go('/user/${userId}/profile');。 若要在嵌套路由的页面中使用非嵌套路由的参数,可以通过ModalRoute.of(context).settings.arguments来获取。 但由于我们使用了GoRouter,可以直接通过state参数获取。 若要在嵌套路由中导航,可以使用context.go('profile');(注意没有前导斜杠)。 若要在非嵌套路由中使用嵌套路由的参数,可以在非嵌套路由的页面中通过context.go('/user/${userId}'); 然后在这个路由的builder方法中通过state.subloc获取嵌套路由的状态,例如:String
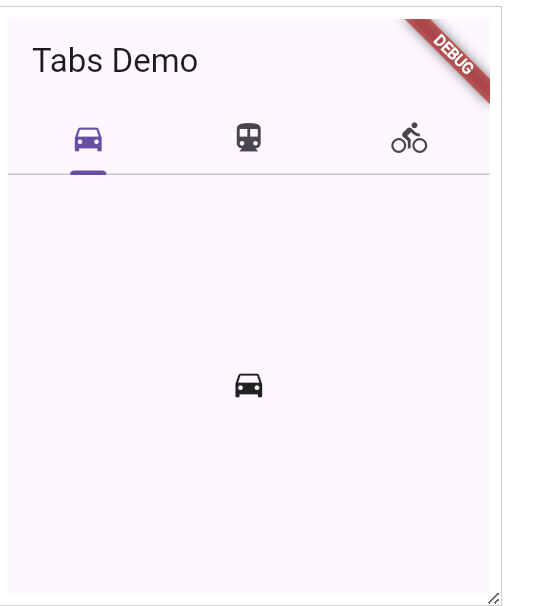
UserPage({required this.userId}); 3、应用中添加Tab导航
dart
import 'package:flutter/material.dart';

void main() {
  runApp(const TabBarDemo());
}

class TabBarDemo extends StatelessWidget {
  const TabBarDemo({super.key});

  @override
  Widget build(BuildContext context) {
    return MaterialApp(
      home: DefaultTabController(
        length: 3,
        child: Scaffold(
          appBar: AppBar(
            bottom: const TabBar(
              tabs: [
                Tab(icon: Icon(Icons.directions_car)),
                Tab(icon: Icon(Icons.directions_transit)),
                Tab(icon: Icon(Icons.directions_bike)),
              ],
            ),
            title: const Text('Tabs Demo'),
          ),
          body: const TabBarView(
            children: [
              Icon(Icons.directions_car),
              Icon(Icons.directions_transit),
              Icon(Icons.directions_bike),
            ],
          ),
        ),
      ),
    );
  }
}
4、页面跳转一个新页面和回退
- 用 Navigator.push() 跳转到第二个路由
- 用 Navigator.pop() 回退到第一个路由
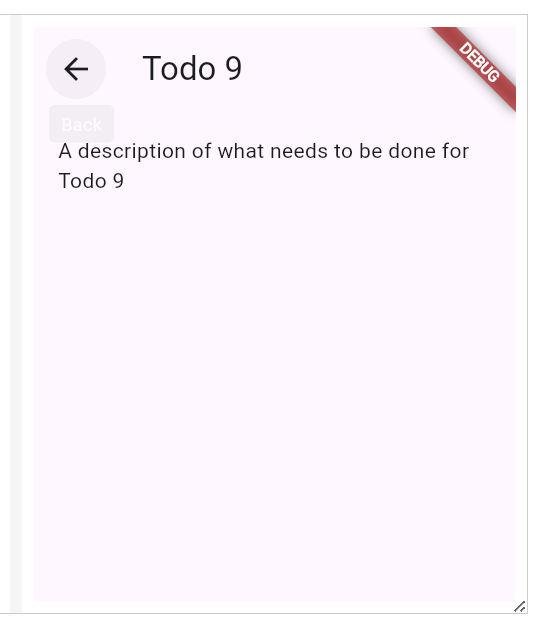
5、传递数据到新页面

dart
import 'package:flutter/material.dart';

class Todo {
  final String title;
  final String description;

  const Todo(this.title, this.description);
}

void main() {
  runApp(
    MaterialApp(
      title: 'Passing Data',
      home: TodosScreen(
        todos: List.generate(
          20,
          (i) => Todo(
            'Todo $i',
            'A description of what needs to be done for Todo $i',
          ),
        ),
      ),
    ),
  );
}

class TodosScreen extends StatelessWidget {
  const TodosScreen({super.key, required this.todos});

  final List<Todo> todos;

  @override
  Widget build(BuildContext context) {
    return Scaffold(
      appBar: AppBar(title: const Text('Todos')),
      body: ListView.builder(
        itemCount: todos.length,
        itemBuilder: (context, index) {
          return ListTile(
            title: Text(todos[index].title),
            // When a user taps the ListTile, navigate to the DetailScreen.
            // Notice that you're not only creating a DetailScreen, you're
            // also passing the current todo through to it.
            onTap: () {
              Navigator.push(
                context,
                MaterialPageRoute(
                  builder: (context) => DetailScreen(todo: todos[index]),
                ),
              );
            },
          );
        },
      ),
    );
  }
}

class DetailScreen extends StatelessWidget {
  // In the constructor, require a Todo.
  const DetailScreen({super.key, required this.todo});

  // Declare a field that holds the Todo.
  final Todo todo;

  @override
  Widget build(BuildContext context) {
    // Use the Todo to create the UI.
    return Scaffold(
      appBar: AppBar(title: Text(todo.title)),
      body: Padding(
        padding: const EdgeInsets.all(16),
        child: Text(todo.description),
      ),
    );
  }
}
6、使用 RouteSettings 传递参数
dart
import 'package:flutter/material.dart';

class Todo {
  final String title;
  final String description;

  const Todo(this.title, this.description);
}

void main() {
  runApp(
    MaterialApp(
      title: 'Passing Data',
      home: TodosScreen(
        todos: List.generate(
          20,
          (i) => Todo(
            'Todo $i',
            'A description of what needs to be done for Todo $i',
          ),
        ),
      ),
    ),
  );
}

class TodosScreen extends StatelessWidget {
  const TodosScreen({super.key, required this.todos});

  final List<Todo> todos;

  @override
  Widget build(BuildContext context) {
    return Scaffold(
      appBar: AppBar(title: const Text('Todos')),
      body: ListView.builder(
        itemCount: todos.length,
        itemBuilder: (context, index) {
          return ListTile(
            title: Text(todos[index].title),
            // When a user taps the ListTile, navigate to the DetailScreen.
            // Notice that you're not only creating a DetailScreen, you're
            // also passing the current todo through to it.
            onTap: () {
              Navigator.push(
                context,
                MaterialPageRoute(
                  builder: (context) => const DetailScreen(),
                  // Pass the arguments as part of the RouteSettings. The
                  // DetailScreen reads the arguments from these settings.
                  //通过此处来传递参数,其他地方同上
                  settings: RouteSettings(arguments: todos[index]),
                ),
              );
            },
          );
        },
      ),
    );
  }
}

class DetailScreen extends StatelessWidget {
  const DetailScreen({super.key});

  @override
  Widget build(BuildContext context) {
    final todo = ModalRoute.of(context)!.settings.arguments as Todo;

    // Use the Todo to create the UI.
    return Scaffold(
      appBar: AppBar(title: Text(todo.title)),
      body: Padding(
        padding: const EdgeInsets.all(16),
        child: Text(todo.description),
      ),
    );
  }
}