Pod 是 Kubernetes 中的最小调度单元,k8s 是通过定义一个 Pod 的资源,然后在 Pod 里面运行容器,容器需要指定一个镜像,这样就可以用来运行具体的服务。一个 Pod 封装一个容器(也可以封装多 个容器),Pod 里的容器共享存储、网络等。也就是说,应该把整个 pod 看作虚拟机,然后每个容器相当 于运行在虚拟机的进程。
一、创建一个 Pod 资源
1、客户端提交创建 Pod 的请求,可以通过调用 API Server 的 Rest API 接口,也可以通过 kubectl 命令行工具。如 kubectl apply -f filename.yaml
2、apiserver 接收到 pod 创建请求后,会将 yaml 中的属性信息(metadata)写入 etcd
3、apiserver 触发 watch 机制准备创建 pod,信息转发给调度器 scheduler,调度器使用调度算法选择 node,调度器将 node 信息给 apiserver,apiserver 将绑定的 node 信息写入 etcd
4、apiserver 又通过 watch 机制,调用 kubelet,指定 pod 信息,调用 Docker API 创建并启动 pod 内的容
器。
5、创建完成之后反馈给 kubelet, kubelet 又将 pod 的状态信息给 apiserver,
apiserver 又将 pod 的状态信息写入 etcd
1、资源清单 YAML 文件书写
bashvim tomcat.yaml apiVersion: v1 kind: Pod #创建的资源 metadata: name: tomcat-test #Pod 的名字自定义 namespace: default #Pod 所在的名称空间 labels: app: tomcat #Pod 具有的标签 spec: containers: - name: tomcat-java #容器里的名字 ports: - containerPort: 8080 #端口 image: tomcat-8.5-jre8:v1 #拉取的镜像 imagePullPolicy: IfNotPresent #镜像拉取策略kubectl apply -f tomcat.yaml
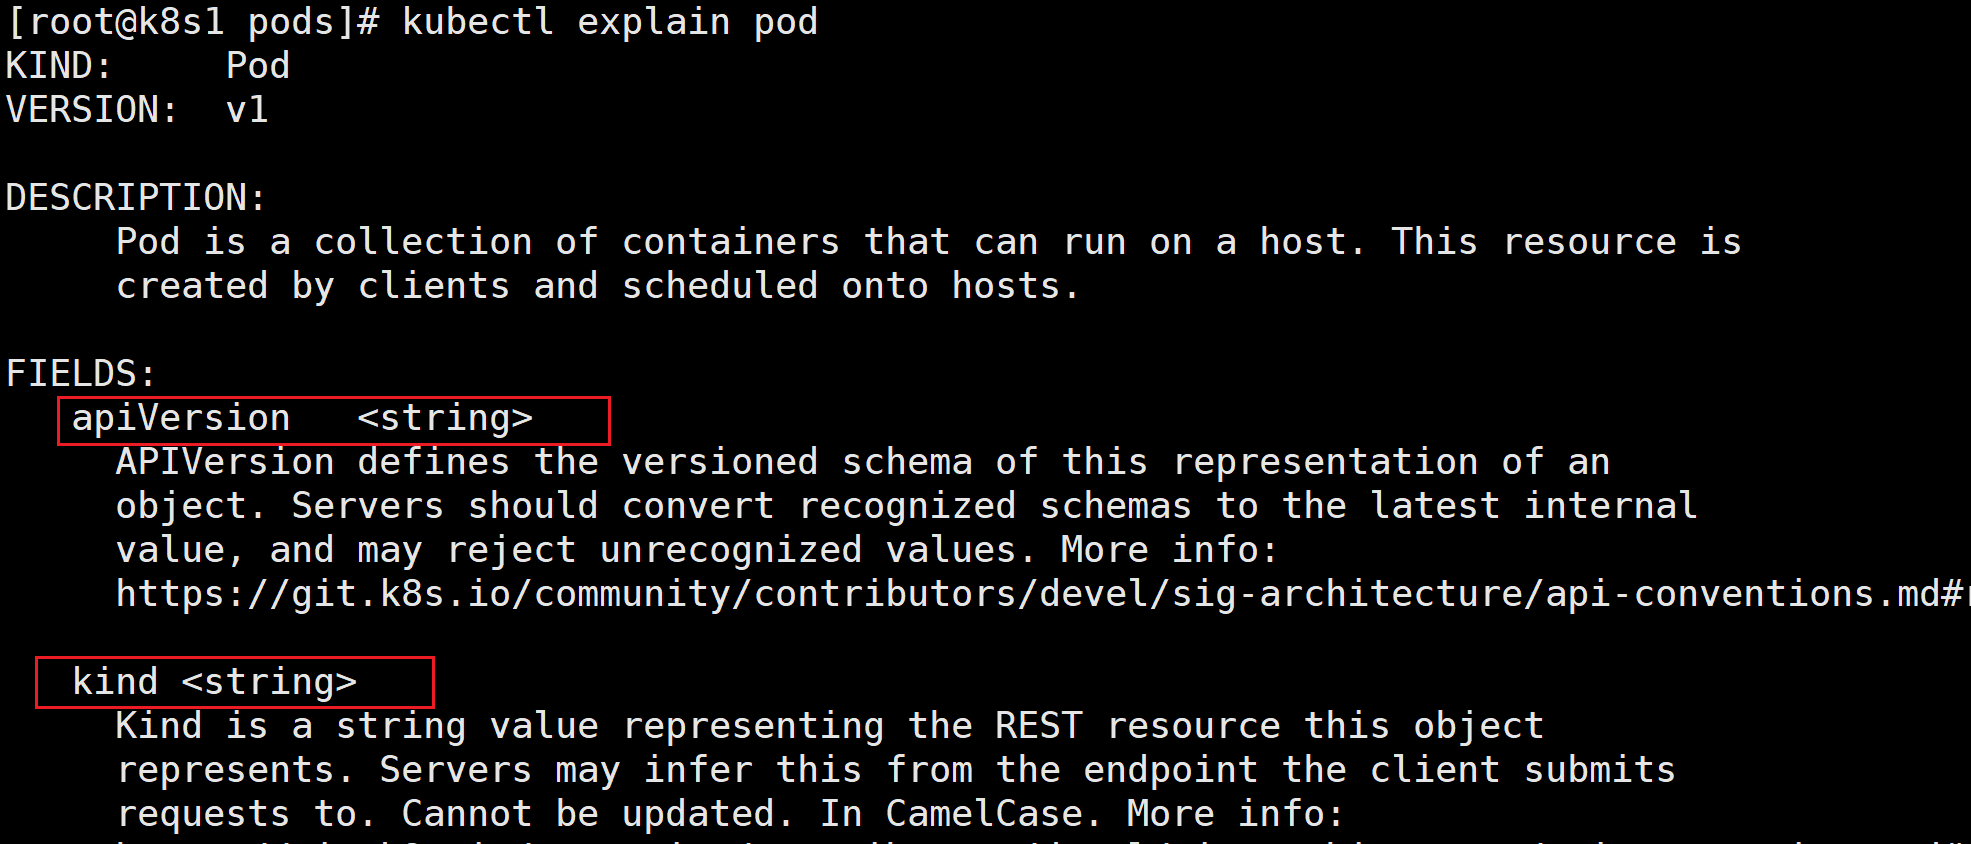
2、Pod 资源清单帮助
bashkubectl explain pod #查看定义 Pod 资源包含哪些字段
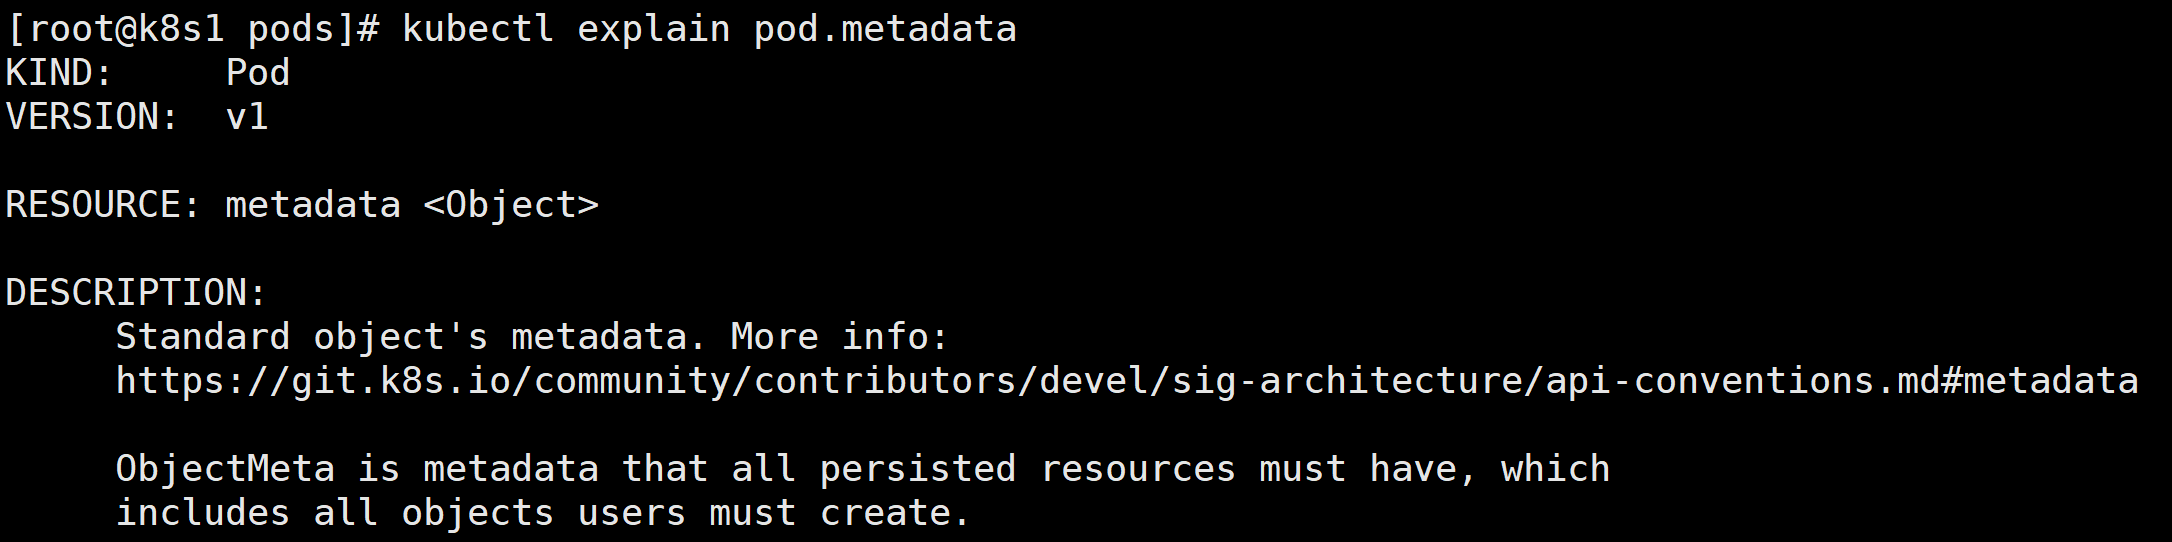
bash##查看下一级 kubectl explain pod.metadata
metadata 是对象<Object>,下面可以有多个字段
3、查看 pod.spec
#Pod 的 spec 字段是用来描述 Pod 的
bashkubectl explain pod.spec ##常用的: containers <[]Object> -required- ##用来定义容器的
4、查看 pod.spec.containers
bashkubectl explain pod.spec.containers ###container 是定义在 pod 里面的,一个 pod 至少要有一个容器。
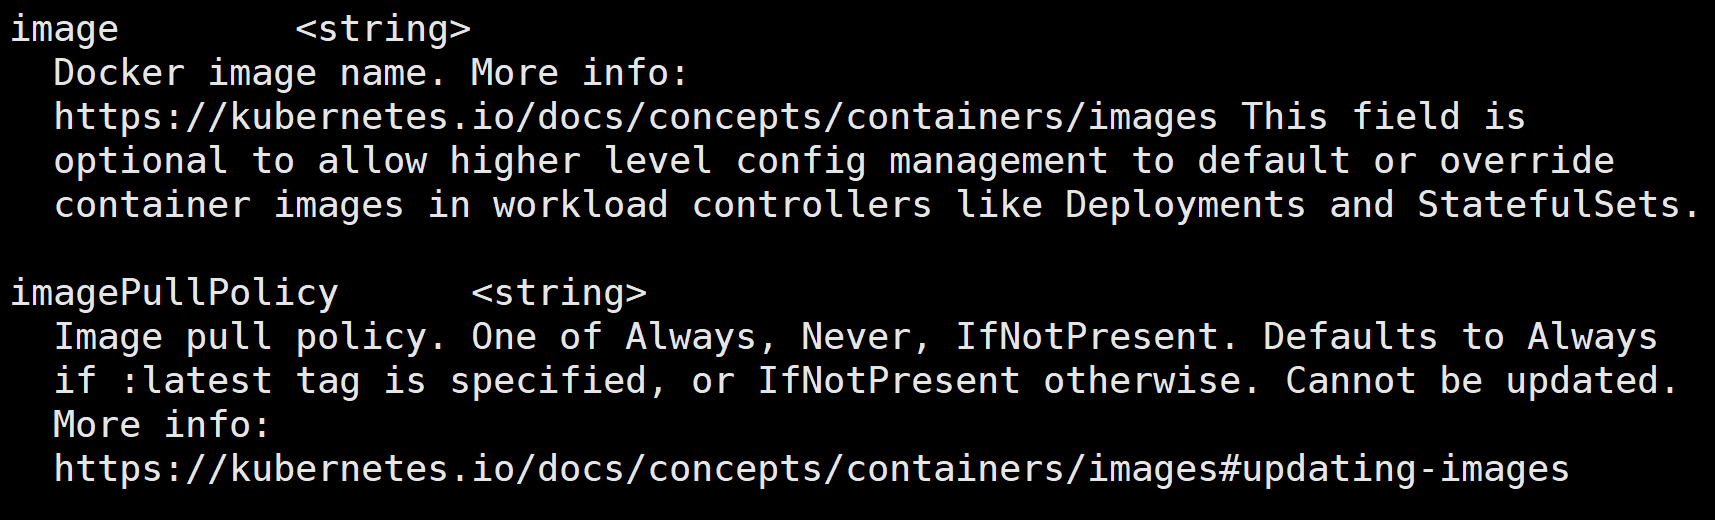
#image 是用来指定容器需要的镜像的
#imagePullPolicy镜像拉取策略,pod 是要调度到 node 节点的,那 pod 启动需要镜像,可以根据这个字段设置镜像拉
取策略,支持如下三种:
Always:不管本地是否存在镜像,都要重新拉取镜像
Never: 从不拉取镜像
IfNotPresent:如果本地存在,使用本地的镜像,本地不存在,从官方拉取镜像
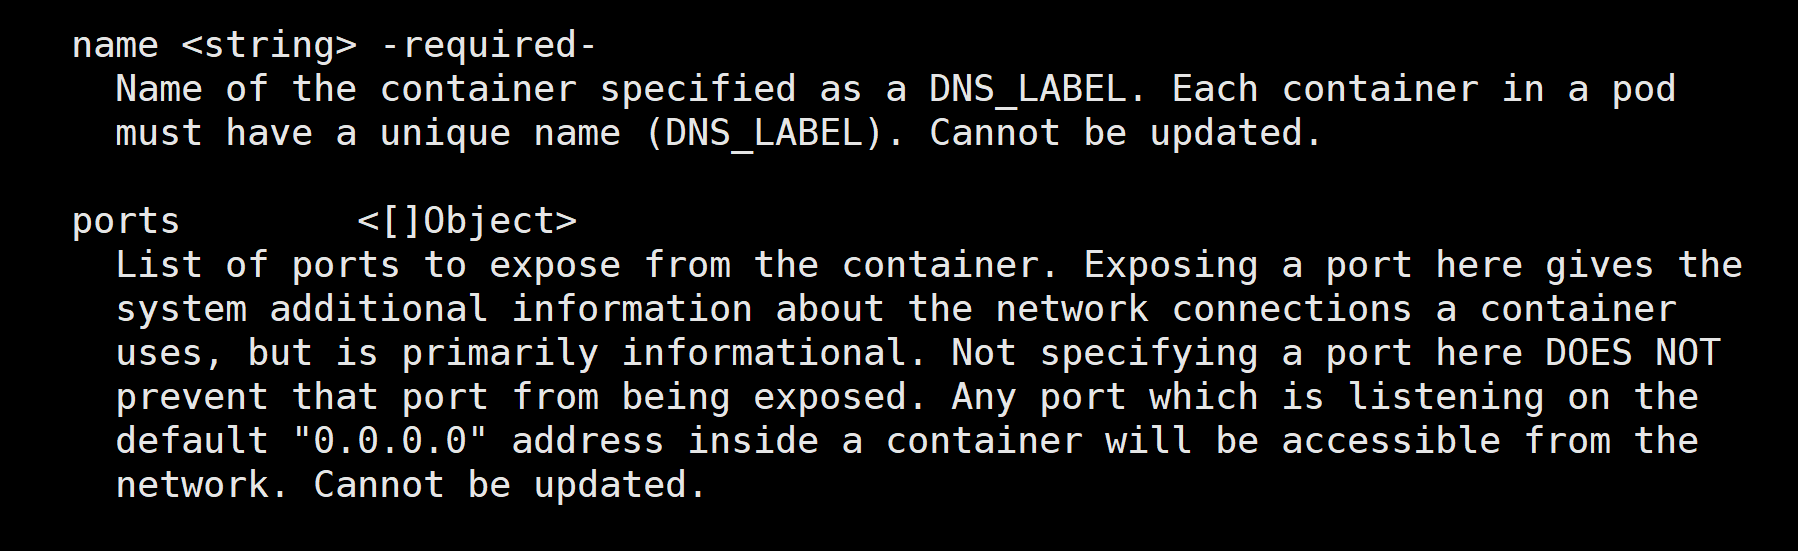
#name 是必须字段,用来指定容器名字的。
#port 是端口,属于对象列表
5、创建第一个 Pod
null[root@k8s1 pods]#vim first.yaml apiVersion: v1 kind: Pod metadata: name: pod-first namespace: default labels: app: tomcat-pod-first spec: containers: - name: tomcat-first image: tomcat:8.5-jre8-alpine # 镜像名 imagePullPolicy: IfNotPresent # 如果本地有镜像就不拉取 ports: - containerPort: 8080 # 容器对外暴露的端口 [root@k8s1 pods]#kubectl apply -f first.yaml ##执行 [root@k8s1 pods]# kubectl get pods -o wide -l app=tomcat-pod-first

6、查看 pod 日志
nullkubectl logs pod-first#查看 pod 里指定容器的日志
kubectl logs pod-first -c tomcat-first
二、命名空间
Kubernetes 支持多个虚拟集群,它们底层依赖于同一个物理集群。 这些虚拟集群被称为命名空 间。
命名空间 namespace 是 k8s 集群级别的资源,可以给不同的用户、租户、环境或项目创建对应的命 名空间,例如,可以为 test、devlopment、production 环境分别创建各自的命名空间。
1、创建一个 xiaop 命名空间
nullkubectl create ns xiaop
2、切换命名空间
bashkubectl config set-context --current --namespace=kube-system切换命名空间后,kubectl get pods 如果不指定-n,查看的就是 kube-system 命名空间的资源 了
3、namespace 资源做限额
使用 ResourceQuota 限制 Namespace 总资源
例如:限制
dev这个 namespace 中
CPU 总申请(requests.cpu)最大 2 核
CPU 总限制(limits.cpu)最大 4 核
内存总申请(requests.memory)最大 4Gi
内存总限制(limits.memory)最大 8Gi
Pod 总数量不超过 10 个
bashapiVersion: v1 kind: ResourceQuota metadata: name: dev-quota namespace: xiaop spec: hard: requests.cpu: "2" # 所有 Pod requests.cpu 总和 ≤ 2 核 limits.cpu: "4" # 所有 Pod limits.cpu 总和 ≤ 4 核 requests.memory: 4Gi # 所有 Pod requests.memory 总和 ≤ 4Gi limits.memory: 8Gi # 所有 Pod limits.memory 总和 ≤ 8Gi pods: "10" # namespace 中 Pod 总数 ≤ 10 kubectl apply -f dev-quota.yaml kubectl describe quota dev-quota -n xiaop创建pod资源就要设置资源限额了
例如:
nullapiVersion: v1 kind: Pod metadata: name: test-pod namespace: xiaop spec: containers: - name: nginx image: nginx:1.25 resources: requests: cpu: 100m # 最小保证 0.1 核 memory: 128Mi # 最小保证 128Mi 内存 limits: cpu: 500m # 最大 0.5 核 memory: 512Mi # 最大 512Mi 内存
三、标签
1、给 pod 资源打标签
给已有 Pod 打标签
bashkubectl label pods pod-first hl=wokubectl get pods --show-labels ##查看标签
四、pod 资源清单详细解读
bashapiVersion: v1 # API 版本(Pod 属于核心组 core/v1) kind: Pod # 资源类型(Pod) metadata: # 元数据部分 name: my-pod # Pod 名称(必须唯一,DNS 规范) namespace: default # 所属命名空间(默认 default) labels: # 自定义标签(用于选择器、分组等) app: web env: production annotations: # 注解(非结构化数据,常用于运维、监控) description: "Nginx Web Server" spec: # Pod 规格部分 restartPolicy: Always # 重启策略(Always, OnFailure, Never) nodeSelector: # 节点选择器(将 Pod 调度到特定节点) disktype: ssd containers: # 容器定义(Pod 可包含多个容器) - name: nginx-container # 容器名称 image: nginx:1.25.2 # 容器镜像(含标签,不写标签默认 latest) imagePullPolicy: IfNotPresent # 镜像拉取策略(Always/IfNotPresent/Never) ports: # 容器暴露的端口 - containerPort: 80 # 容器内部端口 name: http protocol: TCP env: # 环境变量(静态值) - name: ENV value: production envFrom: # 从 ConfigMap 或 Secret 批量加载 - configMapRef: name: app-config - secretRef: name: app-secret resources: # 资源限制与请求 requests: # 保证最少可用资源(调度参考) cpu: "200m" # 0.2 核 memory: "256Mi" # 256 MB limits: # 最大可用资源(硬限制) cpu: "500m" # 0.5 核 memory: "512Mi" # 512 MB volumeMounts: # 容器挂载卷 - name: web-data mountPath: /usr/share/nginx/html readOnly: false livenessProbe: # 存活探针(判断容器是否挂掉,需要重启) httpGet: path: / port: 80 initialDelaySeconds: 5 periodSeconds: 10 readinessProbe: # 就绪探针(判断容器是否可接收流量) httpGet: path: / port: 80 initialDelaySeconds: 3 periodSeconds: 5 initContainers: # 初始化容器(先运行,成功后才启动主容器) - name: init-web-data image: busybox command: ["sh", "-c", "echo 'Hello from Init' > /work-dir/index.html"] volumeMounts: - name: web-data mountPath: /work-dir volumes: # 定义卷(Pod 级别) - name: web-data emptyDir: {} # 临时目录(Pod 删除即清空)
字段 作用 企业实践 apiVersion 指定该资源使用的 API 版本 Pod 永远用 v1kind 资源类型 Pod / Deployment / Service 等 metadata.name Pod 名称(唯一) 建议用项目-模块-环境命名,如 mall-web-prodmetadata.labels 用于选择器、分组 在 Deployment/Service 中依赖 labels 进行匹配 annotations 存放额外信息(非结构化) 常用来放 Git 提交 ID、构建信息等 spec.restartPolicy 容器异常退出时的重启策略 Pod 一般是 Always,Job 用 OnFailure nodeSelector 节点标签选择器 精确调度,生产中可配合 taints/tolerations containers.image 镜像 强烈建议固定版本号,禁止使用 latestimagePullPolicy 镜像拉取策略 CI/CD 自动更新用 Always,本地测试用 IfNotPresent ports 容器端口信息 仅标识,实际暴露需配合 Service env/envFrom 环境变量 配置型应用必用 ConfigMap/Secret resources.requests 调度参考的最小资源 不能过小,否则可能被抢占 resources.limits 硬性上限 不能过大,否则浪费资源 volumeMounts/volumes 持久化与共享数据 emptyDir、hostPath、PVC 常用 livenessProbe 存活探针 配合重启容器,防止假死 readinessProbe 就绪探针 防止容器未就绪就接收流量 initContainers 初始化逻辑 拉配置、准备文件、等待依赖服务
五、node 节点选择器
1、nodeName
bashvim pod-node.yaml apiVersion: v1 kind: Pod metadata: name: demo-pod # Pod 名称 namespace: default # 所属命名空间 labels: # 标签 app: myapp env: dev spec: nodeName: k8s2.com # 直接指定运行在哪个节点 containers: - name: tomcat-pod-java # 第一个容器 image: tomcat:8.5-jre8-alpine imagePullPolicy: IfNotPresent ports: - containerPort: 8080 - name: busybox # 第二个容器 image: busybox:latest command: - "/bin/sh" - "-c" - "sleep 3600"
2、nodeSelector:
指定 pod 调度到具有哪些标签的 node 节点上
null# 语法 kubectl label nodes <节点名> <key>=<value> # 示例 kubectl label nodes k8s2.com disktype=ssd kubectl label nodes k8s3.com disktype=hdd
bashapiVersion: v1 kind: Pod metadata: name: nginx-on-ssd spec: nodeSelector: disktype: ssd # 只允许调度到标签为 disktype=ssd 的节点 containers: - name: nginx image: nginx:1.25
六、污点和容忍度
Taint(污点) :给节点加一个"标记",告诉调度器 "不要把不符合条件的 Pod 调度到我这里"。
Toleration(容忍度) :Pod 上的"豁免证",允许 Pod 被调度到带有对应污点的节点。
1、node节点亲和性
nullnode 节点亲和性调度:nodeAffinity [root@k8s1 ~]# kubectl explain pods.spec.affinity
类型 说明 作用 requiredDuringSchedulingIgnoredDuringExecution 硬性规则,调度时必须满足,运行时不再检查 必须匹配 preferredDuringSchedulingIgnoredDuringExecution 软性规则,尽量满足,不满足也能调度 优先匹配 requiredDuringSchedulingRequiredDuringExecution (K8s 未来可能支持)运行时也强制要求 极少用
1.1、硬性匹配(requiredDuringSchedulingIgnoredDuringExecution)
bashapiVersion: v1 kind: Pod metadata: name: hard-affinity-pod spec: affinity: nodeAffinity: requiredDuringSchedulingIgnoredDuringExecution: nodeSelectorTerms: - matchExpressions: - key: disktype operator: In values: - ssd - nvme containers: - name: nginx image: nginx:1.25 只有 disktype=ssd 或 disktype=nvme 的节点才会调度这个 Pod
1.2、软性匹配(preferredDuringSchedulingIgnoredDuringExecution)
nullapiVersion: v1 kind: Pod metadata: name: soft-affinity-pod spec: affinity: nodeAffinity: preferredDuringSchedulingIgnoredDuringExecution: - weight: 80 preference: matchExpressions: - key: env operator: In values: - prod containers: - name: nginx image: nginx:1.25调度器会 优先 把 Pod 放到
env=prod的节点,如果没有,也会放到其他节点。
2、Pod 节点亲和性
用于 控制 Pod 只能或优先调度到符合条件的节点。
条件是通过 节点标签(label) 来判断的。
比
nodeSelector灵活,支持:
多条件组合
范围匹配(>、<)
存在 / 不存在匹配
软性调度(preferred)
类型 说明 是否强制 作用时间 requiredDuringSchedulingIgnoredDuringExecution 硬性要求,调度时必须满足 ✅ 必须 调度时检查一次,运行中不再管 preferredDuringSchedulingIgnoredDuringExecution 软性要求,尽量满足 ❌ 非必须 调度时尽量选中,运行中不再管
2.1 给节点打标签
null# 给节点打上标签 kubectl label nodes node1 disktype=ssd kubectl label nodes node2 disktype=hdd
2.2 在 Pod 中配置节点亲和性
nullapiVersion: v1 kind: Pod metadata: name: pod-hard-affinity spec: affinity: nodeAffinity: requiredDuringSchedulingIgnoredDuringExecution: nodeSelectorTerms: - matchExpressions: - key: disktype operator: In values: - ssd - nvme containers: - name: nginx image: nginx:1.25只有
disktype=ssd或disktype=nvme的节点才会被选中。
2.3软性亲和性(优先匹配)
nullapiVersion: v1 kind: Pod metadata: name: pod-soft-affinity spec: affinity: nodeAffinity: preferredDuringSchedulingIgnoredDuringExecution: - weight: 90 preference: matchExpressions: - key: env operator: In values: - prod containers: - name: nginx image: nginx:1.25调度器会 优先 把 Pod 放到
env=prod的节点上,如果没有,也会调度到其他节点。
2.4matchExpressions 运算符说明
运算符 含义 In 值必须在列表中 NotIn 值不在列表中 Exists 节点只要有这个 key,不管 value DoesNotExist 节点没有这个 key Gt 节点标签值大于指定数值 Lt 节点标签值小于指定数值
3、污点、容忍度
**1、**Taint 基本操作
bash# 语法 kubectl taint nodes <节点名> <key>=<value>:<effect> # 示例:给 node1 添加一个污点,表示"没有通行证的 Pod 不许来" kubectl taint nodes node1 dedicated=backend:NoSchedule这会让
node1只有带有相应容忍度的 Pod 才能调度过来。
删除污点
nullkubectl taint nodes node1 dedicated=backend:NoSchedule-注意末尾的
-表示删除污点。
effect 的三种类型
effect 含义 影响 NoSchedule 不会调度不容忍的 Pod 已经运行的 Pod 不受影响 PreferNoSchedule 尽量不调度,但不强制 软性约束 NoExecute 立刻驱逐不容忍的 Pod,并阻止调度 硬性驱逐
Pod 中的 Tolerations 写法
bashapiVersion: v1 kind: Pod metadata: name: toleration-pod spec: tolerations: - key: "dedicated" operator: "Equal" value: "backend" effect: "NoSchedule" containers: - name: nginx image: nginx:1.25
key / value:和节点污点匹配的键值
operator:
Equal(默认):key=value 完全匹配
Exists:只匹配 key,不关心 valueeffect:要和节点的 effect 对应
七、Pod 常见的状态和重启策略
1、Pod 常见状态(STATUS)
当你用
kubectl get pods查看 Pod 时,常见的状态有:
状态(STATUS) 说明 Pending Pod 已被 Kubernetes 接收,但还没有被调度到节点(Node)或者正在拉取镜像。 Running Pod 已被调度到节点,所有容器都已创建并至少有一个容器处于运行状态。 Succeeded Pod 中的所有容器都已成功终止,且不会重启(通常是一次性任务完成后的状态)。 Failed Pod 中的所有容器都已终止,至少有一个容器异常退出且不会重启。 CrashLoopBackOff 容器不断崩溃重启,K8s 重启策略生效但容器启动失败。 Unknown Pod 状态未知,通常是因为无法从节点获取状态信息。
2、Pod 中容器的重启策略(Restart Policy)
Pod 的
spec.restartPolicy决定容器崩溃后的重启行为,常用的值有三个:
重启策略 说明 适用场景 Always 无论容器退出状态如何,都始终重启容器(默认值)。 大多数服务型应用,保证长期运行。 OnFailure 仅当容器异常退出(非 0 退出码)时重启容器。 任务型作业,失败时重试。 Never 容器退出后不重启。 一次性任务,执行完即结束。
这个重启策略是针对 Pod 内所有容器 的统一策略。
这个策略只对容器退出生效,比如
CrashLoopBackOff就是因为容器反复崩溃并按照重启策略不停重启导致的。CrashLoopBackOff 是一个 Pod 状态,但它本质是容器不断启动失败,Kubernetes 根据重启策略不断尝试重启容器,因重启频率过高,K8s 会进行指数退避等待,导致状态显示为
CrashLoopBackOff。你可以通过
kubectl describe pod <pod-name>查看更详细的事件信息,排查容器重启原因。
范例
nullapiVersion: v1 kind: Pod metadata: name: restart-demo spec: restartPolicy: OnFailure # 重启策略:失败时重启 containers: - name: busybox image: busybox command: ["sh", "-c", "echo Hello Kubernetes! && exit 1"] # 容器执行后会退出,触发重启 kubectl apply -f restart-demo.yaml kubectl get pods restart-demo -w
restartPolicy: OnFailure表示容器非正常退出(非0退出码)时会自动重启。上面命令中
exit 1是模拟容器异常退出,你可以看到容器会不断重启。如果改成
restartPolicy: Never,容器退出后就不会重启了。如果改成
restartPolicy: Always,容器不论退出状态如何都会重启(这是默认值)。
八、pod生命周期
1. Pending(等待)
Pod 已经被 Kubernetes API 接收,但还没有被调度到某个 Node。
可能还在拉取镜像或者准备资源。
这时 Pod 还没有运行任何容器。
2. ContainerCreating(容器创建中)
Pod 被调度到某个 Node。
Node 上开始拉取镜像、创建容器网络等准备工作。
这个状态通常在
kubectl describe pod的事件(Events)里看到。
3. Running(运行中)
Pod 中至少有一个容器处于运行状态,且没有全部容器都退出。
Pod 已经正常运行。
但这时也可能有某些容器正在重启或刚刚启动。
4. Succeeded(成功完成)
Pod 中所有容器都正常终止,且退出码是 0。
适用于一次性任务(Job 类型 Pod)。
Pod 不会重启。
5. Failed(失败终止)
Pod 中所有容器都已终止,且至少有一个容器退出码非 0。
Pod 不会重启。
6. Unknown(未知状态)
节点状态无法被 Kubernetes API Server 获取。
一般是节点宕机或者网络问题。
7.容器生命周期钩子(Lifecycle Hooks)
Pod 生命周期里还有容器层面的两个重要钩子:
PostStart:容器启动后立即执行的钩子。
PreStop:容器终止前执行的钩子,适合优雅关闭。
nullapiVersion: v1 kind: Pod metadata: name: lifecycle-demo spec: containers: - name: nginx image: nginx lifecycle: postStart: exec: command: ["/bin/sh", "-c", "echo '容器启动后执行:PostStart钩子' >> /tmp/lifecycle.log"] preStop: exec: command: ["/bin/sh", "-c", "echo '容器即将终止,执行PreStop钩子,优雅关闭' >> /tmp/lifecycle.log && sleep 5"] ports: - containerPort: 80 kubectl apply -f lifecycle-demo.yaml kubectl exec -it lifecycle-demo -- cat /tmp/lifecycle.log kubectl delete pod lifecycle-demo
PostStart 钩子在容器启动后马上执行,上面示例里会在容器内
/tmp/lifecycle.log写入一行日志。PreStop 钩子在容器终止前执行,上面示例写日志后休眠 5 秒,模拟优雅关闭(比如等待请求处理完)。
这两个钩子都是同步执行的,容器启动或终止流程会等待钩子执行完毕。
8.Init 容器
Init 容器是 Kubernetes Pod 中一种特殊类型的容器。
它们在应用主容器(普通容器)启动前 按顺序依次执行完成。
每个 Init 容器必须成功完成(退出码为 0)后,才会启动下一个 Init 容器。
所有 Init 容器完成后,才会启动 Pod 里的普通容器。
Init 容器的作用
用于完成一些初始化操作,例如:
初始化环境(创建文件夹、拉取配置)
等待依赖服务准备好(比如等待数据库启动)
运行一次性的脚本任务
检查外部资源或配置
预热缓存等
bashapiVersion: v1 kind: Pod metadata: name: init-demo spec: containers: - name: app-container image: busybox command: ["sh", "-c", "echo app started && sleep 3600"] initContainers: - name: init-setup image: busybox command: ["sh", "-c", "echo Init container is running; sleep 5"]
initContainers是一个数组,可以定义多个 Init 容器。上例中,Init 容器会先执行输出一句话并等待 5 秒,然后退出。
只有 Init 容器全部成功,主容器才会启动。
如果 Init 容器失败(退出码非0),Pod 会一直重试该 Init 容器,直到成功或者 Pod 被删除。
kubectl get pod init-demo
kubectl describe pod init-demo
9.两种探针
ReadinessProbe 和 livenessProbe 可以使用相同探测方式,只是对 Pod 的处置方式不同:
readinessProbe 当检测失败后,将 Pod 的 IP:Port 从对应的 EndPoint 列表中删除。
livenessProbe 当检测失败后,将杀死容器并根据 Pod 的重启策略来决定作出对应的措施。
1、LivenessProbe 探针使用
bashapiVersion: v1 kind: Pod metadata: name: liveness-exec labels: app: liveness spec: containers: - name: liveness image: busybox args: - /bin/sh - -c - | # 创建探针检测的文件,30秒后删除文件,之后睡眠600秒 touch /tmp/healthy; sleep 30; rm -rf /tmp/healthy; sleep 600 livenessProbe: exec: command: - cat - /tmp/healthy initialDelaySeconds: 10 # 容器启动后延迟10秒开始检测 periodSeconds: 5 # 每5秒检测一次
容器启动后会执行命令:
touch /tmp/healthy; sleep 30; rm -rf /tmp/healthy; sleep 600先创建
/tmp/healthy文件,睡30秒,删除该文件,再睡600秒。Liveness 探针每隔 5 秒执行
cat /tmp/healthy,
在前30秒内,文件存在,
cat命令成功,探针通过。超过30秒后文件被删除,
cat /tmp/healthy失败,探针检测失败。探针检测失败时,Kubernetes 会认为容器不健康,执行重启容器操作。
kubectl apply -f your-liveness.yaml
kubectl get pods -w
2、ReadinessProbe 探针
bashapiVersion: v1 kind: Service metadata: name: springboot labels: app: springboot spec: type: NodePort ports: - name: server port: 8080 # Service 端口 targetPort: 8080 # 转发到 Pod 的端口 nodePort: 31180 # 集群外访问端口 - name: management port: 8081 targetPort: 8081 nodePort: 31181 selector: app: springboot # 选择标签匹配的 Pod --- apiVersion: v1 kind: Pod metadata: name: springboot labels: app: springboot spec: containers: - name: springboot image: mydlqclub/springboot-helloworld:0.0.1 ports: - name: server containerPort: 8080 - name: management containerPort: 8081 readinessProbe: initialDelaySeconds: 20 periodSeconds: 5 timeoutSeconds: 10 httpGet: scheme: HTTP port: 8081 path: /actuator/health
Pod 中
containers下,name和image之间需要有空格,不能写成name: springbootimage: ...。
readinessProbe用于判断容器是否准备好接收流量,只有探测通过,Service 才会把流量发送给该 Pod。你 readiness 探针配置的
/actuator/health是 Spring Boot Actuator 默认健康检查接口,非常合适。Service 使用了
NodePort类型,暴露了两个端口,方便外部通过NodeIP:nodePort访问
nullkubectl apply -f springboot.yaml kubectl get pods kubectl get svc springboot
http://<NodeIP>:31180访问应用主服务
http://<NodeIP>:31181/actuator/health访问健康接口
3、ReadinessProbe + LivenessProbe 配合使用
bashapiVersion: v1 kind: Service metadata: name: springboot labels: app: springboot spec: type: NodePort ports: - name: server port: 8080 targetPort: 8080 nodePort: 31180 - name: management port: 8081 targetPort: 8081 nodePort: 31181 selector: app: springboot --- apiVersion: apps/v1 kind: Deployment metadata: name: springboot labels: app: springboot spec: replicas: 1 selector: matchLabels: app: springboot template: metadata: labels: app: springboot spec: containers: - name: springboot # 容器名跟镜像语义一致,方便识别 image: mydlqclub/springboot-helloworld:0.0.1 ports: - name: server containerPort: 8080 - name: management containerPort: 8081 readinessProbe: initialDelaySeconds: 20 periodSeconds: 5 timeoutSeconds: 10 httpGet: scheme: HTTP port: 8081 path: /actuator/health livenessProbe: initialDelaySeconds: 30 periodSeconds: 10 timeoutSeconds: 5 httpGet: scheme: HTTP port: 8081 path: /actuator/health
Service 通过标签
app: springboot选择 Deployment 创建的 Pod。readinessProbe 负责判断 Pod 什么时候准备好接收流量。
livenessProbe 负责检测容器是否健康,若不健康,K8s 会自动重启容器。
你可以通过 NodeIP + nodePort 访问对应服务端口。
nullkubectl apply -f springboot-deployment.yaml kubectl get pods -l app=springboot kubectl get svc springboot
####有待补充