Introduction
事情的起因是这样的,最近想给自己的Chrome浏览器添加一个功能,就是在自己离开电脑的时候能够暂时模糊浏览器标签页的内容,加密标题和标签页的logo,以防止他人趁机偷窥隐私。我在谷歌浏览器上搜了很多插件,比较相似的当属下面这个名为Hide!!!的插件,它的工作原理就是按住Alt+P就可以暂时关闭所有的页面,再次按下Alt+P就可以恢复之前打开的所有页面。但是感觉和自己的需求还是有所区别,于是打算自己动手做一下

Body
No.1 搭建浏览器扩展的开发环境(以vscode为例)
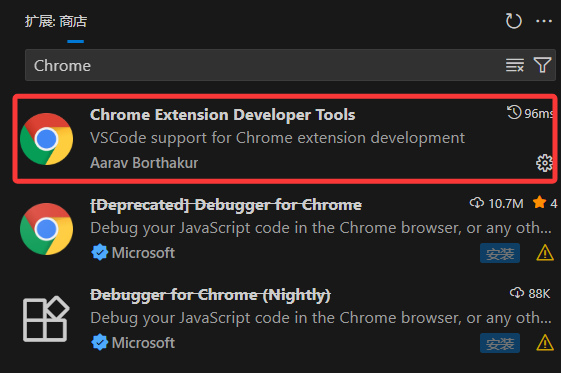
按下Ctrl+Shift+X打开扩展侧边栏,输入Chrome,选择如下图所示的第一个安装
安装完成后按住Ctrl+Shift+P打开命令面板,输入Chrome,如下图所示:
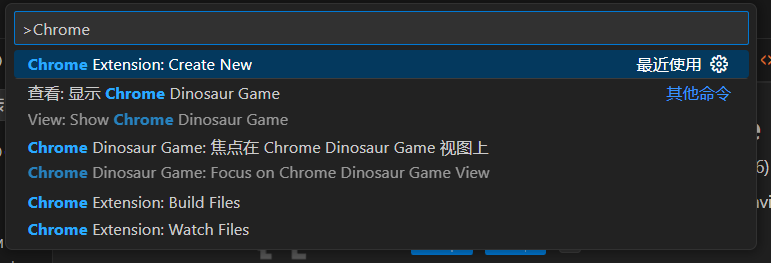
正常情况下,会出现三个选项
Chrome Extension:Create New

Chrome Extension:Build Files

Chrome Extension:Watch Files
点击Create New选项,会进入一下界面:
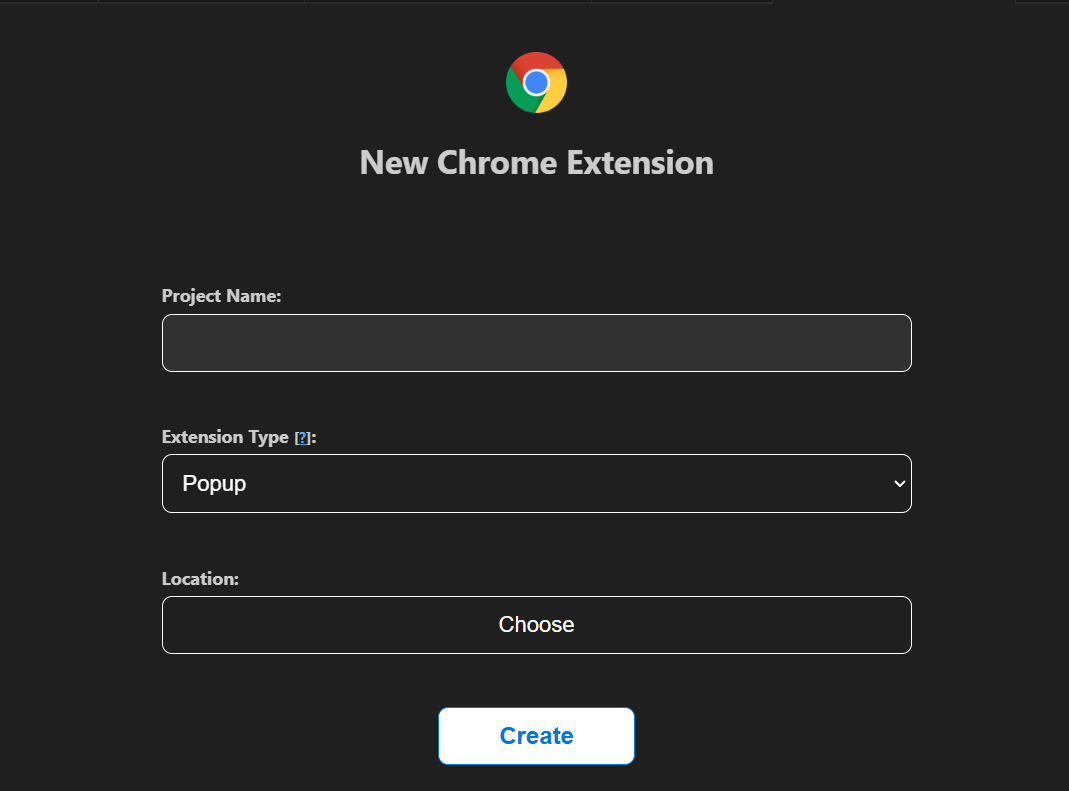
Extension Type有三种:
Popup ; Override Page ; Dev tools
Popup(弹出页)
点击扩展图标时可以临时显示这个页面,生命周期短暂
Override Page(覆盖页)
可用于替换Chrome的默认界面
DevTools Page(开发者工具页)
用于扩展Chrome开发者工具的功能,它会在开发者工具打开时加载
目前的话选择Popup并创建项目
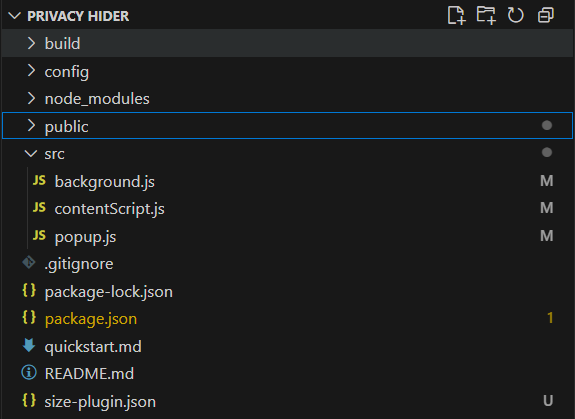
NO.2 编写代码
项目模板中关键的几个文件为background.js ,contentScript.js,popup.js,以及public文件夹里的popup.html,manifest.json.
background.js
javascript
let isLocked = false;

chrome.runtime.onInstalled.addListener(()=>{
  chrome.storage.local.set({isLocked:false});
});

chrome.runtime.onStartup.addListener(()=>{
  chrome.storage.local.get([isLocked],(result)=>{
    isLocked = !!result.isLocked;
  })
});

// 监听HTML按钮
chrome.runtime.onMessage.addListener((message,send,sendResponse)=>{
  if(message.action==="toggle"){
    toggle();
    sendResponse({success:true});
  }
  else if(message.action==="getStatus")
    sendResponse({isLocked});
  return true;
});

//监听Alt+P

chrome.commands.onCommand.addListener((command)=>{
  if(command==='toggle')
    toggle();
});

async function toggle() {
  isLocked = !isLocked;
  chrome.storage.local.set({isLocked});

  const tabs = await chrome.tabs.query({url:["<all_urls>"]});

  for(const tab of tabs){
    if(tab.id){
      chrome.tabs.sendMessage(tab.id,{
        action:"update",
        isLocked
      }).catch(()=>{});
    }
  }
}
contentScript.js
javascript
let originalTitle = document.title;
let originalFavicon =null;
let isPageLocked = false;

const faviconLink = document.querySelector("link[rel*='icon']");
if(faviconLink){
  originalFavicon = faviconLink.href;
}

chrome.runtime.sendMessage({action:"getStatus"},(response)=>{
  if(chrome.runtime.lastError)return;
  if(response && typeof response.isLocked === 'boolean'){
    isPageLocked = response.isLocked;
    encryptFavicon(isPageLocked);
    applyBlur(isPageLocked);
    encryptTitle(isPageLocked);
  }
})


chrome.runtime.onMessage.addListener((message) => {
  if (message.action === 'update') {
    isPageLocked = message.isLocked;
    encryptFavicon(isPageLocked);
    applyBlur(isPageLocked);
    encryptTitle(isPageLocked);
  }
});


function applyBlur(isLocked){
  const styleId = "blur-style";
  const existing = document.getElementById(styleId);
  if(isLocked){
    if(existing)return;
    const style = document.createElement("style");
    style.id = styleId;
    style.textContent = `
    html, body, body * {
        filter: blur(5px) !important;
        pointer-events: none !important;
        user-select: none !important;
      }
      body::before {
        content: '';
        position: fixed;
        top: 0; left: 0;
        width: 100%; height: 100%;
        z-index: 2147483647;
        pointer-events: all;
        cursor: not-allowed;
      }
    `;
    document.head.appendChild(style);
  }else{
    if(existing)
      existing.remove();
  }
}

function encryptFavicon(isLocked){
  let link = document.querySelector("link[rel*='icon']") || document.createElement('link');
  console.log(link);
  link.type = 'image/x-icon';
  link.rel = 'shortcut icon';
  link.href = isLocked?chrome.runtime.getURL('lock.png'):(originalFavicon || '');
  console.log(link);
  document.head.appendChild(link);
}


function encryptTitle(isLocked){
  document.title = isLocked?'*'.repeat(originalTitle.length):originalTitle;
}
popup.js
javascript
document.addEventListener('DOMContentLoaded',()=>{
  const toggleBtn = document.getElementById("hider-btn");
  const display = document.getElementById("hider-show");

  chrome.storage.local.get(['isLocked'],(result)=>{
    updateStatus(result.isLocked);
  })

  toggleBtn.addEventListener('click', () => {
    chrome.runtime.sendMessage({ action: "toggle" }, () => {
      chrome.storage.local.get(['isLocked'], (result) => {
        updateStatus(result.isLocked);
      });
    });
  });

  function updateStatus(isBlurred) {
    display.textContent = `Status: ${isBlurred ? 'Locked' : 'Unlocked'}`;
  }
});
popup.html
javascript
<!DOCTYPE html>
<html lang="en">
  <head>
    <meta charset="utf-8">
    <title>Privacy Hider</title>
  </head>
  <body>
    <span>Current Status</span>
    <span id="hider-show"></span>
    <button id="hider-btn"></button>
    <script src="popup.js"></script>
    <style>
      body{
        width:250px;
        height: 300px;
        font-family: Arial, sans-serif;
      }
    </style>
  </body>
</html>
manifest.json
javascript
{
"manifest_version": 3,
"name": "Privacy Hider",
"$schema": "https://json.schemastore.org/chrome-manifest.json",
"version": "0.2.0",
"description": "Protect your privacy by blurring all the pages at the same time disabling interaction and encrypting the name of the tabs",
"icons": {
"16": "icons/icon_16.png",
"32": "icons/icon_32.png",
"48": "icons/icon_48.png",
"128": "icons/icon_128.png"
},
"background": {
"service_worker": "background.js"
},
"action": {
"default_title": "Privacy Protector",
"default_popup": "popup.html"
},
"permissions": [
"storage",
"tabs",
"activeTab",
"scripting"
],
"commands": {
"toggle":{
"suggested_key": {
"default":"Alt+P"
},
"description": "Toggle blur,encrypt titles and disable interaction."
}
},
"content_scripts": [
{
"matches": [
"<all_urls>"
],
"run_at": "document_idle",
"js": [
"contentScript.js"
]
}
],
"web_accessible_resources": [
{
"resources": ["lock.png"],
"matches": ["<all_urls>"]
}
]
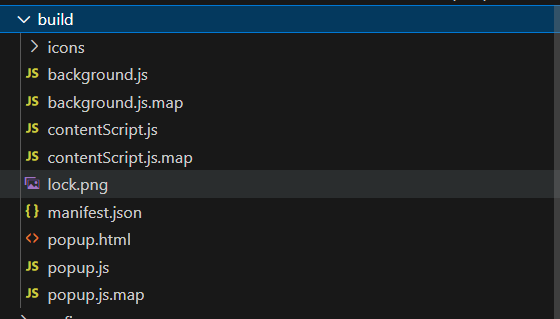
}并且准备一个lock.png到public目录下马,用于锁定时的标签页logo
准备好上面的一切好,就可以在项目目录的终端输入
javascript
npm run build这将会在项目目录生成build文件夹,如何在浏览器中运行我们的扩展呢
打开谷歌浏览器的管理扩展程序页面
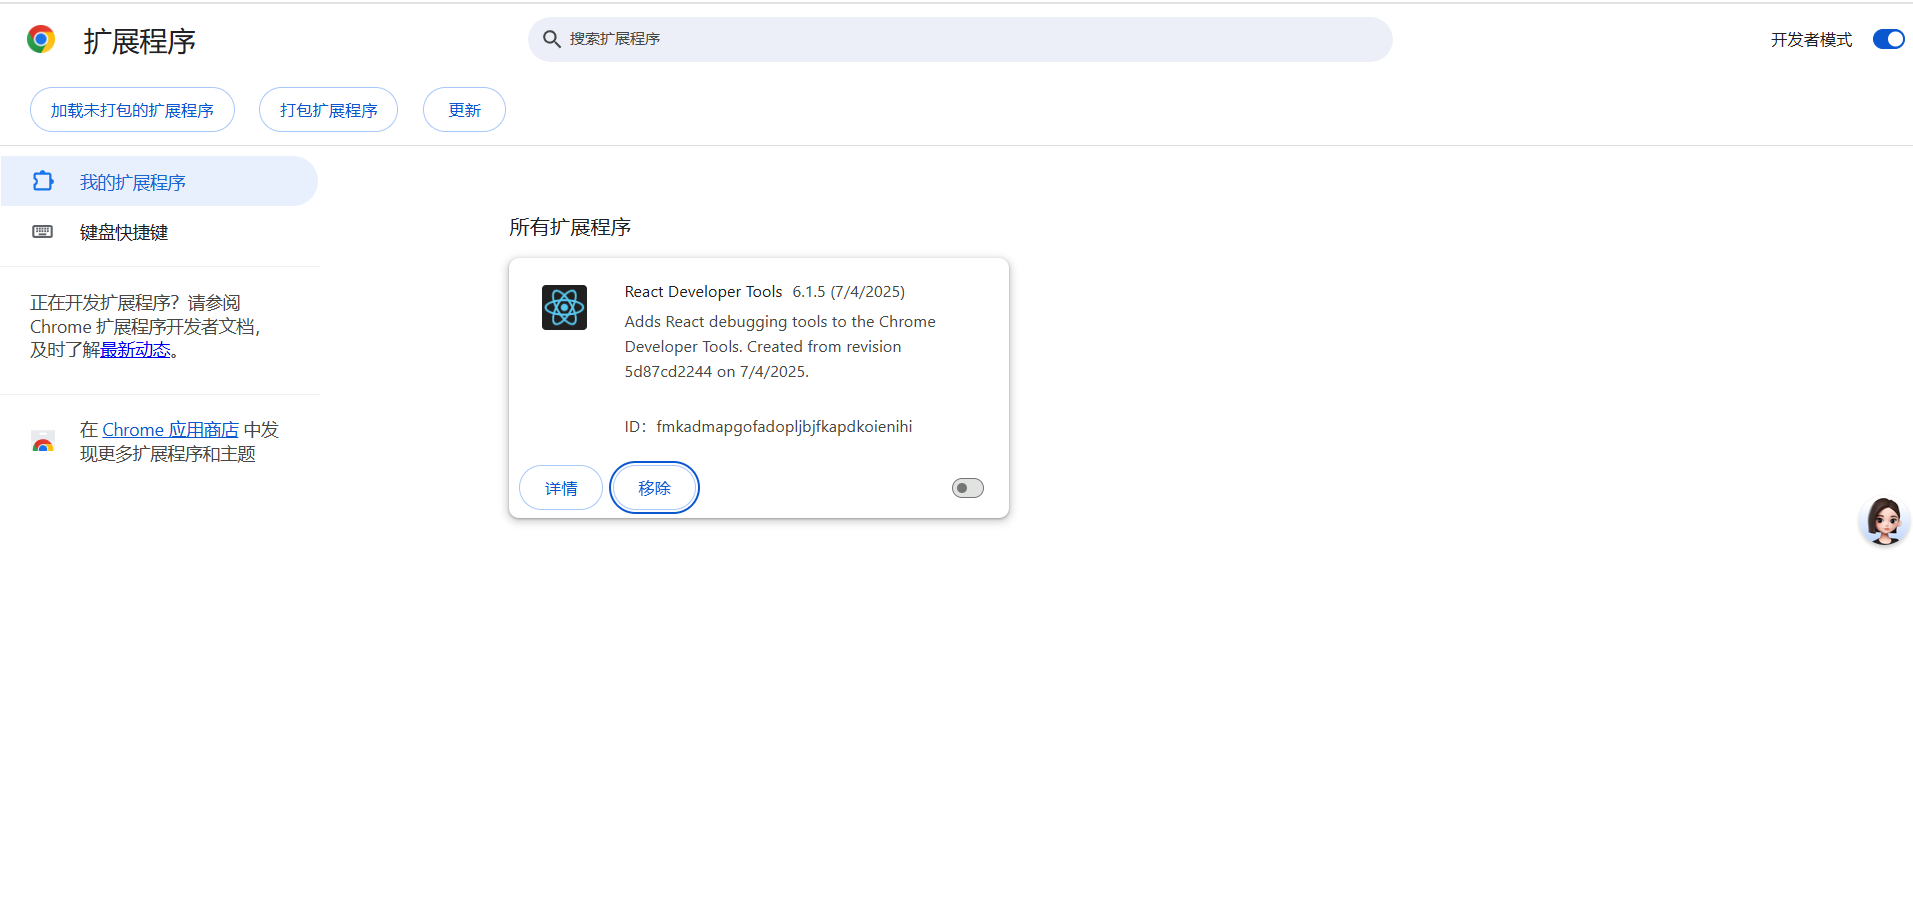
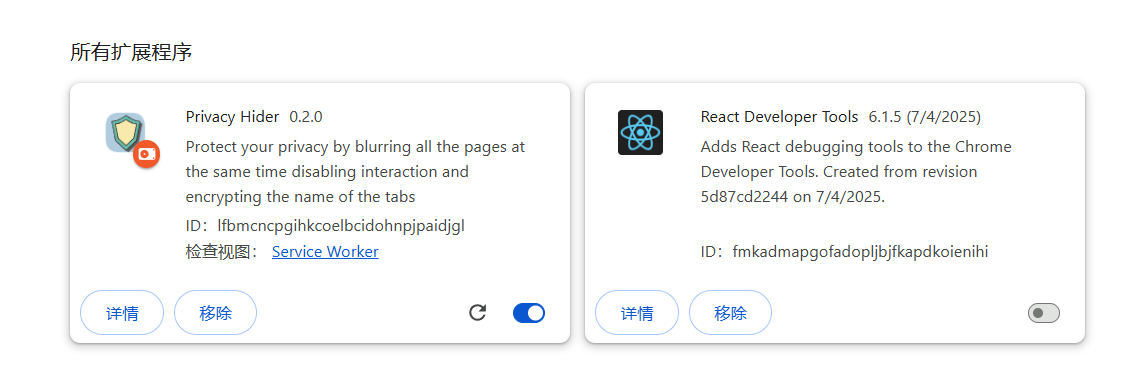
做两件事,首先打开右上角的开发者模式,其次就是点击左侧的"加载未打包的扩展程序",选择build文件夹,这样我们的扩展就顺利加入到google中
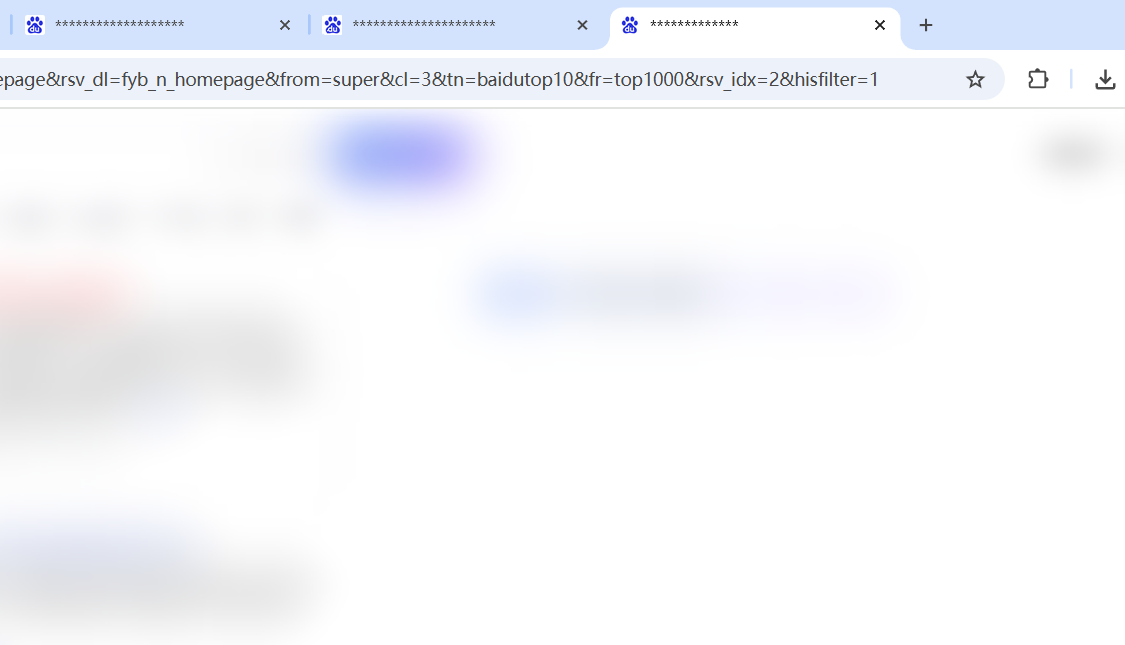
尝试使用一下:
Conclusion
该扩展仍然有很多可以改进的地方,并且在替换favicon上存在一些bug,以后可以加入密码验证功能。