一、本地部署 ElasticSearch
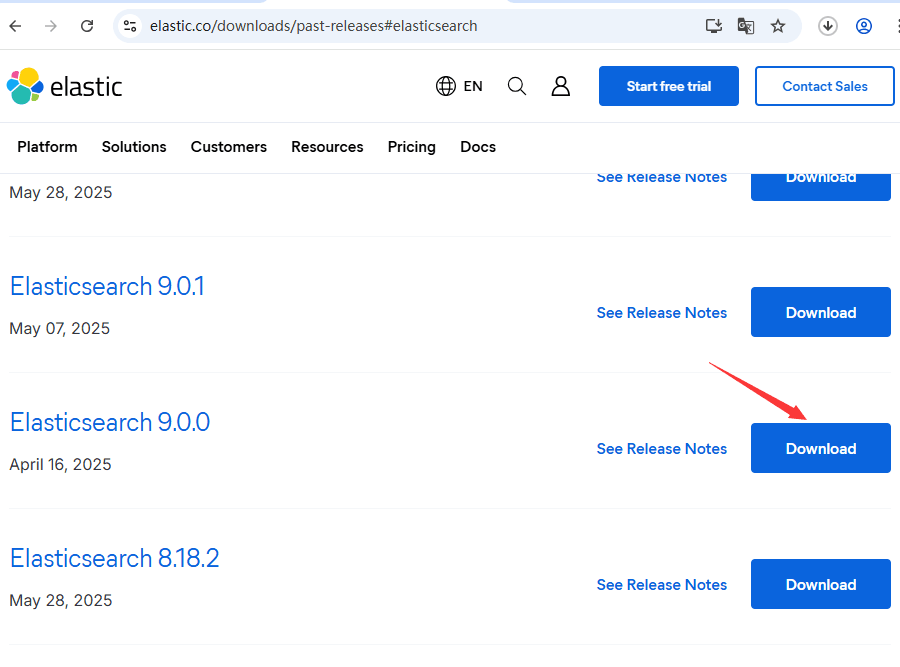
1、下载 Elasticsearch 安装包
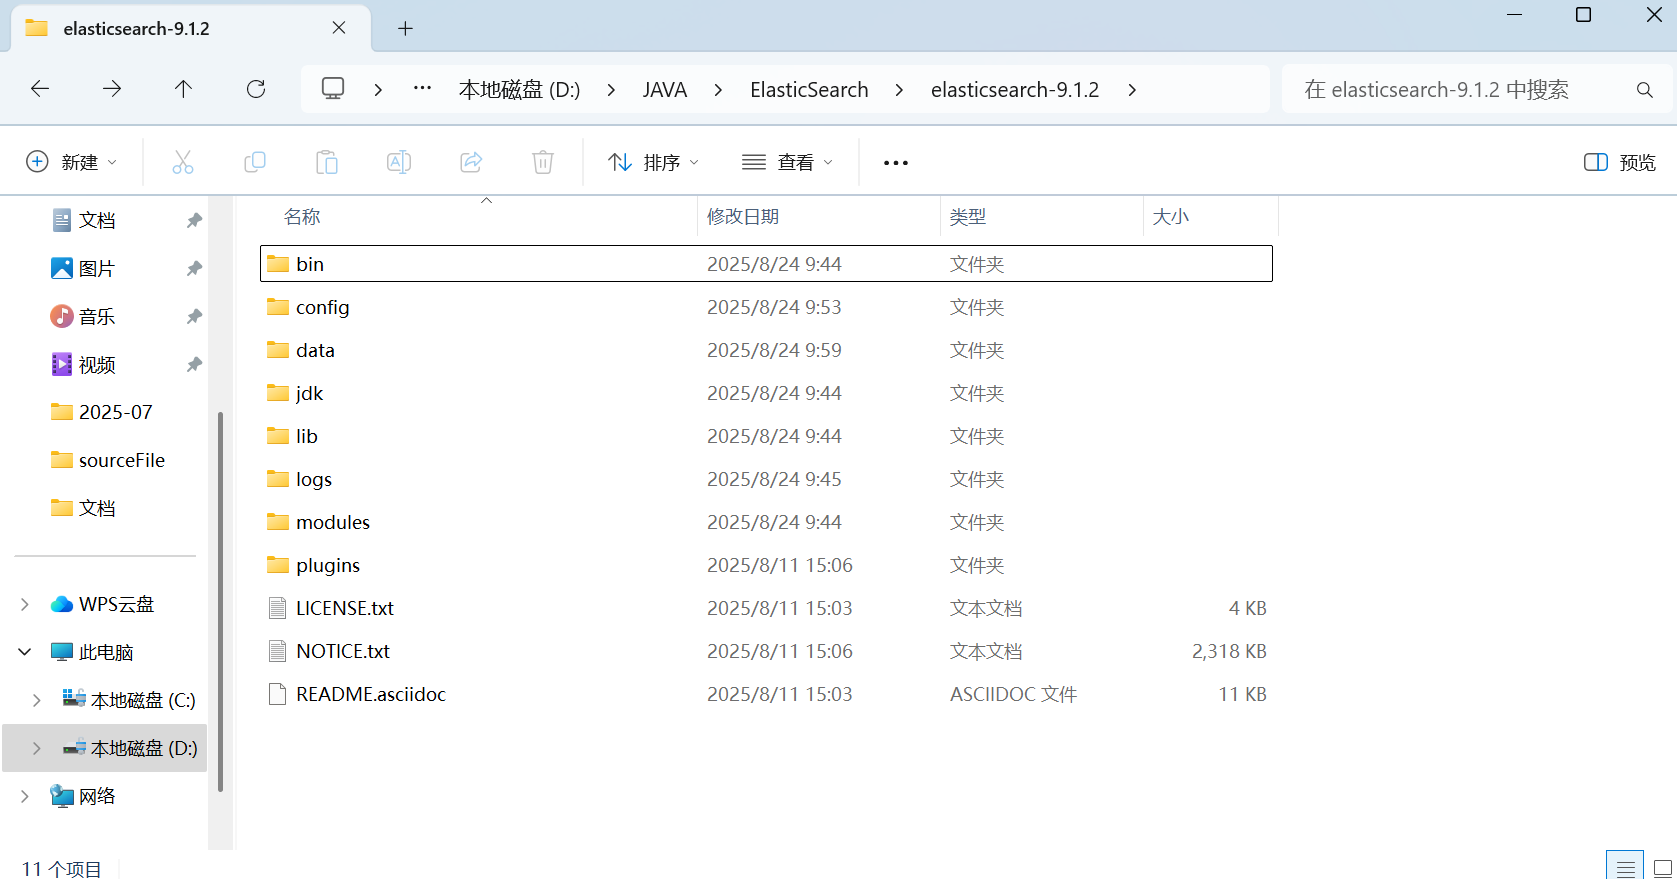
2、解压到指定目录
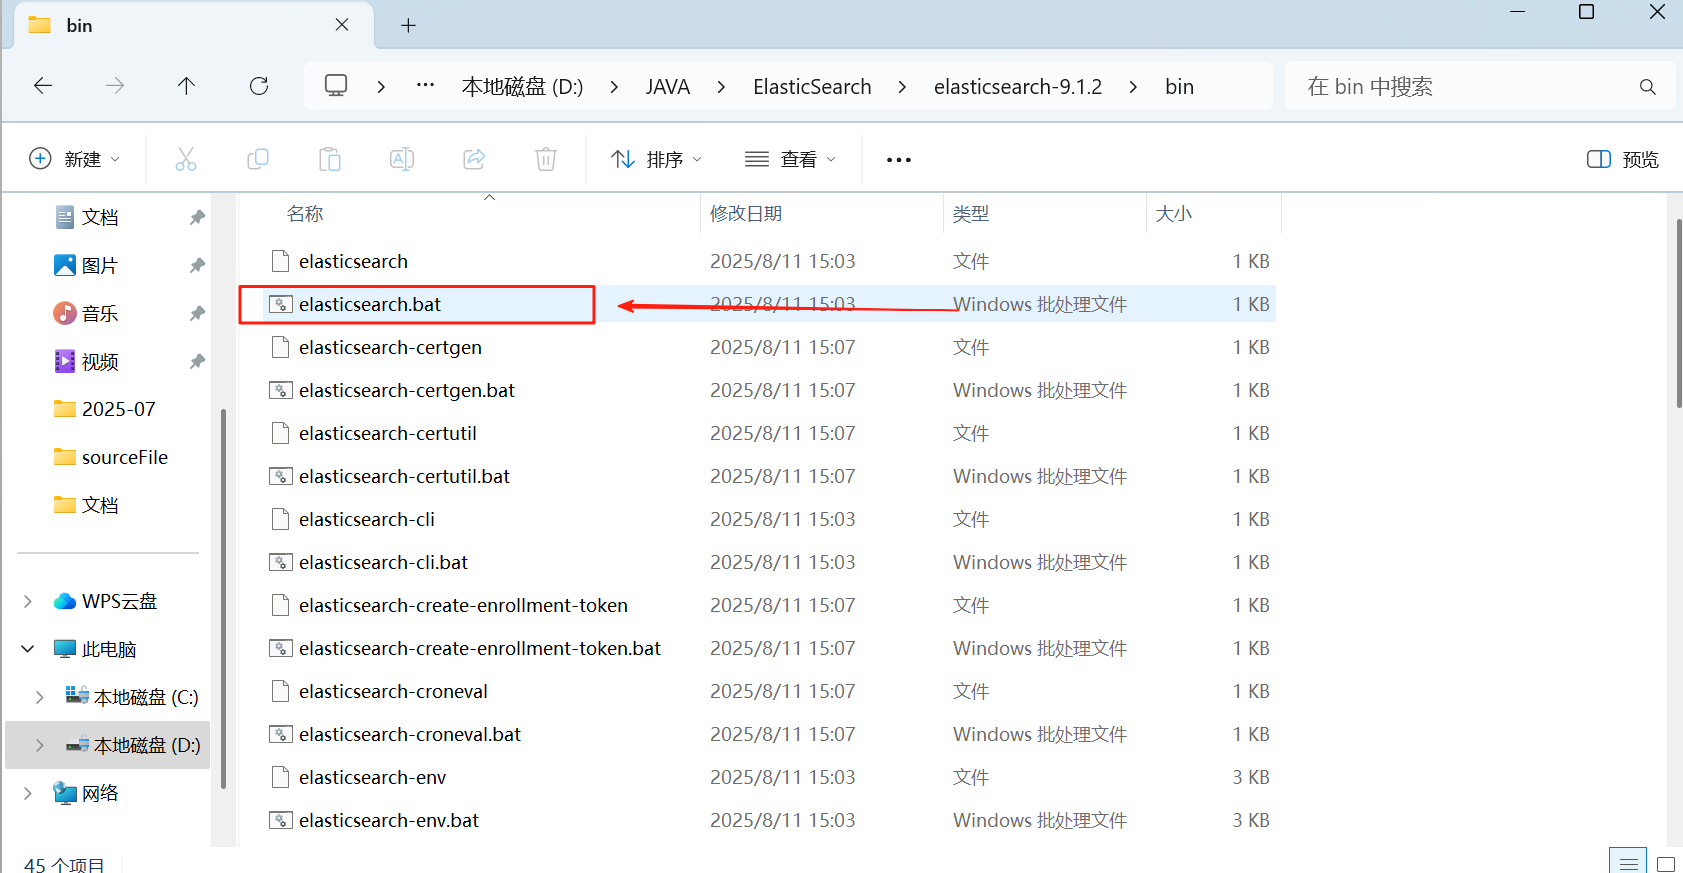
3、win+R 输入 cmd,进入 Elasticsearch 安装目录运行 .bat 文件
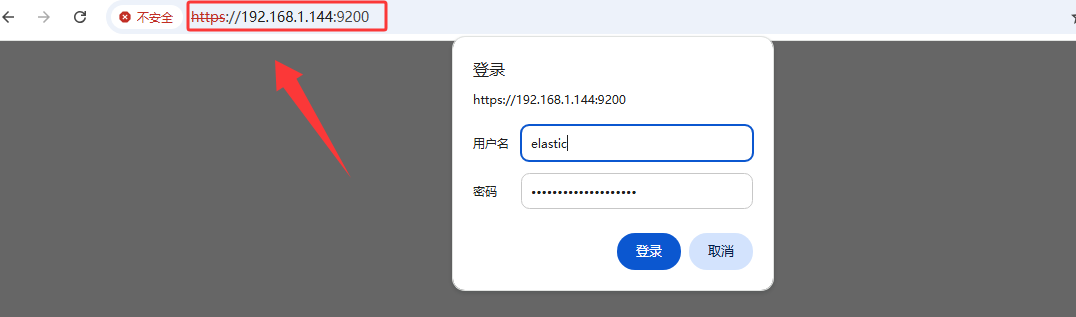
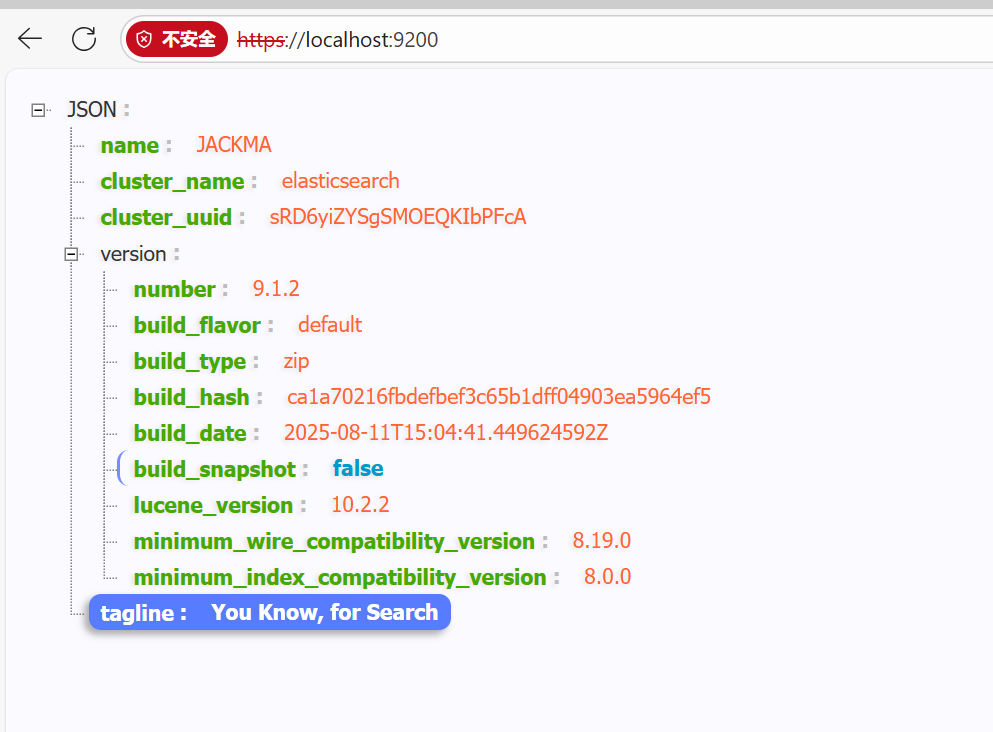
4、浏览器输入 https://localhost:9200 ,并进行身份验证
在 Elasticsearch 的 bin 目录下运行下列命令获取密码。
elasticsearch-reset-password -u elastic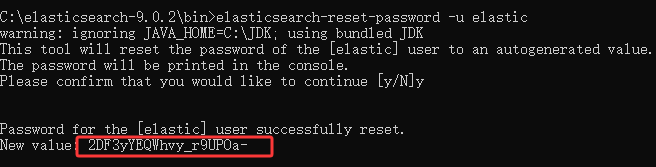
出现图中内容即安装成功。
5、添加IK分词器
ik分词器下载地址打开下载
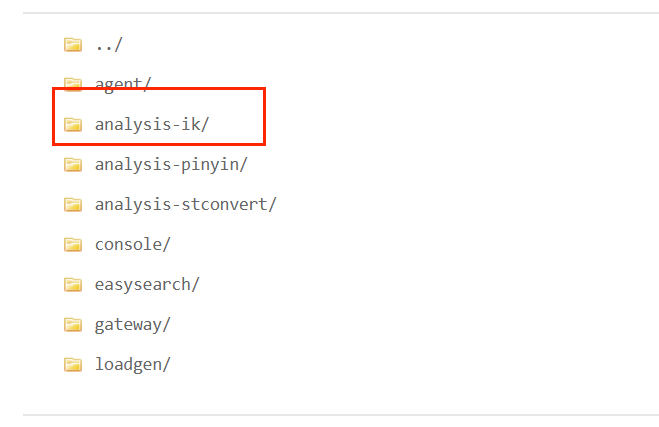

将下载的压缩文件复制到plugins目录下ik解压缩
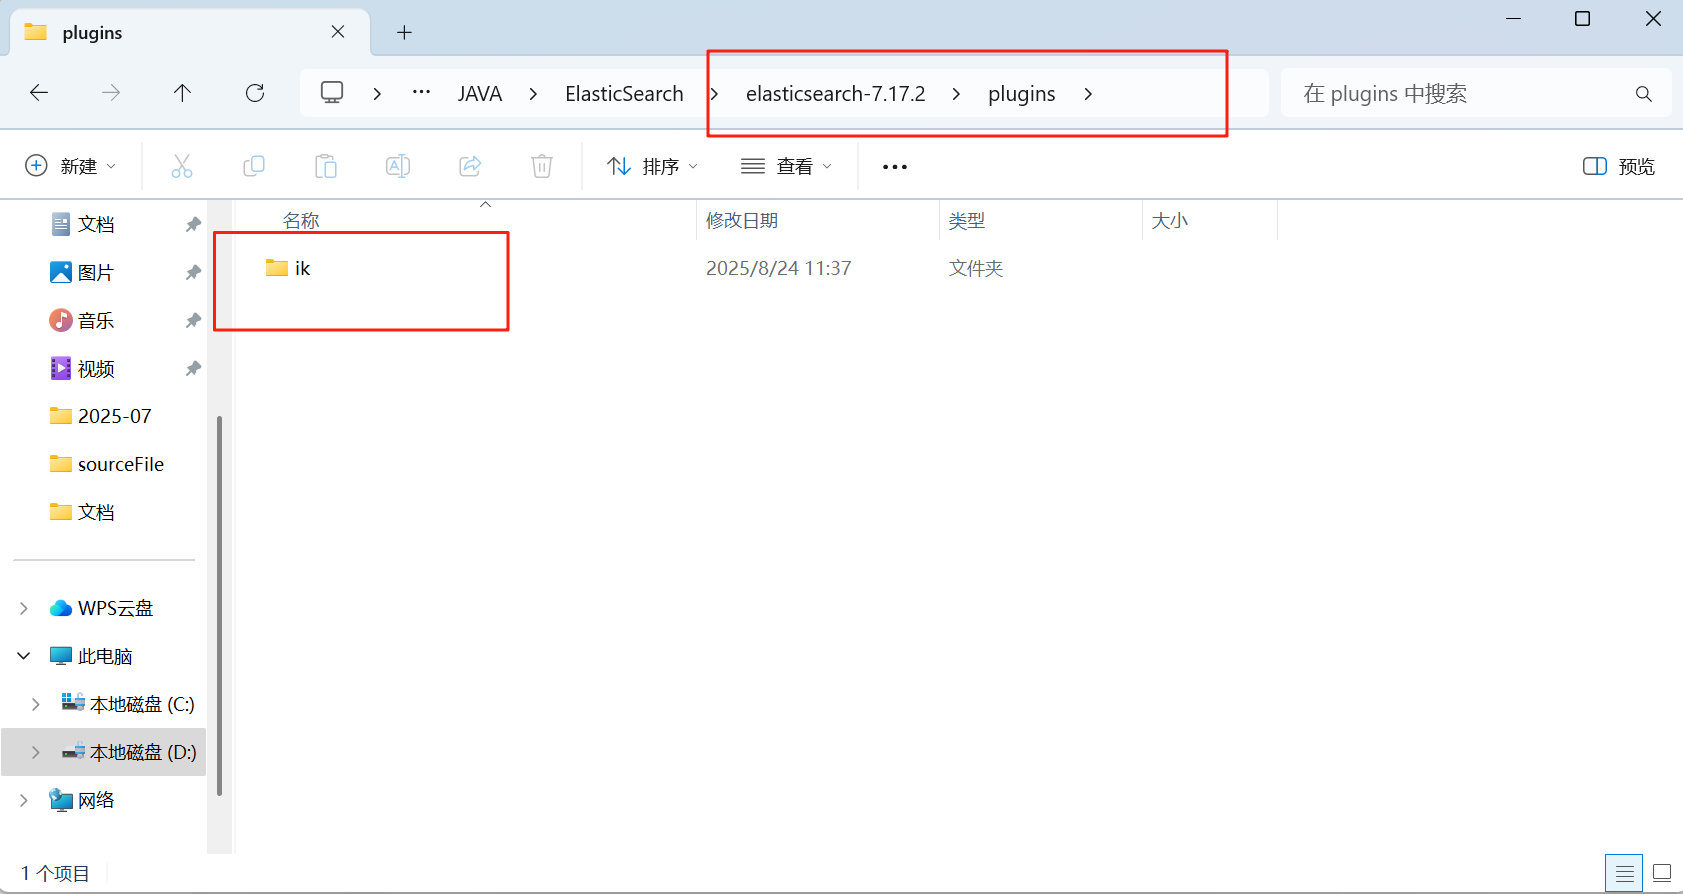
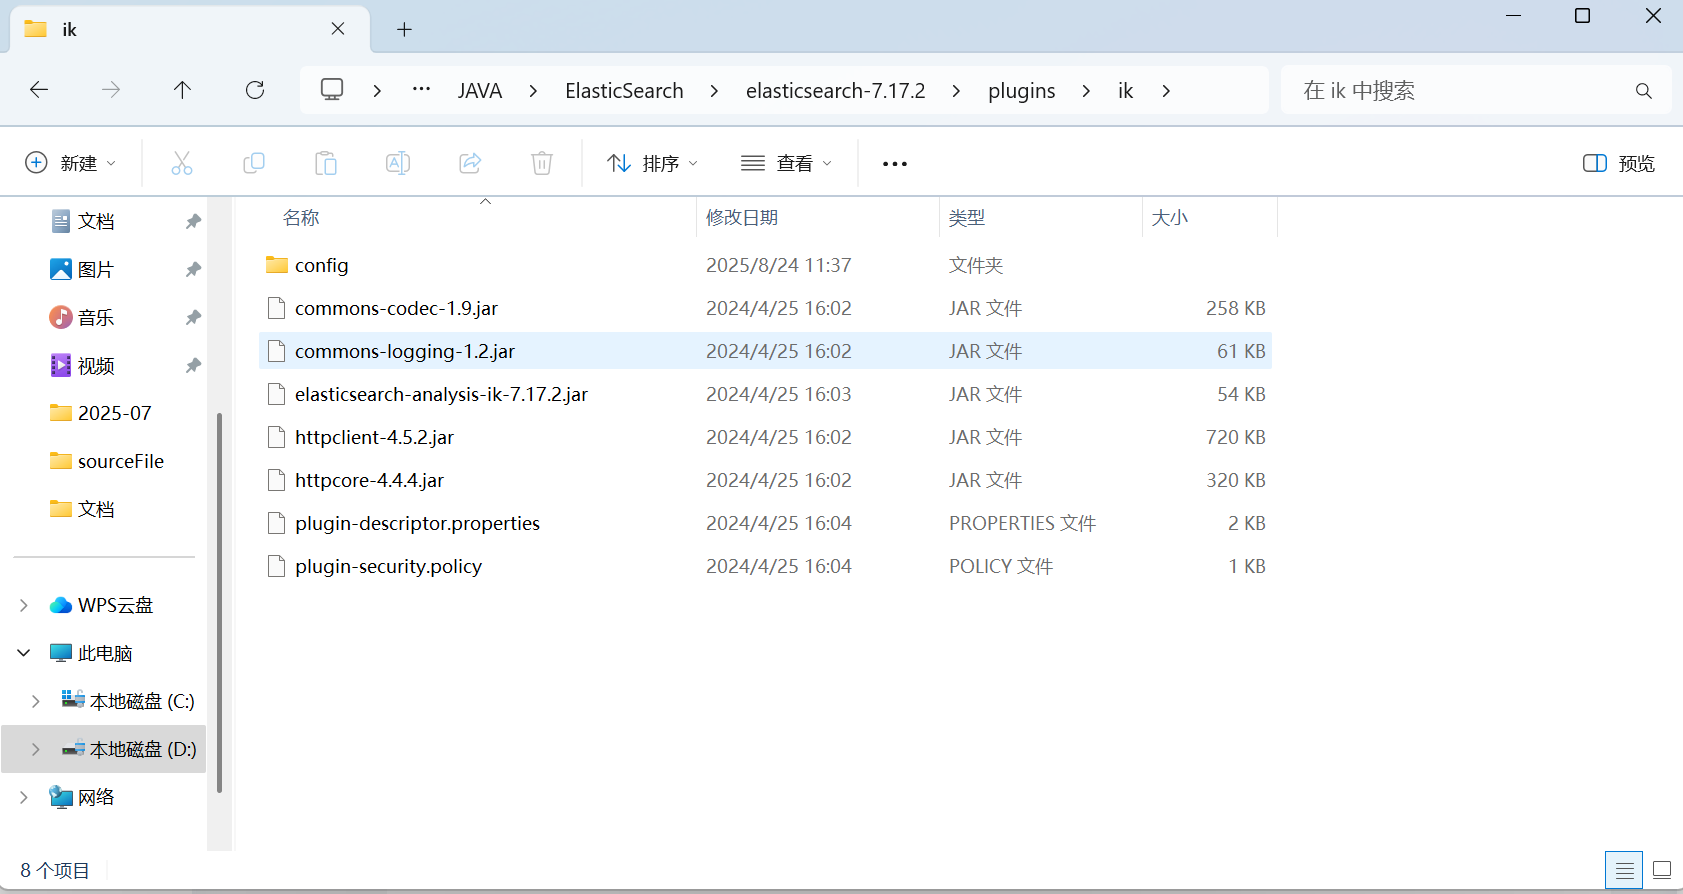
重启ES服务
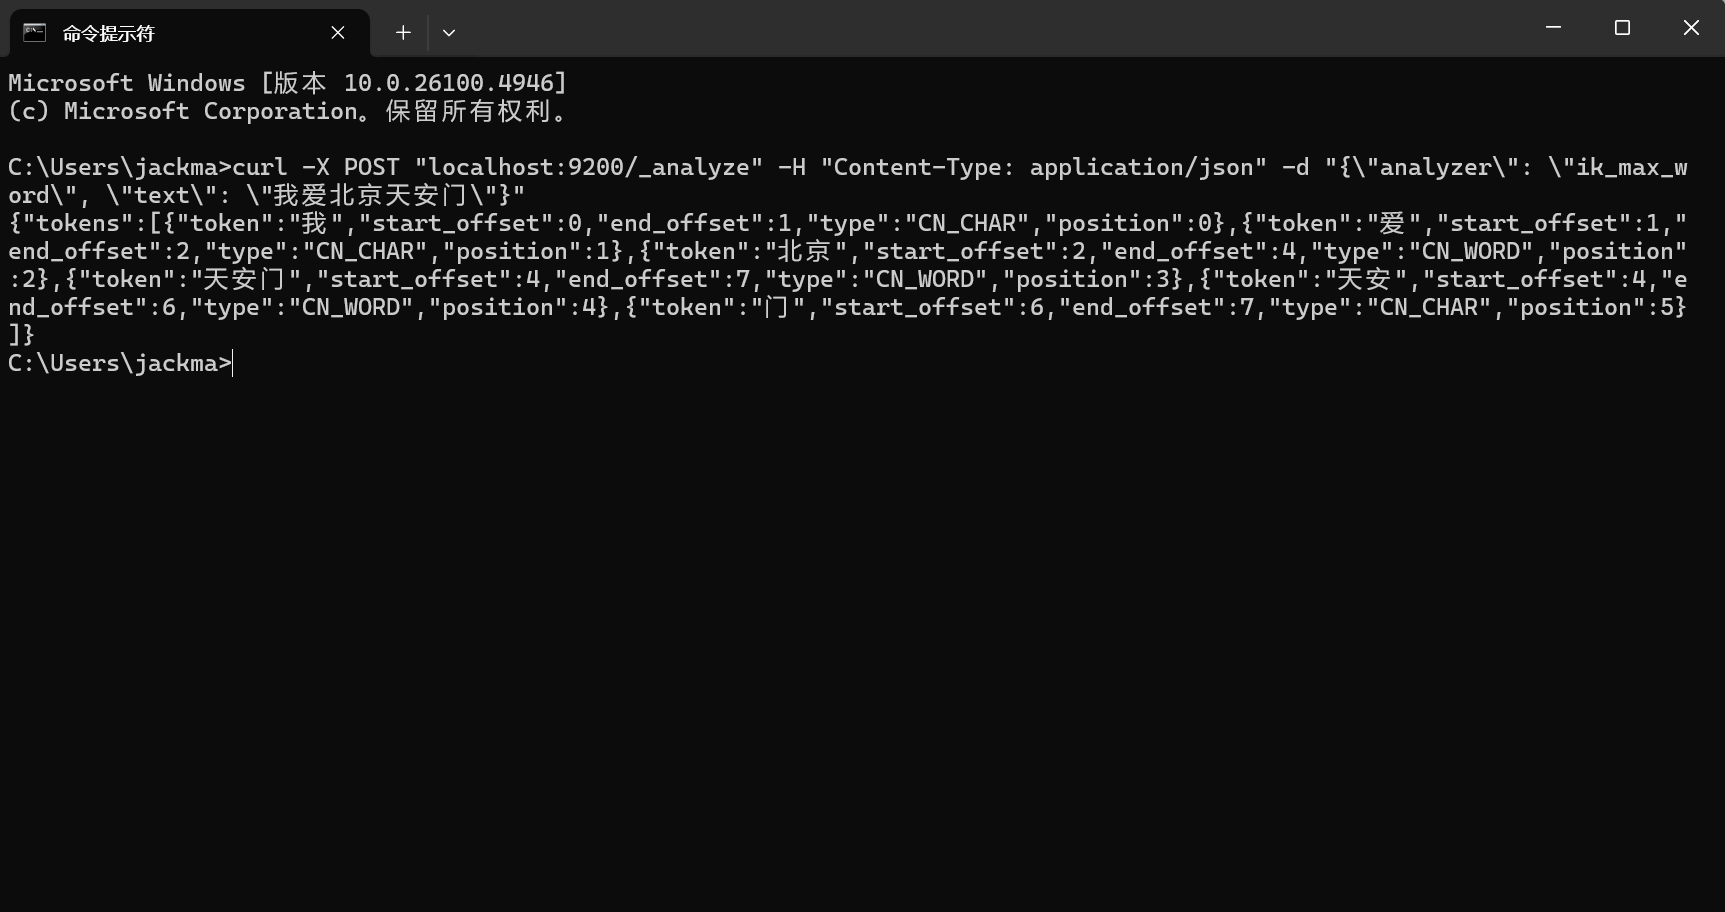
CMD中运行下面命令进行测试是否安装成功
curl -X POST "localhost:9200/_analyze" -H "Content-Type: application/json" -d "{\"analyzer\": \"ik_max_word\", \"text\": \"我爱北京天安门\"}"
如下图是成功安装
二、部署Kibana
1、下载 Kibana 安装包
点此下载 Kibana ,版本要与 Elasticsearch 版本一致

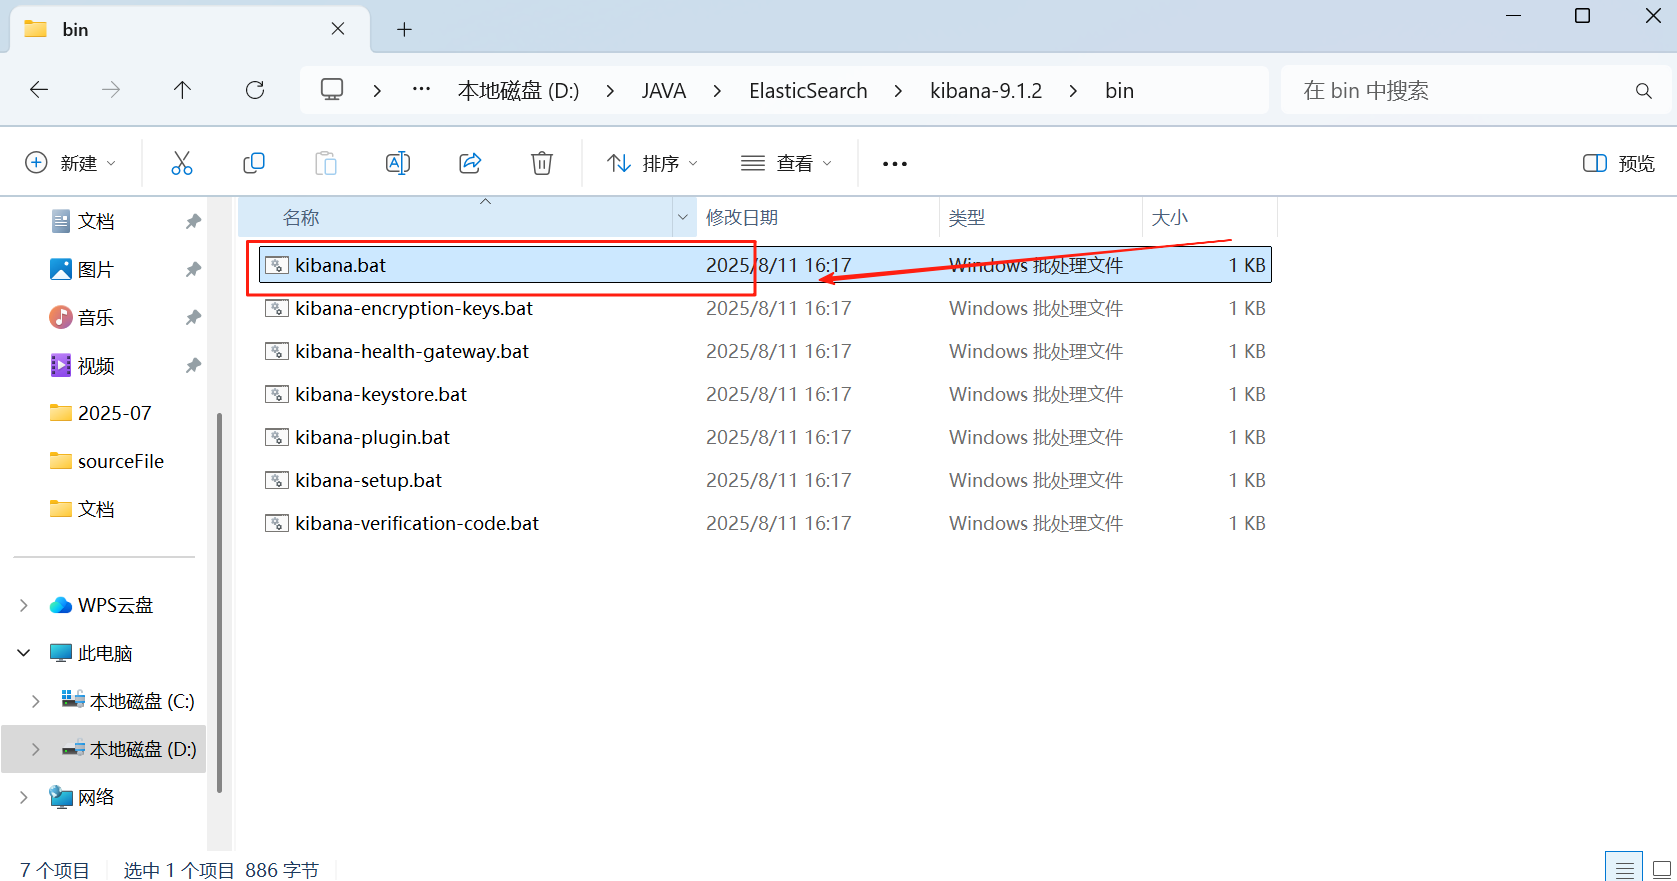
2、在 Kibana 安装路径下的 bin 目录,双击运行 .bat 文件
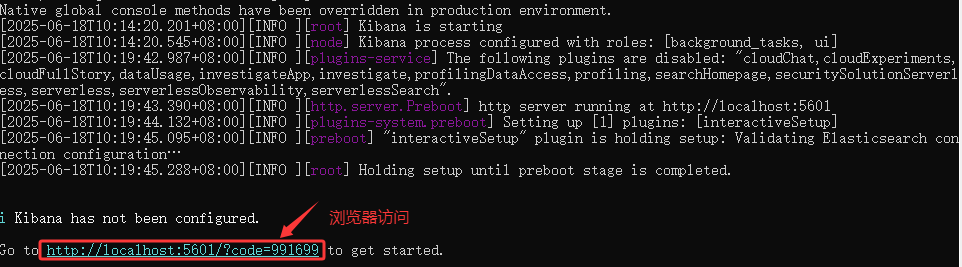
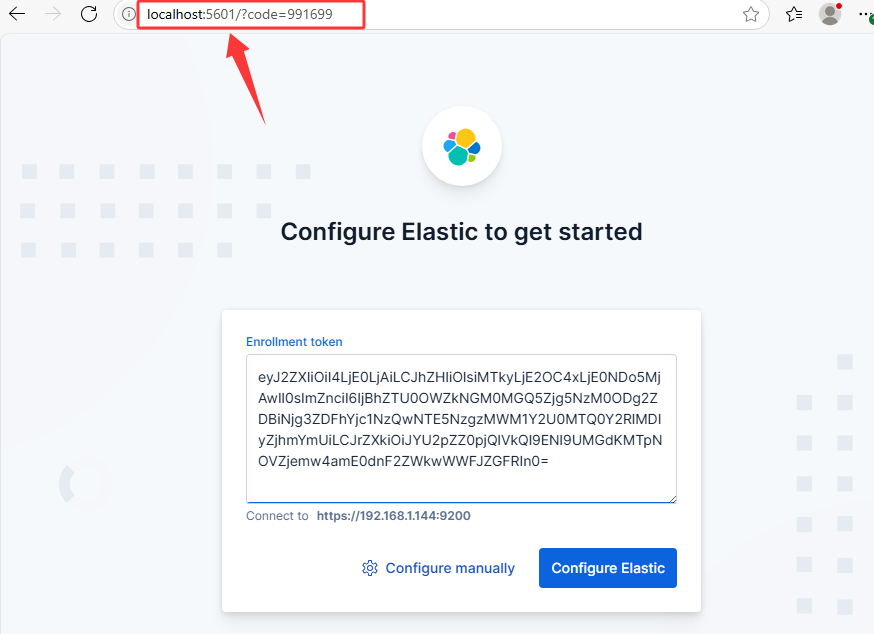
3、出现链接即安装成功,并在浏览器访问
4、首次登陆需获取 token 令牌,在 Elasticsearch 的 bin 目录下运行下列命令即可
elasticsearch-create-enrollment-token --scope kibana
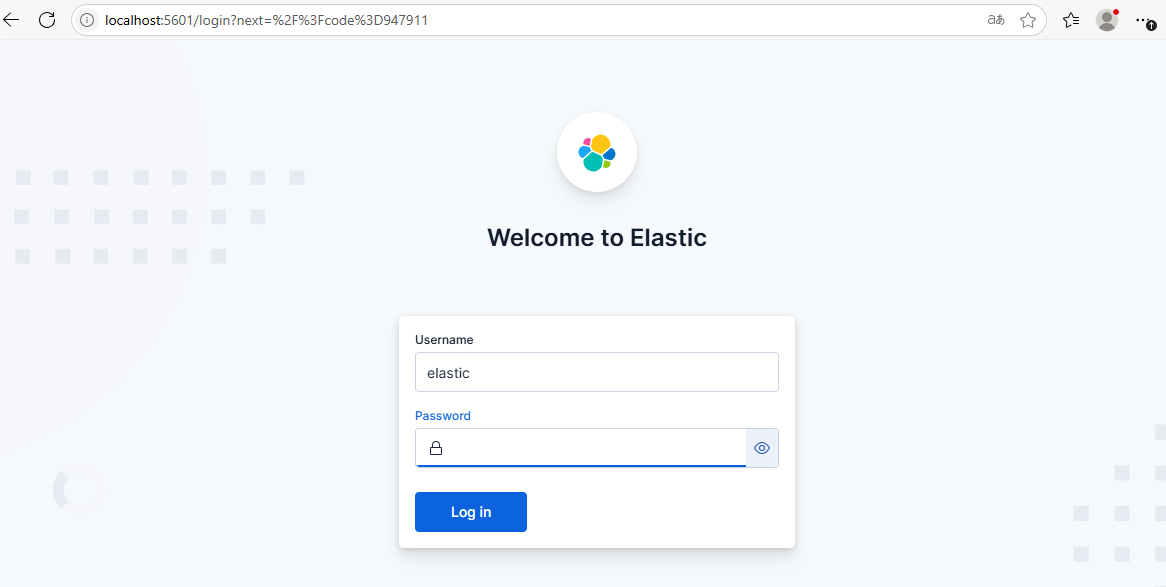
5、登录的密码与 Elasticsearch 的登陆密码一致
若忘记可通过继续执行下列命令更改密码
elasticsearch-reset-password -u elastic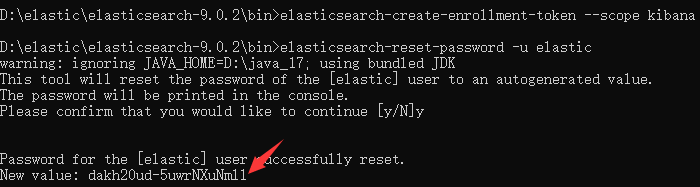
默认用户名为 elastic ,输入刚更改的密码即可登录工作界面
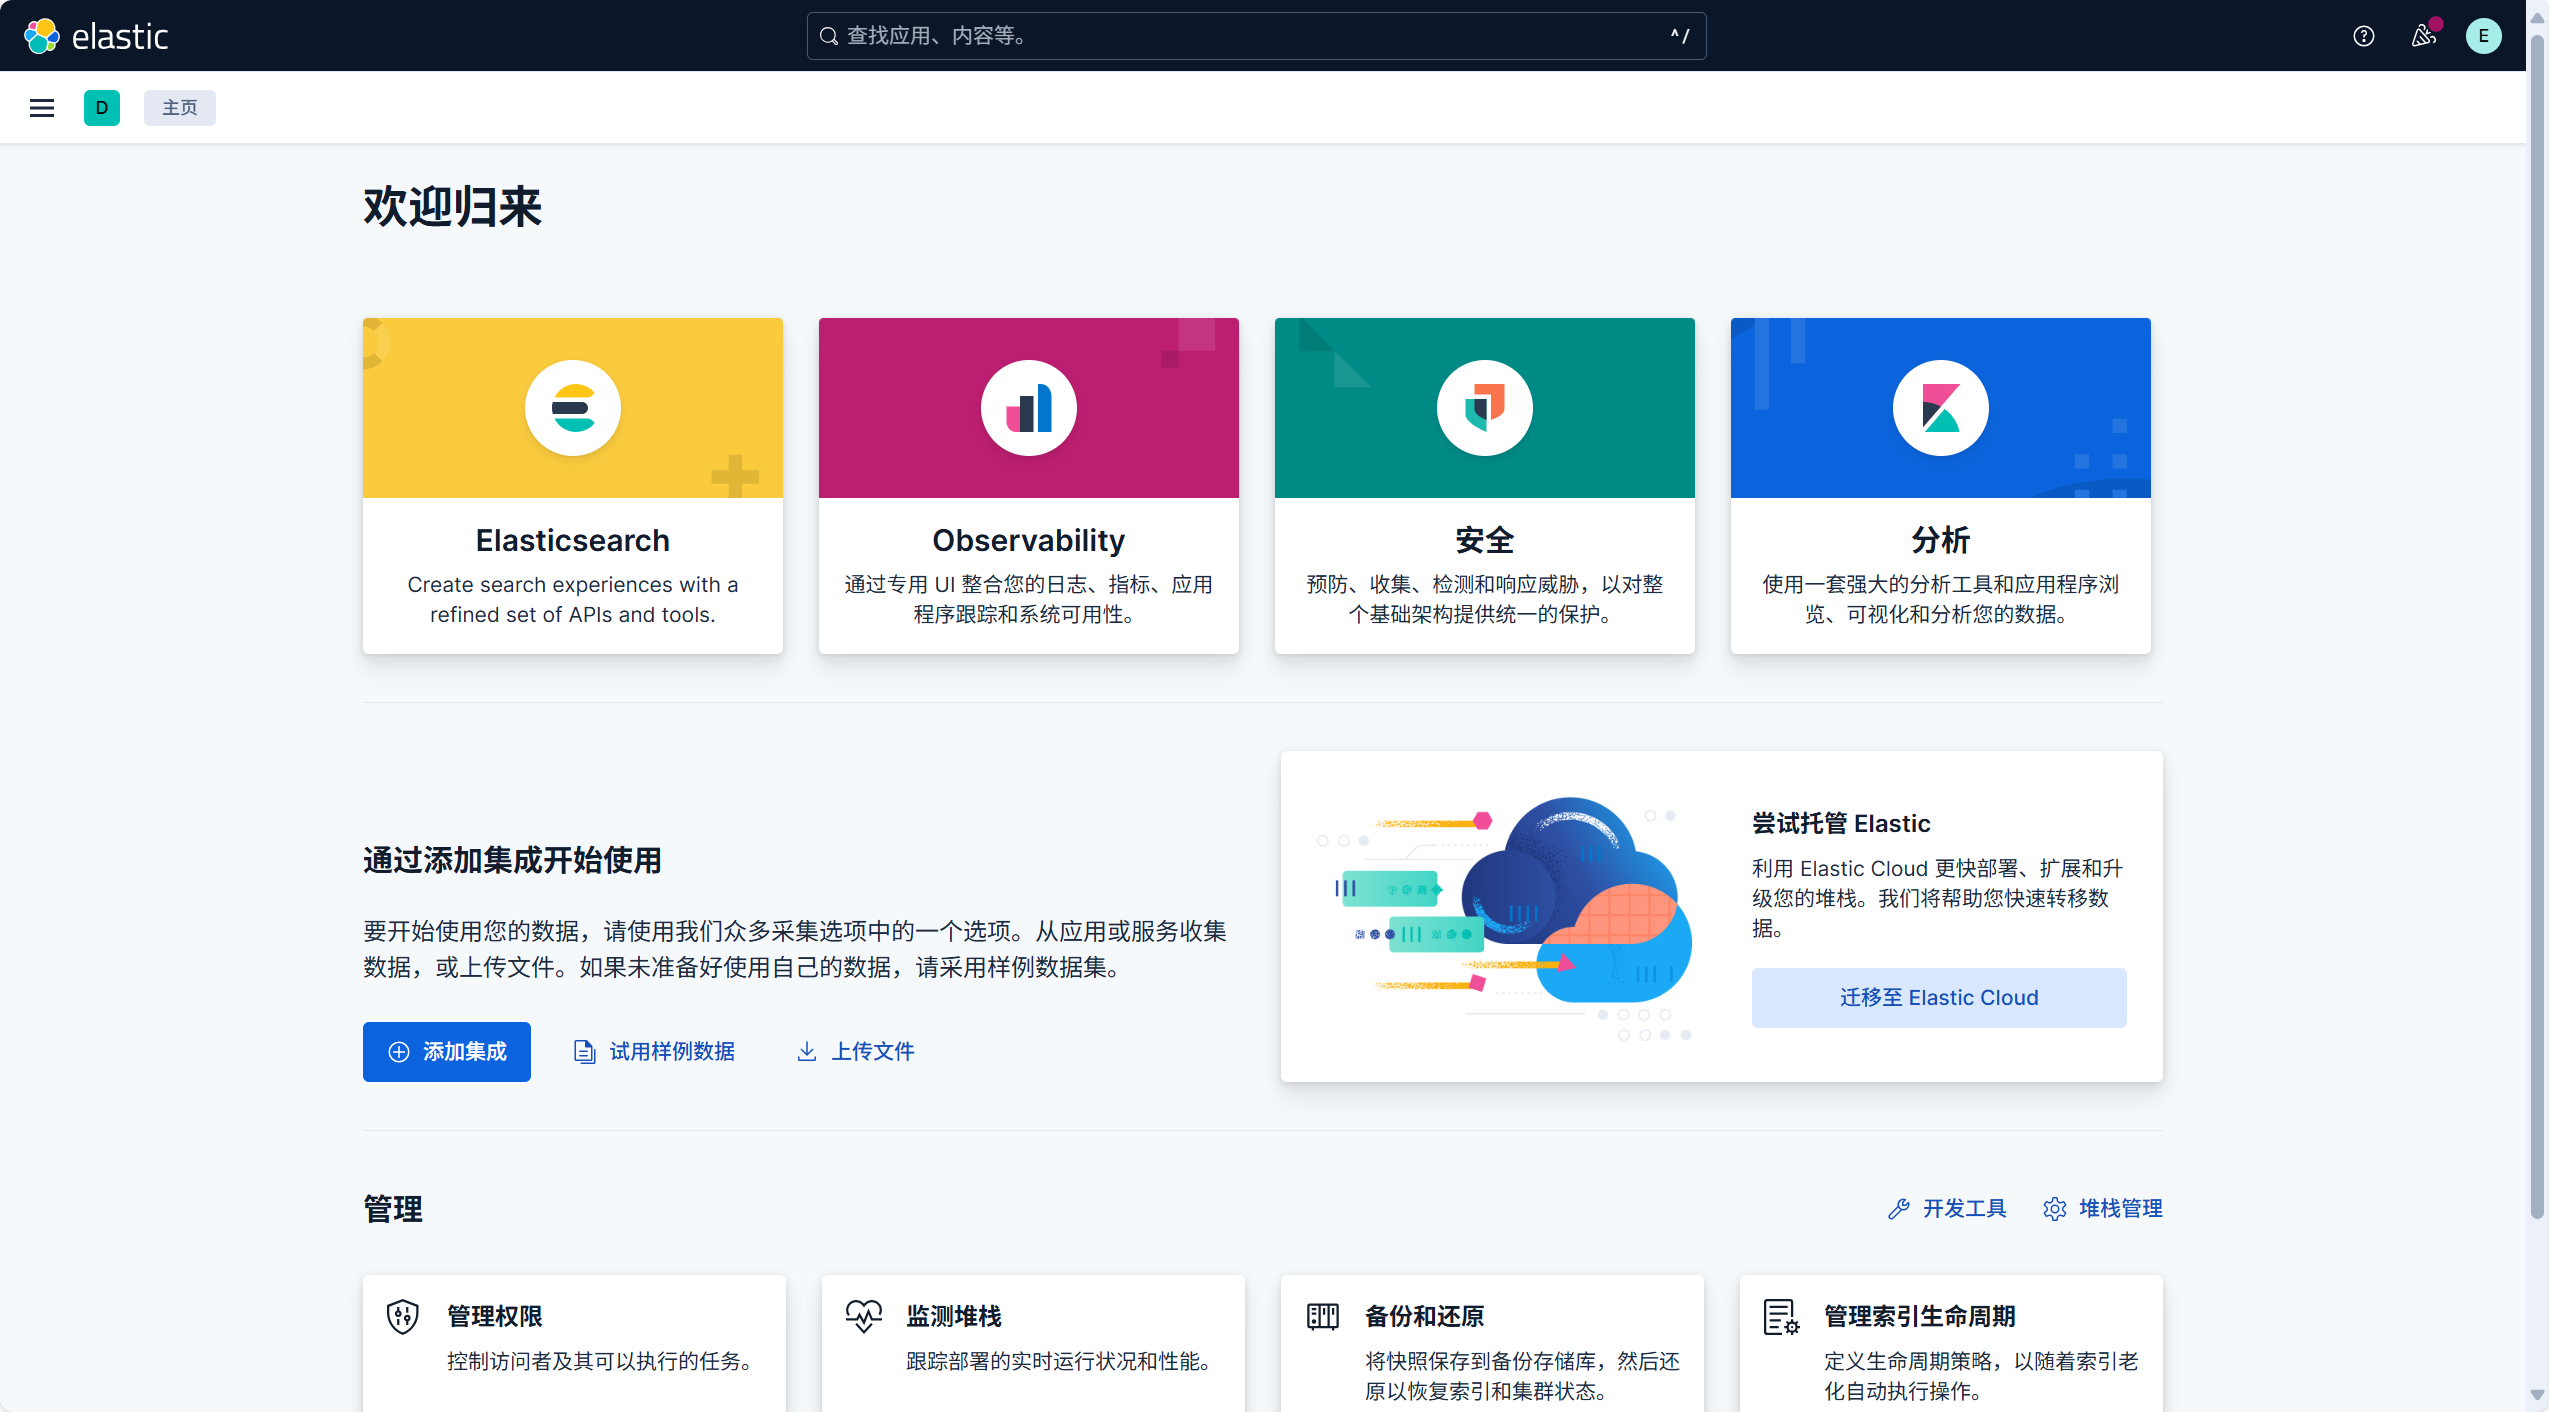
6、修改为中文界面
config目录下的kibana.yml文件
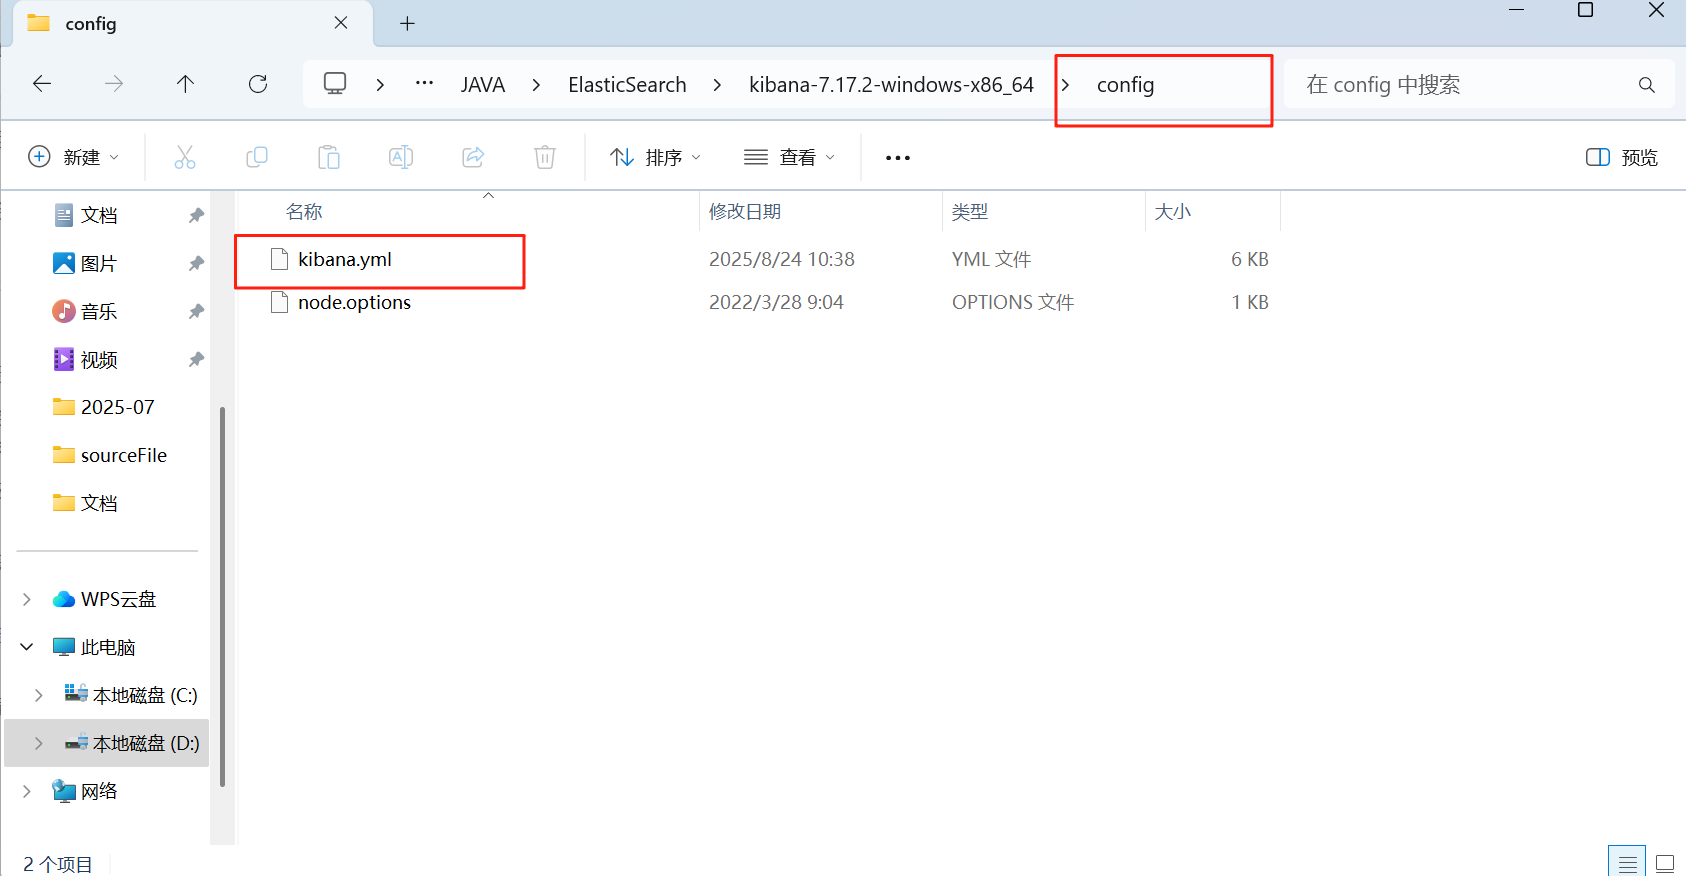
搜索到i18n.locale,将其改为
i18n.locale: "zh-CN"
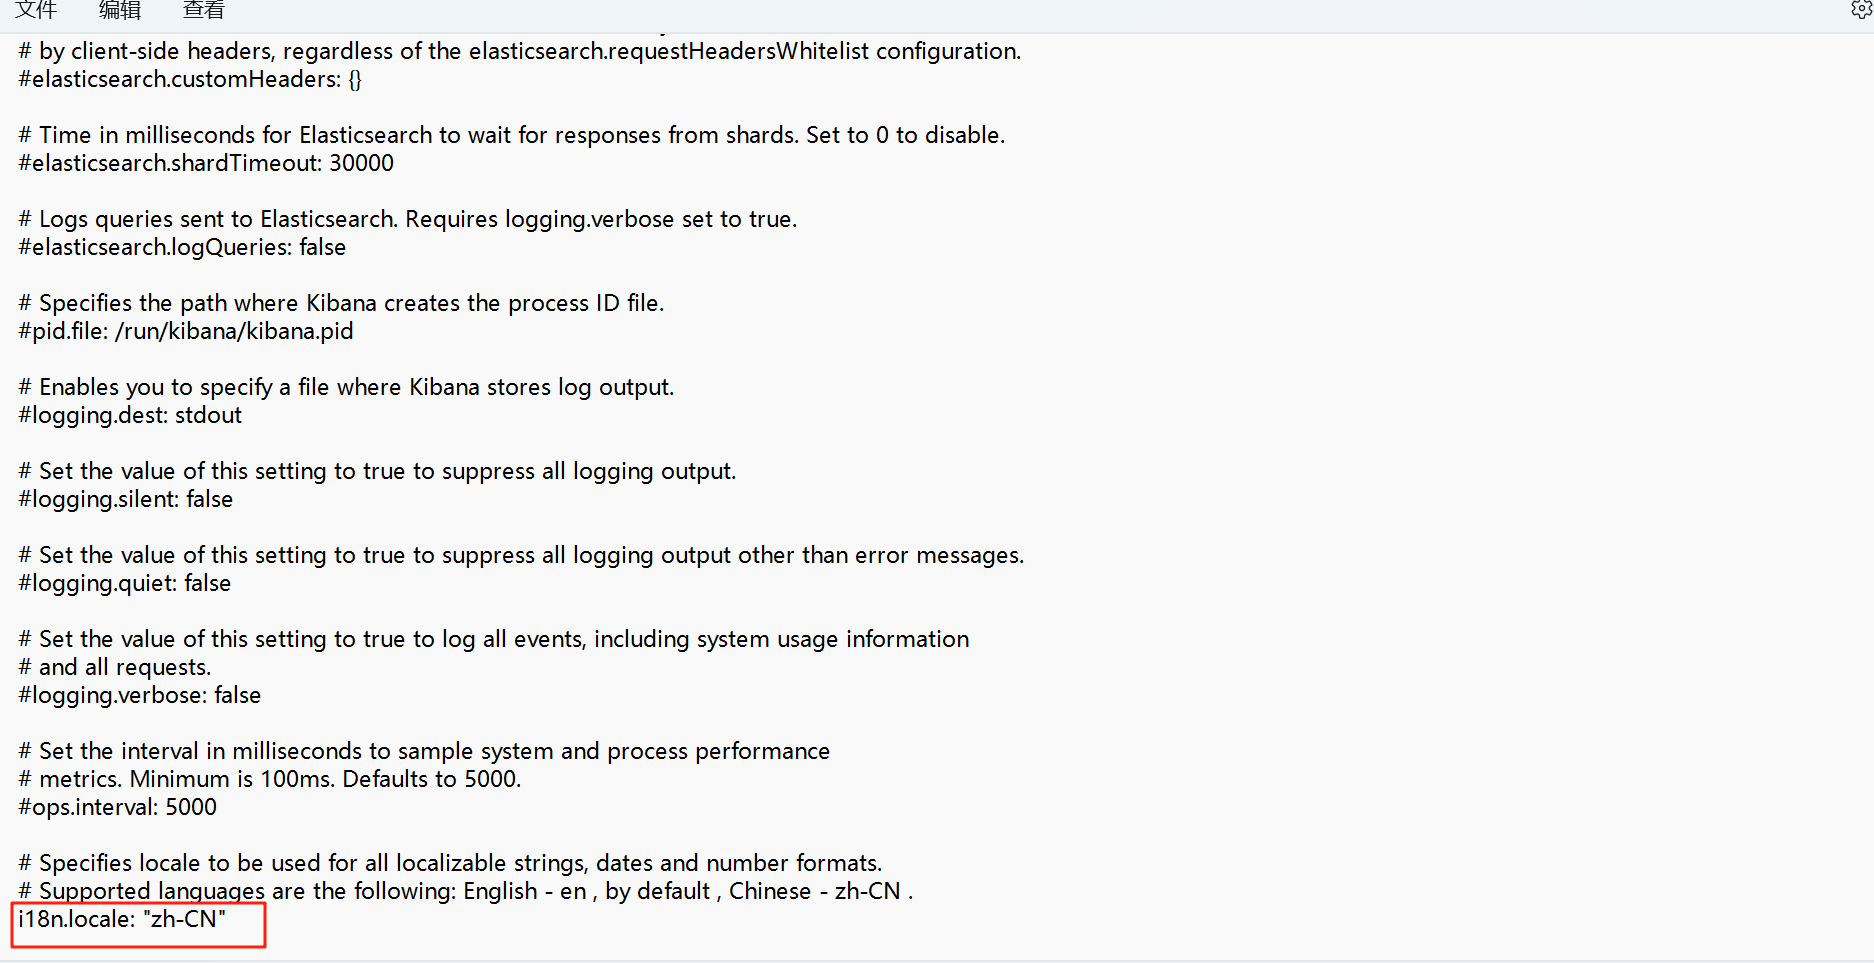
重启即可
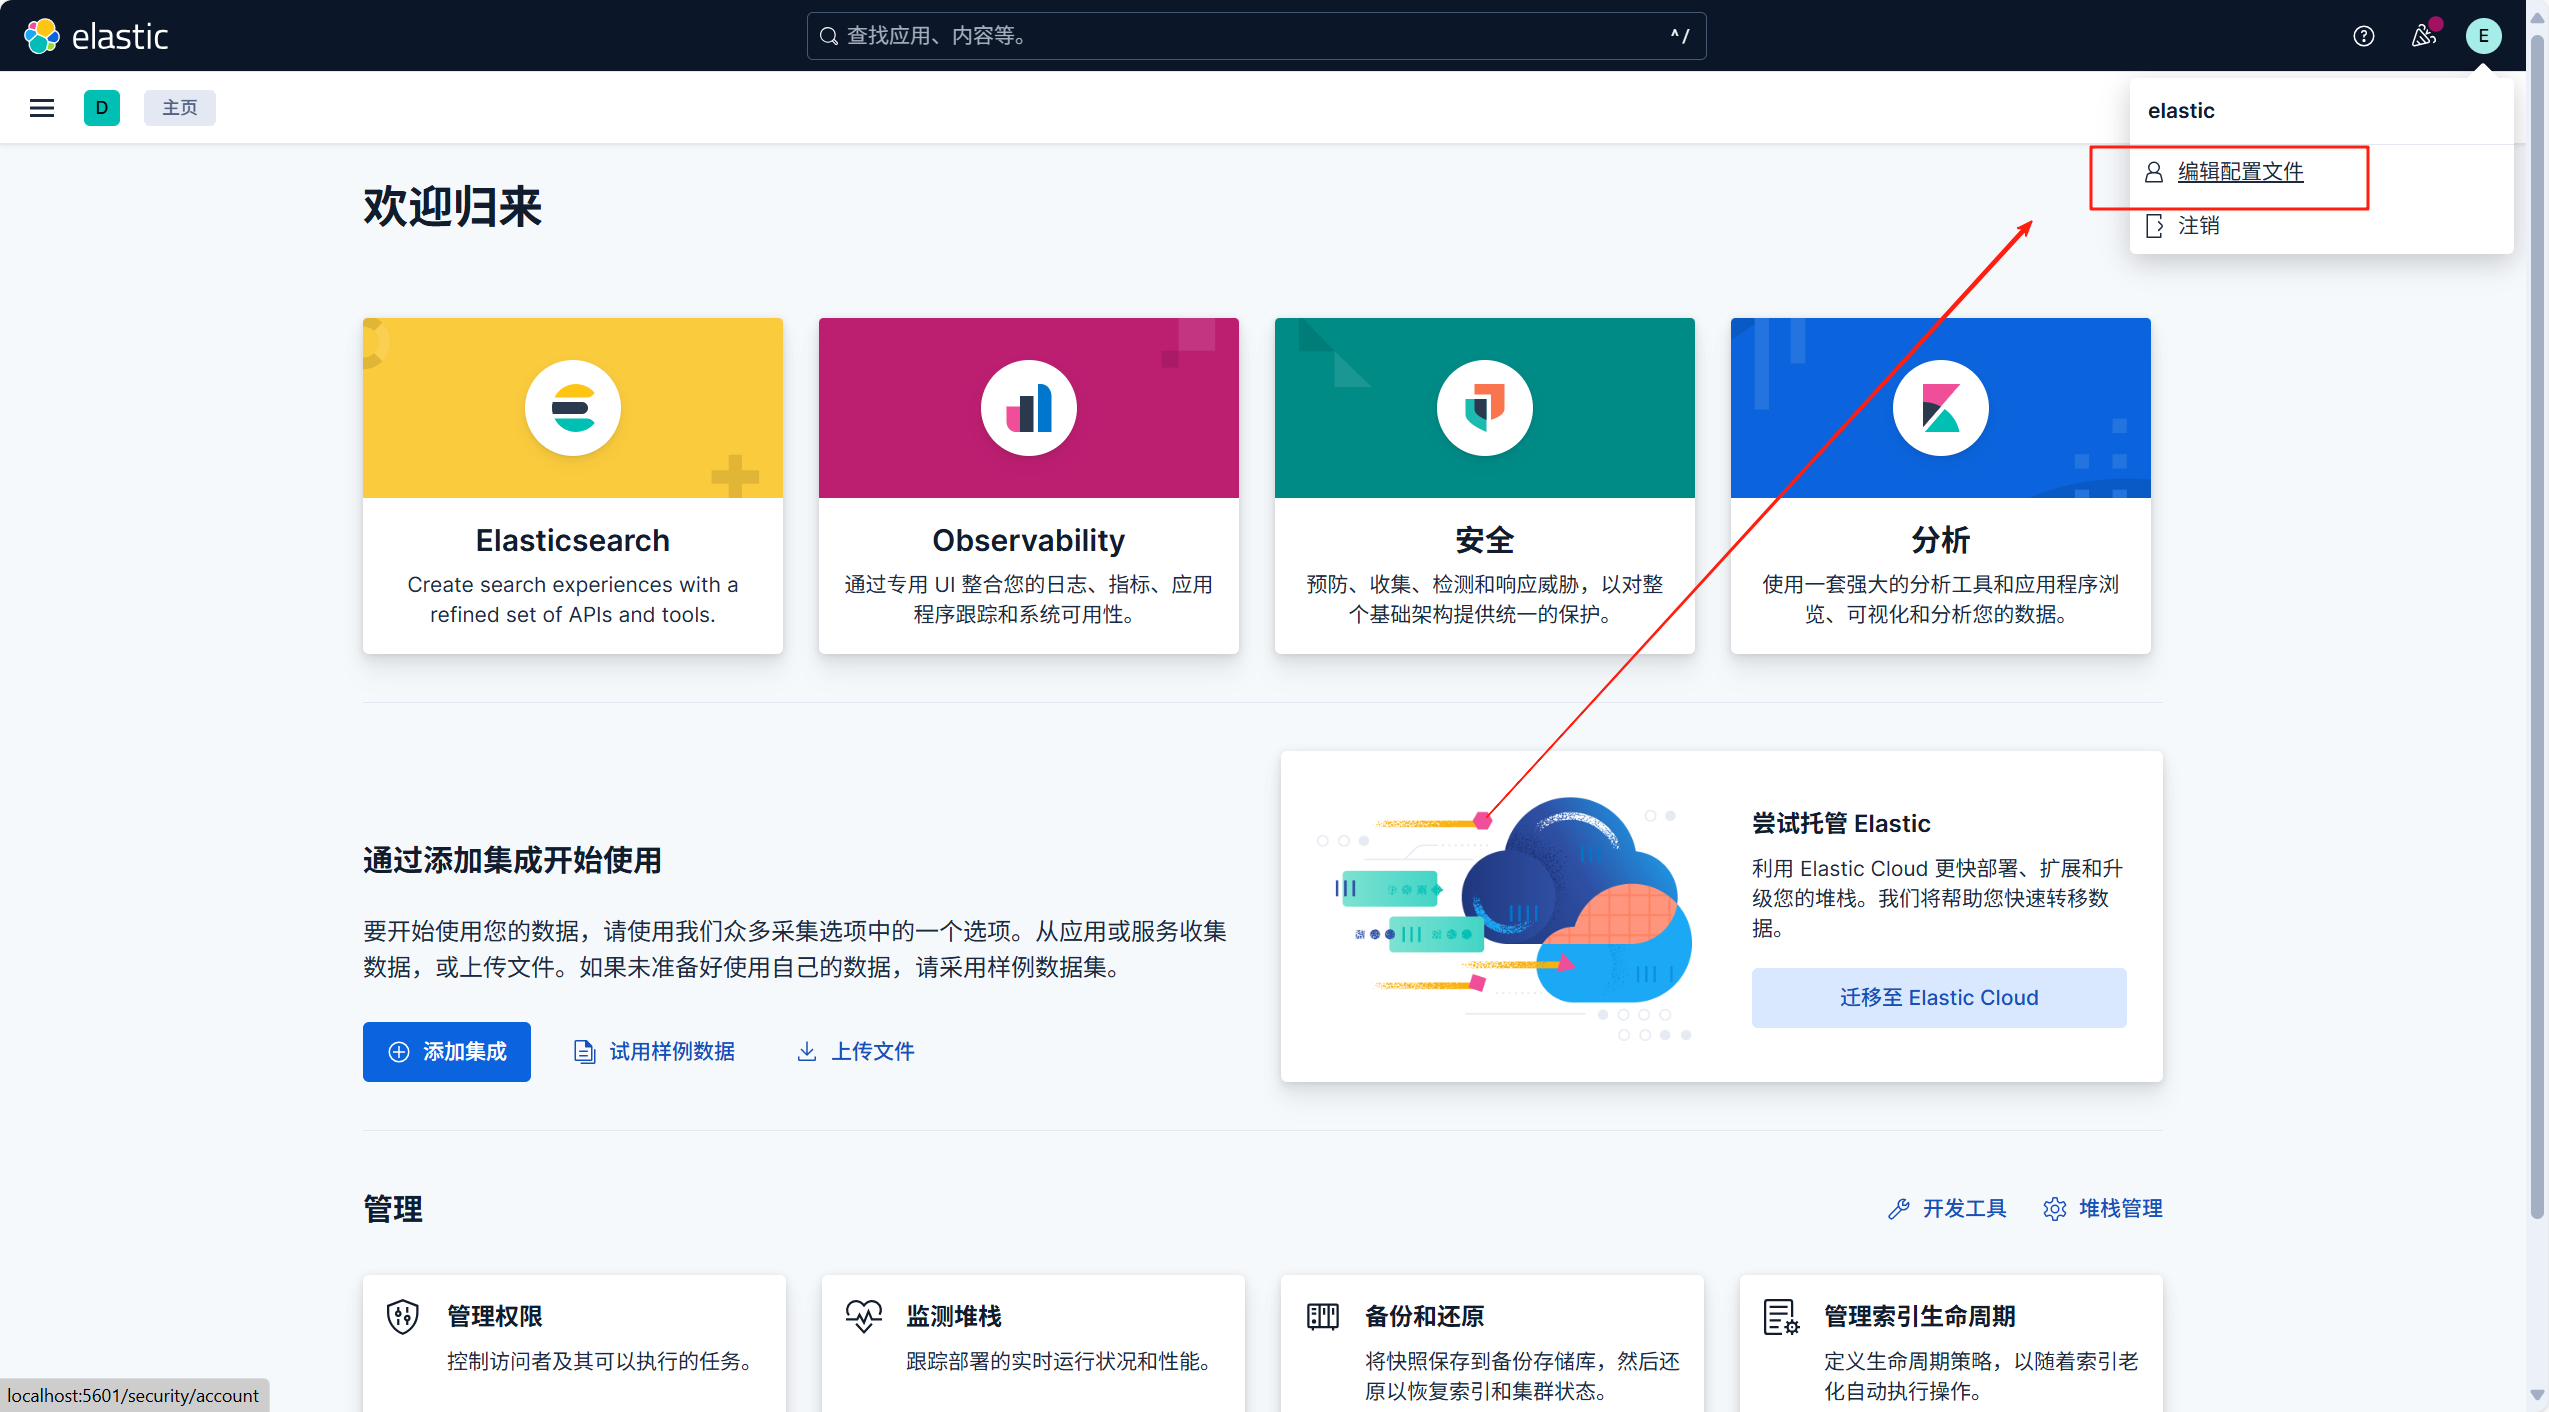
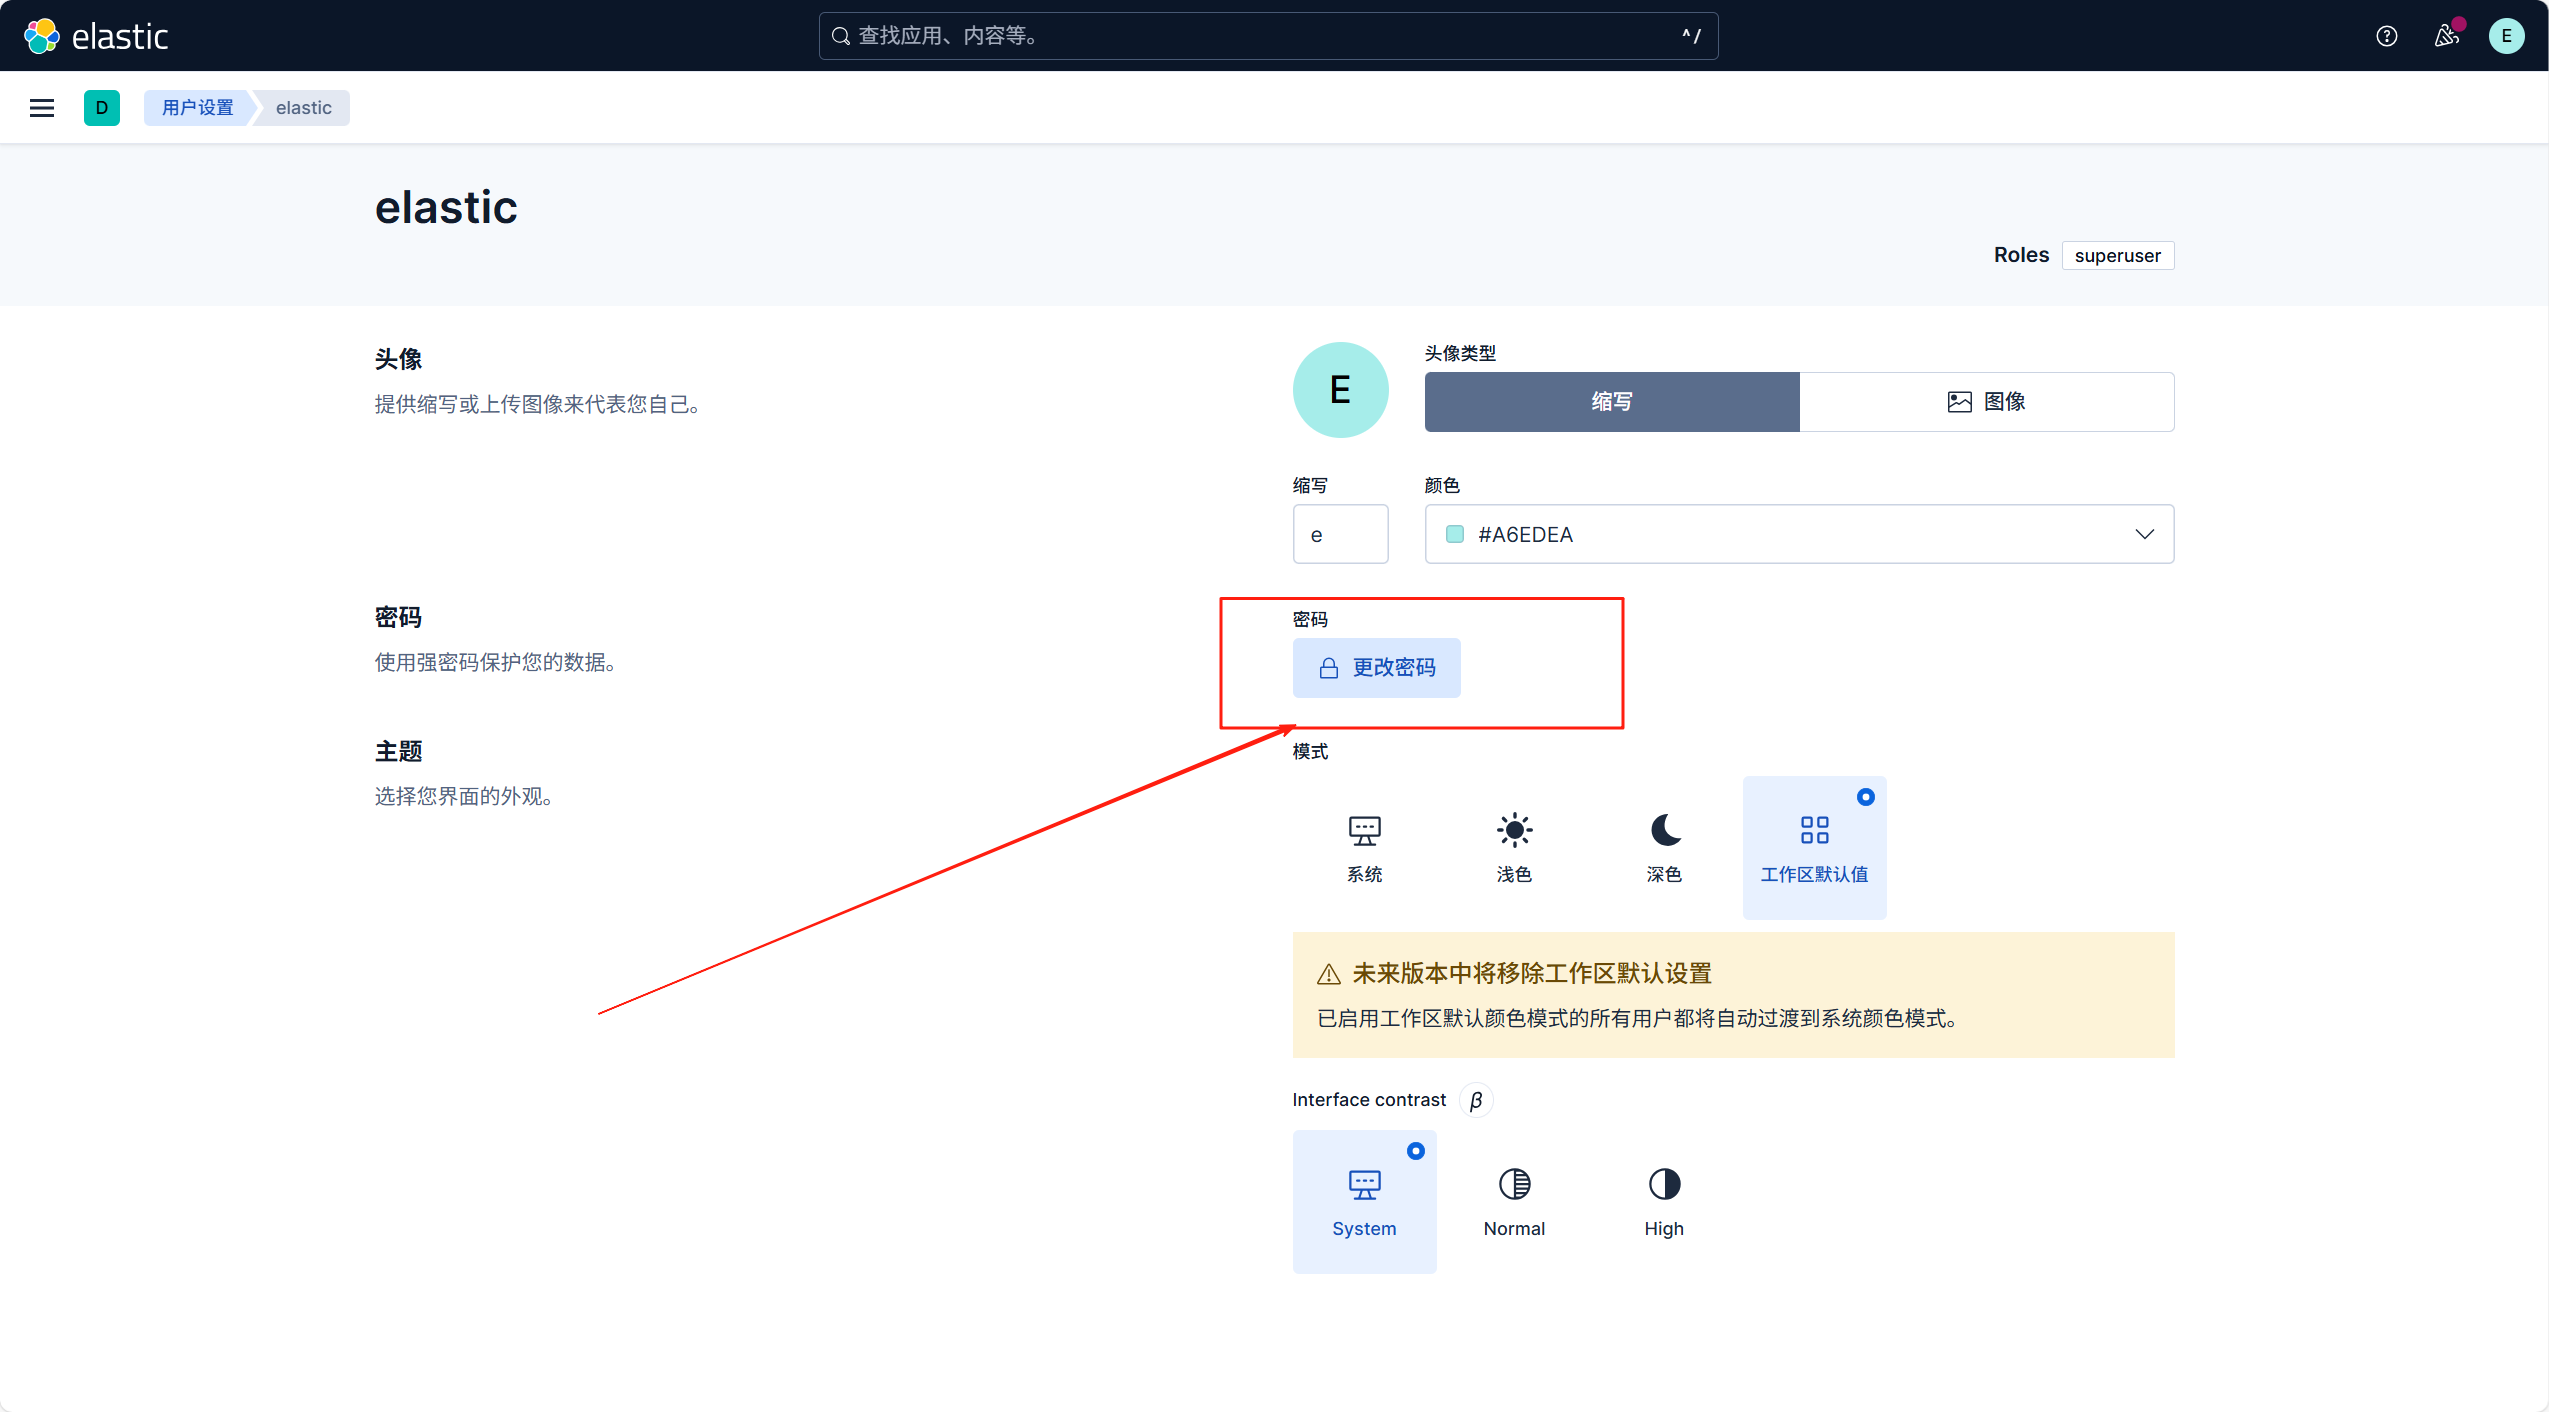
7、登陆后可在编辑个人资料中重新自定义密码
三、安装Logstash
1、下载链接:Past Releases of Elastic Stack Software | Elastic
四、SpringBoot整合ES7.1.12
1、项目结构
java
ElasticSearch/
├── .gitattributes                # Git 属性配置文件
├── .gitignore                    # Git 忽略文件配置
├── .mvn/                         # Maven 包装器目录
│   └── wrapper/
│       └── maven-wrapper.properties  # Maven 包装器属性
├── mvnw                          # Maven 包装器脚本 (Unix)
├── mvnw.cmd                      # Maven 包装器脚本 (Windows)
├── pom.xml                       # Maven 项目对象模型文件
└── src/                          # 源代码目录
    ├── main/                     # 主要源代码
    │   ├── java/                 # Java 源代码
    │   │   └── com/
    │   │       └── elasticsearch/  # 基础包
    │   │           ├── ElasticSearchApplication.java  # 应用程序入口
    │   │           └── config/   # 配置类目录
    │   │               └── ElasticSearchClientConfig.java  # ES 客户端配置
    │   └── resources/            # 资源文件目录
    │       └── application.yml   # 应用程序配置文件
    └── test/                     # 测试源代码
        └── java/                 # Java 测试源代码
            └── com/
                └── elasticsearch/
                    └── service/  # 服务测试目录(当前为空)
2、pom文件
java
<?xml version="1.0" encoding="UTF-8"?>
<project xmlns="http://maven.apache.org/POM/4.0.0"
		 xmlns:xsi="http://www.w3.org/2001/XMLSchema-instance"
		 xsi:schemaLocation="http://maven.apache.org/POM/4.0.0 https://maven.apache.org/xsd/maven-4.0.0.xsd">
	<!-- 项目模型版本(固定为4.0.0) -->
	<modelVersion>4.0.0</modelVersion>

	<!-- 继承 Spring Boot 官方父项目,用于依赖管理和默认配置 -->
	<parent>
		<groupId>org.springframework.boot</groupId>
		<artifactId>spring-boot-starter-parent</artifactId>
		<version>2.5.6</version>
		<relativePath/> <!-- 不从本地查找父POM,直接从仓库下载 -->
	</parent>

	<!-- 项目基本信息 -->
	<groupId>com</groupId>
	<artifactId>ElasticSearch</artifactId>
	<version>0.0.1-SNAPSHOT</version>
	<name>ElasticSearch</name>
	<description>基于 Spring Boot 的 Elasticsearch 操作示例项目</description>
	<url/>
	<licenses>
		<license/>
	</licenses>
	<developers>
		<developer/>
	</developers>
	<scm>
		<connection/>
		<developerConnection/>
		<tag/>
		<url/>
	</scm>

	<!-- 项目属性 -->
	<properties>
		<java.version>8</java.version> <!-- 使用 JDK 1.8 编译 -->
		<project.build.sourceEncoding>UTF-8</project.build.sourceEncoding>
		<project.reporting.outputEncoding>UTF-8</project.reporting.outputEncoding>
	</properties>

	<!-- 项目依赖 -->
	<dependencies>

		<!-- Spring Boot 核心依赖 -->
		<dependency>
			<groupId>org.springframework.boot</groupId>
			<artifactId>spring-boot-starter-web</artifactId>
		</dependency>

		<!-- Spring Data Elasticsearch 支持(用于连接和操作 ES) -->
		<dependency>
			<groupId>org.springframework.boot</groupId>
			<artifactId>spring-boot-starter-data-elasticsearch</artifactId>
		</dependency>

		<!-- Lombok:简化 Java Bean 写法(如 @Data、@Getter 等注解) -->
		<dependency>
			<groupId>org.projectlombok</groupId>
			<artifactId>lombok</artifactId>
			<optional>true</optional> <!-- 仅编译期使用,不打包进最终 jar -->
		</dependency>

		<!-- Jackson:JSON 序列化与反序列化支持 -->
		<dependency>
			<groupId>com.fasterxml.jackson.core</groupId>
			<artifactId>jackson-databind</artifactId>
		</dependency>

		<!-- Spring Boot 测试支持 -->
		<dependency>
			<groupId>org.springframework.boot</groupId>
			<artifactId>spring-boot-starter-test</artifactId>
			<scope>test</scope>
		</dependency>

		<!-- JUnit Jupiter API(JUnit 5) -->
		<dependency>
			<groupId>org.junit.jupiter</groupId>
			<artifactId>junit-jupiter-api</artifactId>
			<scope>test</scope>
		</dependency>

	</dependencies>

	<!-- 构建配置 -->
	<build>
		<plugins>

			<!-- Maven 编译插件:配置 Java 8 编译及 Lombok 注解处理器 -->
			<plugin>
				<groupId>org.apache.maven.plugins</groupId>
				<artifactId>maven-compiler-plugin</artifactId>
				<configuration>
					<source>8</source>
					<target>8</target>
					<!-- 启用 Lombok 注解处理器 -->
					<annotationProcessorPaths>
						<path>
							<groupId>org.projectlombok</groupId>
							<artifactId>lombok</artifactId>
						</path>
					</annotationProcessorPaths>
				</configuration>
			</plugin>

			<!-- Spring Boot Maven 插件:用于打包可执行 jar 文件 -->
			<plugin>
				<groupId>org.springframework.boot</groupId>
				<artifactId>spring-boot-maven-plugin</artifactId>
				<configuration>
					<excludes>
						<!-- 打包时排除 Lombok,避免重复包含 -->
						<exclude>
							<groupId>org.projectlombok</groupId>
							<artifactId>lombok</artifactId>
						</exclude>
					</excludes>
				</configuration>
			</plugin>

		</plugins>
	</build>

</project>
3、配置类
application.yml文件
java
spring:
  application:
    name: ElasticSearch
  elasticsearch:
    rest:
      uris: http://localhost:9200
配置类
java
package com.elasticsearch.config;

import org.apache.http.HttpHost;
import org.elasticsearch.client.RestClient;

import org.elasticsearch.client.RestHighLevelClient;
import org.springframework.beans.factory.annotation.Value;
import org.springframework.context.annotation.Bean;
import org.springframework.context.annotation.Configuration;

@Configuration
public class ElasticSearchClientConfig {

    @Value("${spring.elasticsearch.rest.uris}")
    private String urls;


    @Bean
    public RestHighLevelClient restHighLevelClient() {
        RestHighLevelClient restHighLevelClient = new RestHighLevelClient(
                RestClient.builder(
                        new HttpHost("localhost",9200, "http")
                )
        );
        return restHighLevelClient;
    }
}