目录
WPF治具软件模板分享
运行环境:VS2022 .NET 8.0
完整项目:Gitee仓库
项目重命名方法参考:网页
概要 :针对治具单机软件 制作了一个设计模板,此项目可对一些治具的PC简易软件项目提供一个软件模板,可以通过修改项目名快速开发,本项目使用了CommunityToolkit.Mvvm 来搭建MVVM框架,使用了Microsoft.Extensions.DependencyInjection 来实现DI依赖注入实现IOC,并使用了WPFUI作为UI框架 这个项目可以通过重命名修改成自己所需的软件项目,实现减少重复创建框架的目的 此项目还有很多不足,望大家多多谅解!
程序功能介绍
此程序适用于治具的PC简易软件的快速开发,软件各个功能实现如下:
MVVM框架:CommunityToolkit.Mvvm库
DI依赖注入:Microsoft.Extensions.DependencyInjection
UI框架:WPFUI库
程序日志:NLog库
程序配置:System.Text.Json库
多语言支持:resx资源文件+WPFLocalizeExtension库
软件文件架构如下图所示

功能实现
导航功能
- App.xaml.cs
CSharp
var container = new ServiceCollection();

//...

//注册导航服务
container.AddSingleton<Common.Services.NavigationService>();

//...

Services = container.BuildServiceProvider();- MainWindow.xaml
xml
<Grid>
    <Grid.RowDefinitions>
        <RowDefinition Height="50"/>
        <RowDefinition/>
    </Grid.RowDefinitions>

    <Grid>
        <ui:TitleBar Title="JIG_SoftTemplate_V1.0.0" Background="#e5e5e5">
            <ui:TitleBar.Icon>
                <ui:ImageIcon Source="/Resources/Image/Company_logo.png"/>
            </ui:TitleBar.Icon>
        </ui:TitleBar>
    </Grid>

    <Grid Grid.Row="1" x:Name="ShowGrid">
        <Frame x:Name="rootFrame"/>
        <ui:SnackbarPresenter x:Name="rootSnackbarPresenter" Margin="0,0,0,-15"/>
        <ContentPresenter x:Name="rootContentDialog"/>
    </Grid>
</Grid>- MainWindow.xaml.cs
CSharp
public partial class MainWindow
{
    public MainWindow(MainWindowViewModel viewModel, Common.Services.NavigationService navigationService)
    {
        InitializeComponent();

        DataContext = viewModel;

        navigationService.SetMainFrame(rootFrame);

        App.Current.Services.GetRequiredService<ISnackbarService>().SetSnackbarPresenter(rootSnackbarPresenter);
        App.Current.Services.GetRequiredService<IContentDialogService>().SetDialogHost(rootContentDialog);


    }
}- NavigationService.cs
CSharp
public class NavigationService
{
    private Frame? mainFrame;

    public void SetMainFrame(Frame frame) => mainFrame = frame;

    private Type? FindView<VM>()
    {
        return Assembly
            .GetAssembly(typeof(VM))
            ?.GetTypes()
            .FirstOrDefault(t => t.Name == typeof(VM).Name.Replace("ViewModel", ""));
    }

    public void Navigate<VM>()
        where VM : ViewModelBase
    {
        Navigate<VM>(null);
    }

    public void Navigate<VM>(Dictionary<string, object?>? extraData)
        where VM : ViewModelBase
    {
        var viewType = FindView<VM>();
        if (viewType is null)
            return;

        var page = App.Current.Services.GetService(viewType) as Page;
        mainFrame?.Navigate(page, extraData);
    }
}在MainWindow.xaml里放Frame控件,在MainWindow.xaml.cs里,调用NavigationService的SetMainFrame方法设定了Frame组件实例,然后在VM中调用Navigate方法即可跳转页面,示例:navigationService.Navigate<HomePageViewModel>();
需注意,View和ViewModel需要名称对的上,如NavigationService.cs中所示,比如
HomePage.xaml的ViewModel就是HomePageViewModel,名称错误的话,会在FindView方法中报错
程序配置
- App.xaml.cs
CSharp
var container = new ServiceCollection();

//...

//注册Json配置文件服务
container.AddSingleton<Common.Services.JsonConfigService>();

//...

Services = container.BuildServiceProvider();- AppConfigModel.cs
CSharp
public class AppConfigModel
{
    public CommonConfig? Common {  get; set; }

    public JIGCommConfig? JIGComm { get; set; }
}

public class CommonConfig
{
    public string? DataStoragePath { get; set; }
    public string? SelectedLang { get; set; }
}

public class JIGCommConfig
{

}- JsonConfigService.cs
CSharp
public class JsonConfigService
{
    private const string ConfigFileName = "AppSettings.json";

    private readonly LoggerService loggerService;

    public JsonConfigService(LoggerService loggerService)
    {
        this.loggerService = loggerService;
    }

    public async Task<T> LoadConfigAsync<T>(T defaultValue = default) where T : new()
    {
        try
        {
            var filePath = GetConfigFilePath();
            if (!File.Exists(filePath))
            {
                loggerService.Info("配置文件不存在,返回默认值");
                await SaveConfigAsync(defaultValue ?? new T());
                return defaultValue ?? new T();
            }

            await using var fs = new FileStream(filePath, FileMode.Open, FileAccess.Read);
            return await JsonSerializer.DeserializeAsync<T>(fs) ?? new T();
        }
        catch (Exception ex)
        {
            loggerService.Error("加载配置文件失败", ex);
            return defaultValue ?? new T();
        }
    }

    public async Task SaveConfigAsync<T>(T config)
    {
        try
        {
            var filePath = GetConfigFilePath();
            var dirPath = Path.GetDirectoryName(filePath);

            if (!Directory.Exists(dirPath))
            {
                Directory.CreateDirectory(dirPath);
            }

            var options = new JsonSerializerOptions
            {
                WriteIndented = true,
                Encoder = System.Text.Encodings.Web.JavaScriptEncoder.UnsafeRelaxedJsonEscaping
            };

            await using var fs = new FileStream(filePath, FileMode.Create, FileAccess.Write);
            await JsonSerializer.SerializeAsync(fs, config, options);
            loggerService.Info("配置文件保存成功");
        }
        catch (Exception ex)
        {
            loggerService.Error("保存配置文件失败", ex);
            throw;
        }
    }

    private static string GetConfigFilePath()
    {
        // 使用程序根目录存储配置文件
        return Path.Combine(AppDomain.CurrentDomain.BaseDirectory, ConfigFileName);
    }
}调用服务时,只需调用LoadConfigAsync和SaveConfigAsync异步方法即可,示例如下:
CSharp
//读取配置文件
string DataStoragePath = "";

var loadedConfig = await jsonConfigService.LoadConfigAsync(new AppConfigModel());
if (loadedConfig != null)
{
    if (loadedConfig?.Common != null)
    {
        //更新到属性
        DataStoragePath = loadedConfig.Common.DataStoragePath;
    }
}

//保存配置到文件
private AppConfigModel appConfig;
//初始化appConfig
appConfig = new AppConfigModel();
appConfig.Common = new CommonConfig();

//更新界面上数据到配置appConfig中
appConfig.Common.DataStoragePath = DataStoragePath;

//保存配置
await jsonConfigService.SaveConfigAsync(appConfig);
日志功能
- App.xaml.cs
CSharp
var container = new ServiceCollection();

//...

//注册日志服务
container.AddSingleton<Common.Services.LoggerService>();

//...

Services = container.BuildServiceProvider();- NLog.config
xml
<?xml version="1.0" encoding="utf-8" ?>
<nlog xmlns="http://www.nlog-project.org/schemas/NLog.xsd"
      xmlns:xsi="http://www.w3.org/2001/XMLSchema-instance"
      autoReload="true">

	<targets>
		<!-- Info日志目标 -->
		<target name="InfoFile"
				xsi:type="File"
				fileName="LogFile/LogInfo/${shortdate}-Info.log"
				layout="${date:format=yyyy-MM-dd HH\:mm\:ss.fff} [INFO] ${message}${newline}"
				encoding="UTF-8"
				archiveEvery="Day"
				maxArchiveFiles="100"
				concurrentWrites="true"
				keepFileOpen="false"/>

		<!-- Error日志目标 -->
		<target name="ErrorFile"
				xsi:type="File"
				fileName="LogFile/LogError/${shortdate}-Error.log"
				layout="${date:format=yyyy-MM-dd HH\:mm\:ss.fff} [ERROR] [ThreadID:${threadid}] ${message}${newline}[StackTrace:${exception:format=Message}]${newline}"
				encoding="UTF-8"
				archiveEvery="Day"
				maxArchiveFiles="100"
				concurrentWrites="true"
				keepFileOpen="false"/>
	</targets>

	<rules>
		<!-- MyLog记录器规则 -->
		<logger name="MyLog" minlevel="Info" maxlevel="Info" writeTo="InfoFile" final="true" />
		<logger name="MyLog" minlevel="Error" maxlevel="Error" writeTo="ErrorFile" final="true" />
	</rules>
</nlog>- LoggerService.cs
CSharp
public class LoggerService
{
    private static readonly NLog.ILogger Logger = NLog.LogManager.GetLogger("MyLog");

    public void Info(string message)
    {
        Logger.Info(message);
    }

    public void Error(string message, Exception? ex = null)
    {
        Logger.Error(ex, message);
    }
}调用服务时,只需调用Info和Error方法即可,示例如下:
CSharp
private void FunA()
{
    try
    {
        loggerService.Info("程序成功");
    }
    catch (Exception ex)
    {
        loggerService.Error("程序出错", ex);
    }
}
界面介绍
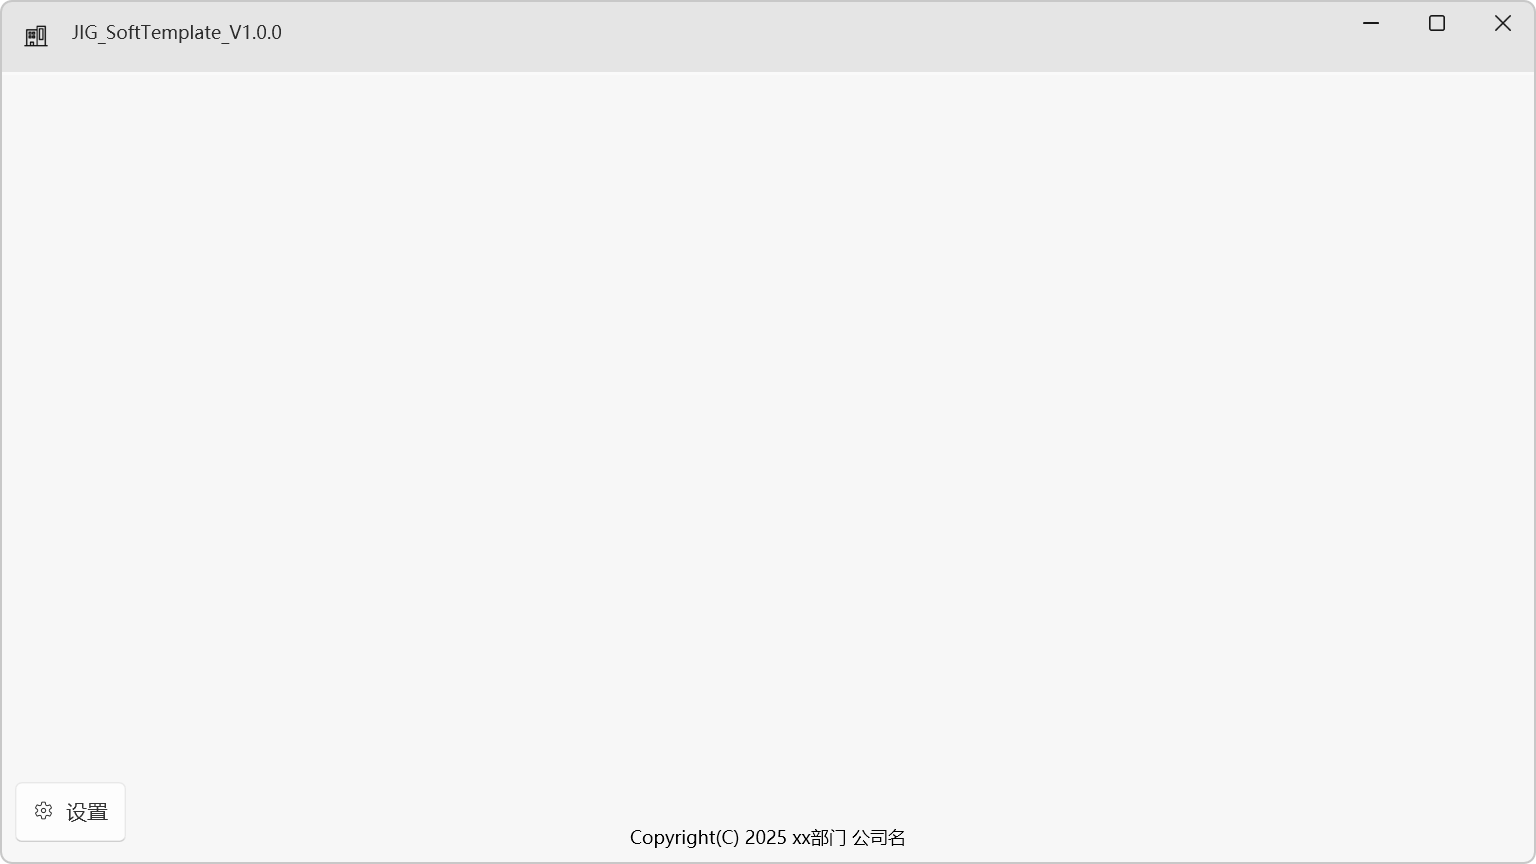
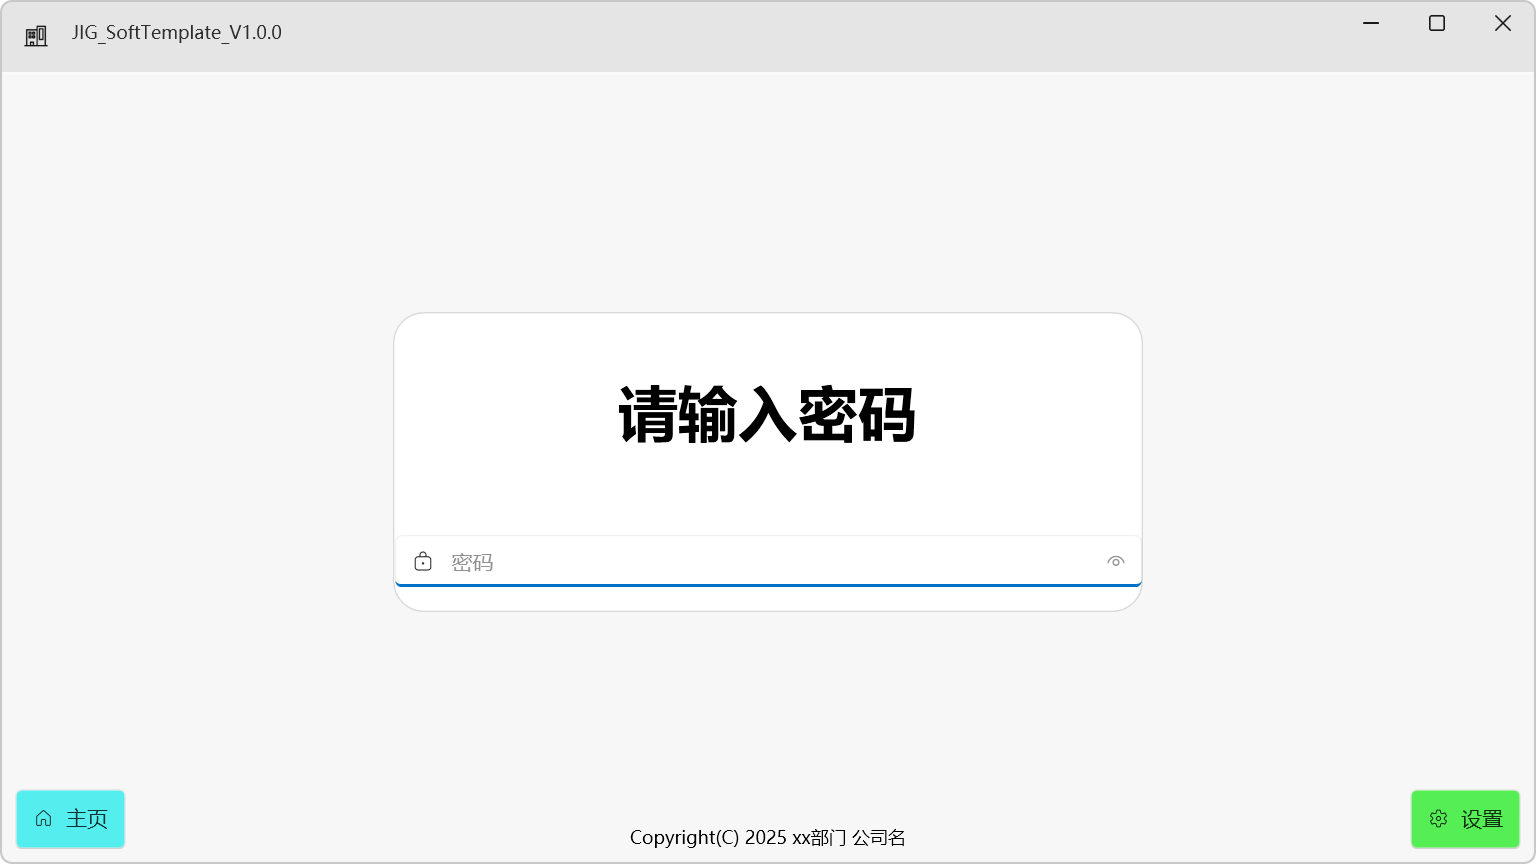
各个界面如下图所示
主界面

登录界面

设置界面

具体项目请自行到Gitee仓库查看吧