二次封装组件需要考虑的3个重要的问题
1,props 如何进行传递
2,插槽如何穿透
3,暴露实例以及实例中的方法
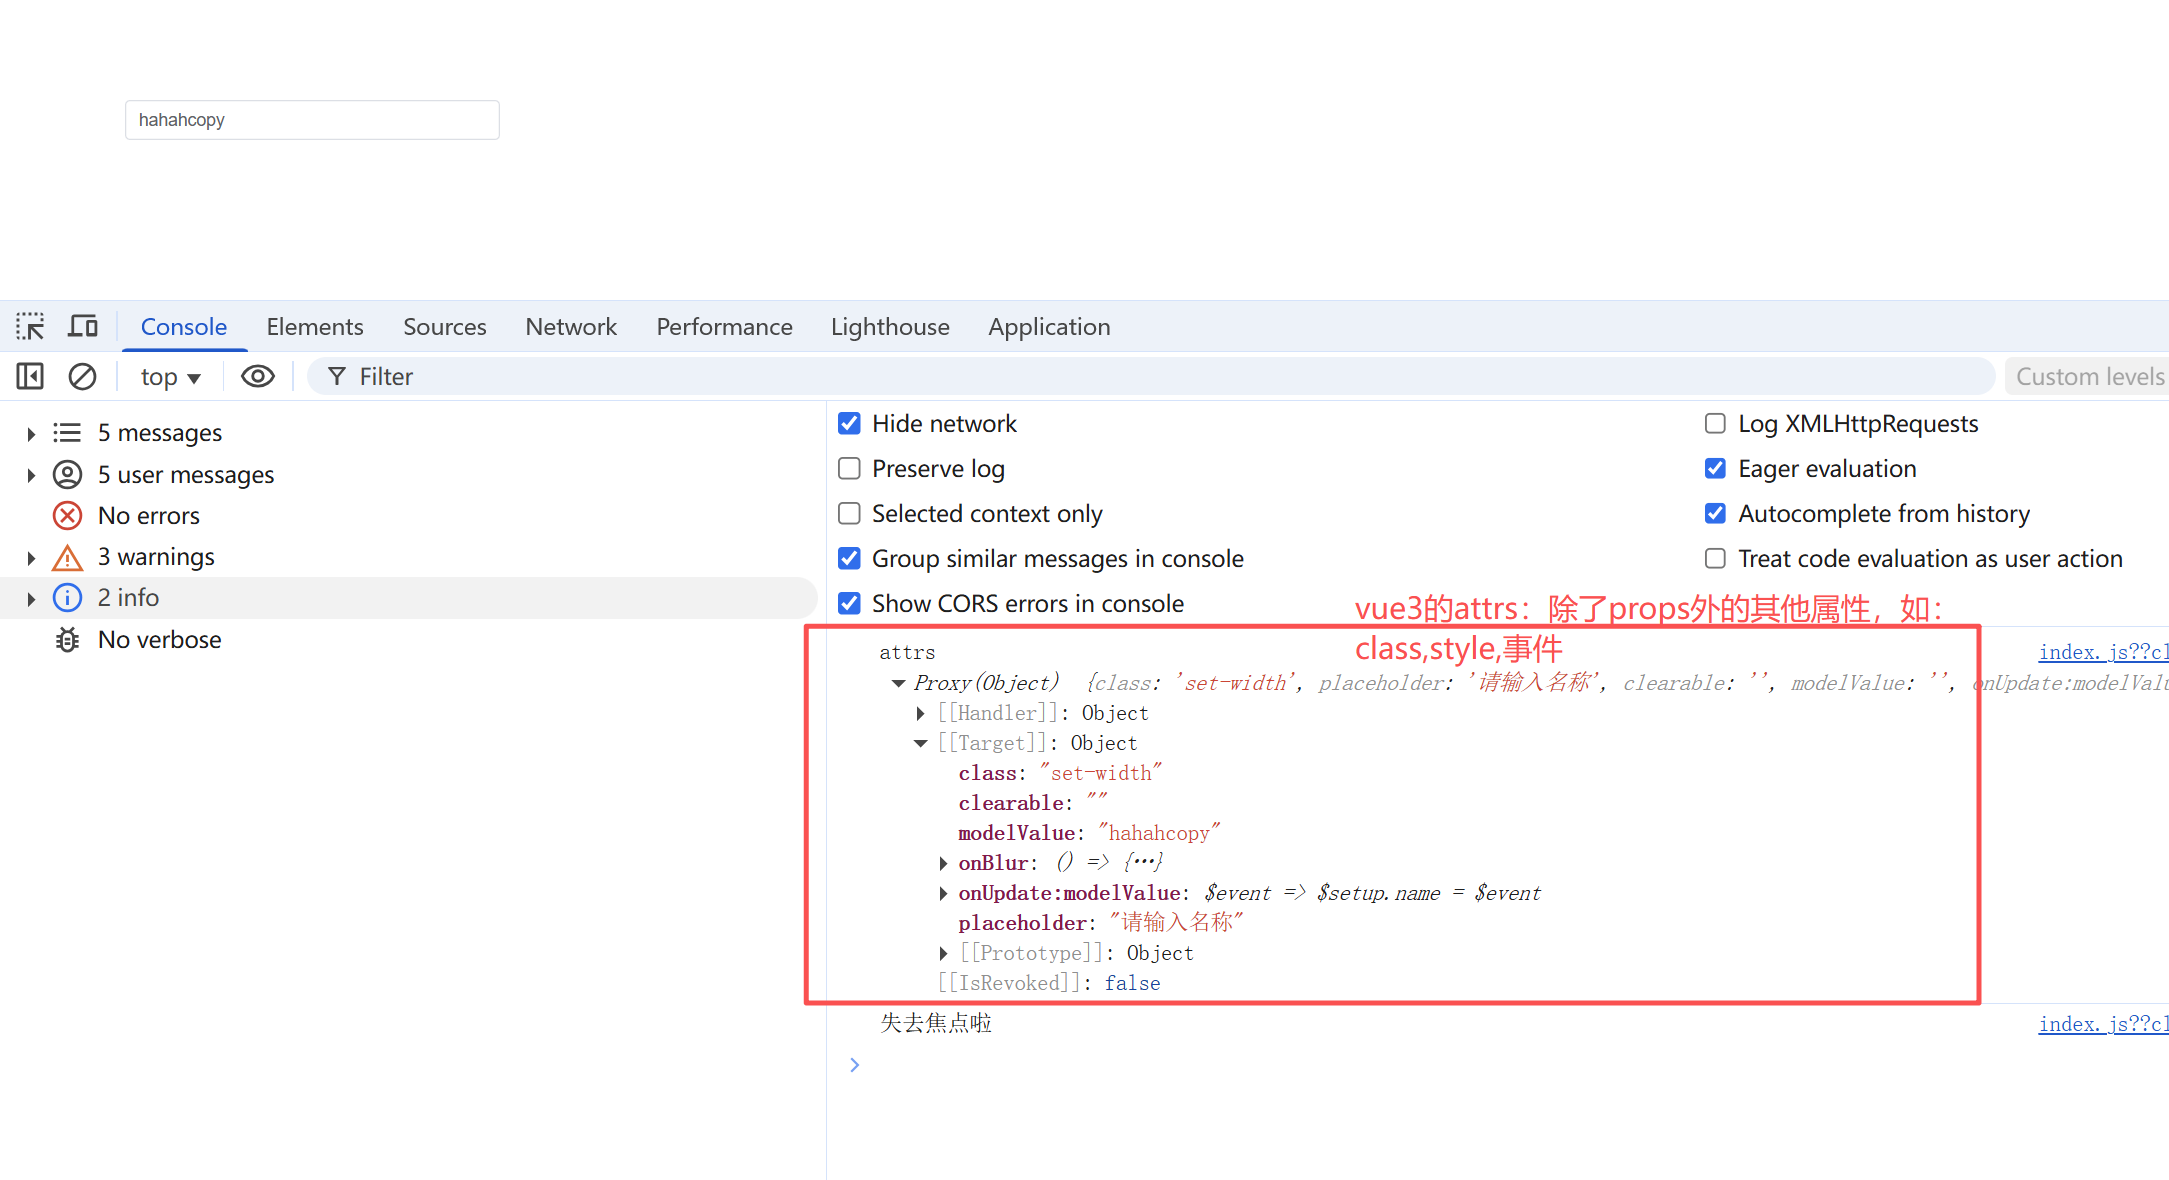
在vue3中的$attrs的变化
vue3中listeners已被删除合并到attrs中。
vue3的$attrs现在包括class和style属性。
vue2中不包含class和style属性。
也就是说:当子组件写上 v-bind="$attrs"
父组件就可以使用子组件的内置事件和内置属性了。
下面我们会详细说一下$attrs
props 如何进行传递属性和事件
我们可以在子组件中使用 v-bind="$attrs"
这样可以把父组件中的属性传递给子组件了
// 子组件
<template>
<div>
<!-- v-bind="$attrs" 可以接收到父组件中的属性设置 -->
<el-input v-bind="$attrs"></el-input>
</div>
</template>
// 父组件
<template>
<div>
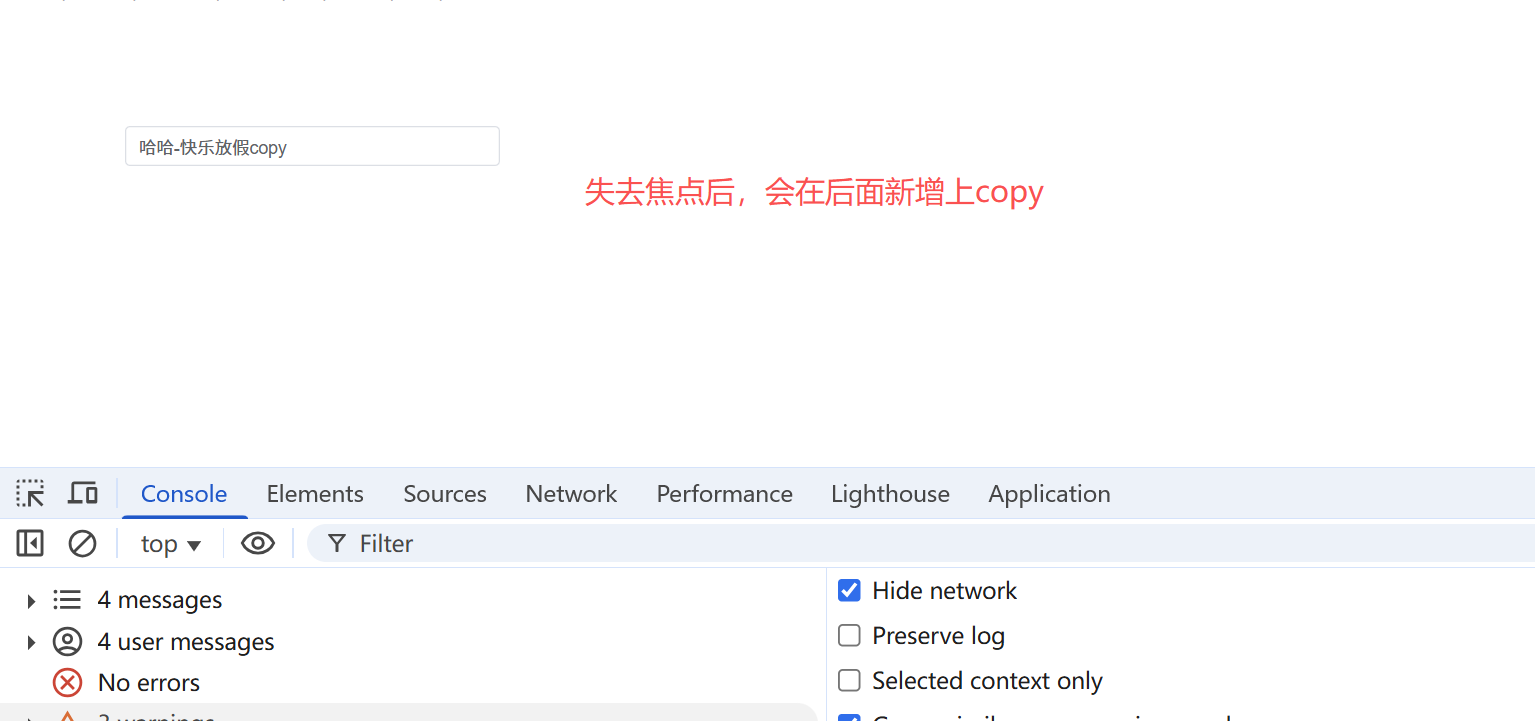
<MyInput class="set-width" placeholder="请输入名称" clearable v-model="name" @blur="clearHandler"></MyInput>
</div>
</template>
<script setup lang="ts">
import MyInput from '@/components/MyInput.vue'
import { ref } from 'vue';
let name = ref('')
const clearHandler = () => {
console.log('失去焦点啦')
name.value += 'copy'
}
</script>
<style lang="scss" scoped>
.set-width {
margin: 100px;
width: 300px;
}
</style>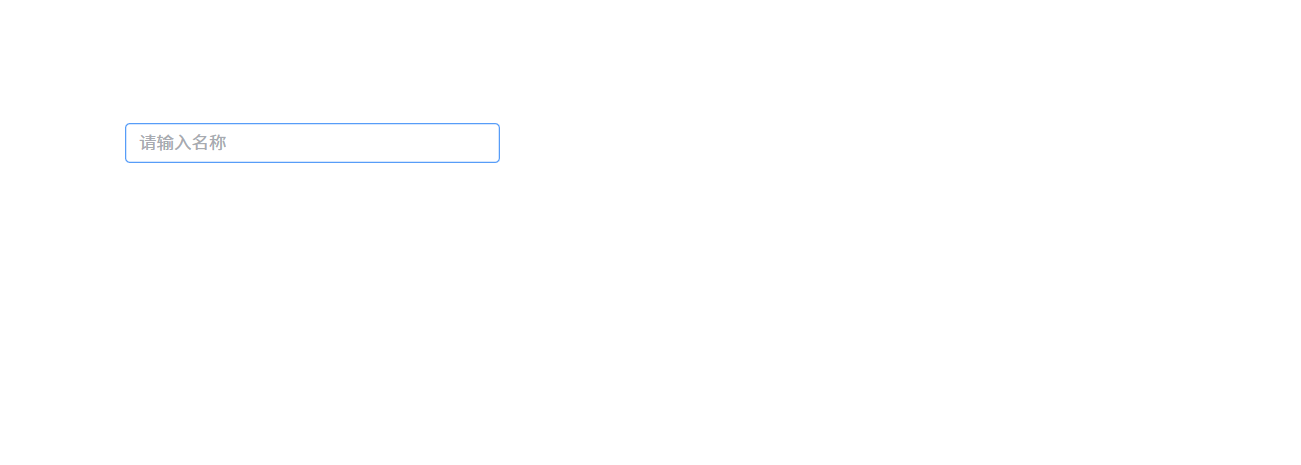
如何解决写组件时没有属性提示的问题
我们发现一个问题:在父组件中的组件写相关属性时,没有属性提示。
// 子组件
<template>
  <div>
    <!-- v-bind="props"  现在我们的属性肯定是 element-plus 的内置属性了 -->
    <el-input v-bind="props"></el-input>
  </div>
</template>

<script setup lang="ts">
// 引入 input 的所有属性
import { type InputProps} from 'element-plus'
// 定义 props, Partial将必填属性变成可选属性
const props = defineProps<Partial<InputProps>>()
</script>
这样父组件在使用的时候,就可以看到属性提示了。
插槽如何封装1: 通过 template 来封装插槽
<template>
  <div>
    <el-input v-bind="props">
      <!-- 插槽 -->
      <template v-for="(_, slotName) in $slots" #[slotName]>
        <slot :name="slotName"></slot>
      </template>
    </el-input>
  </div>
</template>

<script setup lang="ts">
// 引入 input 的所有属性
import { type InputProps} from 'element-plus'
// 定义 props, Partial将必填属性变成可选属性
const props = defineProps<Partial<InputProps>>()
插槽如何封装2: 通过h函数来处理插槽
我们使用h函数来进行封装。
h函数如果第1个参数如果是组件,那么第三个参数就是插槽
<template>
  <div>
    <!-- 我们使用h函数来进行封装,h函数如果第1个参数如果是组件,那么第三个参数就是插槽 -->
    <component :is="h(ElInput, {...$attrs,...props}, $slots)"></component>
  </div>
</template>

<script setup lang="ts">
import { h } from 'vue'
// 引入 input 的所有属性
import { type InputProps, ElInput} from 'element-plus'
// 定义 props, Partial将必填属性变成可选属性
const props = defineProps<Partial<InputProps>>()
</script>

// 父组件
<template>
  <div>
    <MyInput class="set-width"   placeholder="请q输入内容">
      <!-- 在组件中使用插槽 -->
      <template #prepend>
        <el-select v-model="select" placeholder="Select" style="width: 115px">
          <el-option label="Restaurant" value="1" />
          <el-option label="Order No." value="2" />
          <el-option label="Tel" value="3" />
        </el-select>
      </template>
      <template #append>.com</template>
    </MyInput>
  </div>
</template>

<script setup lang="ts">
import MyInput from '@/components/MyInput.vue'
import { ref } from 'vue';
const select = ref('1')
</script>

<style lang="scss" scoped>
.set-width {
  margin: 100px;
  width: 300px;
}
</style>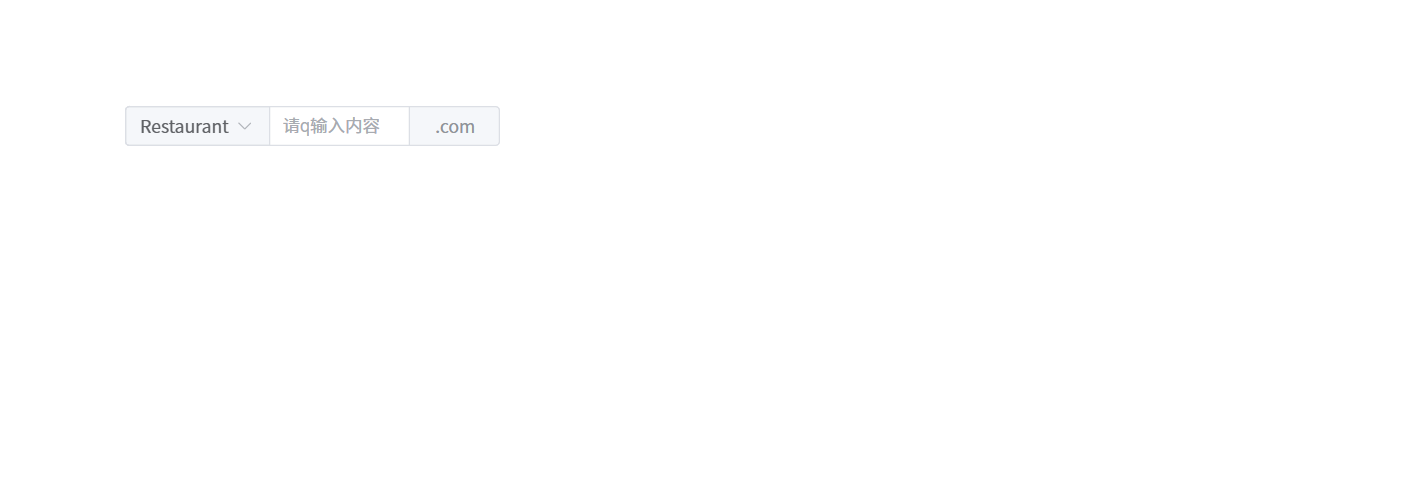
暴露实例以及实例中的方法
我们可以通过 defineExpose 来暴露实例以及方法【常用的】
也可以通过vm.exposed来进行暴露实例以及方法
需要注意组件最初设置了v-if=false这种情况
// 子组件
<template>
<div>
<!-- 我们使用h函数来进行封装,h函数如果第1个参数如果是组件,那么第三个参数就是插槽 -->
<component :is="h(ElInput, {...$attrs,...props, ref: nodeRef}, $slots)"></component>
</div>
</template>
<script setup lang="ts">
import { h, getCurrentInstance } from 'vue'
// 引入 input 的所有属性
import { type InputProps, ElInput} from 'element-plus'
// 定义 props, Partial将必填属性变成可选属性
const props = defineProps<Partial<InputProps>>()
// 获取当前组件实例
const vm = getCurrentInstance()
// ref可以是一个字符串,也可以是一个函数。这样父组件就可以通过ref访问这个组件的实例了
function nodeRef(inputInstance) {
// 现在我们把子组件实例给他,当组件使用了v-if=false的时候,inputInstance为null
// 这里我们是把实例(实例中包含方法)暴露出去
vm.exposed= inputInstance || {}
// 代理对象也要做同步的更改
vm.exposeProxy = inputInstance || {}
}
</script>
// 父组件
<template>
<div>
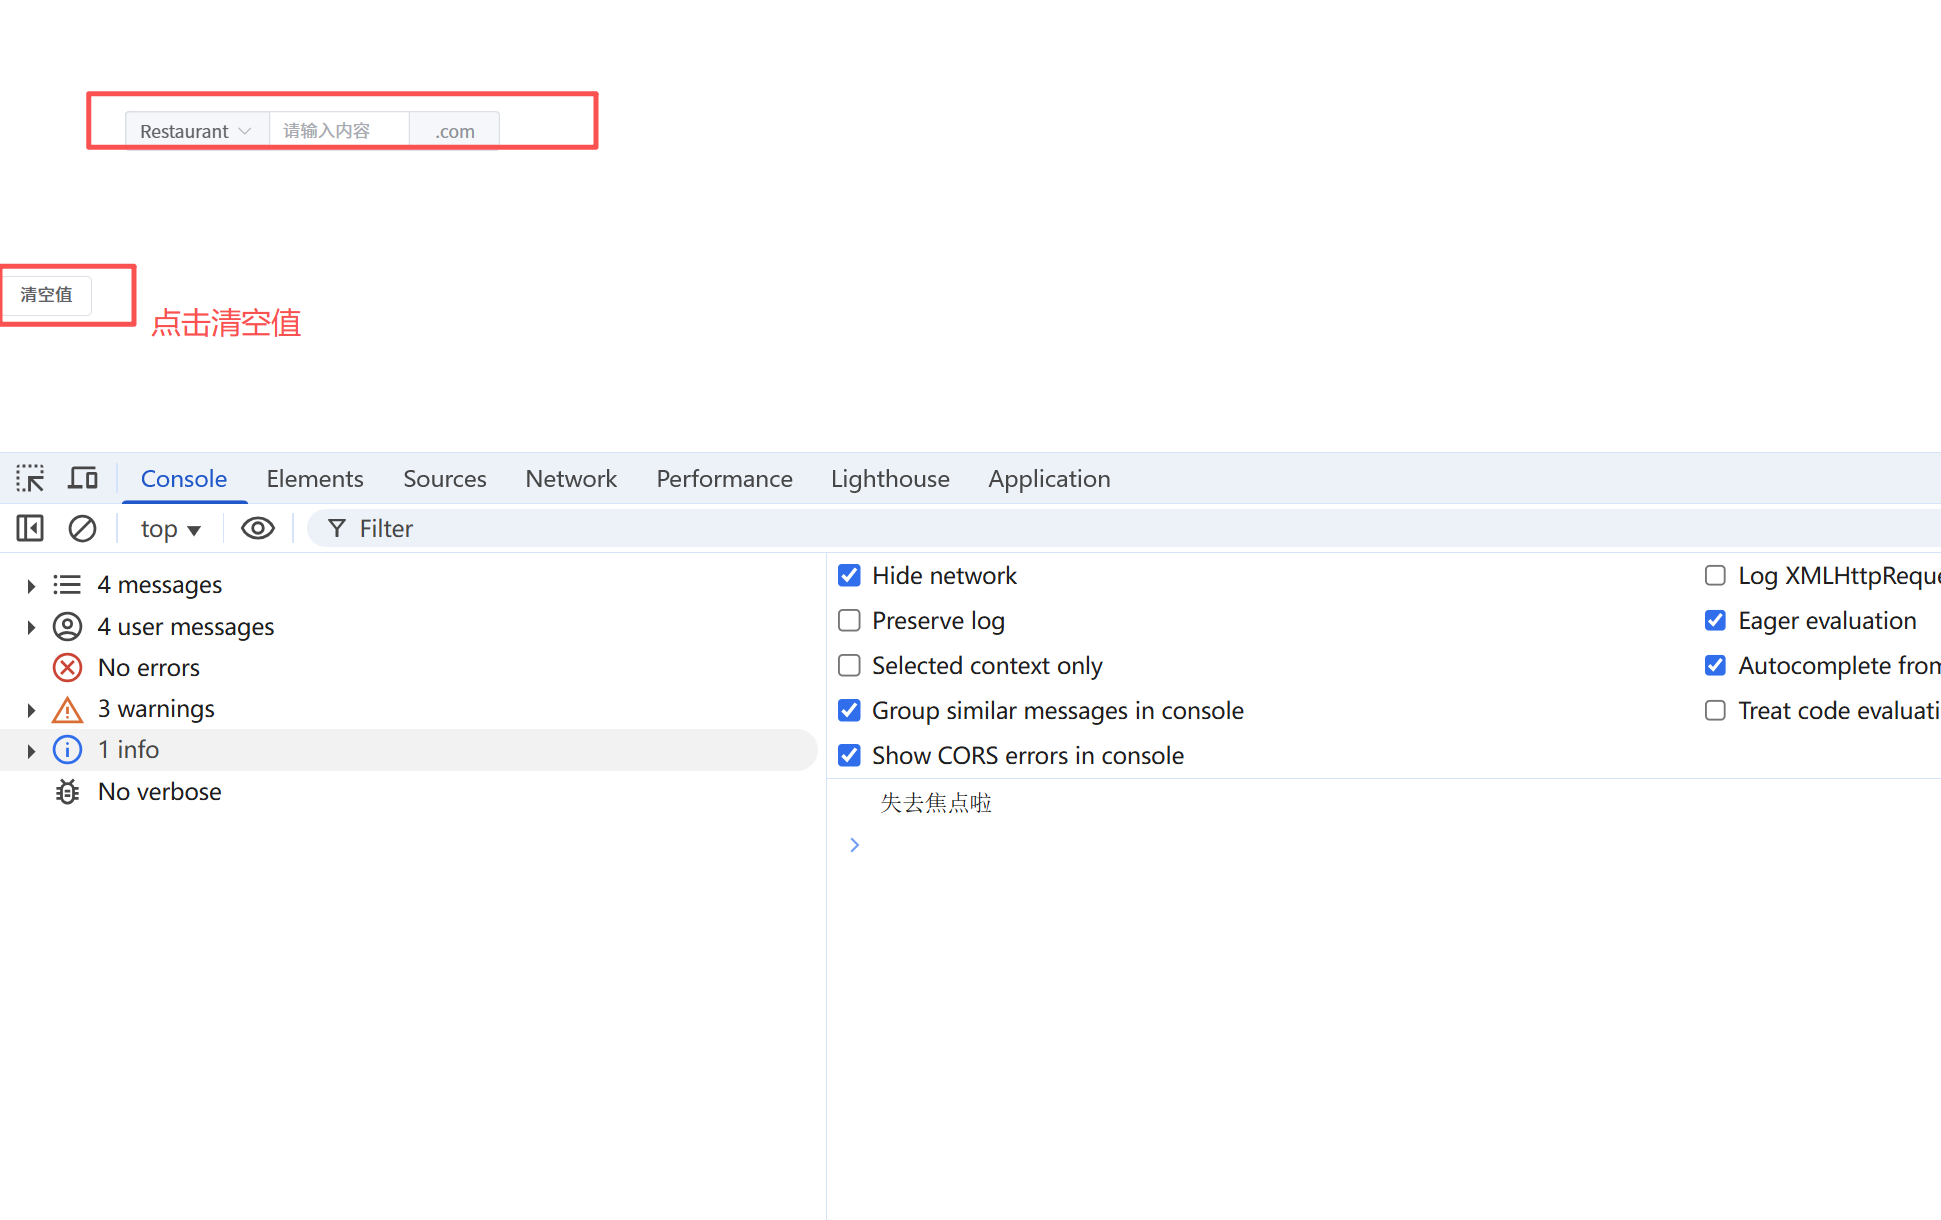
<MyInput class="set-width" v-model="msg" ref="NodeInputRef" placeholder="请输入内容" @blur="clearHandler">
<!-- 在组件中使用插槽 -->
<template #prepend>
<el-select v-model="select" placeholder="Select" style="width: 115px">
<el-option label="Restaurant" value="1" />
<el-option label="Order No." value="2" />
<el-option label="Tel" value="3" />
</el-select>
</template>
<template #append>.com</template>
</MyInput>
<el-button @click="getHandler">清空值</el-button>
</div>
</template>
<script setup lang="ts">
import MyInput from '@/components/MyInput.vue'
import { ref } from 'vue';
const select = ref('1')
const msg = ref('放假快乐')
const NodeInputRef = ref(null)
// 获取实例中的方法
const getHandler = () => {
NodeInputRef.value?.clear()
}
const clearHandler = () => {
console.log('失去焦点啦')
}
</script>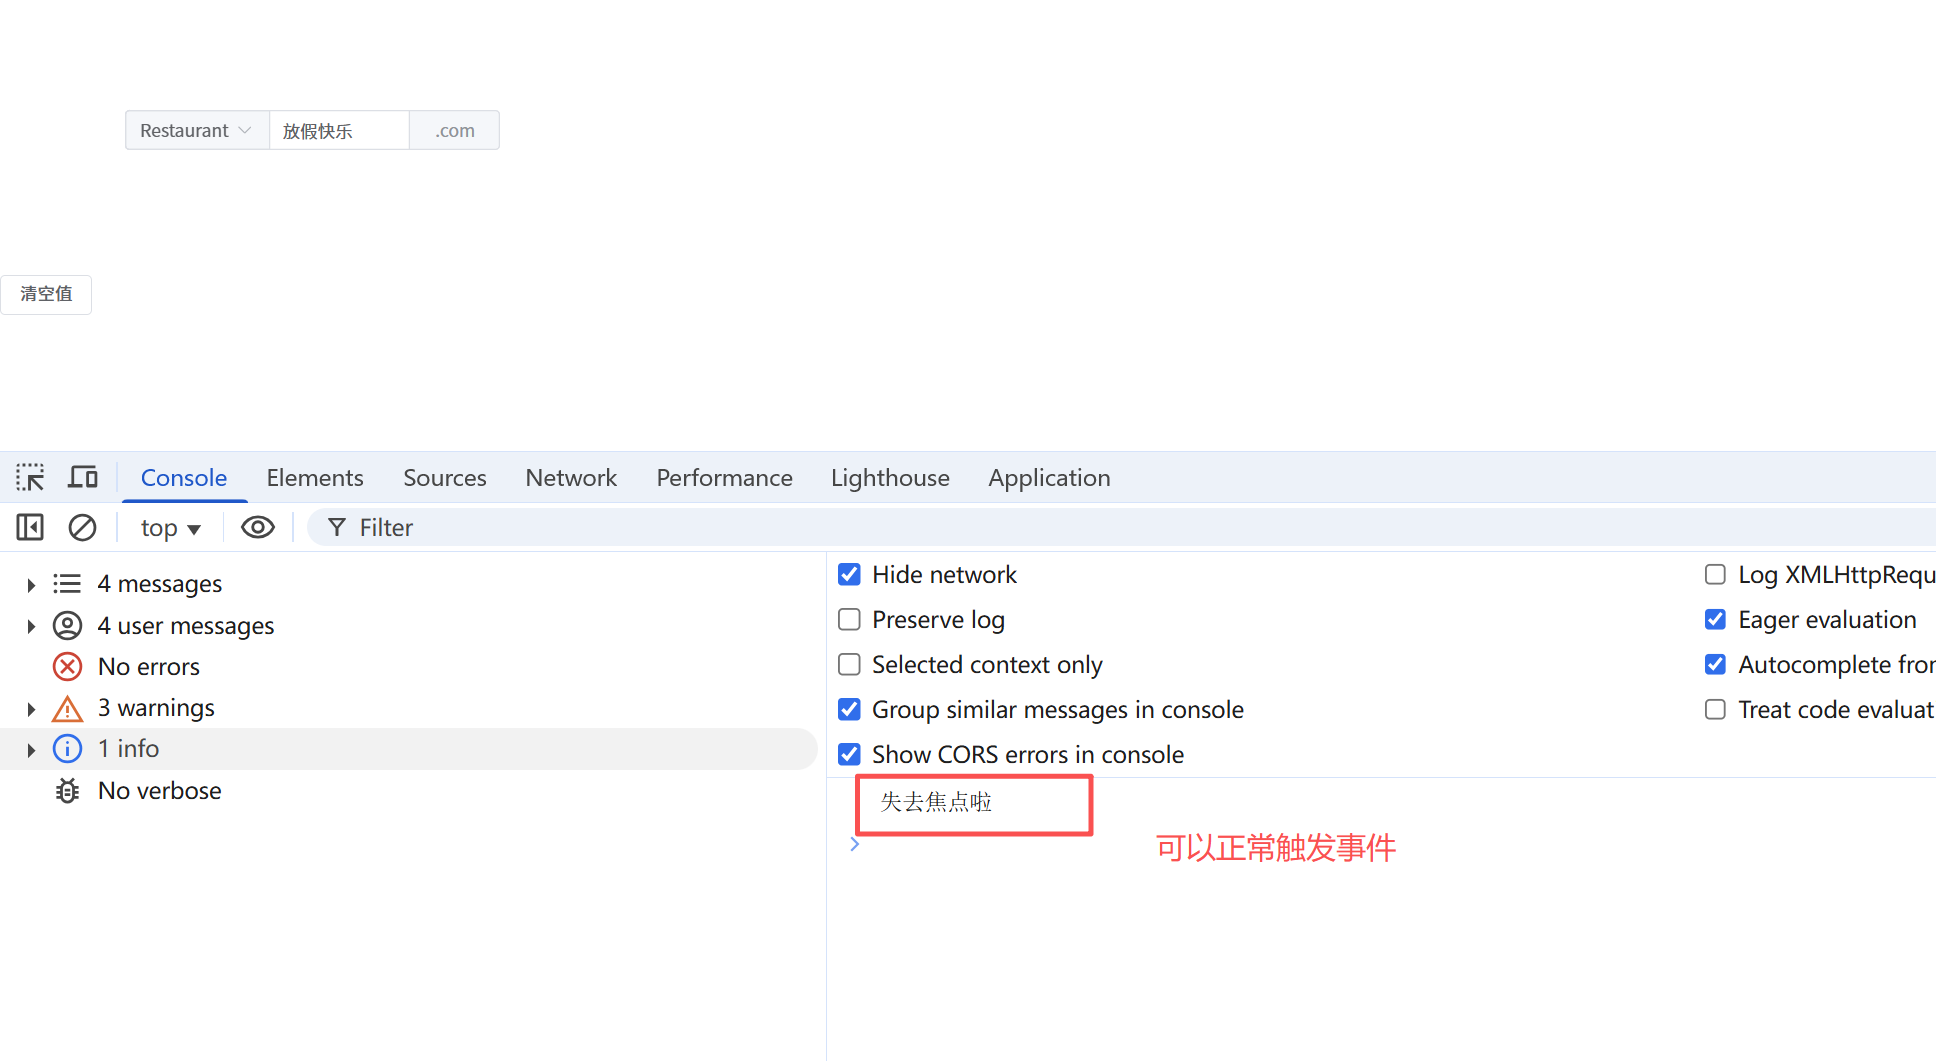
另外一种暴露方式
常见的暴露方式
defineProps({
  name:xxx,
  age:xxx,
})
等价与下面这一种
vm.exposed= {
  name:xxx,
  age:xxx,
}
vue3 中的 props
props 是组件的自定义属性,用于从父组件向子组件传递数据。
props 不会包含继承的属性(如 class 和 style),除非显式声明。
vue3 中的 $attrs
vu3中$attrs: 包含了所有传递给子组件的非 props 属性。如:继承的属性(如 class 和 style)以及未在 props 中声明的属性。
vue3中的attrs: 包含 style和class。attrs包含着数据和事件。
vue3 listeners已被删除合并到attrs中。
在vue2中的$attrs
vu2中$attrs: 包含了所有传递给子组件的非 props 属性和style和class之外的属性。
vue2中的$attrs: 不包含 style和class
下面是详细的讲解:
在V ue2 中,attrs里面包含着上层组件传递的所有数据(除style和class)
当一个组件声明了prop时候,attrs里面包含除去prop里面的数据剩下的数据。
结合inheritAttrs:false,可以将传递下来的数据应用于其他元素,而不是根元素。
h函数封装上面的组件
有些的小伙伴说:我们是否可以使用h函数去封装上面的组件呢?
<script lang="ts">
import { defineComponent, h, getCurrentInstance } from 'vue'
import { type InputProps, ElInput } from 'element-plus'
export default  {
  // 组件名称
  name: 'MyInput',
  inheritAttrs: false,
  setup(props, { attrs, slots }) {
    console.log('attrs', attrs)
    // attrs:除去props中声明的属性。包含属性和事件
    const vm = getCurrentInstance()
    function nodeRef(inputInstance: any) {
      vm.exposed = inputInstance || {}
      vm.exposeProxy = inputInstance || {}
    }
    return () => h(ElInput, {
      ...attrs,
      ...props,
      ref: nodeRef
    }, slots)
  }
}

<template>
  <div>
    <MyInput class="set-width" placeholder="请输入名称" clearable v-model="name" @blur="clearHandler"></MyInput>
  </div>
</template>

<script setup lang="ts">
import MyInput from '@/components/MyInput.vue'
import { ref } from 'vue';
let name = ref('')
const clearHandler = () => {
  console.log('失去焦点啦')
  name.value += 'copy'
}
</script>

<style lang="scss" scoped>
.set-width {
  margin: 100px;
  width: 300px;
}
</style>