环境准备
已经安装好的jdk 和python3.7+ 检验环境
powershell
java -version
javac -version
keytool -h
python --version
下载mkcert 在github里面,可能需要墙
cmd进入mkcert-v1.4.4-windows-amd64.exe 所在路径,自动安装rootCA.pem和rootCA-key.pem
查看安装信息,不能出现安装失败的信息。
powershell
mkcert-v1.4.4-windows-amd64.exe -install非必须操作- 查看-install安装的证书路径,一般在C:\Users\admin\AppData\Local\mkcert
powershell
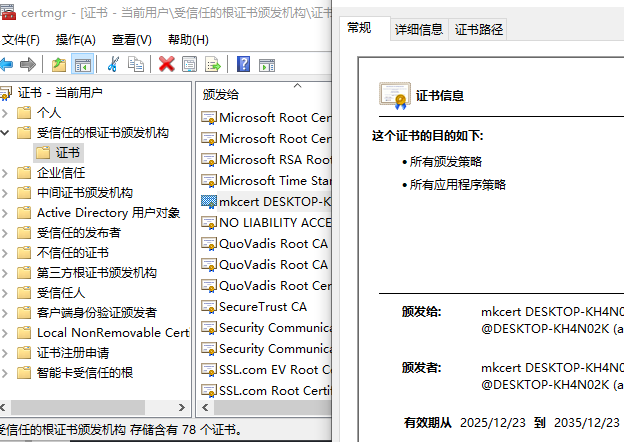
mkcert-v1.4.4-windows-amd64.exe -CAROOT 非必须操作- 查看安装证书的有效期
Win+R -> certmgr.msc->
准备证书
生成证书localhost+3-key.pem和localhost+3.pem,并拷贝到index.html所在路径,注意主机ip的更改
powershell
mkcert-v1.4.4-windows-amd64.exe localhost 127.0.0.1 ::1 10.8.0.19准备服务运行代码
cmd或powershell 进入到index.html所在路径
python 运行http服务是
powershell
python -m http.server --bind 10.8.0.19 8081 --directory . --cgi python3.9 运行https服务准备代码
python
#runserver.py
from http.server import HTTPServer, SimpleHTTPRequestHandler
import ssl

# 配置
HOST = '0.0.0.0'  # 监听所有接口
PORT = 9443       # 避免使用 443(需要 root 权限)
CERT_FILE = 'localhost+3.pem'  # PEM 格式证书(可包含私钥)
KEY_FILE = 'localhost+3-key.pem'

# 创建 HTTP 服务器
httpd = HTTPServer((HOST, PORT), SimpleHTTPRequestHandler)

# 添加 SSL/TLS 支持
httpd.socket = ssl.wrap_socket(
    httpd.socket,
    certfile=CERT_FILE,    # 证书文件路径
    keyfile=KEY_FILE,
    server_side=True,      # 服务器模式
    ssl_version=ssl.PROTOCOL_TLS  # 使用现代 TLS
)

print(f"HTTPS 服务启动: https://{HOST}:{PORT}")
httpd.serve_forever()
python 运行起来就可用了,注意报错可能端口冲突,改下就基本没问题
powershell
python runserver.py**python11过后 的版本无需runserver.py的代码,可尝试运行
powershell
python -m http.server --bind 10.8.0.19 9443 --directory . --cgi --certfile ./localhost+3.pem --keyfile ./localhost+3-key.pem参考文献
https://cloud.tencent.com/developer/article/2191830
https://zhuanlan.zhihu.com/p/690072715