目录
[2.2解决刷新 404 问题](#2.2解决刷新 404 问题)
[3nginx 服务器部署](#3nginx 服务器部署)
[3.2nginx 配置代理练习](#3.2nginx 配置代理练习)
[3.3nginx 部署前端项目](#3.3nginx 部署前端项目)
1项目打包
- ●我们开发用的脚手架其实就是一个微型服务器,用于:支撑开发环境、运行代理服务器等。
- ●打包完的文件中不存在:.vue、.jsx、.less 等文件,而是:html、css、js等。
- ●打包后的文件,不再借助脚手架运行,而是需要部署到服务器上运行。
- ●打包前,请务必梳理好前端项目的ajax封装(请求前缀、代理规则等)。
2本地服务器部署
2.1具体操作步骤
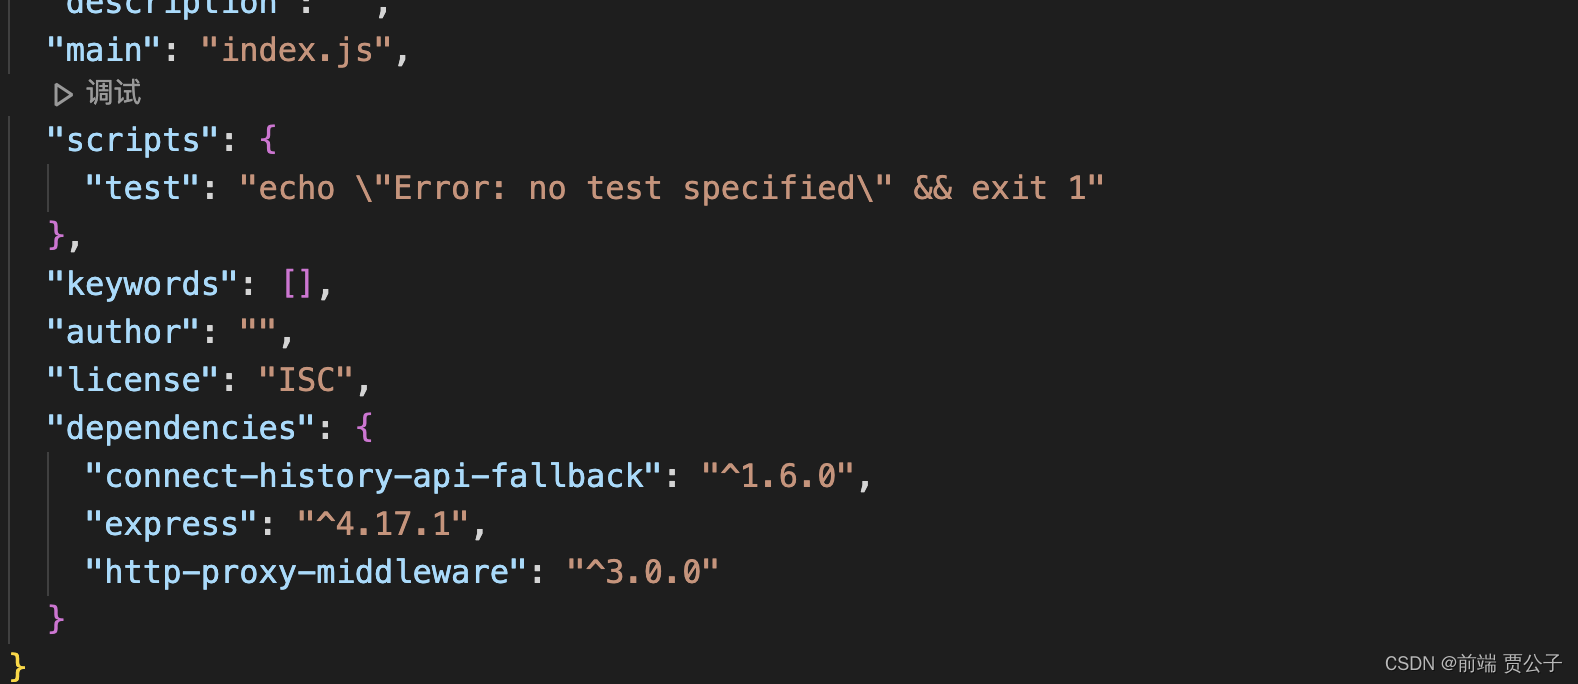
安装express
前提是电脑已经安装了node
新建一个文件夹,执行npm init -y命令,生成package.json,再执行npm add express命令,下载express,成功之后如下图。
每次修改代码时,都要重新启动服务器,比较麻烦,所以提出了热部署(nodemon),安装命令:npm i nodemon -g
最后完整代码如下:
// 引入express
const express = require('express')
// 配置端口号
const PORT = 8088

// 创建一个app服务实例
const app = express()

// 配置静态资源
app.use(express.static(__dirname + '/public'))

// 绑定端口监听
app.listen(PORT, () => {
	console.log(`本地服务器启动成功,http://localhost:${PORT}`)
})
执行命令:nodemon .server.js,浏览器输入http://localhost:8088会出现这个页面:
2.2解决刷新 404 问题
问题分析:前端项目的路由,通常分为两种工作模式,分别为:
1hash模式
hash 值又称锚点,通常用于指定网页中的某个位置,例如下面的网址:
央视网_世界就在眼前,其中的#SUBD1605080062959435就是 hash 值,hash 值只在客户端(如浏览器)中使用,是不会带给服务器的,所以使用 hash 模式时,不存在刷新 404 问题。
2history模式
istory 去掉了URL中的#号,可以让应用的URL看起来更美观,带来的问题就是刷新时,会将前端路由携带给后端,而后端没有对应资源的匹配,就出现了 404 问题。
解决方案一:将前端路由器工作模式改为 hash 模式 ------ 不太推荐。
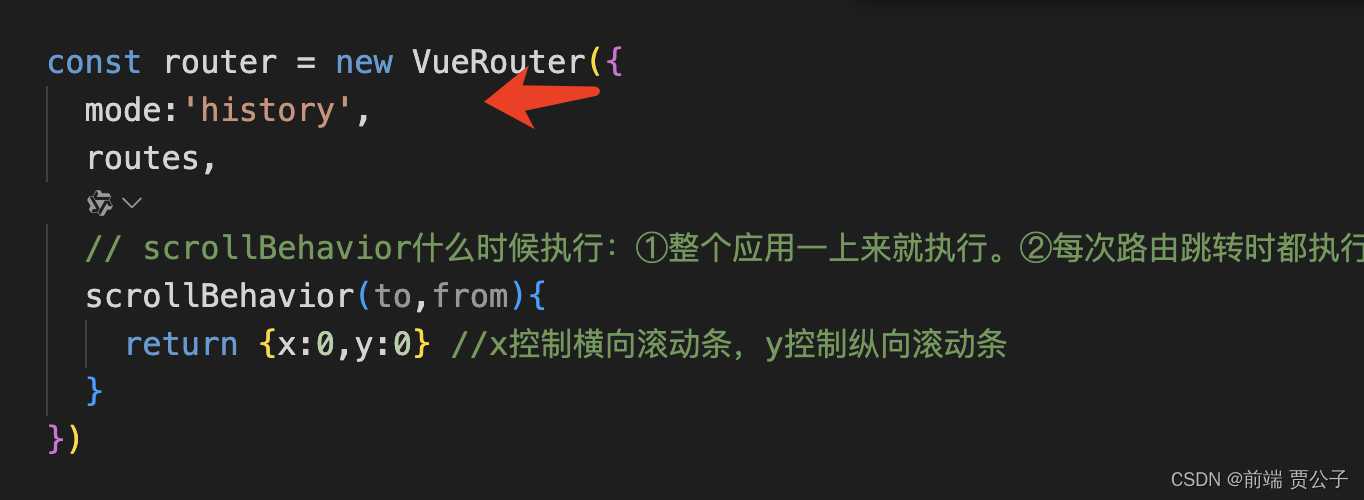
解决方案二:让服务器在收到未配置的GET路由时,都返回index.html即可。
方案二最终其实是把 url 中的 path,交给了前端路由去处理,具体配置如下
app.get('*',(req,res)=>{
	res.sendFile(__dirname + '/public/index.html')
})
也可以借助connect-history-api-fallback中间件完成配置
const history = require('connect-history-api-fallback');

app.use(history());
// 配置静态资源
app.use(express.static(__dirname + '/public'))
使用connect-history-api-fallback可以让配置更灵活,比如/login临时不需要作为前端路由处理,就可以按照如下方式配置
app.use(history({
	verbose:false,
	rewrites:[
		{ from: /^\/login.*$/, to: (context) => context.parsedUrl.path },
	]
}))
2.3请求无法发送问题
问题分析:脱离脚手架后,就没有了代理服务器,无法转发请求到【提供数据】的服务器。
如何解决?------ 在 Node 服务器中借助http-proxy-middleware中间件配置代理,具体配置如下
// 引入createProxyMiddleware
const { createProxyMiddleware } = require('http-proxy-middleware')

// 配置代理中间件
app.use('/dev', createProxyMiddleware({
	target: 'http://sph-h5-api.atguigu.cn',
	changeOrigin: true,
	pathRewrite: {
		'^/dev': ''
	}
}))
3nginx 服务器部署
Nginx(发音为"engine-x")是一款高性能的 HTTP 服务器和反向代理服务器,同时也是一个 IMAP/POP3/SMTP 代理服务器。Nginx 最初由 Igor Sysoev 编写,于 2004 年发布。它以其高性能、高稳定性、丰富的功能集和低系统资源消耗而闻名,主要功能有:
- 1反向代理
- 2负载均衡
- 3静态内容服务
- 4HTTP/2 支持
- 5SSL/TLS 支持
- 6高速缓存
3.2nginx 配置代理练习
安装nginx
-
安装nginx-mac
$ brew install nginx # mac安装nginx
-
查看版本-mac
$ nginx -v # 查看版本
-
查看nginx-mac
$ brew info nginx #查看nginx
注意:mac安装可能遇到的问题

遇到某个包发生错误,直接使用brew安装这个包,再安装nginx
$ brew install pcre2  # 安装出错的包
$ brew install nginx  # 安装nginx
遇到这个错误,可以直接执行该命令,安装对应的工具,再安装nginx
$  xcode-select --install  # 安装对应工具
$  brew install nginx  # 安装nginx
nginx部署启动项目
-
mac查看nginx的相关目录
brew info nginx #查看nginx
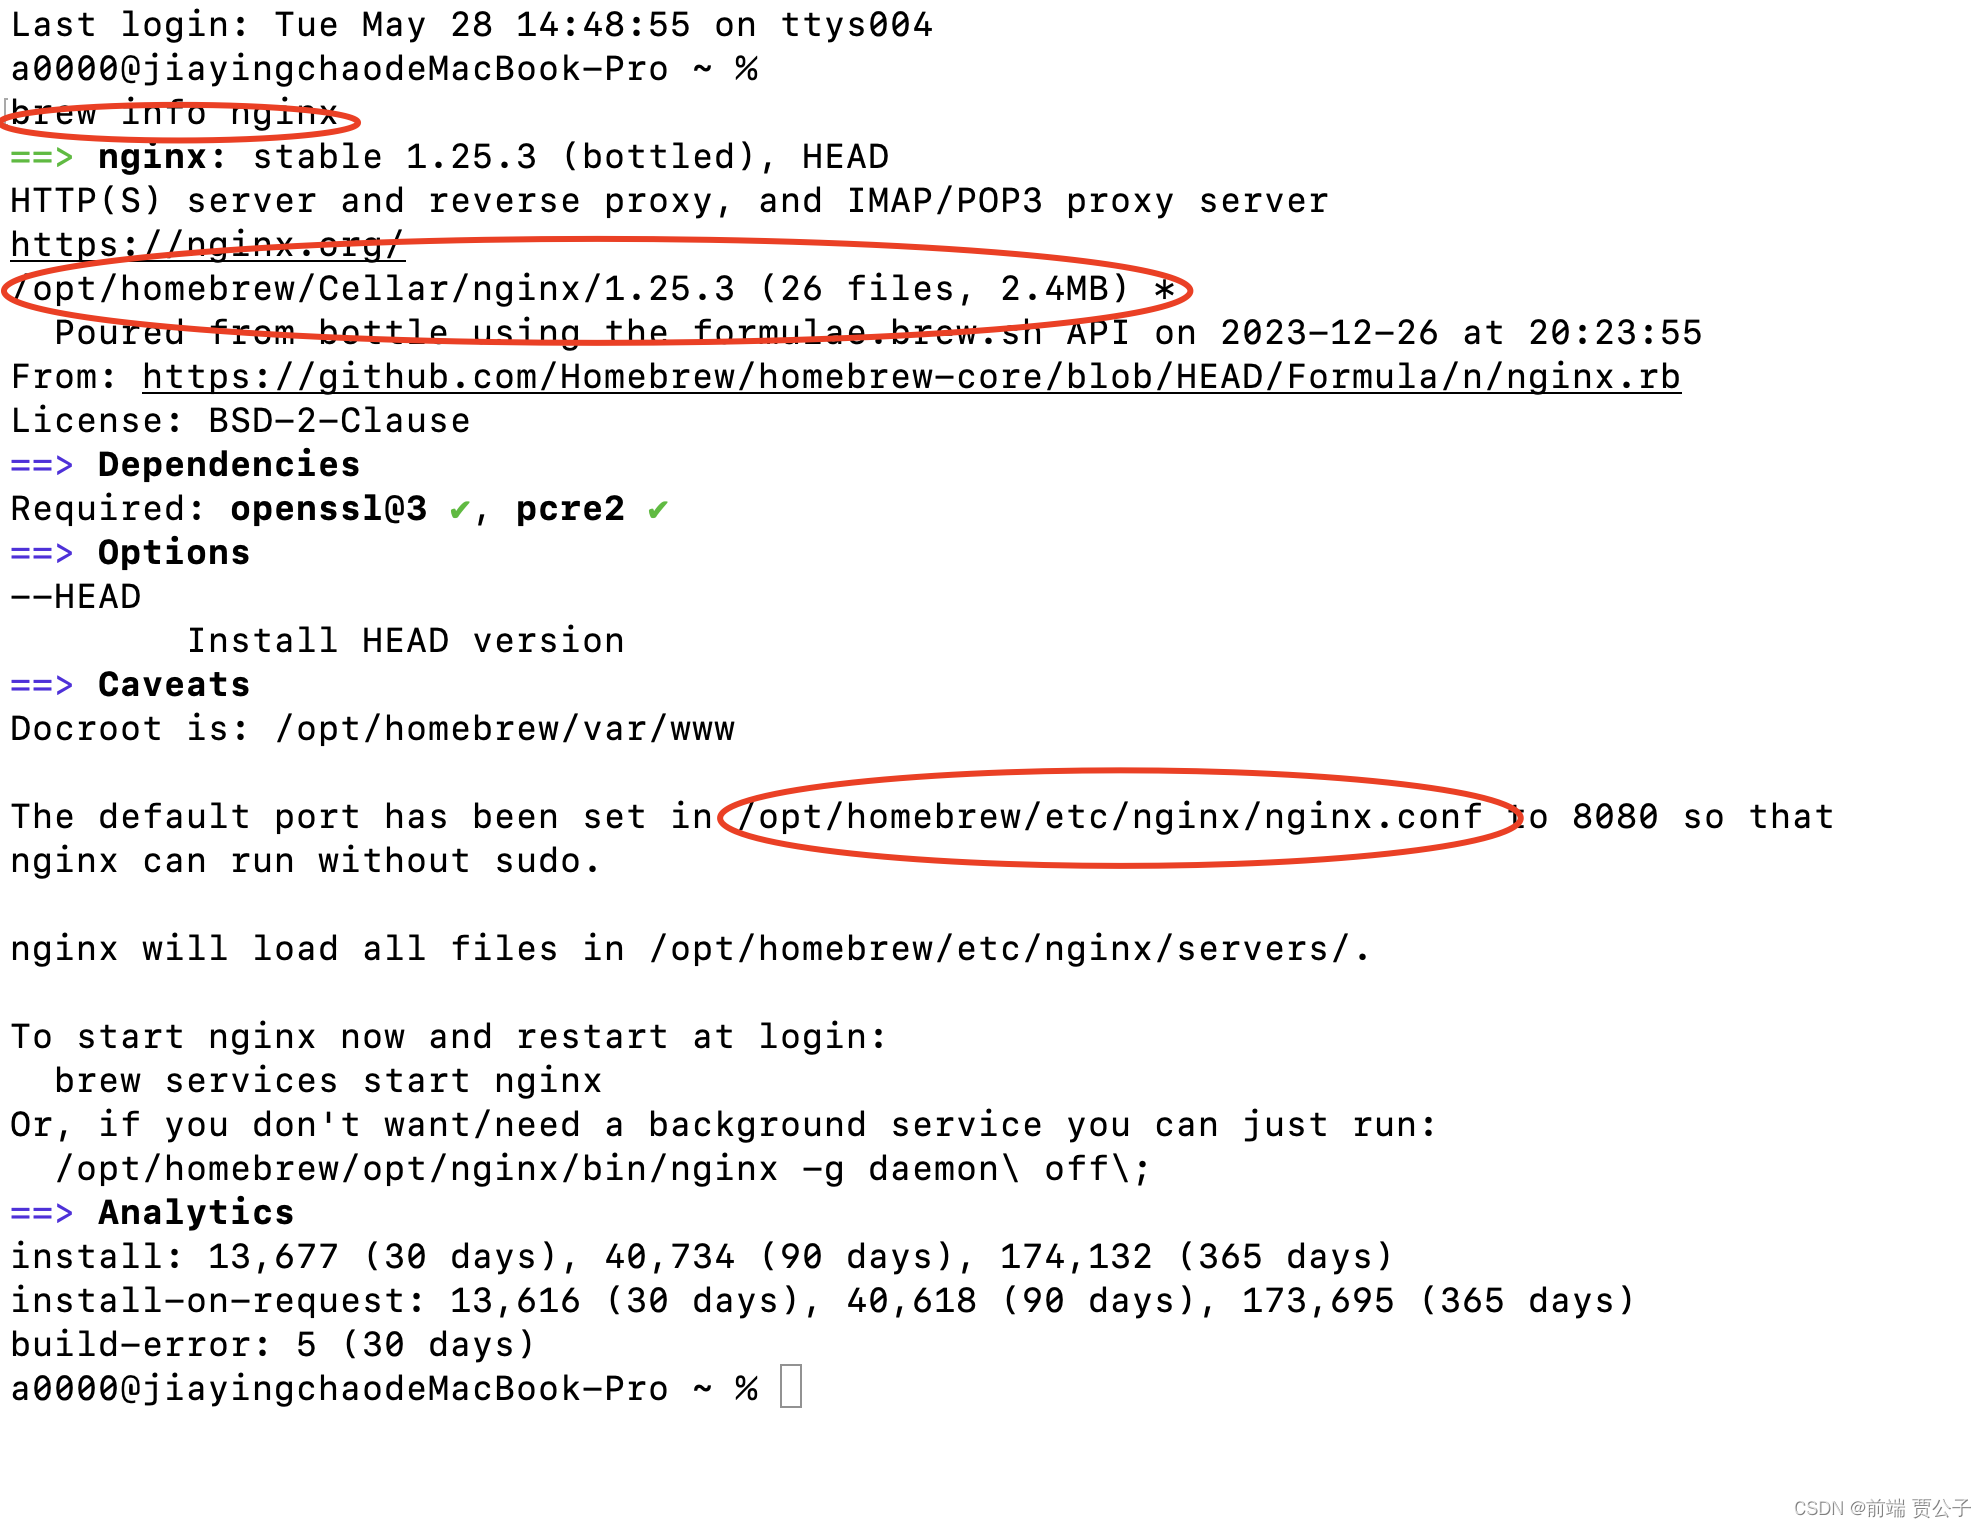
mac-nginx安装目录-/opt/homebrew/Cellar/nginx/1.23.3
mac-配置文件路-/opt/homebrew/etc/nginx/nginx.conf
- 将打包的文件放置到安装目录/html下
-
mac-启动服务命令
$ /opt/homebrew/Cellar/nginx/1.23.3/bin/nginx #启动命令
-
mac-停止服务
$ /opt/homebrew/Cellar/nginx/1.23.3/bin/nginx -s stop #停止命令
-
mac重启服务
$ /opt/homebrew/Cellar/nginx/1.23.3/bin/nginx -s reload #重启
注意: mac版本的nginx的默认端口为8080
3.3nginx 部署前端项目
整体思路:让nginx充当两个角色,既是 静态内容服务器,又是代理服务器。
修改nginx配置如下,注意nginx的根目录最好不是 C 盘
# 配置nginx根目录
location / {
root D:\dist;
index index.html index.htm;
}
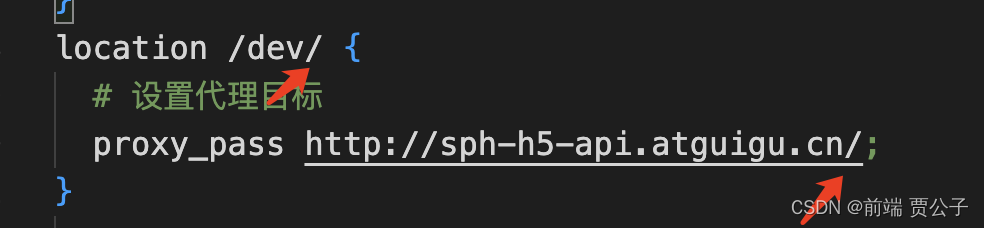
# 配置代理
location /dev/ {
# 设置代理目标
proxy_pass http://sph-h5-api.atguigu.cn/;
}2修改前端项目,让所有请求都转发给 /dev,随后重新打包
const request = axios.create({
  baseURL:'/dev',
  timeout:10000
})
随后直接访问nginx服务器即可,例如 nginx如果运行在8099端口,则访问:
http://localhost:8099随后会遇到刷新404问题,追加nginx配置来解决
# 配置nginx根目录
location / {
  root   D:\dist;
  index  index.html index.htm;
  try_files $uri $uri/ /index.html; # 解决刷新404
}
# 配置代理
location /dev/ {
  # 设置代理目标
  proxy_pass http://sph-h5-api.atguigu.cn/;
}
加上这两个"/"就剔除掉了dev
4云服务器部署
- 我们可以在云服务器上借助nginx完成部署,大致流程与本地nginx部署一致
- 1关于购买云服务器,可选择:阿里云、腾讯云等。
- 2关于操作系统,看个人习惯,Ubuntu、CentOs、RedHat、都不错。
- 3购买完成后记得重置密码
- 4linux 远程操作软件:Xshell、Xftp
5具体配置如下:
●给服务器安装nginx
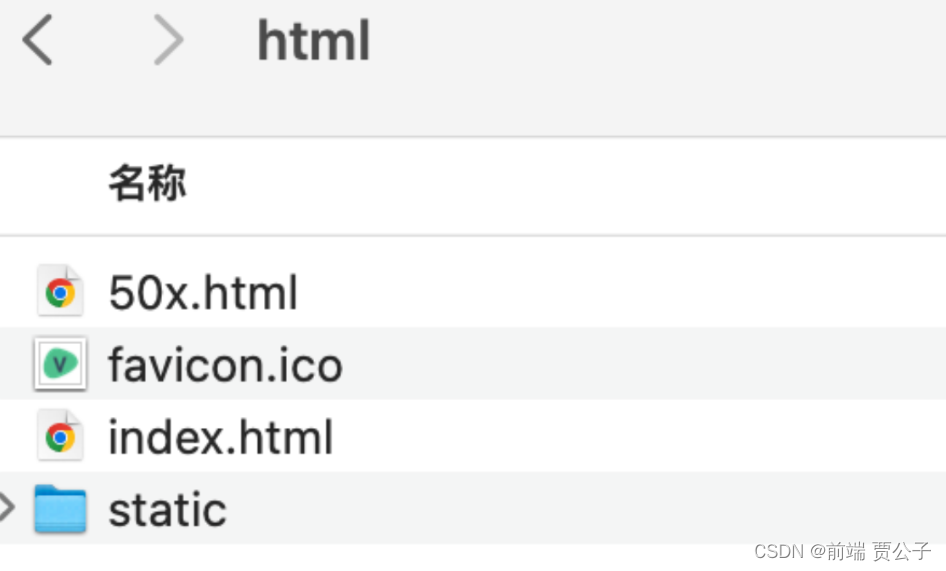
yum install nginx将打包后的前端资源放在:/var/sph文件夹中。
●使用Xftp配置服务器的 nginx,修改文件:/etc/nginx/nginx.config
# For more information on configuration, see:
#   * Official English Documentation: http://nginx.org/en/docs/
#   * Official Russian Documentation: http://nginx.org/ru/docs/

user nginx;
worker_processes auto;
error_log /var/log/nginx/error.log;
pid /run/nginx.pid;

# Load dynamic modules. See /usr/share/doc/nginx/README.dynamic.
include /usr/share/nginx/modules/*.conf;

events {
    worker_connections 1024;
}

http {
    log_format  main  '$remote_addr - $remote_user [$time_local] "$request" '
                      '$status $body_bytes_sent "$http_referer" '
                      '"$http_user_agent" "$http_x_forwarded_for"';

    access_log  /var/log/nginx/access.log  main;

    sendfile            on;
    tcp_nopush          on;
    tcp_nodelay         on;
    keepalive_timeout   65;
    types_hash_max_size 2048;

    include             /etc/nginx/mime.types;
    default_type        application/octet-stream;

    # Load modular configuration files from the /etc/nginx/conf.d directory.
    # See http://nginx.org/en/docs/ngx_core_module.html#include
    # for more information.
    include /etc/nginx/conf.d/*.conf;

    server {
        listen       80 default_server;
        listen       [::]:80 default_server;
        server_name  _;
        root         /usr/share/nginx/html;

        # Load configuration files for the default server block.
        include /etc/nginx/default.d/*.conf;

        location / {
          root   /var/sph;
          index  index.html index.htm;
          try_files $uri $uri/ /index.html; # 解决刷新404
        }
        # 配置代理
        location /dev/ {
          # 设置代理目标
          proxy_pass http://sph-h5-api.atguigu.cn/;
        }

        error_page 404 /404.html;
            location = /40x.html {
        }

        error_page 500 502 503 504 /50x.html;
            location = /50x.html {
        }
    }
}
本地资源上传
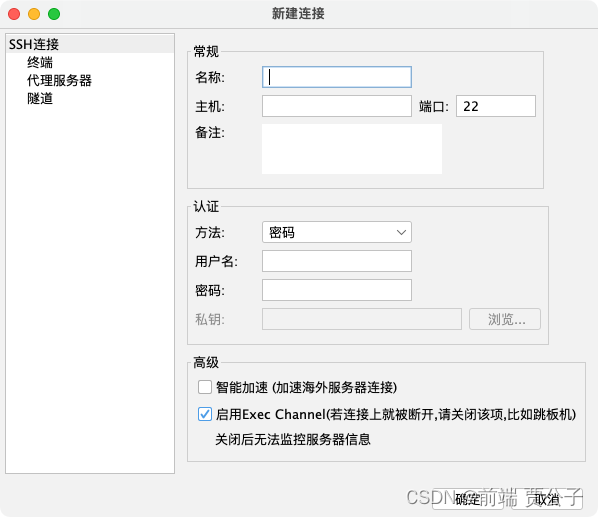
将打包好的文件上传到远程服务器,我们这里可以使用FinalShell,比较简单
首先打开FinalShell,点击新建,然后输入主机地址,点击连接,接着根据提示输入用户(默认是root)、密码,如下图。
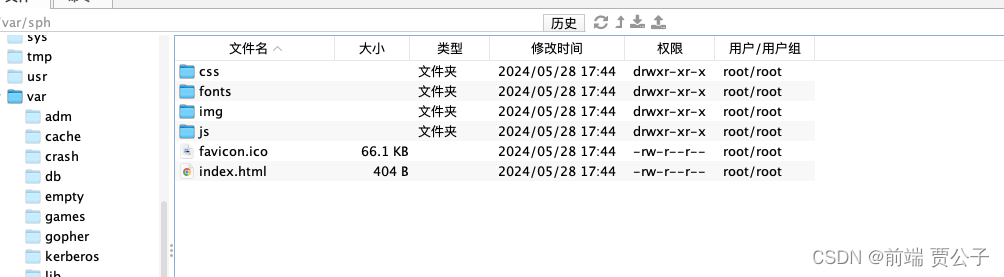
接下来把你需要上传的文件直接拖入到远程目录下就可以上传。
这里我把我的打包文件放在了/var/sph这个目录下,大家可以自己选择(建议不要放在root文件下面,会有权限的问题
配置服务器与nginx
下载nginx
yum install nginx查看nginx的版本
nginx -v
查看nginx的安装位置
/etc/nginxnginx配置
找到nginx目录下的conf/nginx.conf文件,之前在本地怎么配置的,远程也是一样的~
nginx 新增对外开放端口方法
这里我以阿里云服务器为例,进入首页后打开控制台,找到服务器实例,点击安全组,如下图。
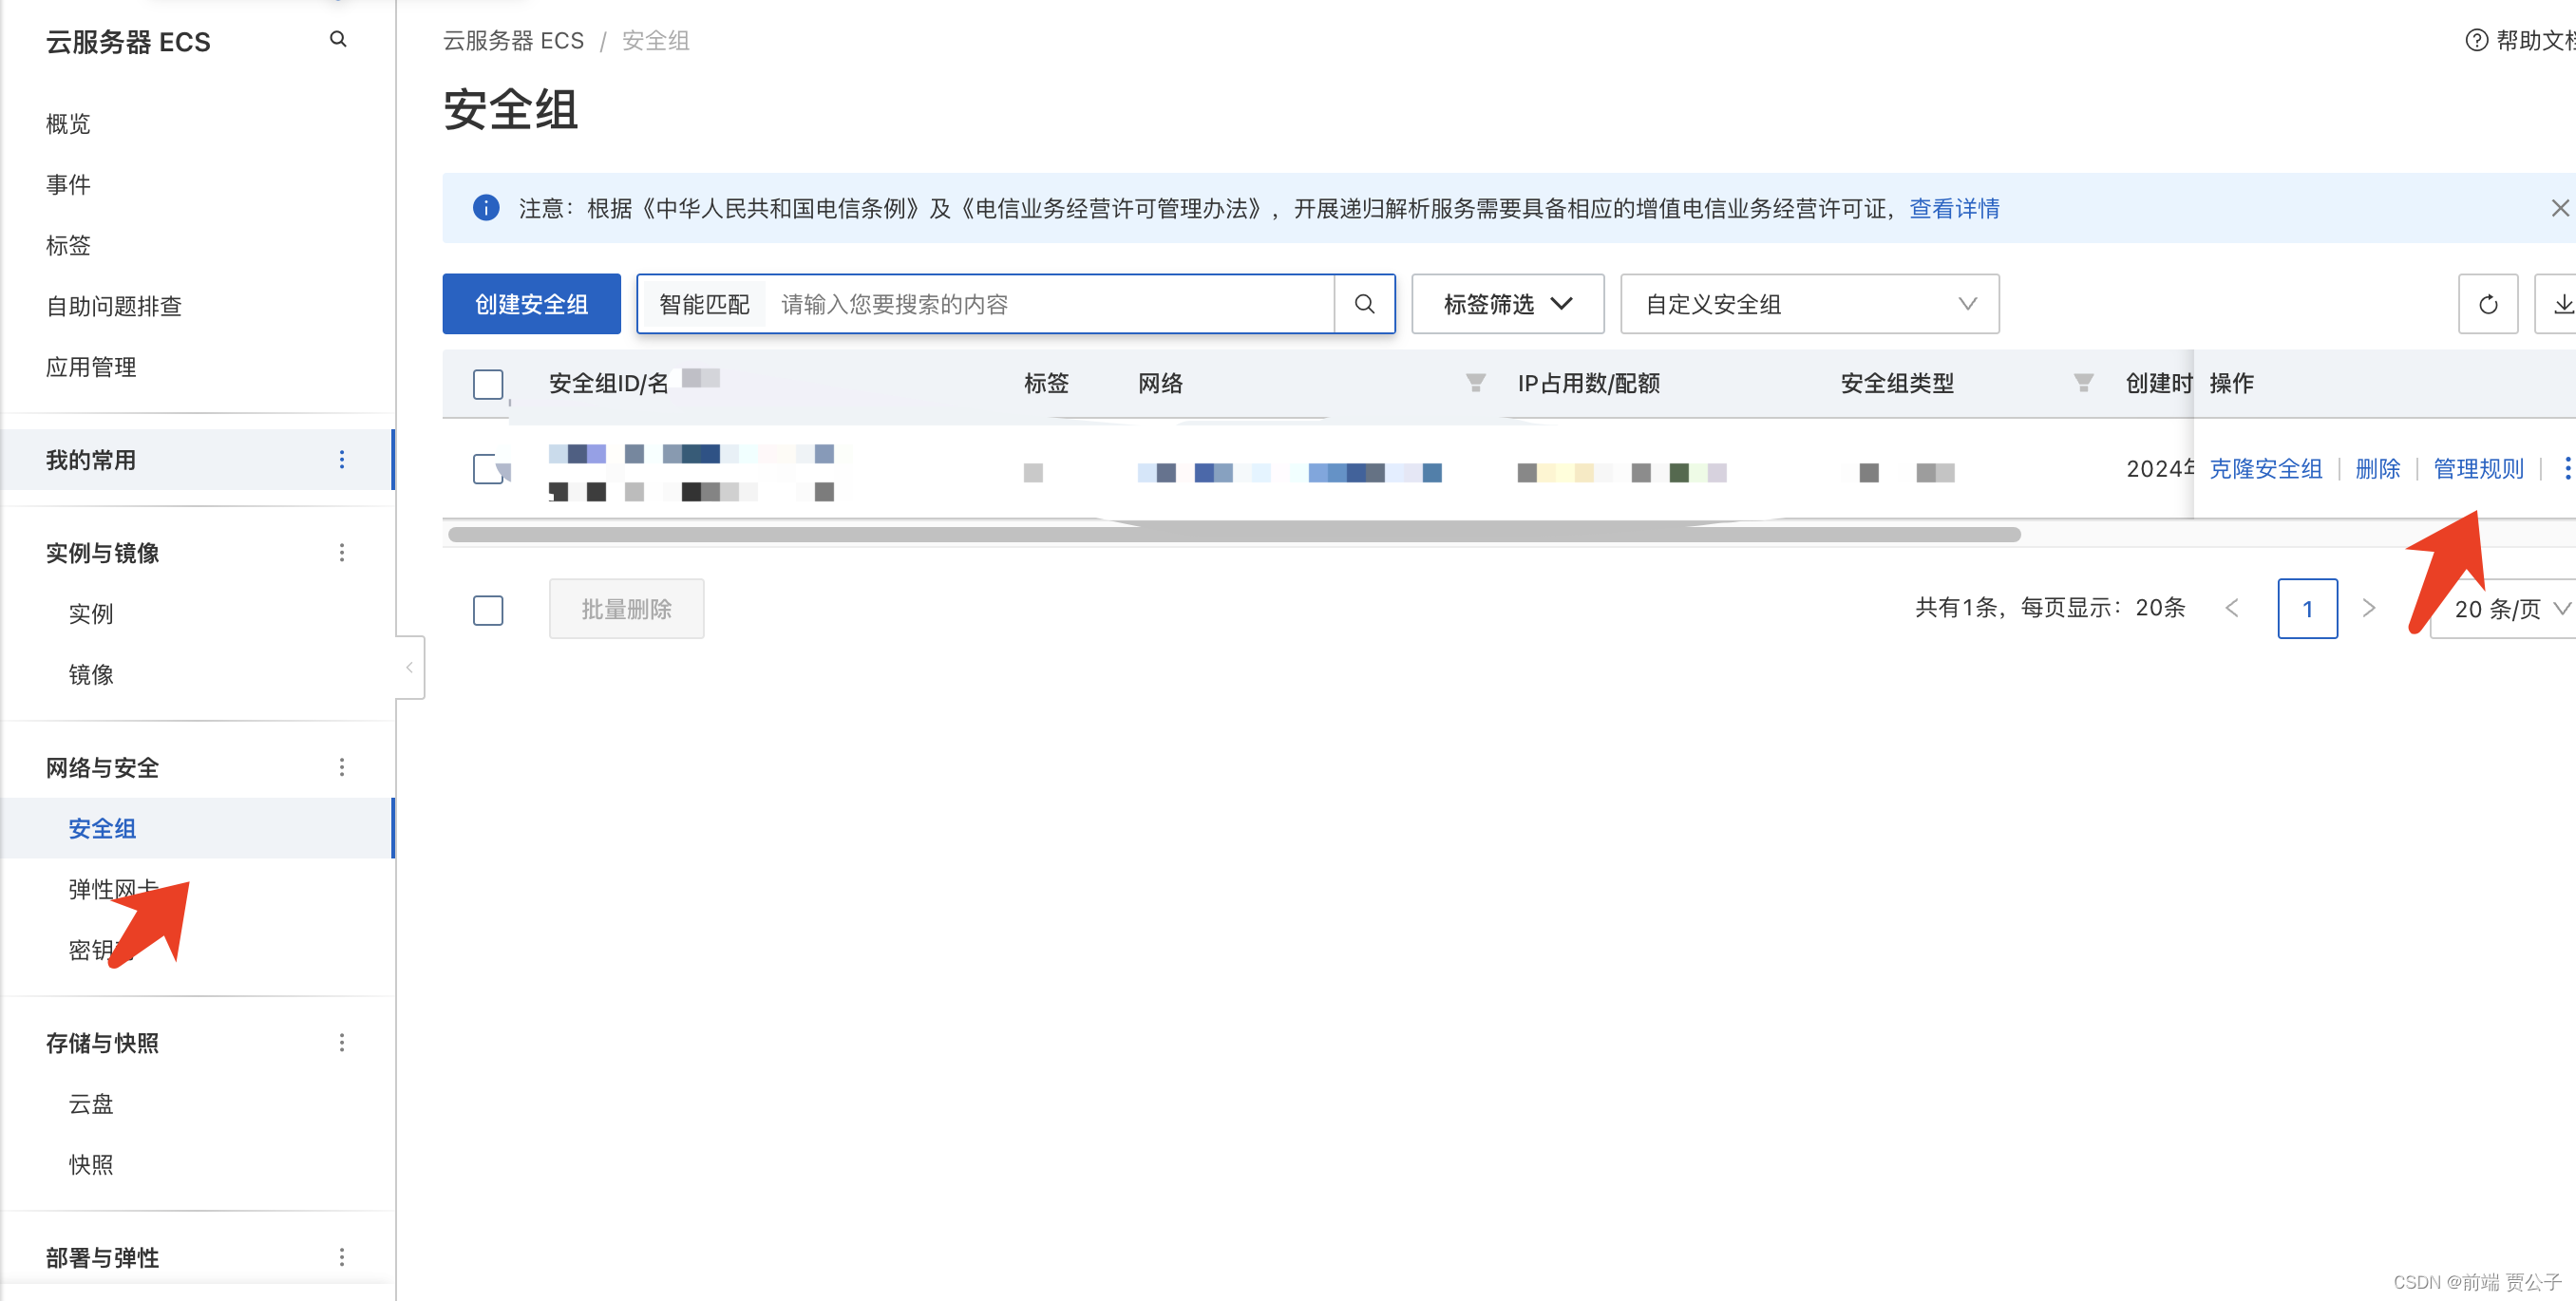
点击管理规则,在入方向这里进行端口的配置
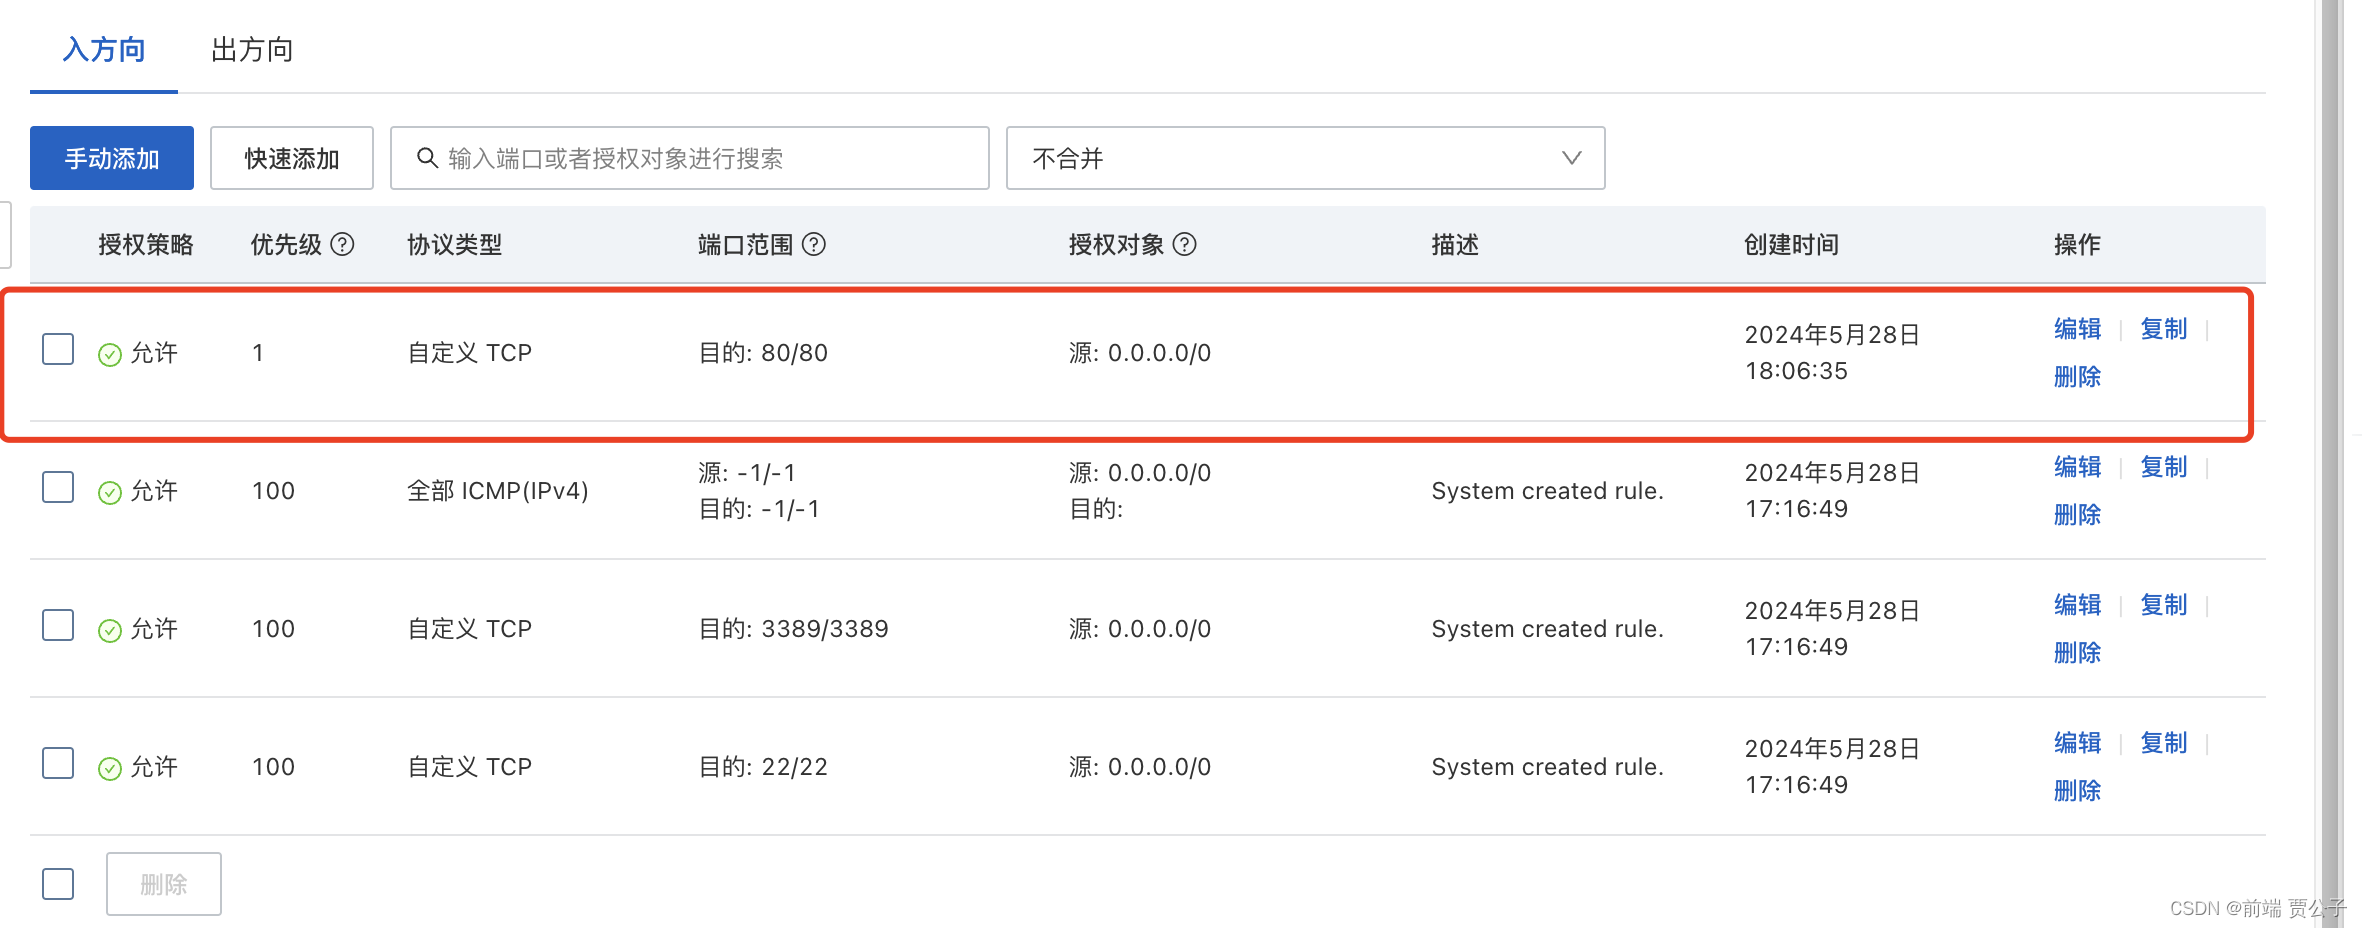
此时再去通过浏览器访问,就可以正常访问了
直接启动nginx
service nginx start