在前后端没有分离之前,大家通常采用的MVC模式,由后端通过Controller层实现页面跳转,VUE是组件化的特点,说白了就是一个单页面应用(挂载在public/index.html),意味着所有的页面只是各组件的组合。那么控制这些组合就无法通过传统方式进行控制了。
VUE 提供了路由配置vue-router进行处理,本文将着重介绍它的使用。
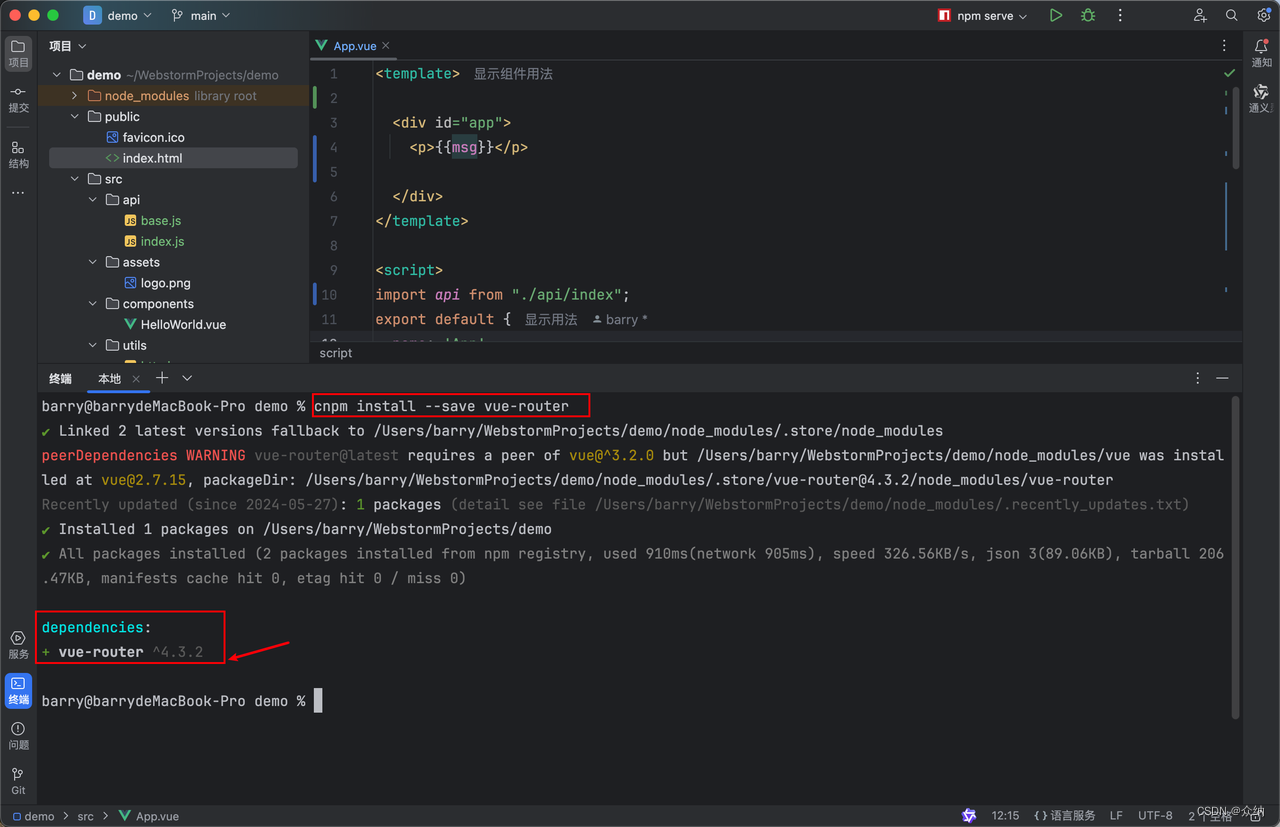
旧项目未配置vue-router
安装vue-router
Npm install --save vue-router
或者
Cnpm install --save vue-router
配置路由
ST1:创建路由文件
1.项目/src/router(创建)
2.项目/src/router/index.js(创建)
index.js
javascript
import {createRouter,createWebHistory} from "vue-router";
//外部引用组件
import left from "@/components/left.vue";
const routes = [
    //动态引用组件(推荐)
    {
        path: '/',
        name: 'home',
        component: () => import('../components/main.vue')
    },
    //外部引用示例
    {
        path: '/left',
        name: 'left',
        component: left
    },
    {
        path: '/A',
        name: 'a',
        component: () => import('../components/A.vue')
    },
    {
        path: '/B',
        name: 'B',
        component: () => import('../components/B.vue')
    },
    {
        path: '/:pathMatch(.*)*',
        name: 'notfound',
    }
]
const router = createRouter({
    history: createWebHistory(),
    routes
})
export default router;
ST2:启用路由
main.js
javascript
import { createApp } from 'vue'
import App from './App.vue'
import axios from "axios";
import router from "@/router/index.js";
const app=createApp(App).use(router)
app.config.globalProperties.$axios = axios;
app.mount('#app');
ST3:测试效果
app.vue
javascript
<!--内容控制-->
<template>
  <RouterView></RouterView>
  <router-link to="/left">left</router-link>
  <br></br>
  <router-link to="/">home</router-link>
  <br></br>
  <router-link to="/A">A</router-link>
  <br></br>
  <router-link to="/B">B</router-link>
</template>
<!--JS 控制-->
<script>

export default {

}
</script>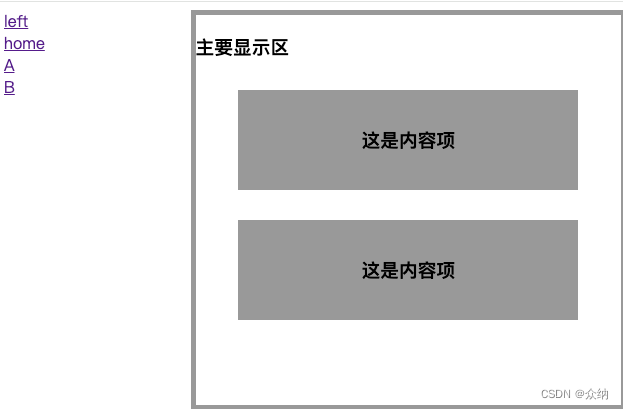
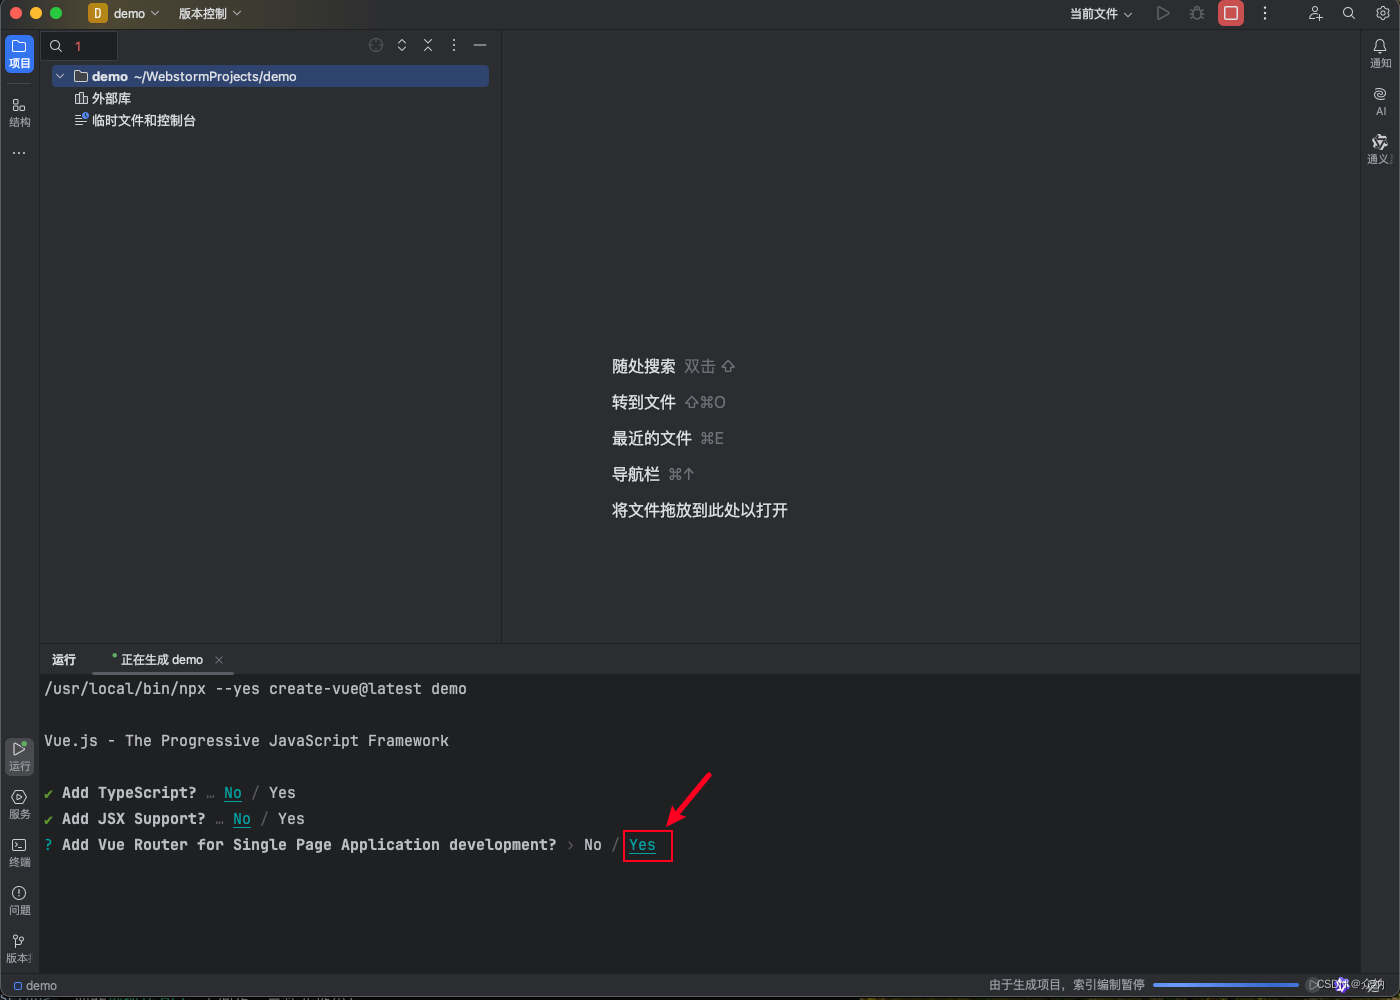
新项目配置vue-router
St1:创建项目时选择Router
如下图所示
st2:配置路由路径
目录/router/index.js
javascript
import { createRouter, createWebHistory } from 'vue-router'
import HomeView from '../views/HomeView.vue'

const router = createRouter({
  history: createWebHistory(import.meta.env.BASE_URL),
  routes: [
    {
      path: '/',
      name: 'home',
      component: HomeView
    },
    {
      path: '/about',
      name: 'about',
      // route level code-splitting
      // this generates a separate chunk (About.[hash].js) for this route
      // which is lazy-loaded when the route is visited.
      component: () => import('../views/AboutView.vue')
    }
  ]
})

export default router
st3:测试效果
app.vue
javascript
<script setup>
import { RouterLink, RouterView } from 'vue-router'
import HelloWorld from './components/HelloWorld.vue'
</script>

<template>
  <nav>
    <RouterLink to="/">Home</RouterLink>
    </br>
    <RouterLink to="/about">About</RouterLink>
  </nav>

  <RouterView />
</template>
总结:
1.路由配置推荐使用动态组件
2.使用router时使用<router-vier>标签作为路由显示 入口
3.<router link...>路由跳转配置
路由传值
单个路由不传值就没有多大意义,比如我们希望路由时把对应的值传过去。
ST1:配置路由传值
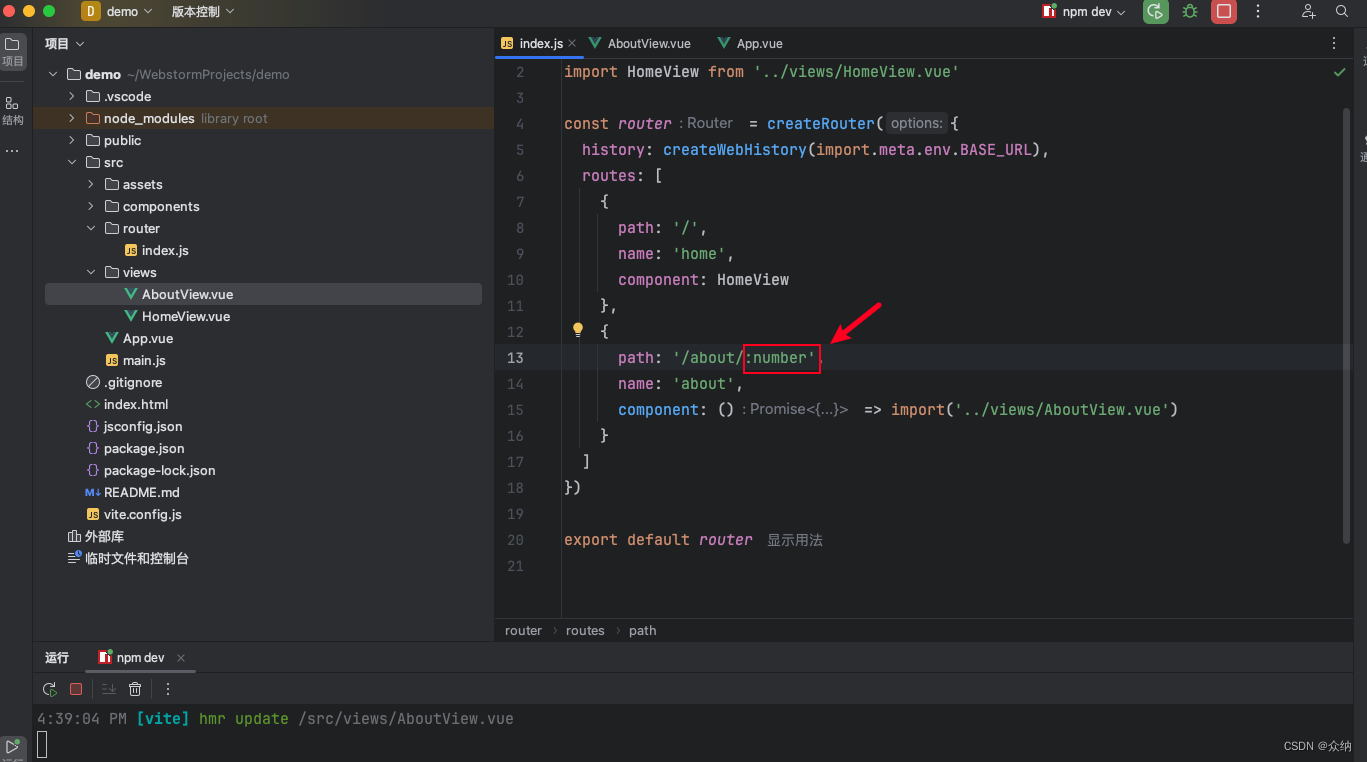
javascript
import HomeView from '../views/HomeView.vue'

const router = createRouter({
  history: createWebHistory(import.meta.env.BASE_URL),
  routes: [
    {
      path: '/',
      name: 'home',
      component: HomeView
    },
    {
      path: '/about/:num',
      name: 'about',
      component: () => import('../views/AboutView.vue')
    }
  ]
})

export default router
ST2:带参数传值
javascript
<template>

  <nav>
    <router-link to="/">首页</router-link>
    <router-link :to="{name:'about',params:{num:itemId}}"> 演示传参</router-link>
    <RouterLink :to="{name:'about',params:{num:itemId}}">演示传参2</RouterLink>
  </nav>

  <RouterView />
</template>

<script >

export default {
  data() {
    return {
      itemId: 999
    };
  }
}


</script>
ST3:引用并显示
javascript
<template>
  <div class="about">
    <h1>This is an about page:{{$route.params.num}}</h1>
  </div>
</template>

<style>
@media (min-width: 1024px) {
  .about {
    min-height: 100vh;
    display: flex;
    align-items: center;
  }
}
</style>
<script >
</script>
效果

嵌套路由
说白了就是在路由中套路由
目录/src/router/index.js
javascript
import { createRouter, createWebHistory } from 'vue-router'
import HomeView from '../views/HomeView.vue'

const router = createRouter({
  history: createWebHistory(import.meta.env.BASE_URL),
  routes: [
    {
      path: '/',
      name: 'home',
      component: HomeView
    },
    {
      path: '/about/:num',
      name: 'about',
      component: () => import('../views/AboutView.vue'),
      children: [
          {
              path: 'us',
              name: 'us',
              component: () => import('../views/AbutUS.vue')
          },
          {
              path: 'HomeView',
              name: 'HomeView',
              component: () => import('../views/HomeView.vue')
          }
      ]
    }
  ]
})

export default router
示例
javascript
<template>
  <div class="about">
    <h1>This is an about page:{{$route.params.num}}</h1>
    <router-link :to="{name:'us'}">我们</router-link>
    <RouterLink :to="{name:'HomeView'}">公司</RouterLink>
    <RouterView></RouterView>
  </div>
</template>

<style>
@media (min-width: 1024px) {
  .about {
    min-height: 100vh;
    display: flex;
    align-items: center;
  }
}
</style>
<script >
</script>