一、Nginx 安装部署
1.1 安装编译工具及库文件
bash
$ yum -y install make zlib zlib-devel gcc-c++ libtool openssl openssl-devel1.2 安装 pcre
pcre 作用是 Nginx 支持 Rewrite 功能
bash
$ cd /usr/local/src
$ wget http://downloads.sourceforge.net/project/pcre/pcre/8.35/pcre-8.35.tar.gz
$ tar zxvf pcre-8.35.tar.gz
$ cd pcre-8.35
$ ./configure
$ make && make install
$ pcre-config --version
8.35
1.3 编译安装 nginx
bash
# 查看编译的帮助文档
$ ./configure --help

  # 如果下面几个参数没有设置, 默认都放在 --prefix 指定的路径下
  --prefix=PATH                      set installation prefix
  --sbin-path=PATH                   set nginx binary pathname
  --modules-path=PATH                set modules path
  --conf-path=PATH                   set nginx.conf pathname
  --error-log-path=PATH              set error log pathname
  --pid-path=PATH                    set nginx.pid pathname
  --lock-path=PATH                   set nginx.lock pathname

 # --with 和 --without 是确认需要使用什么模块和不使用哪些模块
 # --with: 默认不会被编译进 nginx 中, 编译需要手动指定
 --with-*****
 # --without: 默认会被编译进 nginx 中, 不编译需要手动指定
 --without-*****

# 使用默认编译
$ ./configure --prefix=/app/nginx/    # 将nginx 编译到 /app/nginx 目录下
# 编译完成后会输出如下信息:
...
Configuration summary
  + using system PCRE library
  + OpenSSL library is not used
  + using system zlib library

  nginx path prefix: "/app/nginx/"
  nginx binary file: "/app/nginx//sbin/nginx"
  nginx modules path: "/app/nginx//modules"
  nginx configuration prefix: "/app/nginx//conf"
  nginx configuration file: "/app/nginx//conf/nginx.conf"
  nginx pid file: "/app/nginx//logs/nginx.pid"
  nginx error log file: "/app/nginx//logs/error.log"
  nginx http access log file: "/app/nginx//logs/access.log"
  nginx http client request body temporary files: "client_body_temp"
  nginx http proxy temporary files: "proxy_temp"
  nginx http fastcgi temporary files: "fastcgi_temp"
  nginx http uwsgi temporary files: "uwsgi_temp"
  nginx http scgi temporary files: "scgi_temp"

# 编译完成后, 会在 nginx/objs/ 目录(中间文件)下生成 ngx_modules.c 文件, 这个文件包含了编译时会被编译进去的模块
$ cat objs/ngx_modules.c
...

$ make && make install

$ cd /app/nginx && ll
drwxr-xr-x. 2 root root 4096 8月  20 18:56 conf
drwxr-xr-x. 2 root root   40 8月  20 18:56 html
drwxr-xr-x. 2 root root    6 8月  20 18:56 logs
drwxr-xr-x. 2 root root   19 8月  20 18:56 sbin
二、Nginx 目录结构
bash
$ cd /usr/local/nginx && ls
client_body_temp conf fastcgi_temp html logs proxy_temp sbin scgi_temp uwsgi_temp
其中这几个文件夹在刚安装后是没有的,主要用来存放运行过程中的临时文件
bash
client_body_temp fastcgi_temp proxy_temp scgi_temp- conf: 用来存放配置文件相关
- html: 用来存放静态文件的默认目录 html、css等
- sbin: nginx的主程序
三、Nginx 常用命令
bash
$ cd /usr/local/nginx/3.1 帮助
bash
$ sbin/nginx -help
nginx version: nginx/1.19.6
Usage: nginx [-?hvVtTq] [-s signal] [-p prefix]
             [-e filename] [-c filename] [-g directives]

Options:
  -?,-h         : this help
  -v            : show version and exit
  -V            : show version and configure options then exit
  -t            : test configuration and exit
  -T            : test configuration, dump it and exit
  -q            : suppress non-error messages during configuration testing
  -s signal     : send signal to a master process: stop, quit, reopen, reload
  -p prefix     : set prefix path (default: /usr/local/nginx/)
  -e filename   : set error log file (default: logs/error.log)
  -c filename   : set configuration file (default: conf/nginx.conf)
  -g directives : set global directives out of configuration file
3.2 启动
bash
$ ps -ef | grep nginx
root      17986  11127  0 18:49 pts/0    00:00:00 grep --color=auto nginx
$ sbin/nginx
$ ps -ef | grep nginx
root      17989      1  0 18:49 ?        00:00:00 nginx: master process sbin/nginx
nobody    17990  17989  0 18:49 ?        00:00:00 nginx: worker process
root      17992  11127  0 18:49 pts/0    00:00:00 grep --color=auto nginx
3.3 暴力停止
bash
$ sbin/nginx -s stop3.4 优雅停止
bash
$ sbin/nginx -s quit3.4 重新加载配置文件
bash
$ sbin/nginx -s reload3.5 指定启动的配置文件
bash
$ sbin/nginx -c /usr/local/nginx/conf/nginx.conf四、location 中的正则表达式
4.1 location 的作用
location 指令的作用是根据 用户请求的URI 进行匹配, 匹配到了就执行相关操作。
4.2 location 语法
bash
location [=|~|~*|^~] /uri/ {
   ......
}
4.3 location 正则
/通用匹配, 任何请求都会匹配到.=精确匹配.~正则匹配, 区分大小写.~*正则匹配, 不区分大小写.^~非正则匹配, 匹配以指定模式开头的 location.*代表'任意字符'.$以'什么结尾的匹配'.^以'什么开头'的匹配.!~*不区分大小写匹配失败.!~区分大小写匹配'失败-->!(取反)'.
备注: ~开头的都是正则匹配,例如^~不是正则匹配.
4.4 location 转义
bash
~^/prefix/.*\.html$

解释:~ 表示后面跟的是'正则',而且是区分大小写的( "~ "区分大小写,"~* "不区分大小写)

~^/prefix/.*\.html$  就是'正则表达式了'

1) ^在正则里表示,以什么'开始'

2) /prefix/ 表示符合这个'文件夹路径的'

3) ".*" 表示匹配'单个字符多次'

4) "\." 表示转义 "."  采用 "." 本身,而非他在'正则里'的意思(非\r\n的单个字符)。

5) $ 表示以什么'结尾'
五、反向代理
5.1 示例1
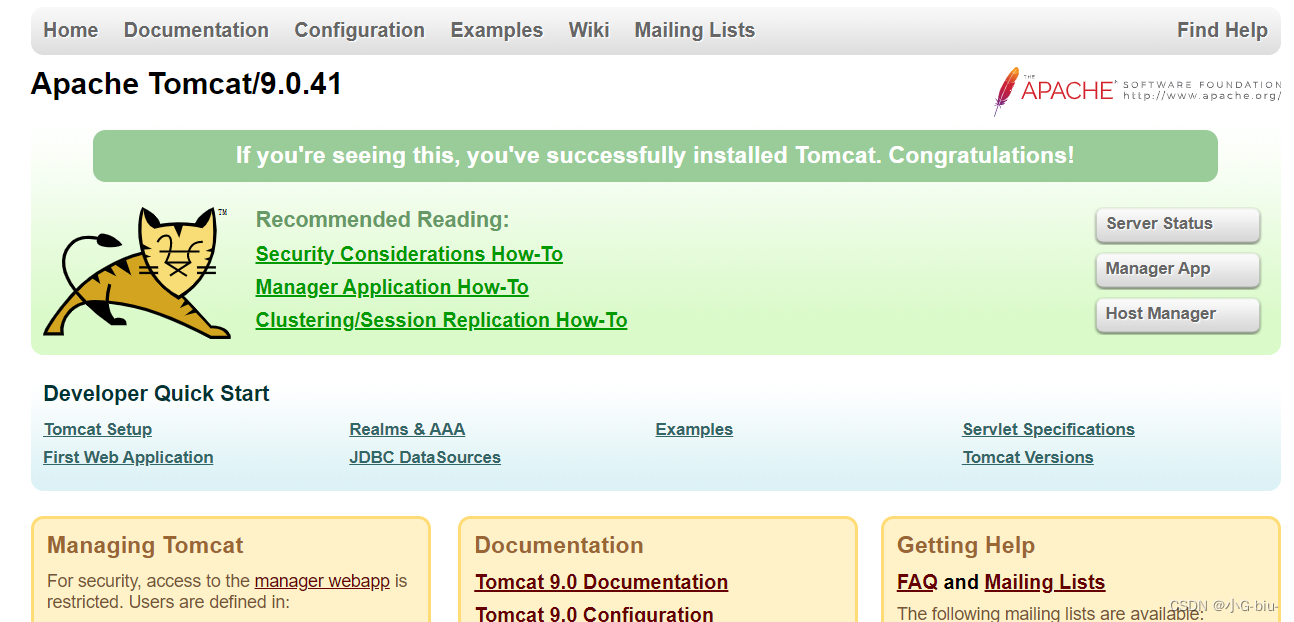
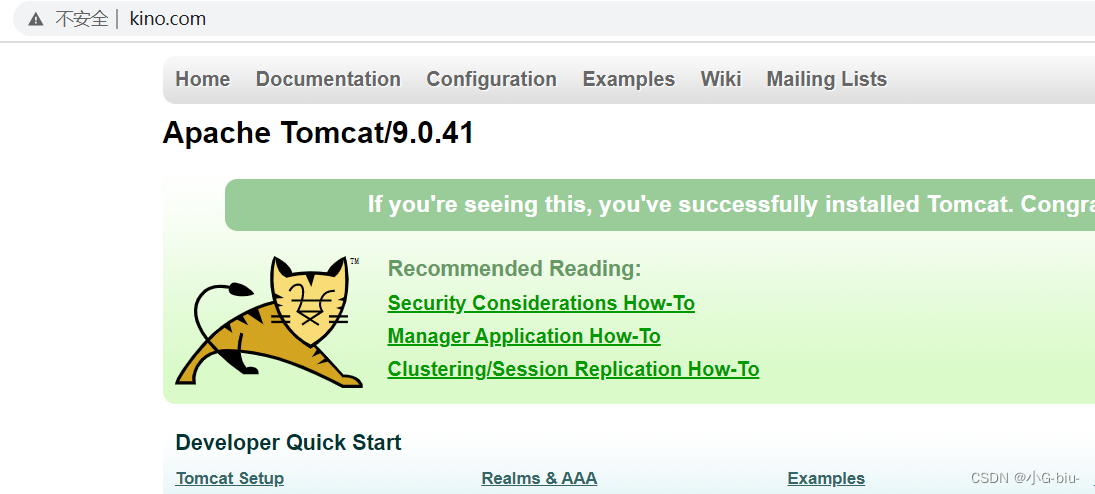
效果: 在浏览器中输入 www.kino.com 跳转到 tomcat 主页面中
5.1.1 部署 tomcat
bash
$ tar -zxvf apache-tomcat-9.0.41.tar.gz
$ mv apache-tomcat-9.0.41 tomcat-8080
$ cd tomcat-8080
$ bin/startop.sh
$ ps -ef | grep tomcat
root      18406      1 41 19:12 pts/1    00:00:02 /usr/local/jdk1.8.0_131/bin/java -Djava.util.logging.config.file=/opt/software/tomcat-8080/conf/logging.properties -Djava.util.logging.manager=org.apache.juli.ClassLoaderLogManager -Djdk.tls.ephemeralDHKeySize=2048 -Djava.protocol.handler.pkgs=org.apache.catalina.webresources -Dorg.apache.catalina.security.SecurityListener.UMASK=0027 -Dignore.endorsed.dirs= -classpath /opt/software/tomcat-8080/bin/bootstrap.jar:/opt/software/tomcat-8080/bin/tomcat-juli.jar -Dcatalina.base=/opt/software/tomcat-8080 -Dcatalina.home=/opt/software/tomcat-8080 -Djava.io.tmpdir=/opt/software/tomcat-8080/temp org.apache.catalina.startup.Bootstrap start
root      18440  18303  0 19:13 pts/1    00:00:00 grep --color=auto tomcat
如果有防火墙, 开启8080 端口
bash
$ firewall-cmd --add-port=8080/tcp --permanent
success
$ firewall-cmd --reload
在浏览器中输入: 虚拟机ip:8080, 即可访问 tomcat 页面
5.1.2 配置 Nginx
config
$ vim conf/nginx.conf
server {
        listen       80;
        server_name  192.168.220.111;
        location / {
            proxy_pass  http://192.168.220.111:8080;
        }
...
重新加载配置文件
bash
$ sbin/nginx -s reload在浏览器中输入: www.kino.com
5.2 示例2
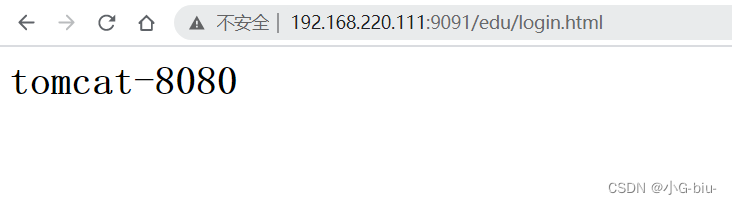
效果: 根据不同的路径跳转到不同的端口服务中, nginx 监听 9091端口, 访问: 192.168.220.111:9091/edu 跳转到 8080的tomcat, 访问 192.168.220.111:9092/vod 跳转到 8081 端口的tomcat
准备两个tomcat, 修改 tomcat 配置文件改端口
bash
$ cp -R tomcat-8080 tomcat-8081
$ vim tomcat-8081/conf/server.xml
<Server port="8005" shutdown="SHUTDOWN">
改为
<Server port="8006" shutdown="SHUTDOWN">

<Connector port="8080" protocol="HTTP/1.1"
改为
<Connector port="8081" protocol="HTTP/1.1"
在两个tomcat 的 webapps 目录下创建 nginx 目录, 并创建 login.html
bash
$ mkdir tomcat-8080/webapps/edu
$ mkdir tomcat-8081/webapps/vod
$ vim tomcat-8080/webapps/edu/login.html
<html>
  <head>
    <title>tomcat-8080</title>
  </head>
  <body>
    <h1>tomcat-8080</h1>
  </body>
</html>
$ vim tomcat-8080/webapps/vod/login.html
<html>
  <head>
    <title>tomcat-8081</title>
  </head>
  <body>
    <h1>tomcat-8081</h1>
  </body>
</html>
启动两个tomcat
bash
$ tomcat-8080/bin/startup.sh
Using CATALINA_BASE:   /opt/software/tomcat-8080
Using CATALINA_HOME:   /opt/software/tomcat-8080
Using CATALINA_TMPDIR: /opt/software/tomcat-8080/temp
Using JRE_HOME:        /usr/local/jdk1.8.0_131
Using CLASSPATH:       /opt/software/tomcat-8080/bin/bootstrap.jar:/opt/software/tomcat-8080/bin/tomcat-juli.jar
Using CATALINA_OPTS:
Tomcat started.
$ tomcat-8081/bin/startup.sh
Using CATALINA_BASE:   /opt/software/tomcat-8081
Using CATALINA_HOME:   /opt/software/tomcat-8081
Using CATALINA_TMPDIR: /opt/software/tomcat-8081/temp
Using JRE_HOME:        /usr/local/jdk1.8.0_131
Using CLASSPATH:       /opt/software/tomcat-8081/bin/bootstrap.jar:/opt/software/tomcat-8081/bin/tomcat-juli.jar
Using CATALINA_OPTS:
Tomcat started.
有防火墙就开放端口
bash
$ firewall-cmd --add-port=8081/tcp --permanent
success
$ firewall-cmd --reload
在浏览器访问两个tomcat的login.html


配置 Nginx
bash
server {
        listen       9091;
        server_name  192.168.220.111;

        location ~ /edu/ {
            # alias /opt/nginx/a.html
            proxy_pass  http://192.168.220.111:8080;
        }

        location ~ /vod/ {
            proxy_pass  http://192.168.220.111:8081;
        }
    }
...
重新加载 Nginx 配置文件
bash
$ sbin/nginx -s reload在浏览器中访问: 192.168.220.111:9091/edu/login.html 和 192.168.220.111:9092/vod/login.html

5.3 动静分离
如果用户请求为静态资源, 直接通过nginx获取不用将请求转发到后端接口。
bash
server {
        listen       9091;
        server_name  192.168.220.111;

        location / {
            proxy_pass  http://192.168.220.111:8080;
        }

        location /css {
            root /usr/local/nginx/static;
            index index.html index.htm;
        }
        location /img {
            root /usr/local/nginx/static;
            index index.html index.htm;
        }
        location /js {
            root /usr/local/nginx/static;
            index index.html index.htm;
        }
}
使用一个 location(正则) 转发 /css、/img、/js.
bash
location ~*/(css|img|js) {
  root /usr/local/nginx/static;
  index index.html index.htm;
}
六、负载均衡
效果: 在浏览器中输入 192.168.220.111/edu/login.html, 平均分配到 8080 和 8081 端口上
准备如上两个tomcat, 将 vod 修改成 edu
bash
$ mv /opt/software/tomcat-8081/webapps/vod/ /opt/software/tomcat-8081/webapps/edu
$ ll /opt/software/tomcat-8081/webapps/
总用量 4
drwxr-x---. 15 root root 4096 1月   9 19:27 docs
drwxr-xr-x.  2 root root   24 1月   9 19:35 edu
drwxr-x---.  7 root root   99 1月   9 19:27 examples
drwxr-x---.  6 root root   79 1月   9 19:27 host-manager
drwxr-x---.  6 root root  114 1月   9 19:27 manager
drwxr-x---.  3 root root  223 1月   9 19:27 ROOT
$ /opt/software/tomcat-8081/bin/shutdown.sh
$ /opt/software/tomcat-8081/bin/startup.sh
编辑 Nginx 配置文件
bash
$ vim conf/nginx.conf
http {
...
    upstream kinoserver{
        server 192.168.220.111:8080;
        server 192.168.220.111:8081;
    }

    server {
        listen       80;
        server_name  192.168.220.111;

        #charset koi8-r;

        #access_log  logs/host.access.log  main;

        location / {
           proxy_pass  http://kinoserver;
           root  html;
           index  index.html  index.htm;
        }
...
重新加载 Nginx 配置文件
bash
$ sbin/nginx -s reload在浏览器中输入: 192.168.220.111/edu/login.html, nginx 将以**轮询(默认)**的方式进行负载均衡。
6.1 负载均衡策略
-
轮询(默认): 默认情况下使用轮询方式,逐一转发,这种方式适用于无状态请求;
-
weight: 指定轮询几率, weight 和访问率成正比, 用于服务器性能不均的情况;
bashupstream kinoserver{ server 192.168.220.111:8080 weight=5; server 192.168.220.111:8081 weight=10; } -
ip_hash: 按每个请求的ip进行hash结果分配, 这样每个访客固定一个后端服务器, 可以解决 Session 问题;
bashupstream kinoserver{ ip_hash; server 192.168.220.111:8080; server 192.168.220.111:8081; } -
fair: 按后台服务器的响应时间来分配请求, 响应时间短的游侠分配, 和 weight 分配策略类似;
bashupstream kinoserver{ server 192.168.220.111:8080; server 192.168.220.111:8081; fair; } -
url_hash: 根据用户访问的url定向转发请求
bashupstream kinoserver{ url_hash; server 192.168.220.111:8080; server 192.168.220.111:8081; }
七、root 和 alias 区别
示例1
bash
server {
        listen       9091;
        server_name  192.168.220.111;

        location /nginx/ {
            root /opt/nginx/;
}- 在 alias 目录配置下, 访问 192.168.220.111:9091/nginx/a.html 实际上访问的是 /opt/nginx/a.html
- 在 root 目录配置下, 访问 192.168.220.111:9091/nginx/a.html 实际上访问的是 /opt/nginx/nginx/a.html
示例2
当 location 匹配访问的path 和 alias 设置的目录名不一致时
bash
    server {
        listen       9091;
        server_name  192.168.220.111;

        location /nginx1/ {
            alias /opt/nginx/;
        }
在浏览器中输入: 192.168.220.111:9091/nginx1/a.html 此时可以正常访问
当 location 匹配访问的path 和 root 设置的目录名不一致时
bash
    server {
        listen       9091;
        server_name  192.168.220.111;

        location /nginx1/ {
            root /opt;
        }
在浏览器中输入: 192.168.220.111:9091/nginx1/a.html 此时不能正常访问, 查看 nginx 日志发现实际访问的路径是 /opt/nginx1/a.html
bash
2021/01/09 20:48:19 [error] 22304#0: *148 open() "/opt/nginx1/a.html" failed (2: No such file or directory), client: 192.168.220.1, server: 192.168.220.111, request: "GET /nginx1/a.html HTTP/1.1", host: "192.168.220.111:9091"区别:
- 在 alias 目录配置下, 访问的是 alias + location上一级 组合的地址
- 在 root 目录配置下, 访问的是 alias + location 组合的地址
- 当 location 匹配目录 和 alias 目录不一致时, 访问的本地目录还是 alias 配置的目录
- 当 location 匹配目录 和 root 目录不一致时, 需要将 本地目录名 和 location 匹配访问的path名保持一致
八、Nginx 斜杠(/) 说明
- location 中的字符有没有
/都没有影响。也就是说/user和/user/是一样的。 - 如果 URL 结构是
http://domain.com/的形式, 尾部有没有/都不会重定向。因为浏览器在发起请求的时候, 默认加了/。虽然很多浏览器在地址栏里也不会显示/。 - 如果 URL 的结构是
http://domain.com/some-dir/。尾部缺少/将导致重定向。因为根据约定,URL 尾部的/表示目录,没有/表示文件, 当找不到的话会将 some-dir 当成目录, 重定向到/some-dir/,去该目录下找默认文件。
8.1 proxy_pass 末尾带/
测试地址: http://localhost/test/hello.html
bash
测试地址:http://192.168.171.129/test/tes.jsp

'场景一':
location ^~ /test/ {
    proxy_pass http://192.168.171.129:8080/server/;
}
代理后实际访问地址:http://192.168.171.129:8080/server/tes.jsp -->'test由于匹配,所以会去除,然后拼接未匹配的'

'场景二':
location ^~ /test {
    proxy_pass http://192.168.171.129:8080/server/;
}
代理后实际访问地址:http://192.168.171.129:8080/server//tes.jsp

'场景三':
location ^~ /test/ {
    proxy_pass http://192.168.171.129:8080/;
}
代理后实际访问地址:http://192.168.171.129:8080/tes.jsp

'场景四':
location ^~ /test {
    proxy_pass http://192.168.171.129:8080/;
}
代理后实际访问地址:http://192.168.171.129:8080//tes.jsp
8.2 proxy_pass 末尾不带/
测试地址: http://localhost/test/hello.html
bash
### 末尾不带/

proxy_pass配置中'url末尾不带/时',如url中'不包含path',则直接将'原uri拼接'在proxy_pass中url之后;如url中'包含path',则将原uri'去除location匹配表达式后的内容'拼接在proxy_pass中的url之后

 测试地址:http://192.168.171.129/test/tes.jsp
'场景一':
 location ^~ /test/{
	proxy_pass http://192.168.171.129:8080/server;
 }
 代理后实际访问地址:http://192.168.171.129:8080/'servertes.jsp' -->'去除"/test/",然后拼接'
'场景二':
location ^~ /test {
    proxy_pass http://192.168.171.129:8080/server;
}
代理后实际访问地址:http://192.168.171.129:8080/server/tes.jsp   -->'去除"/test",然后拼接"/tes.jsp"-->场景一和场景二的区别'

'场景三':
location ^~ /test/ {
    proxy_pass http://192.168.171.129:8080;
}
代理后实际访问地址:http://192.168.171.129:8080/test/tes.jsp     -->'场景三和场景四常用'

'场景四':
location ^~ /test {
    proxy_pass http://192.168.171.129:8080;
}
代理后实际访问地址:http://192.168.171.129:8080/test/tes.jsp
九、UrlRewrite
十、Nginx+Keepalived
安装 keepalived
bash
yum install -y keepalived配置nginx1
bash
vim /etc/nginx/conf.d/web.conf
server{
        listen 8080;
        root /usr/local/nginx/html;
        index test.html;
}
echo "<h1>This is web1</h1>"  > /usr/local/nginx/html/test.html
配置nginx2
bash
vim /etc/nginx/conf.d/web.conf
server{
        listen 8080;
        root /usr/local/nginx/html;
        index test.html;
}
echo "<h1>This is web2</h1>"  > /usr/local/nginx/html/test.html
启动两个nginx
bash
cd $NGINX_HOME
./nginx
配置 keepalived(nginx1)
bash
vim /etc/keepalived/keepalived.conf
! Configuration File for keepalived
global_defs {
   notification_email {
     acassen@firewall.loc
     failover@firewall.loc
     sysadmin@firewall.loc
   }
   notification_email_from Alexandre.Cassen@firewall.loc
   smtp_server 192.168.200.1
   smtp_connect_timeout 30
   router_id LVS_DEVEL
   vrrp_skip_check_adv_addr
   vrrp_garp_interval 0
   vrrp_gna_interval 0
}
vrrp_script nginx_check {
  script "/tools/nginx_check.sh"
  interval 1
}
vrrp_instance VI_1 {
  state MASTER
  interface ens33
  virtual_router_id 52
  priority 100
  advert_int 1
  authentication {
    auth_type PASS
    auth_pass test
  }
  virtual_ipaddress {
    192.168.149.100
  }
  track_script {
    nginx_check
  }
  notify_master /tools/master.sh
  notify_backup /tools/backup.sh
  notify_fault /tools/fault.sh
  notify_stop /tools/stop.sh
}
配置 keepalived(nginx2)
bash
vim /etc/keepalived/keepalived.conf
! Configuration File for keepalived
global_defs {
   notification_email {
     acassen@firewall.loc
     failover@firewall.loc
     sysadmin@firewall.loc
   }
   notification_email_from Alexandre.Cassen@firewall.loc
   smtp_server 192.168.200.1
   smtp_connect_timeout 30
   router_id LVS_DEVEL
   vrrp_skip_check_adv_addr
   vrrp_garp_interval 0
   vrrp_gna_interval 0
}
vrrp_script nginx_check {
  script "/tools/nginx_check.sh"
  interval 1
}
vrrp_instance VI_1 {
  state BACKUP
  interface ens33
  virtual_router_id 52
  priority 99
  advert_int 1
  authentication {
    auth_type PASS
    auth_pass test
  }
  virtual_ipaddress {
    192.168.149.100
  }
  track_script {
    nginx_check
  }
  notify_master /tools/master.sh
  notify_backup /tools/backup.sh
  notify_fault /tools/fault.sh
  notify_stop /tools/stop.sh
}
健康检查脚本
bash
vim /etc/keepalived/nginx_check.sh
#!/bin/bash
if [ -f /usr/local/nginx/logs/nginx.pid ]; then
  echo "success"
  exit 0
else
  echo "failed"
  exit 1
fi

chmod +x /etc/keepalived/nginx_check.sh
启动keepalived
bash
vim /etc/keepalived/keepalived.conf
systemctl stop keepalived.service
systemctl start keepalived.service
systemctl status keepalived.service
advert_int 1
authentication {
auth_type PASS
auth_pass test
}
virtual_ipaddress {
192.168.149.100
}
track_script {
nginx_check
}
notify_master /tools/master.sh
notify_backup /tools/backup.sh
notify_fault /tools/fault.sh
notify_stop /tools/stop.sh
}
健康检查脚本
```bash
vim /etc/keepalived/nginx_check.sh
#!/bin/bash
if [ -f /usr/local/nginx/logs/nginx.pid ]; then
  echo "success"
  exit 0
else
  echo "failed"
  exit 1
fi

chmod +x /etc/keepalived/nginx_check.sh
启动keepalived
bash
vim /etc/keepalived/keepalived.conf
systemctl stop keepalived.service
systemctl start keepalived.service
systemctl status keepalived.service
访问nginx: http://192.168.149.100:8080, 停止启动一个nginx, 再次查看效果