Vue3中的常见组件通信之mitt
概述
在vue3中常见的组件通信有props、mitt、v-model、 r e f s 、 refs、 refs、parent、provide、inject、pinia、slot等。不同的组件关系用不同的传递方式。常见的撘配形式如下表所示。
| 组件关系 | 传递方式 |
|---|---|
| 父传子 | 1. props 2. v-model 3. $refs 4. 默认插槽、具名插槽 |
| 子传父 | 1. props 2. 自定义事件 3. v-model 4. $parent 5. 作用域插槽 |
| 祖传孙、孙传祖 | 1. $attrs 2. provide、inject |
| 兄弟间、任意组件间 | 1. mitt 2. pinia |
props和自定义事件详见本人另一篇文章:
Vue3中的常见组件通信之props和自定义事件
下面接着上文来继续记录mitt的用法。
3.mitt
mitt与pubsub订阅消息与发布消息功能类似,它可以实现在任意组件间的通信。
3.1安装mitt及引入mitt
mitt需要安装,在终端中输入命令npm i mitt来安装。
mitt安装好之后按照工程化的管理需要在src的文件下新建文件夹utils,然后在utils文件夹中新建文件emitter.ts。
在emitter.ts文件中引入mitt,并创建emitter,同时暴露emitter,如下代码:
typescript
//引入mitt
import mitt from 'mitt'

//调用mitt,得到emitter,emitter可以绑定事件和触发事件
const emitter = mitt()

//暴露emitter
export default emitter
之后需要再在main.ts中引入emitter,如下代码:
typescript
import emitter from '@/utils/emitter'3.2 emitter基本用法
emitter身上有四个方法,分别是
- **on()😗*用来绑定事件,接收两个参数,第一个参数是事件名,第二个参数是事件触发时的回调函数;
- **emit()😗*用来触发事件,参数为事件名;
- **off()😗*用来解绑事件,参数为事件名;
- **all:**all有clear属性,直接调用clear()属性可以解绑全部事件。
以下代码为展示emitter的基本用法:
typescript
//绑定事件test1,当事件触发时执行回调
emitter.on('test1',()=>{
console.log('test1被调用了')
})
//绑定事件test2,当事件触发时执行回调
emitter.on('test2',()=>{
console.log('test2被调用了')
})
//绑定事件test3,当事件触发时执行回调
emitter.on('test3',()=>{
console.log('test3被调用了')
})
//触发事件,每间隔1秒触发一次
setInterval(()=>{
//触发事件test1
emitter.emit('test1')
//触发事件test2
emitter.emit('test2')
//触发事件test3
emitter.emit('test3')
},1000)
//解绑事件,2秒后解绑test1
setTimeout(()=>{
emitter.off('test1')
console.log('--------test1解绑了')
},2000)
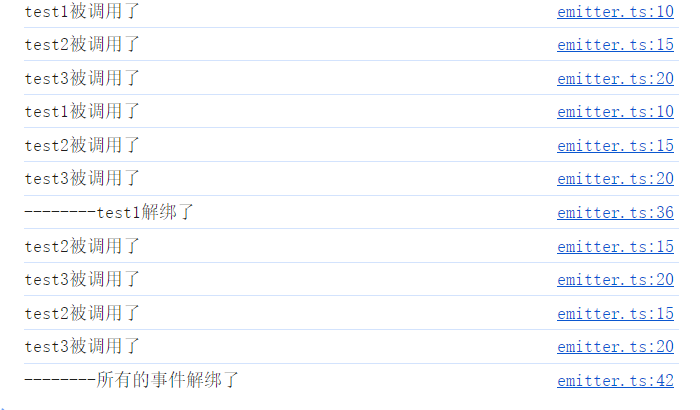
//解绑事件,4秒后解绑所有事件
setTimeout(()=>{
emitter.all.clear()
console.log('--------所有的事件解绑了')
},4000)运行后在控制台输出如下内容:
3.3emitter在组件中的用法
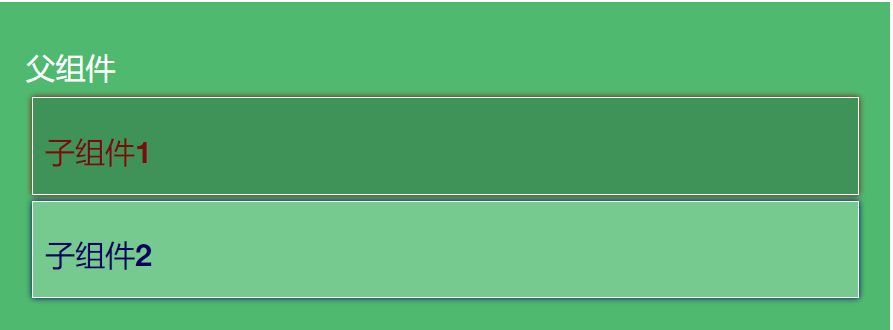
首先创建一个父组件,两个子组件,父组件代码如下:
vue
<template>
  <div class="father">
    <h3>父组件</h3>
    <Child1/>
    <Child2/>
  </div>
</template>

<script setup lang="ts" name="Father">
  import Child1 from './Child1.vue'
  import Child2 from './Child2.vue'
</script>

<style scoped>
	.father{
		margin: 5px;
		background-color:rgb(79, 186, 111);
		padding: 20px;
		color: white;
	}
</style>
子组件1代码:
vue
<template>
  <div class="child1">
    <h3>子组件1</h3>
  </div>
</template>

<script setup lang="ts" name="Child1">

</script>

<style scoped>
	.child1{
		margin: 5px;
		background-color: rgba(7, 7, 7, 0.224);
		border: 1px solid;
		border-color: white;
		box-shadow: 0 0 5px;
		padding: 10px;
		color: #760e0e;
	}
</style>
子组件2代码:
vue
<template>
  <div class="child2">
    <h3>子组件2</h3>
  </div>
</template>

<script setup lang="ts" name="Child2">

</script>

<style scoped>
	.child2{
		margin: 5px;
		background-color: rgba(255, 255, 255, 0.224);
		border: 1px solid;
		border-color: white;
		box-shadow: 0 0 5px;
		padding: 10px;
		color: #05035f;
	}
</style>
运行效果如下:
然后我们在子组件1中准备一些数据如下:
typescript
//数据
let book = reactive({
name:'西游记',
author:'吴承恩',
price:119.95
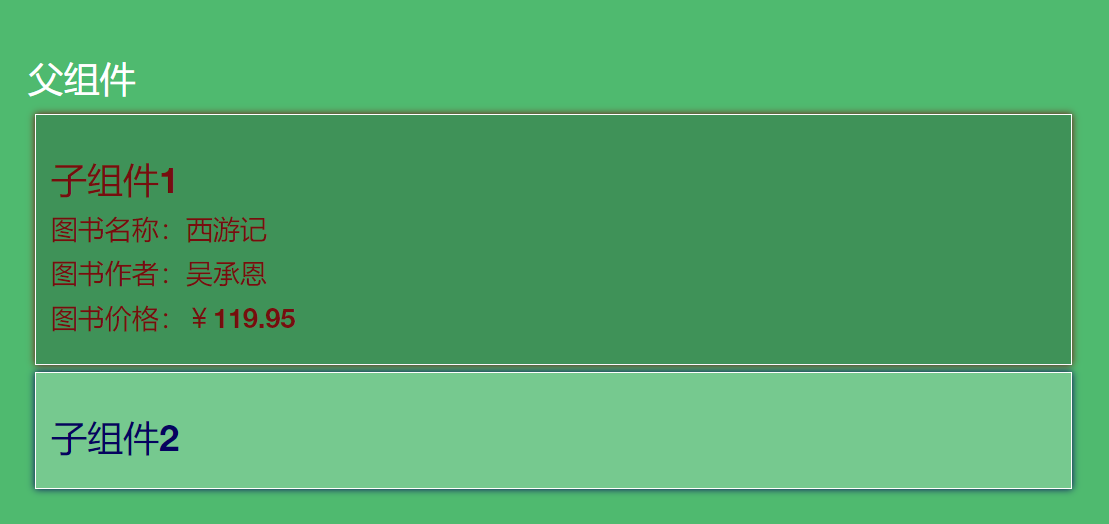
})然后在页面中展示:
vue
<!-- 展示 -->
<h4>图书名称:{{ book.name }}</h4>
<h4>图书作者:{{ book.author }}</h4>
<h4>图书价格:¥{{ book.price }}</h4>
运行效果如下:
接下来在子组件2中引入emitter,然后创建book数据,给emitter绑定事件,并传入回调函数:
typescript
//引入emitter
	import emitter from '@/utils/emitter';
	import { reactive } from 'vue';

	//数据
	let book = reactive({
		name:'',
		author:'',
		price:null
	})

	//给emitter绑定getBook事件,传入回调函数,回调函数接收一个参数
	emitter.on('getBook',(value:any)=>{
		// console.log(value)
		book.name = value.name
		book.author = value.author
		book.price = value.price
	})
然后在子组件1中创建一个按钮,绑定click事件,触发getBook事件,并传递book参数:
vue
<button @click="emitter.emit('getBook',book)">将book信息发送给子组件2</button>最后在子组件2中展示接收的到的信息:
vue
	<!-- 展示 -->
	<h4>图书名称:{{ book.name }}</h4>
	<h4>图书作者:{{ book.author }}</h4>
	<h4>图书价格:¥{{ book.price }}</h4>
最后运行后页面效果如下:
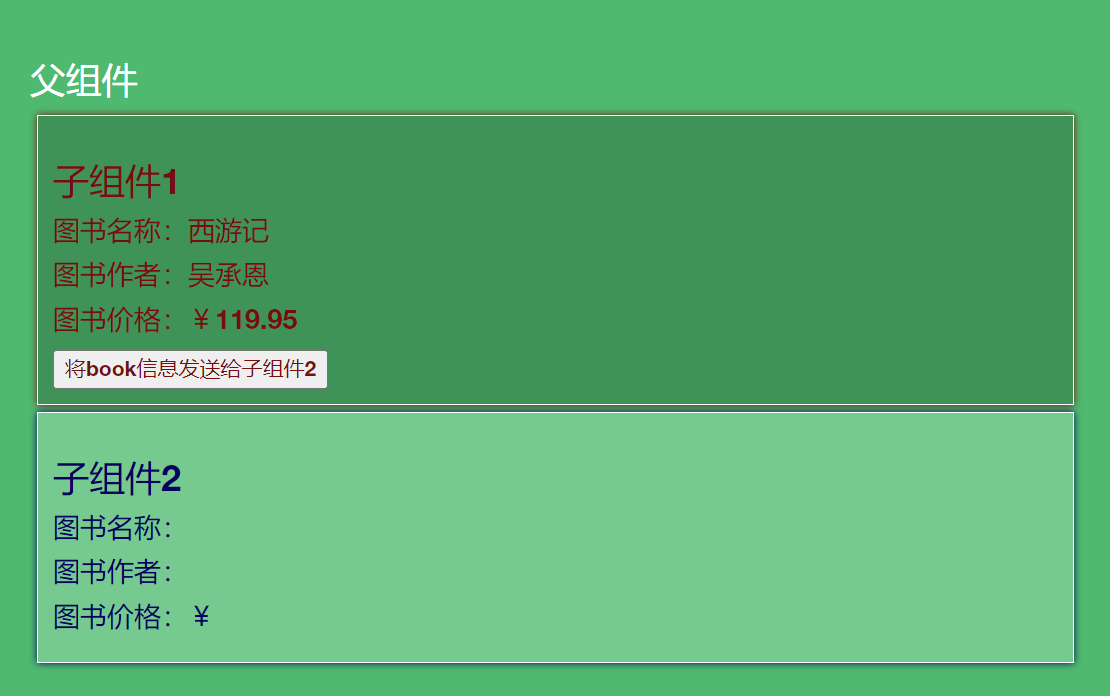
点击按钮后效果如下:
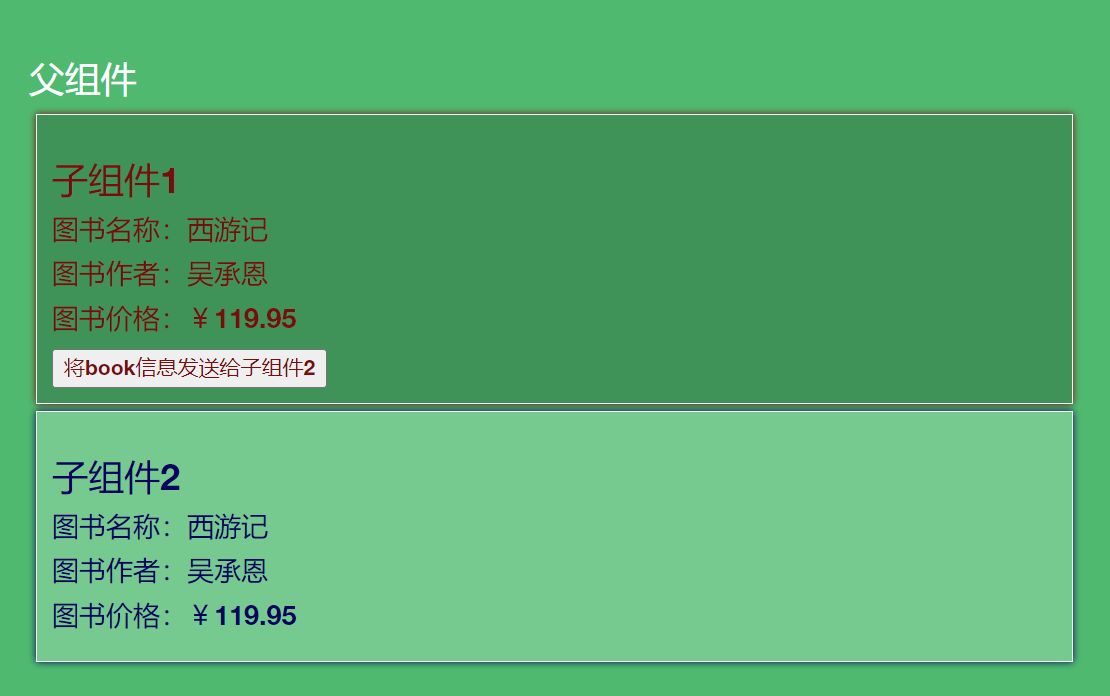
至此已经完成了子组件1向子组件2通信。
子组件1完整代码如下:
vue
<template>
  <div class="child1">
    <h3>子组件1</h3>
	<!-- 展示 -->
	<h4>图书名称:{{ book.name }}</h4>
	<h4>图书作者:{{ book.author }}</h4>
	<h4>图书价格:¥{{ book.price }}</h4>
	<button @click="emitter.emit('getBook',book)">将book信息发送给子组件2</button>
  </div>
</template>

<script setup lang="ts" name="Child1">
	import emitter from '@/utils/emitter';
	import { reactive } from 'vue';


	//数据
	let book = reactive({
		name:'西游记',
		author:'吴承恩',
		price:119.95
	})
</script>

<style scoped>
	.child1{
		margin: 5px;
		background-color: rgba(7, 7, 7, 0.224);
		border: 1px solid;
		border-color: white;
		box-shadow: 0 0 5px;
		padding: 10px;
		color: #760e0e;
	}
</style>
子组件2 的完整代码如下:
vue
<template>
  <div class="child2">
    <h3>子组件2</h3>
	<!-- 展示 -->
	<h4>图书名称:{{ book.name }}</h4>
	<h4>图书作者:{{ book.author }}</h4>
	<h4>图书价格:¥{{ book.price }}</h4>
  </div>
</template>

<script setup lang="ts" name="Child2">

	//引入emitter
	import emitter from '@/utils/emitter';
	import { reactive } from 'vue';

	//数据
	let book = reactive({
		name:'',
		author:'',
		price:null
	})

	//给emitter绑定getBook事件,传入回调函数,回调函数接收一个参数
	emitter.on('getBook',(value:any)=>{
		// console.log(value)
		book.name = value.name
		book.author = value.author
		book.price = value.price
	})
</script>

<style scoped>
	.child2{
		margin: 5px;
		background-color: rgba(255, 255, 255, 0.224);
		border: 1px solid;
		border-color: white;
		box-shadow: 0 0 5px;
		padding: 10px;
		color: #05035f;
	}
</style>
3.4 小结
接收数据的组件必须要先绑定事件(订阅),发送数据的组件要触发事件,只要组件中引入了emitter,并执行了emitter.emit()代码并传递参数,即可实现任意组件间的通信。