一、项目实现效果概述
在accounts.txt文件中存储如下,第一列为金额大小,第二列表示收入、支出(0表示收入,1表示支出),第三列表示金额出入的月份。我们要通过MapReduce计算每个月过去后的结余,并根据月份大小进行分区,1-3月为1分区,4-6月为2分区,7-9月为3分区,10-12月为4分区
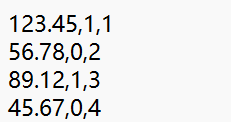
accounts.txt文件内容如下:
123.45,1,1
56.78,0,2
89.12,1,3
45.67,0,4
34.56,1,5
78.90,0,6
67.89,1,7
23.45,0,8
98.76,1,9
12.34,0,10
56.78,1,11
43.21,0,12
87.65,1,1
34.56,0,2
76.54,1,3
65.43,0,4
54.32,1,5
43.21,0,6
32.10,1,7
21.98,0,8
10.98,1,9
98.76,0,10
76.54,1,11
65.43,0,12
68.23,1,7
34.56,0,10
98.76,1,5
23.45,0,1
56.78,1,9
78.90,0,12
45.67,1,6
89.12,0,4
12.34,1,3
34.56,0,11
27.89,1,8
65.43,0,2
76.54,1,1
98.76,0,7
43.21,1,10
56.78,0,5
34.56,1,12
23.45,0,6
89.12,1,4
67.89,0,3
15.67,1,9
45.32,0,1
78.90,1,11
23.45,0,8
56.78,1,2
98.76,0,10
34.56,1,7
67.89,0,5
45.67,1,12
89.12,0,1
32.10,1,6
76.54,0,9
43.21,1,4
56.78,0,8
23.45,1,3
98.76,0,11
67.89,1,2
34.56,0,7
12.34,1,10
56.78,0,1
78.90,1,5
45.67,0,12
89.12,1,8
23.45,0,4
67.89,1,11
34.56,0,10
12.34,1,9
56.78,0,6
98.76,1,7
34.56,0,3
二、代码部分
1、AccountBean编写
java
package org.example.maperduce.model;

import org.apache.hadoop.io.Writable;

import java.io.DataInput;
import java.io.DataOutput;
import java.io.IOException;

public class AccountBean implements Writable {

    //金额大小
    private Float spend;

    //表示类型
    private Integer type;

    //支出月份
    private Integer month;

    @Override
    public String toString() {
        return spend+" "+month;
    }

    public AccountBean() {
    }

    public AccountBean(Float spend, Integer type, Integer month) {
        this.spend = spend;
        this.type = type;
        this.month = month;
    }

    //重写序列化方法
    @Override
    public void write(DataOutput out) throws IOException {
        out.writeFloat(spend);
        out.writeInt(type);
        out.writeInt(month);
    }

    //重写反序列化方法
    @Override
    public void readFields(DataInput in) throws IOException {
        this.spend=in.readFloat();
        this.type=in.readInt();
        this.month= in.readInt();
    }


    public Integer getMonth() {
        return month;
    }

    public void setMonth(Integer month) {
        this.month = month;
    }

    public Float getSpend() {
        return spend;
    }

    public void setSpend(Float spend) {
        this.spend = spend;
    }

    public Integer getType() {
        return type;
    }

    public void setType(Integer type) {
        this.type = type;
    }
}
2、AccountMapper编写
java
package org.example.maperduce.account;
import org.apache.hadoop.io.IntWritable;
import org.apache.hadoop.io.LongWritable;
import org.apache.hadoop.io.Text;
import org.apache.hadoop.mapreduce.Mapper;
import org.example.maperduce.model.AccountBean;

import java.io.IOException;

public class AccountMapper extends Mapper<LongWritable,Text, IntWritable, AccountBean> {

    //新建AccountBean对象,作为输出的value
    private AccountBean valueOut=new AccountBean();

    //新建IntWritable作为输出的key
    private IntWritable keyOut=new IntWritable();

    @Override
    protected void map(LongWritable key, Text value, Context context) throws IOException, InterruptedException {
        //获取一行数据
        String line=value.toString();
        //先对数据进行去空格处理,再根据分隔符进行拆分
        String[] accountData=line.split(",");

        //根据下标提取数据
        String spend=accountData[0];
        String type=accountData[1];
        String month=accountData[2];
        //System.out.println(spend);

        //为对象赋值
        valueOut.setSpend(Float.parseFloat(spend.trim()));
        valueOut.setType(Integer.parseInt(type.trim()));
        valueOut.setMonth(Integer.parseInt(month.trim()));

        //为输出的key赋值
        keyOut.set(Integer.parseInt(month.trim()));

        //System.out.println("keyOut:"+keyOut);
        //System.out.println("valueOut:"+valueOut.toString());
        //map阶段输出
        context.write(keyOut,valueOut);
    }

}
3、 AccountReducer编写
java
package org.example.maperduce.account;
import org.apache.hadoop.io.IntWritable;
import org.apache.hadoop.mapreduce.Reducer;
import org.example.maperduce.model.AccountBean;

import java.io.IOException;

public class AccountReducer extends Reducer<IntWritable, AccountBean, IntWritable, AccountBean> {

    //创建一个AccountBean对象作为输出的value
    private AccountBean valueOut=new AccountBean();


    @Override
    protected void reduce(IntWritable key, Iterable<AccountBean> values,Context context) throws IOException, InterruptedException {

        //定义一个月的结余
        Float totalSumSpend=0f;
        Integer month=0;

        //累加计算总花费
        for(AccountBean accountBean:values){
            Float Spend=accountBean.getSpend();
            Integer type=accountBean.getType();
            month=accountBean.getMonth();
            if(type==0){
                totalSumSpend+=Spend;
            }
            else {
                totalSumSpend-=Spend;
            }
        }

        //为输出的value赋值
        valueOut.setSpend(totalSumSpend);
        valueOut.setMonth(month);

        //System.out.println("reducer:"+valueOut.toString());
        //reduce阶段输出
        context.write(key,valueOut);
    }
}
4、SpendPartitioner编写
java
package org.example.maperduce.account;

import org.apache.hadoop.io.IntWritable;
import org.apache.hadoop.mapreduce.Partitioner;
import org.example.maperduce.model.AccountBean;

public class SpendPartitioner extends Partitioner<IntWritable, AccountBean> {

    @Override
    public int getPartition(IntWritable intWritable, AccountBean accountBean, int i) {

        //获取花销
        int month=accountBean.getMonth();

        //定义分区号
        int partitionNum=0;

        if(month<4){
            partitionNum=0;
        }else if(month<7) {
            partitionNum=1;
        }else if(month<10){
            partitionNum=2;
        }else {
            partitionNum=3;
        }

        return partitionNum;
    }

}
5、AccountDriver编写
java
package org.example.maperduce.account;

import org.apache.hadoop.conf.Configuration;
import org.apache.hadoop.fs.Path;
import org.apache.hadoop.io.IntWritable;
import org.apache.hadoop.io.LongWritable;
import org.apache.hadoop.mapreduce.lib.input.FileInputFormat;
import org.apache.hadoop.mapreduce.lib.output.FileOutputFormat;
import org.apache.hadoop.mapreduce.Job;
import org.example.maperduce.model.AccountBean;

import java.io.IOException;


public class AccountDriver {

    public static void main(String[] args) throws IOException, InterruptedException, ClassNotFoundException {
        //1、获取配置信息对象和job对象
        Configuration conf=new Configuration();
        Job job=Job.getInstance(conf);

        //2、关联Driver类
        job.setJarByClass(AccountDriver.class);

        //3、设置Mapper和Reduce的类
        job.setMapperClass(AccountMapper.class);
        job.setReducerClass(AccountReducer.class);

        //4、设置Mapper输出的kv类型
        job.setMapOutputKeyClass(IntWritable.class);
        job.setMapOutputValueClass(AccountBean.class);

        //5、设置最终输出的kv类型(Reduce输出的kv类型)
        job.setOutputKeyClass(IntWritable.class);
        job.setOutputValueClass(AccountBean.class);

        //6、设置文件的输入路径和计算结果的输出路径
        FileInputFormat.setInputPaths(job,new Path(args[0]));
        FileOutputFormat.setOutputPath(job,new Path(args[1]));
        //7、设置采用自定义分区
        job.setPartitionerClass(SpendPartitioner.class);
        //设置Reduce Task的个数
        job.setNumReduceTasks(4);

        //8、提交任务进行计算
        boolean result=job.waitForCompletion(true);

        System.out.println(result?"计算成功":"计算失败");
    }
}
6、pom.xml文件
java
<?xml version="1.0" encoding="UTF-8"?>
<project xmlns="http://maven.apache.org/POM/4.0.0"
         xmlns:xsi="http://www.w3.org/2001/XMLSchema-instance"
         xsi:schemaLocation="http://maven.apache.org/POM/4.0.0 http://maven.apache.org/xsd/maven-4.0.0.xsd">
    <modelVersion>4.0.0</modelVersion>

    <groupId>org.example</groupId>
    <artifactId>hdfs_api</artifactId>
    <version>1.0-SNAPSHOT</version>

    <properties>
        <maven.compiler.source>8</maven.compiler.source>
        <maven.compiler.target>8</maven.compiler.target>
        <project.build.sourceEncoding>UTF-8</project.build.sourceEncoding>
    </properties>

    <dependencies>

        <dependency>
            <groupId>junit</groupId>
            <artifactId>junit</artifactId>
            <version>4.11</version>
        </dependency>
        <!-- https://mvnrepository.com/artifact/org.apache.hadoop/hadoop-common -->
        <dependency>
            <groupId>org.apache.hadoop</groupId>
            <artifactId>hadoop-common</artifactId>
            <version>3.1.3</version>
        </dependency>

        <!-- https://mvnrepository.com/artifact/org.apache.hadoop/hadoop-hdfs -->
        <dependency>
            <groupId>org.apache.hadoop</groupId>
            <artifactId>hadoop-hdfs</artifactId>
            <version>3.1.3</version>
        </dependency>

        <!-- https://mvnrepository.com/artifact/org.apache.hadoop/hadoop-client -->
        <dependency>
            <groupId>org.apache.hadoop</groupId>
            <artifactId>hadoop-client</artifactId>
            <version>3.1.3</version>
        </dependency>


    </dependencies>

    <build>
        <plugins>
            <plugin>
                <artifactId>maven-compiler-plugin</artifactId>
                <version>3.6.1</version>
                <configuration>
                    <source>1.8</source>
                    <target>1.8</target>
                </configuration>
            </plugin>
            <plugin>
                <artifactId>maven-assembly-plugin</artifactId>
                <configuration>
                    <descriptorRefs>
                        <descriptorRef>jar-with-dependencies</descriptorRef>
                    </descriptorRefs>
                </configuration>
                <executions>
                    <execution>
                        <id>make-assembly</id>
                        <phase>package</phase>
                        <goals>
                            <goal>single</goal>
                        </goals>
                    </execution>
                </executions>
            </plugin>
        </plugins>
    </build>

</project>
三、运行配置
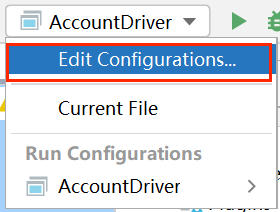
(1)选择Edit Configurations
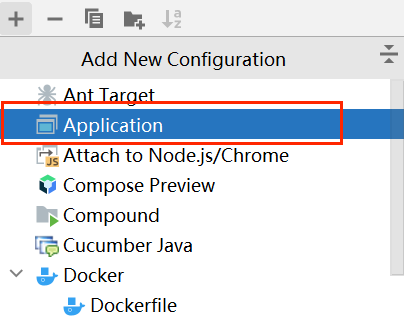
(2)点击"+"号选择Application
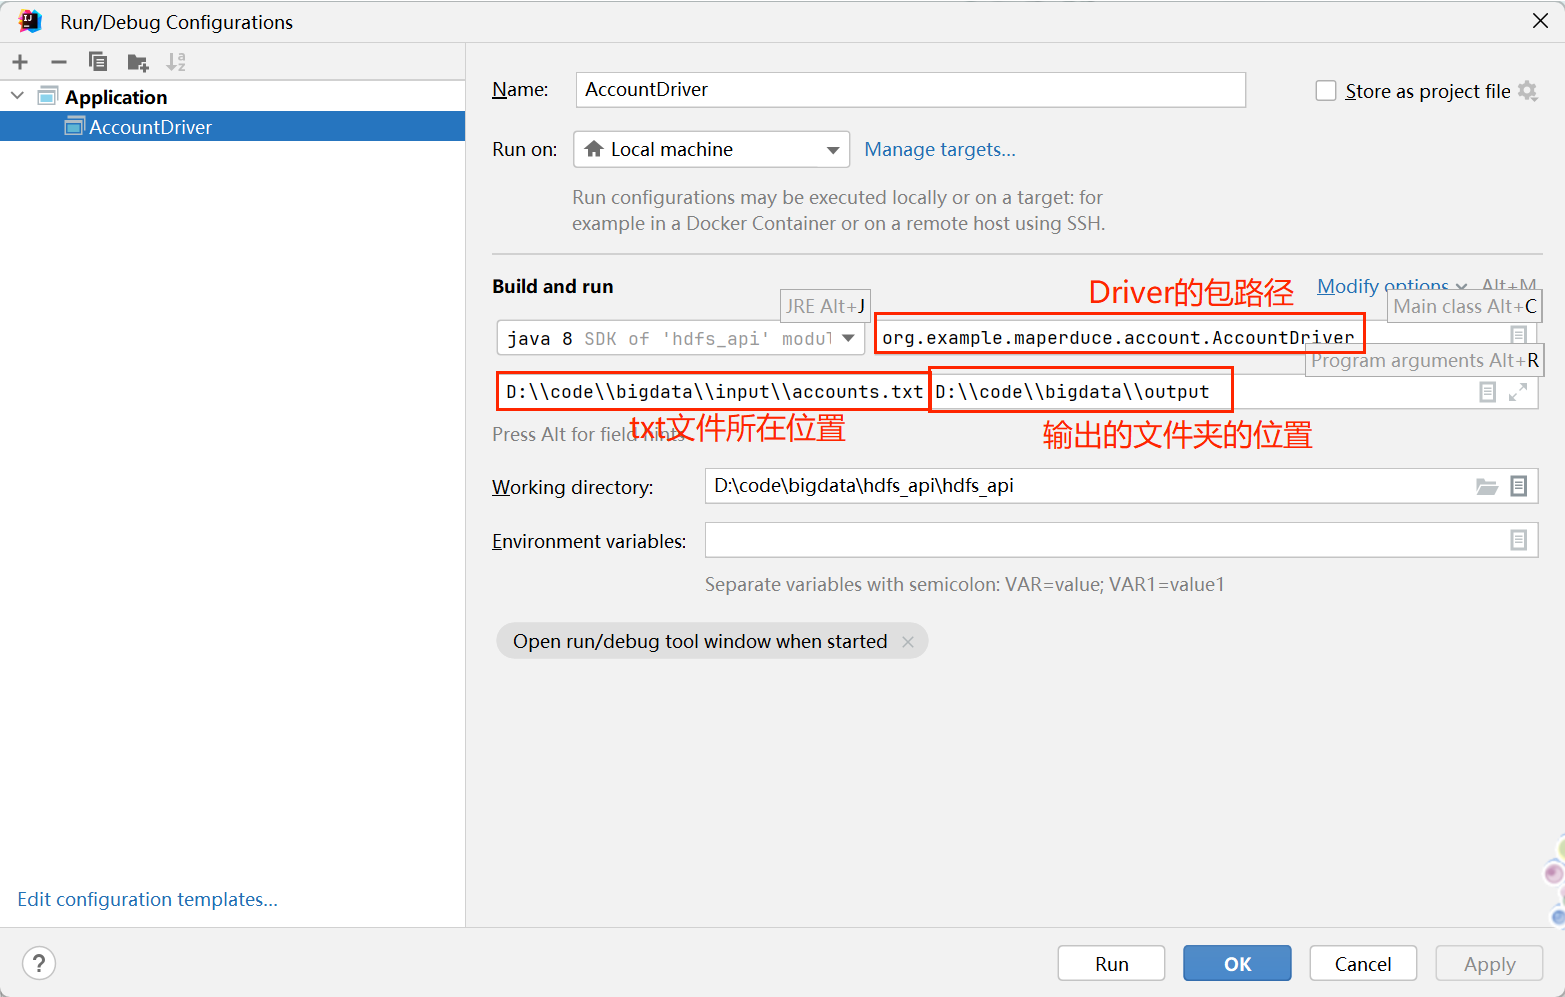
(3)如图输入信息,输入好后先点Apply再点OK
四、运行结果
注意运行前需保证output文件夹在对应目录下不存在
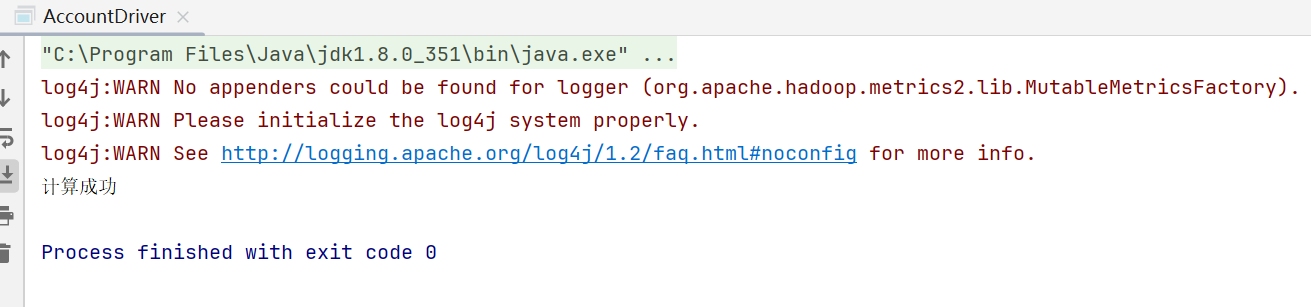
1、在idea上运行
(1)控制台输出结果
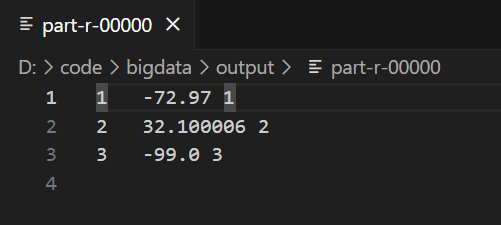
(2)output文件夹结果
在对应目录下可看见/output目录生成,output文件夹中内容如下:

点击进去即可查看结果
2、在集群上运行
可参考另一篇博客内容:打包idea代码至集群上运行-CSDN博客