1、VUE的脚手架工具(CLI)
开发大型vue的时候,不能通过html编写一个大型的项目,这个时候需要用到vue的脚手架工具
通过vue的脚手架,可以快速的生成vue工程
1.1、安装nodejs和npm
【下载nodejs】
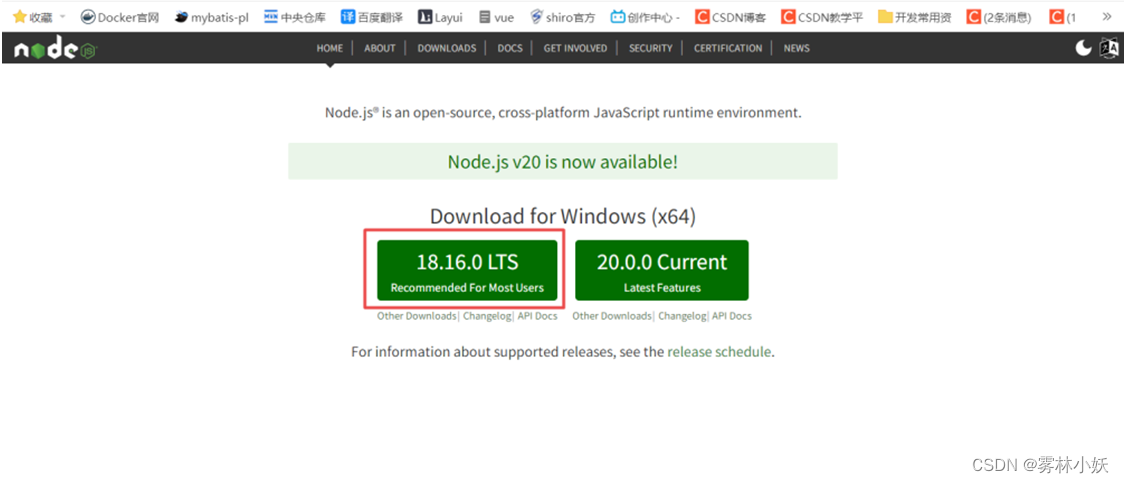
【安装nodejs,傻瓜式安装】
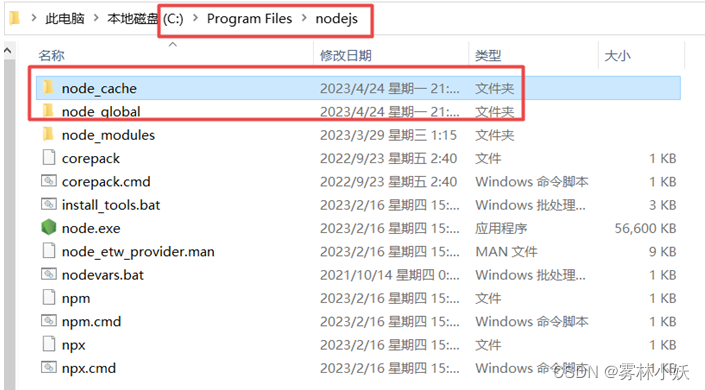
安装之后在安装目录下创建node_cache和node_global两个目录
如果目录已经存在可以不创建
node_cache:作为缓存路径
node_global:作为全模块所在路径
在cmd中查看npm的默认配置信息】
我当前的地址是修改后的地址,如果不是需要修改成自己的地址
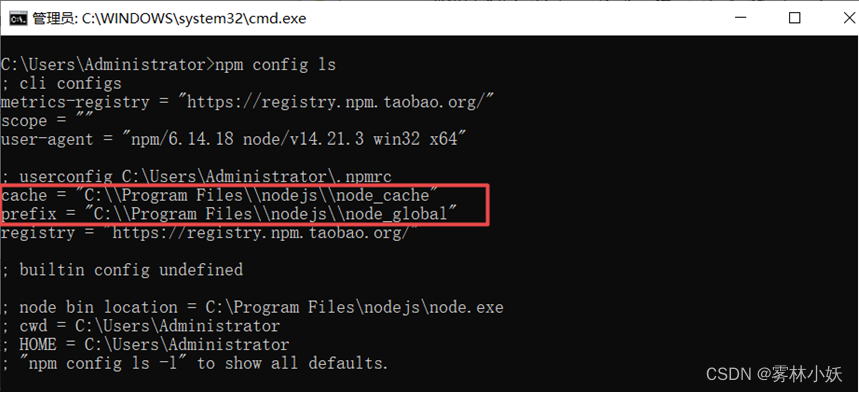
【在cmd中使用命令修改默认的地址】
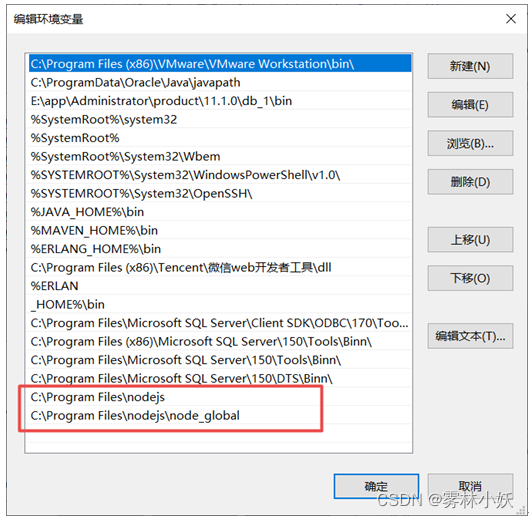
下面两个地址是上面手动创建的
npm config set prefix "C:\Program Files\nodejs \node_global"
npm config set cache "C:\Program Files\nodejs\node_cache "
【配置nodejs环境变量】
位置:右击计算机->属性->高级系统设置->环境变量->系统设置

【测试nodejs安装情况】

【配置镜像资源下载地址】
更早之前的老地址不能使用了:https://registry.npm.taobao.org
使用如下新地址
npm config set registry https://registry.npmmirror.com
1.2、安装nrm
我们可以通过nrm下载很多vue中需要以来的工具
【安装nrm】
注意点:一定要加入open,否则安装会失败。
原因:依赖升级后使用ES Module规范了
npm install -g nrm open@8.4.2 --save

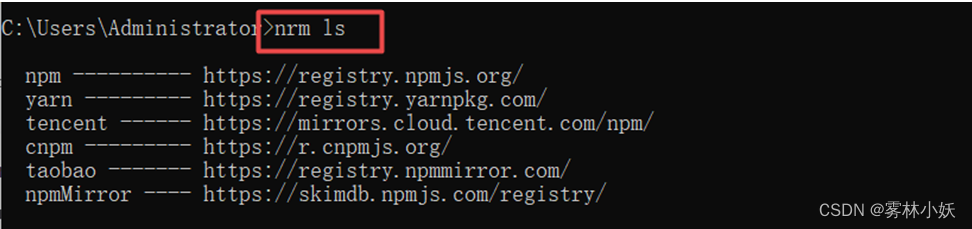
【测试nrm安装情况】
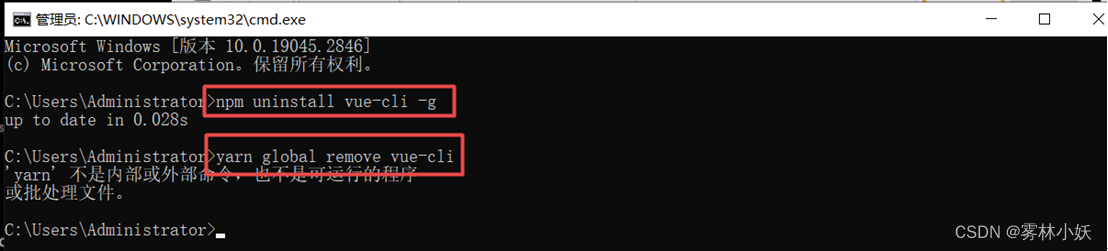
1.3、清除本地老版本的脚手架
如果之前没有安装过老版本的脚手架,本步骤可以省略
1.4、安装vue3脚手架工具
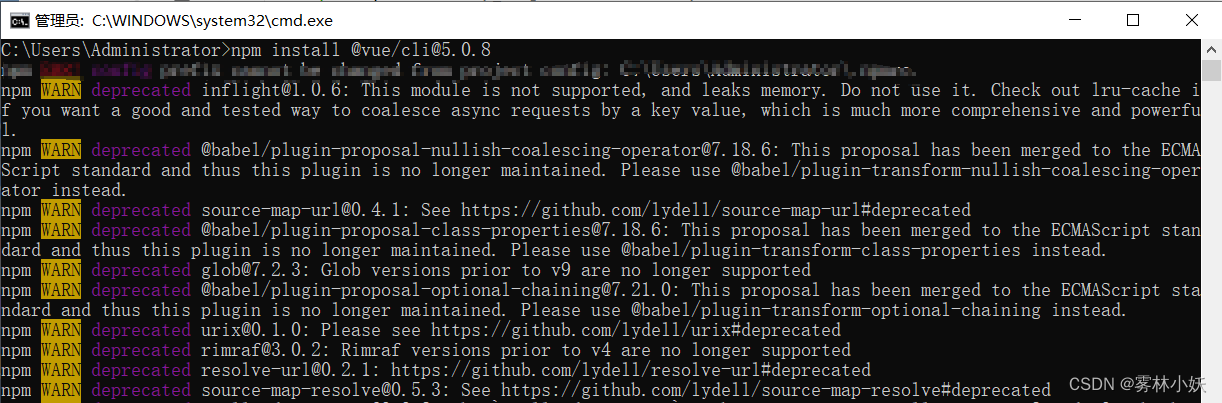
【安装指定版本的脚手架工具】
命令:npm install @vue/cli@5.0.8
【安装最新版本命令】
npm install --g @vue/cli

1.5、通过脚手架创建vue工程
1、通过cd命令进入到桌面

2、通过vue create vuedemo创建工程,vuedemo为工程名称

3、选择第三个,Manually select feature

4、通过空格键选择要的组件,通过enter确认,此处我们使用默认选项
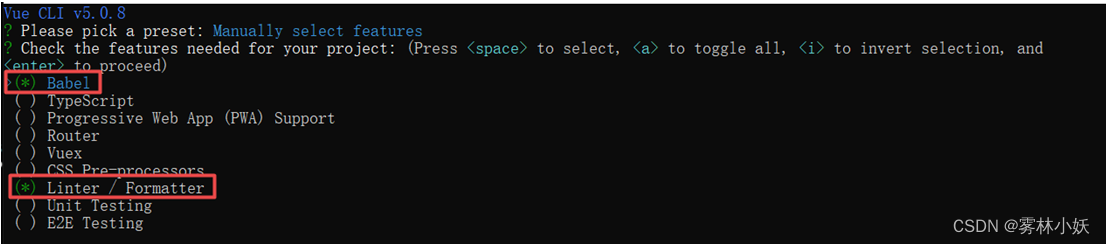
5、选择vue的版本

6、选择ESLint,我们选择第一个:出错的时候提示警告
7、选择lint校验状况,选择第一个:每次保存的时候校验

8、询问eslint的配置文件存放位置,选择第一个

9、询问是否将刚才的创建步骤,保存成一个future

10、正在创建

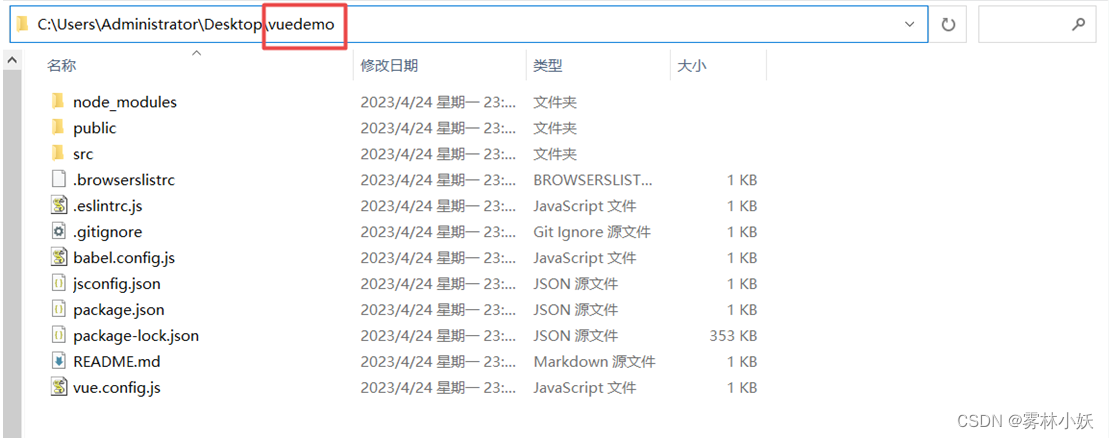
11、创建后在桌面出现了vuedemo工程
12、通过cd命令进入工程目录

13、通过npm run serve启动工程
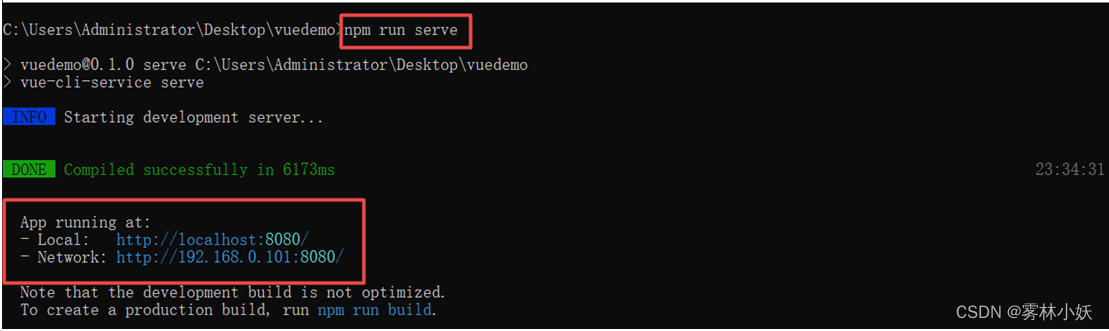
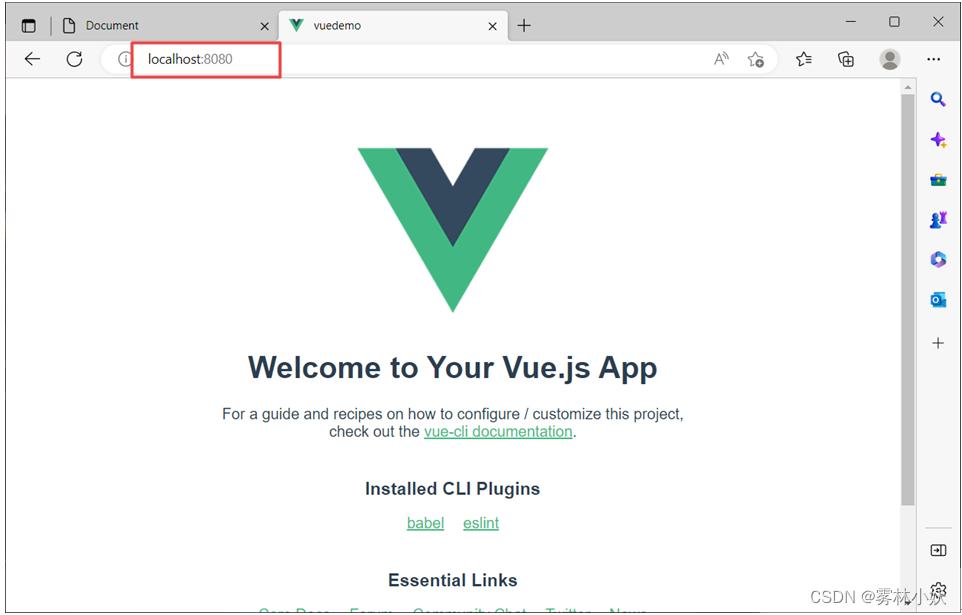
14、访问
15、退出
ctrl+c连按二次
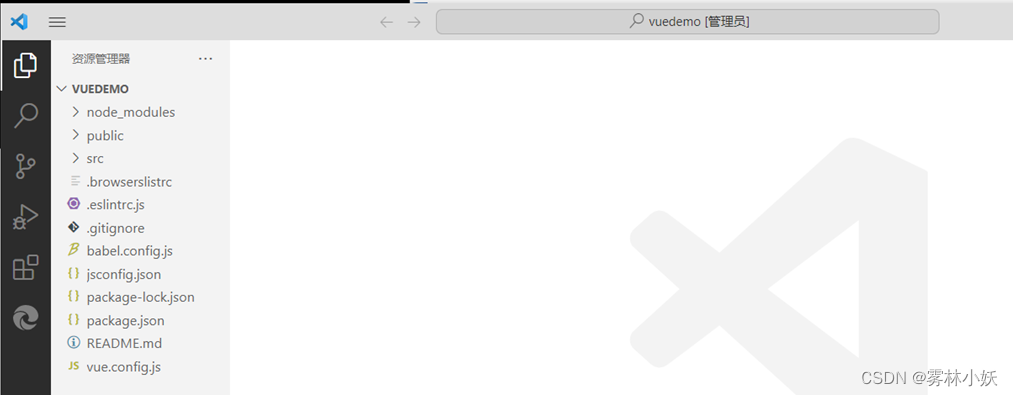
16、将vuedemo工程在vscode中打开
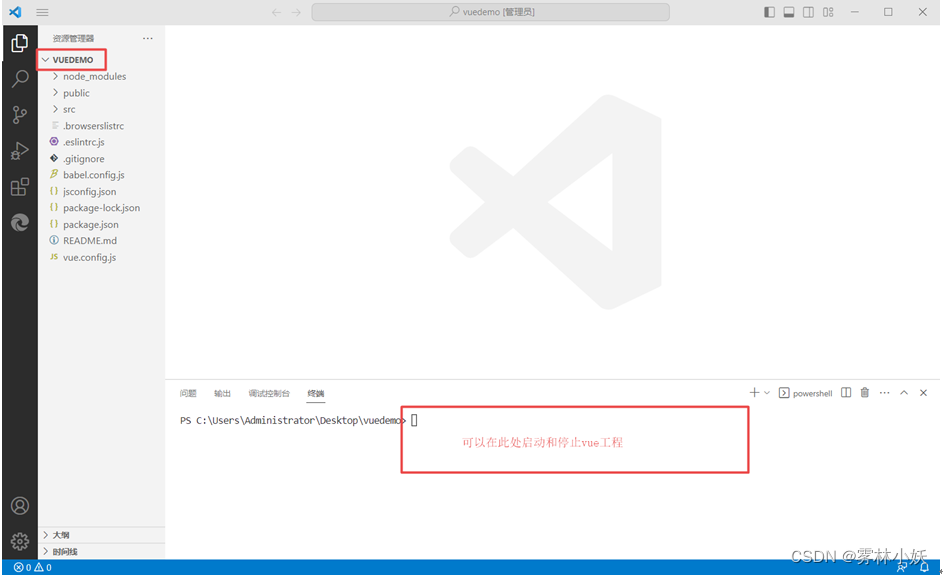
1.6、认识vue工程
说明:如果当前的环境不提示vue文件,可以下载vuter组件
src:源代码
src/main.js:入口文件
src/App.vue:放了默认页面的组件及样式等信息,这个文件也称之为单文件组件。
单文件组件:template(模板)+script(逻辑)+style(样式)