git是一款分布式的配置管理工具。本文主要讲git如何在自动化测试中安装,上传及拉取下载代码。
1 、git 介绍
每天早上到公司,从公司的git服务器上下载最新的代码,白天在最新的代码基础上,编写新的代码,下班时把"代码走查"通过的代码上传到git服务器。jenkins服务器会拉取git服务器的代码,定时自动执行所有的代码。如果有测试用例执行失败,就会给你手机发邮件。第二天上班定位bug
SVN和Git的区别
SVN是集中式版本控制系统,相当于网游,服务器故障,所有人都不能玩。
Git是分布式版本控制系统。相当于可单击,可网游,服务器故障,每个人可以玩自己的单机。
解决了一个单点故障的问题。一方面svn服务器挂掉,会影响比较大。另一方面太多人访问svn服务器,比较繁忙,比较慢。
每个人的电脑 都是 一个完整的版本库
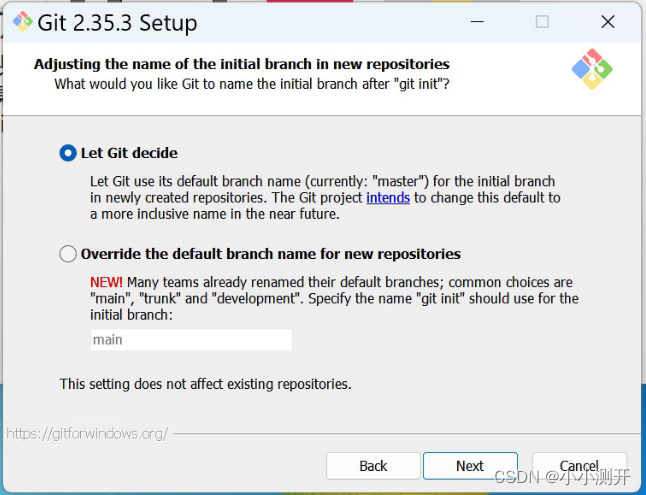
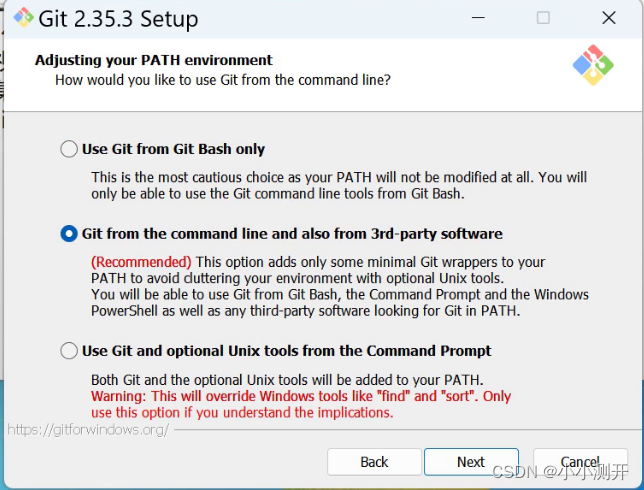
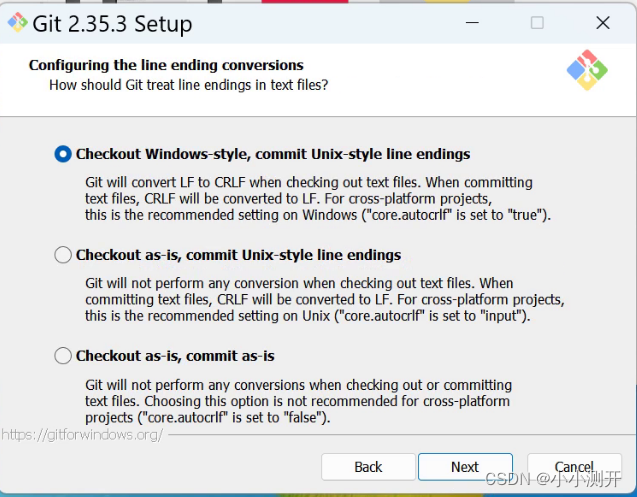
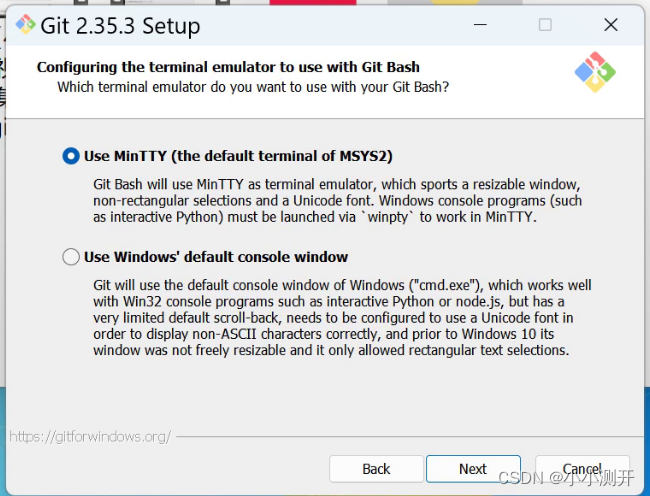
2 、安装步骤
1、打开官网"https://git-scm.com/"
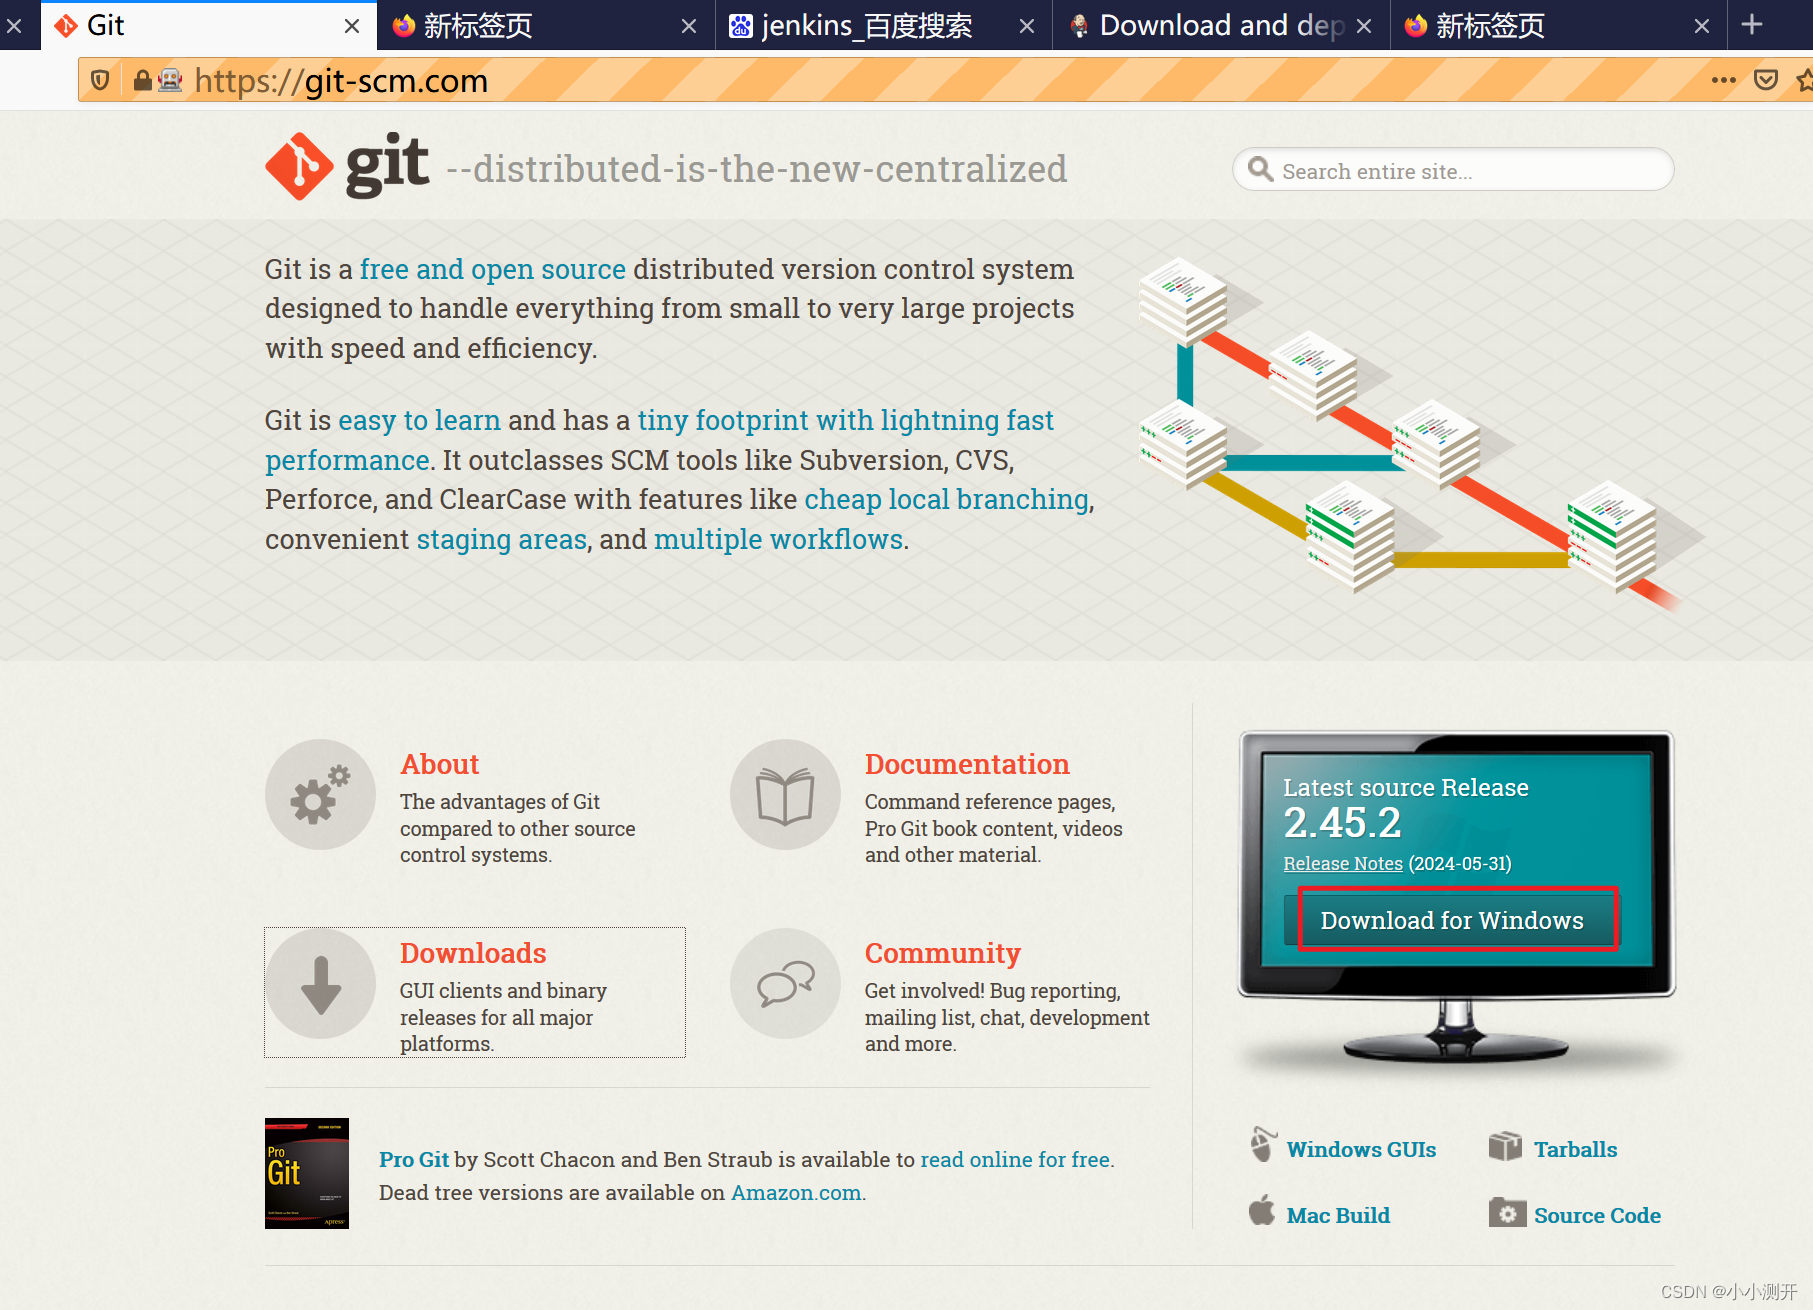
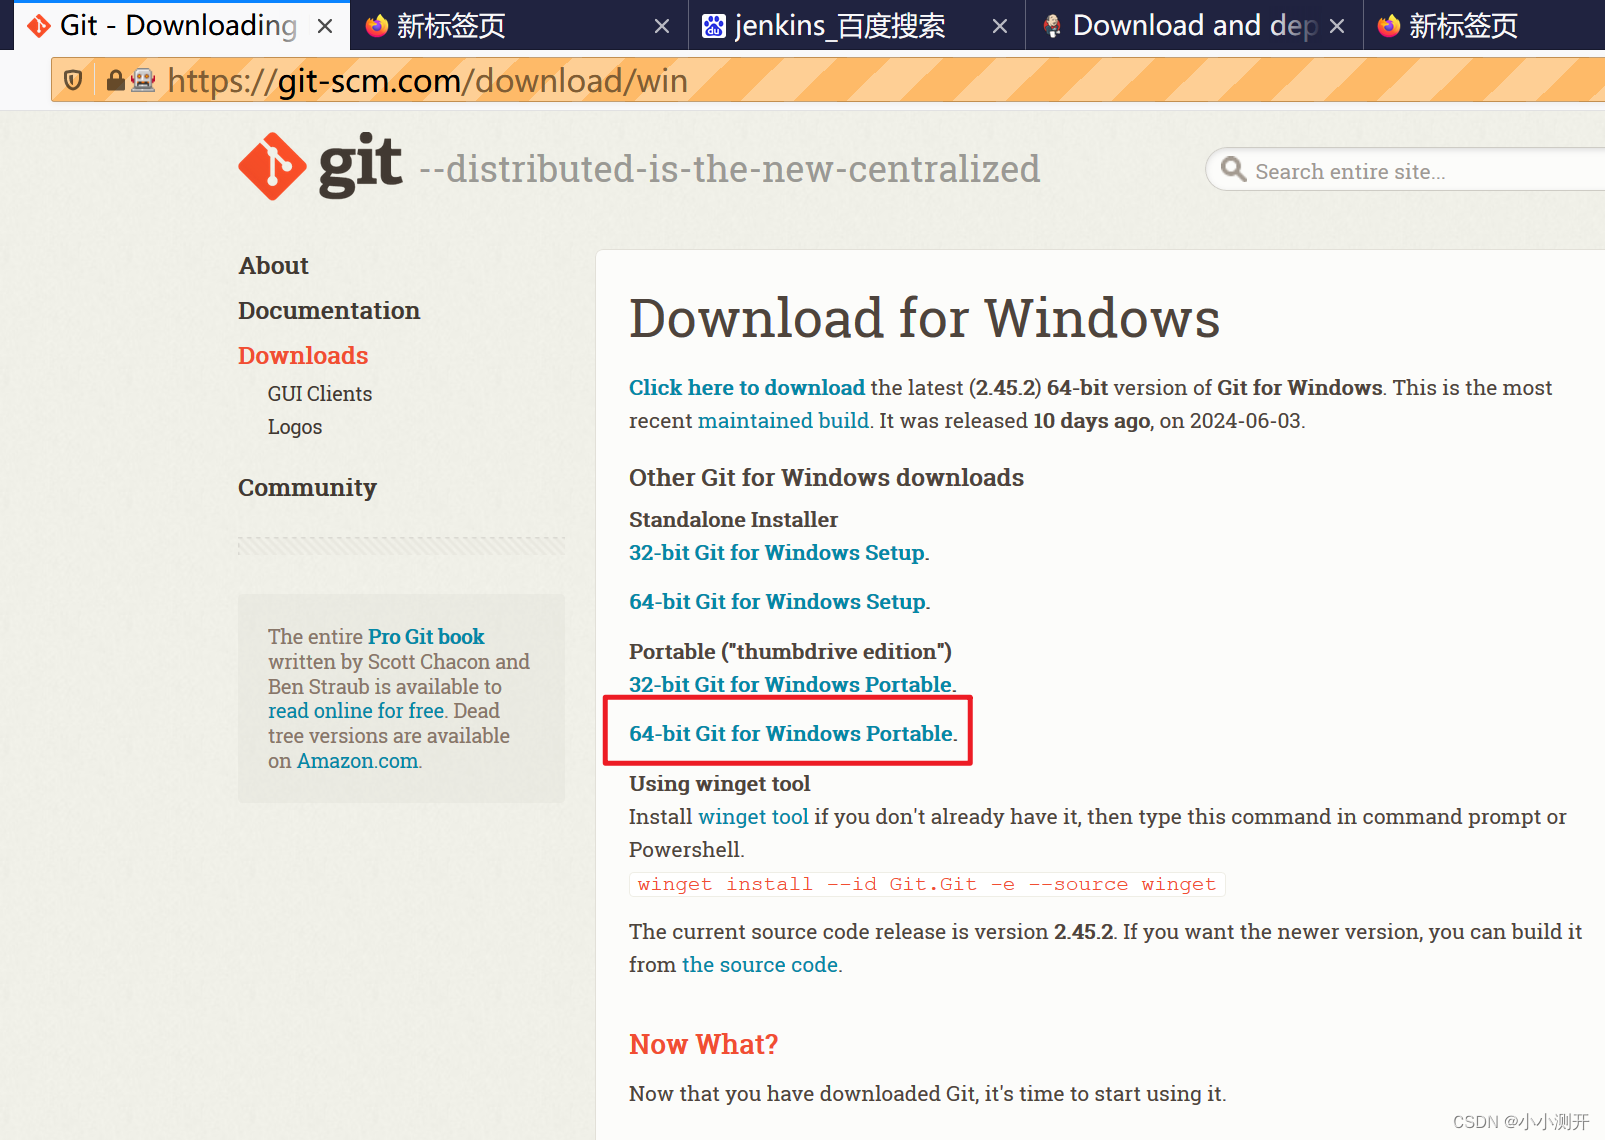
2、点击按钮"download for windows"
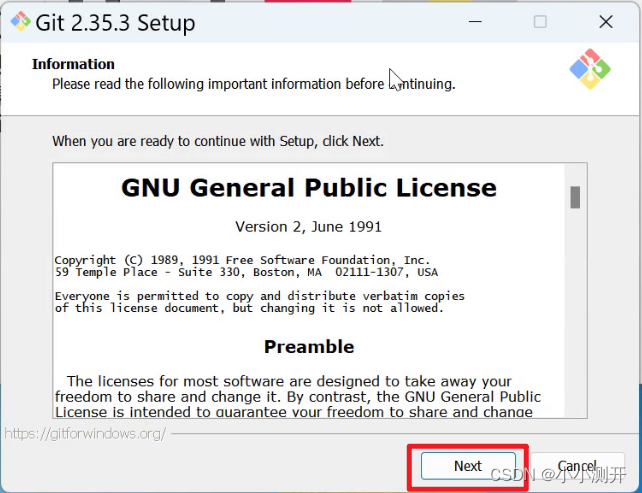
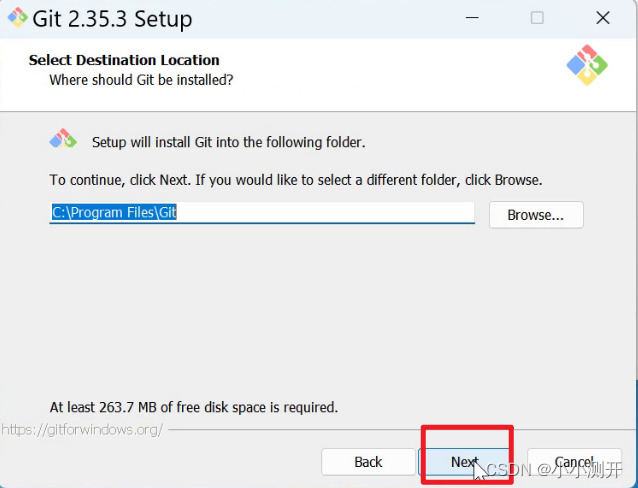
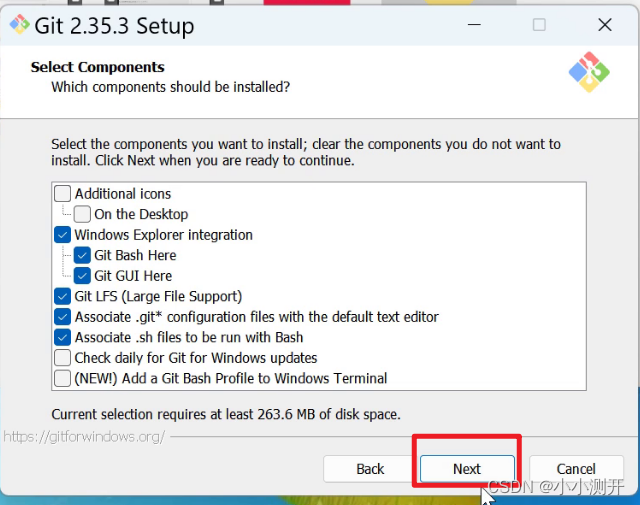
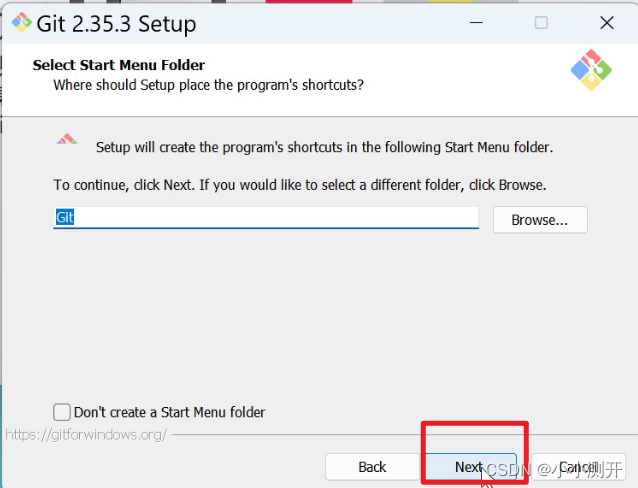
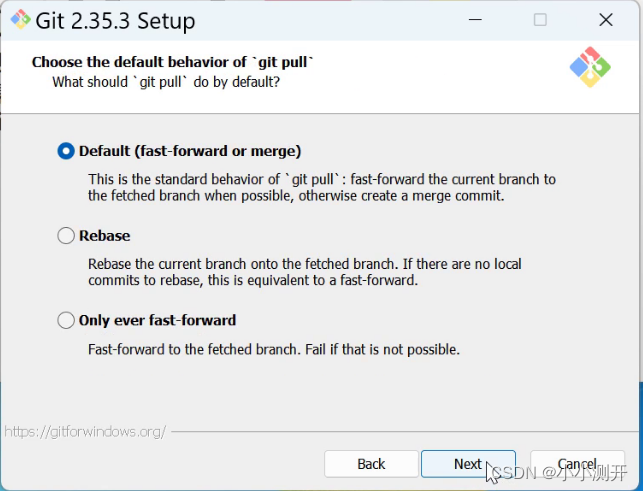
3、双击打开Git-2.35.3-64-bit.exe
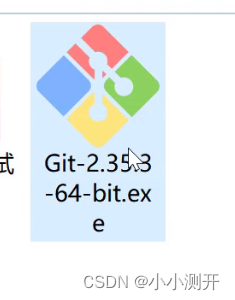
4、一路下一步,直到安装完成


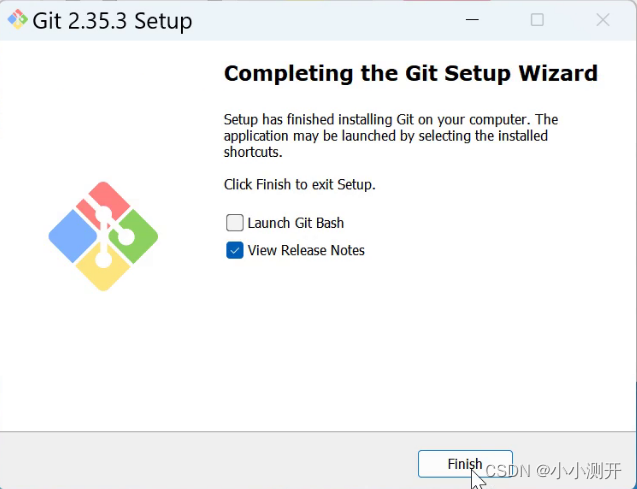
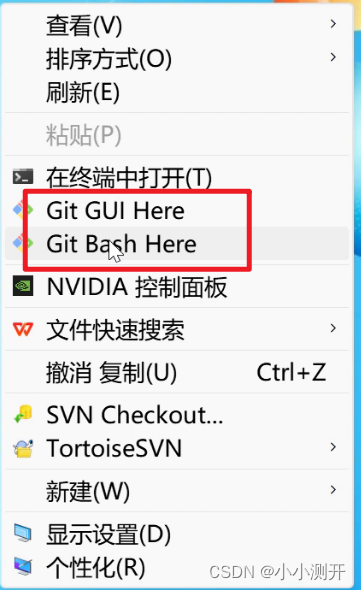
这个时候检查鼠标右键,有Git的两个菜单就成功了。
3、 git服务器
目前有三个比较出名的git服务器,分别是github、gitee、gitlab。
github:全球很多公司都会把自己的代码上传到github,是代码管理仓库。
gitee:国内模仿github的网站。国内访问github比较慢。所以很多公司都会把自己的代码上传到gitee上。而且gitee的界面是中文界面,更好上手。
gitlab:公司内部搭建的私服。适合不愿意开源,也不愿意给网站缴费的公司。
4、在gitee上注册
1、打开gitee首页,Gitee - 基于 Git 的代码托管和研发协作平台
gitee也叫码云

2、用手机号加验证码登录,并且登陆后还要绑定邮箱,姓名不要用中文注册
用户名"changcheng1211"
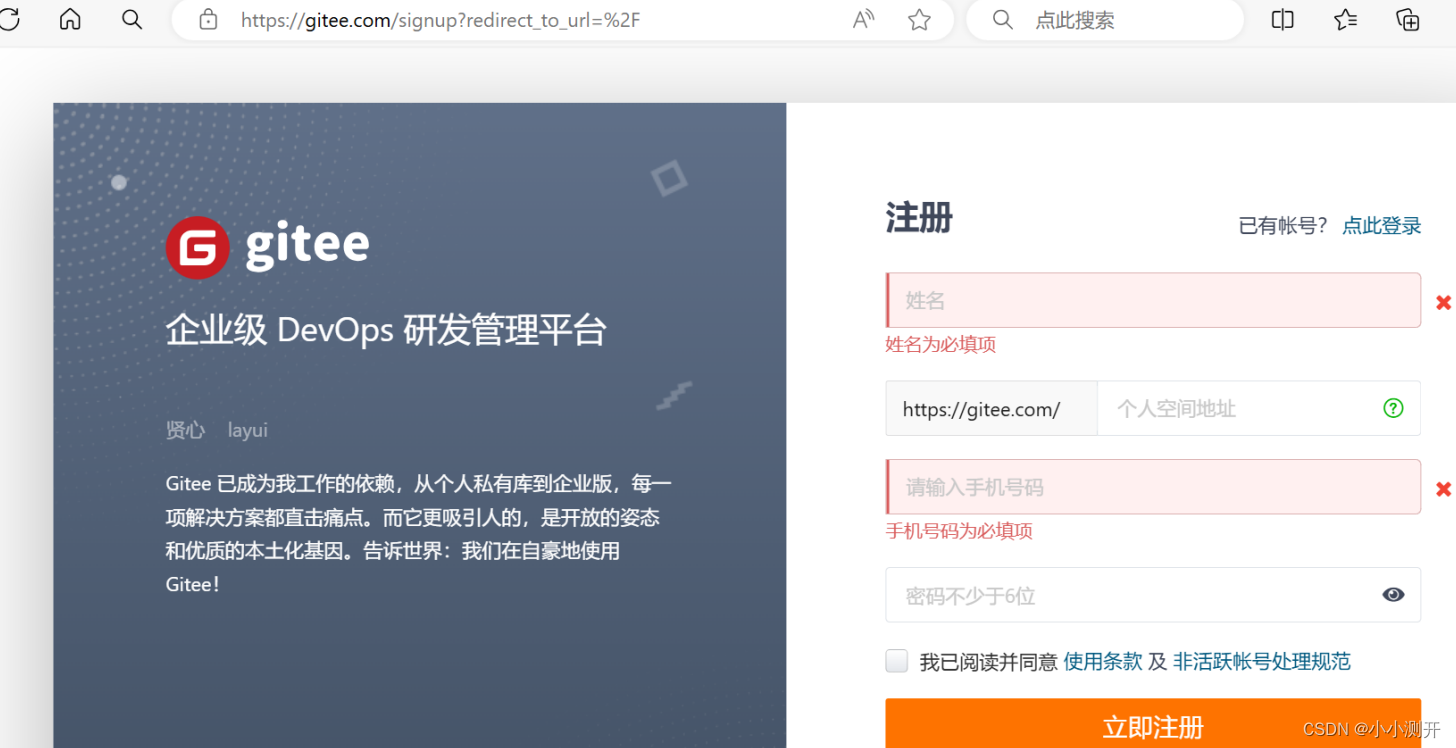
3、注册后,需要登录邮箱,点击gitee确认邮件
5、为本地电脑配置用户名和邮箱
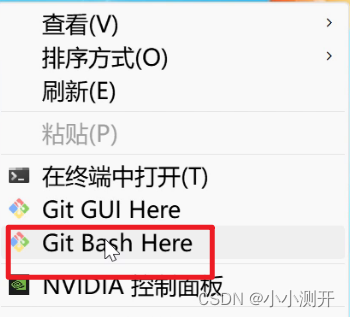
1、右键点击桌面,选择git bash here,这时会打开一个linux命令窗口,可以执行linux命令
2、输入命令
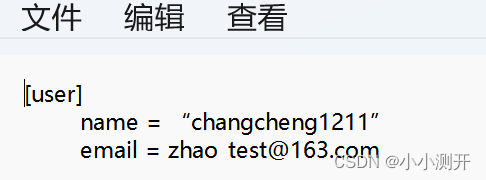
git config --global user.name "在gitee上注册的账户名(其实可以随便写)"

get config --global user.email "在gitee上注册时使用的邮箱"

上传代码时,gitee仓库会记录这些信息,分辨代码时由谁上传的。
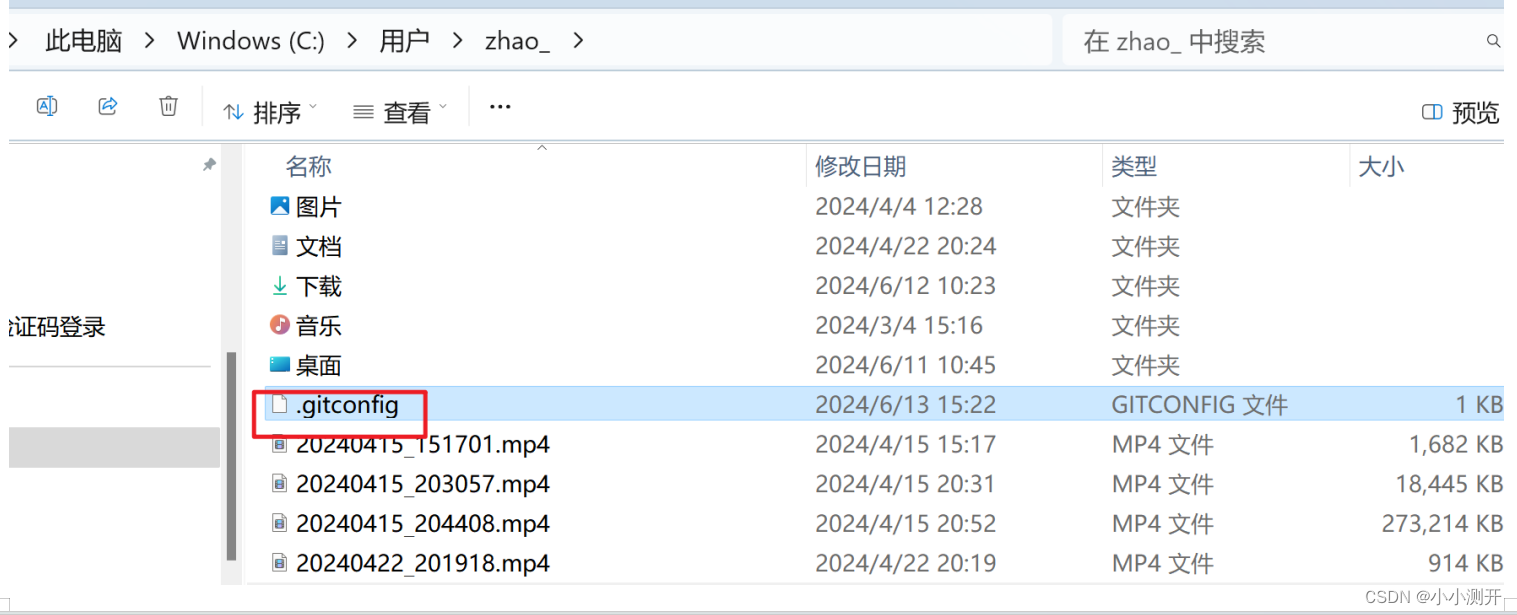
执行命令后,在C:\用户\51Testing下面,会生成一个.gitconfig文件,用记事本打开,可以看到你设置用户名和邮箱
打开查看
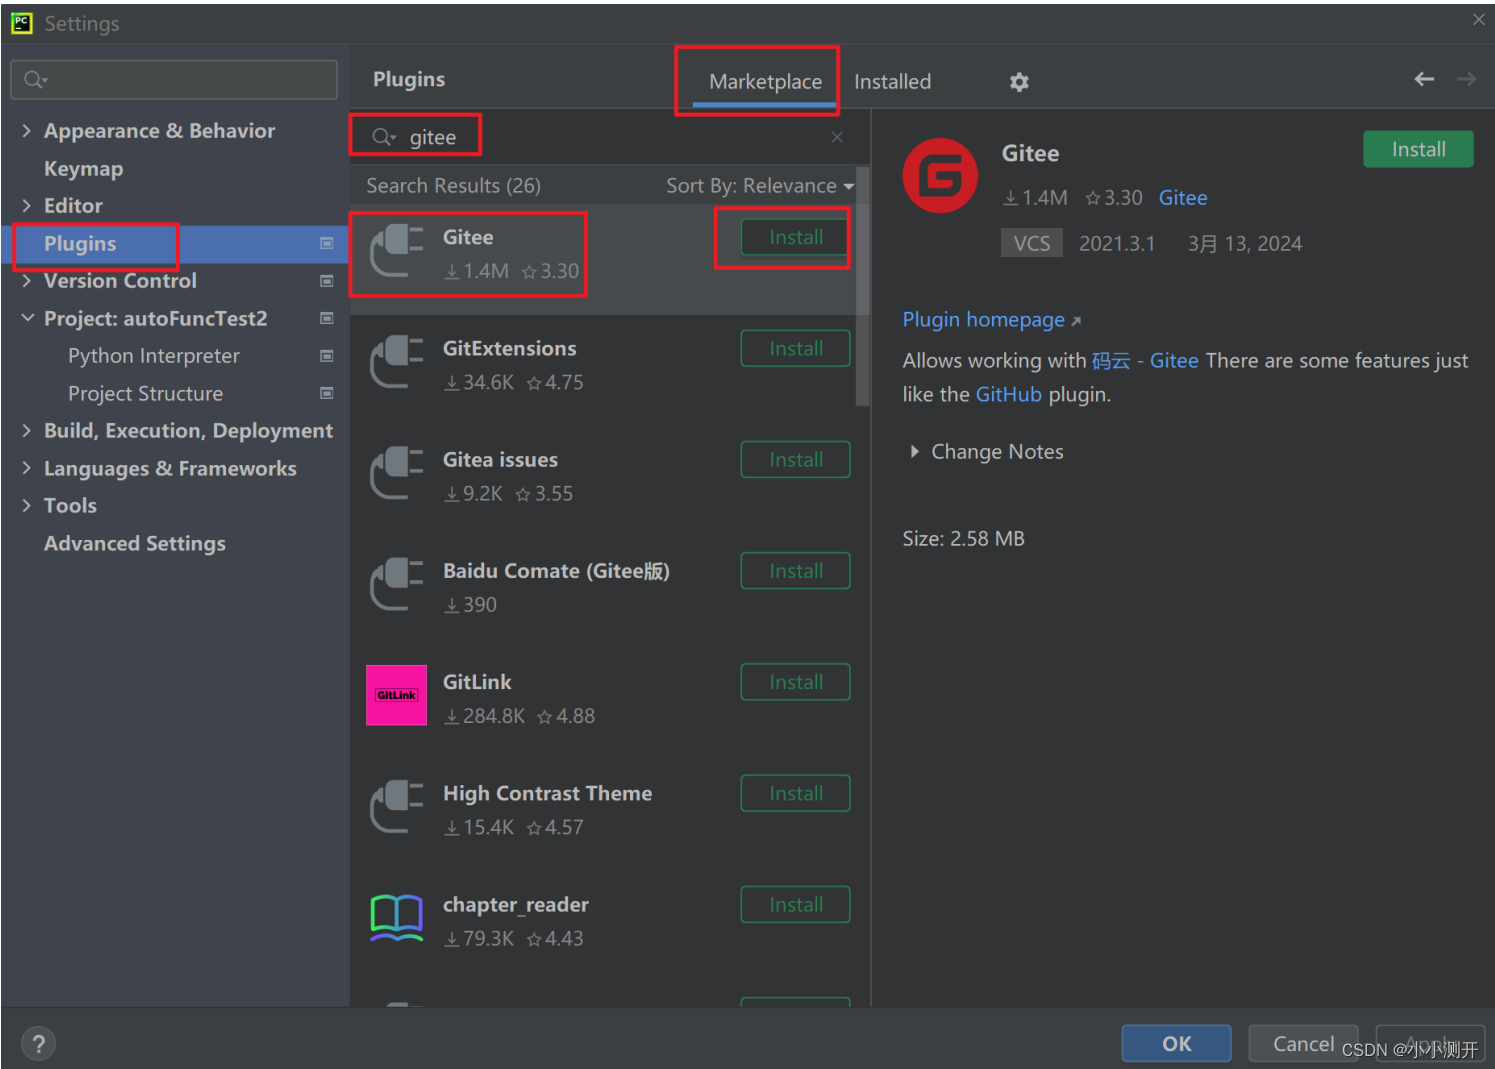
6、在pycharm中下载插件
在pycharm里面,点击File--Settings--Plugins,点击Marketplace。搜索gitee,点击Install进行安装。
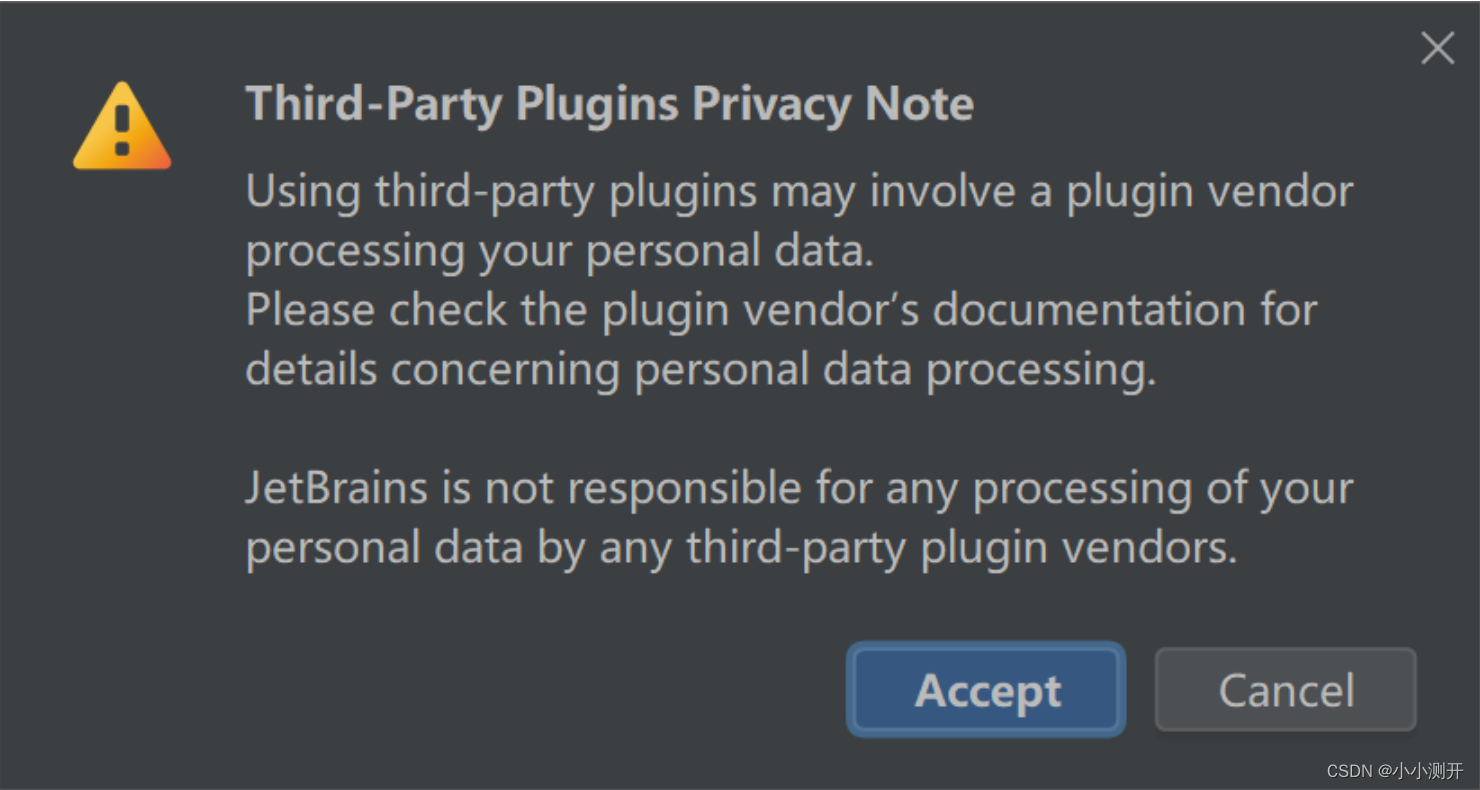
点击Accept
点击ok后重启pycharm.
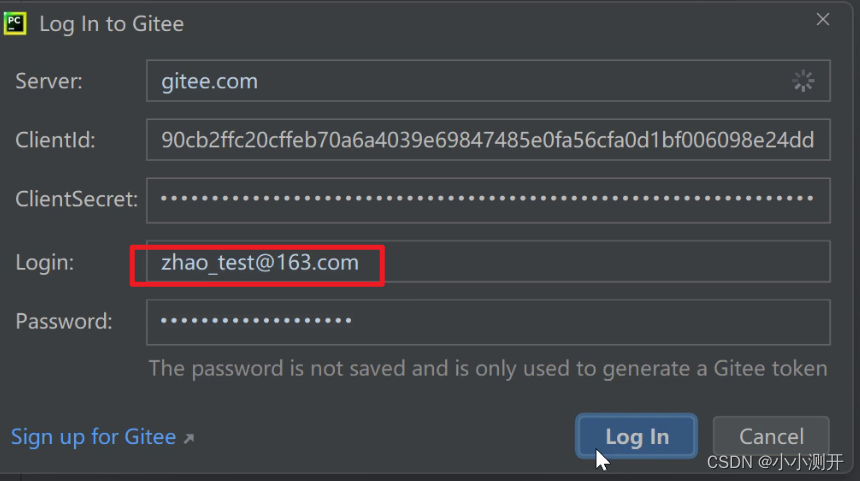
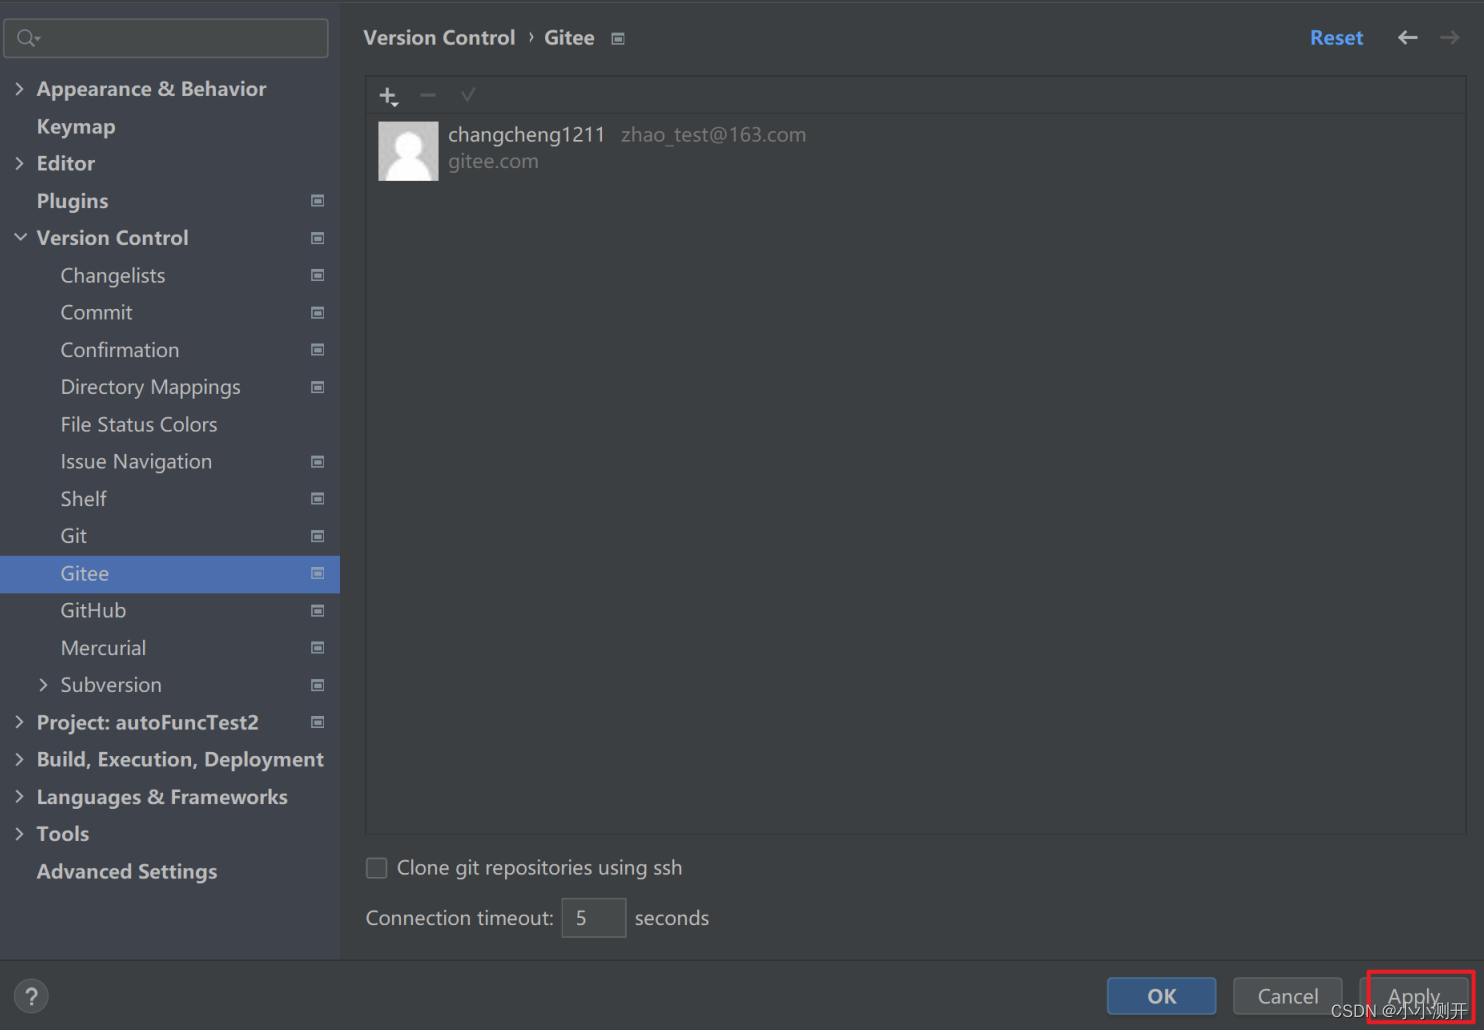
7、在pycharm中登录gitee
File-->Sttings-->版本控制-->gitee-->点击"+"-->login in via gitee-->分别输入注册的邮箱和密码-->点击登录-->确定
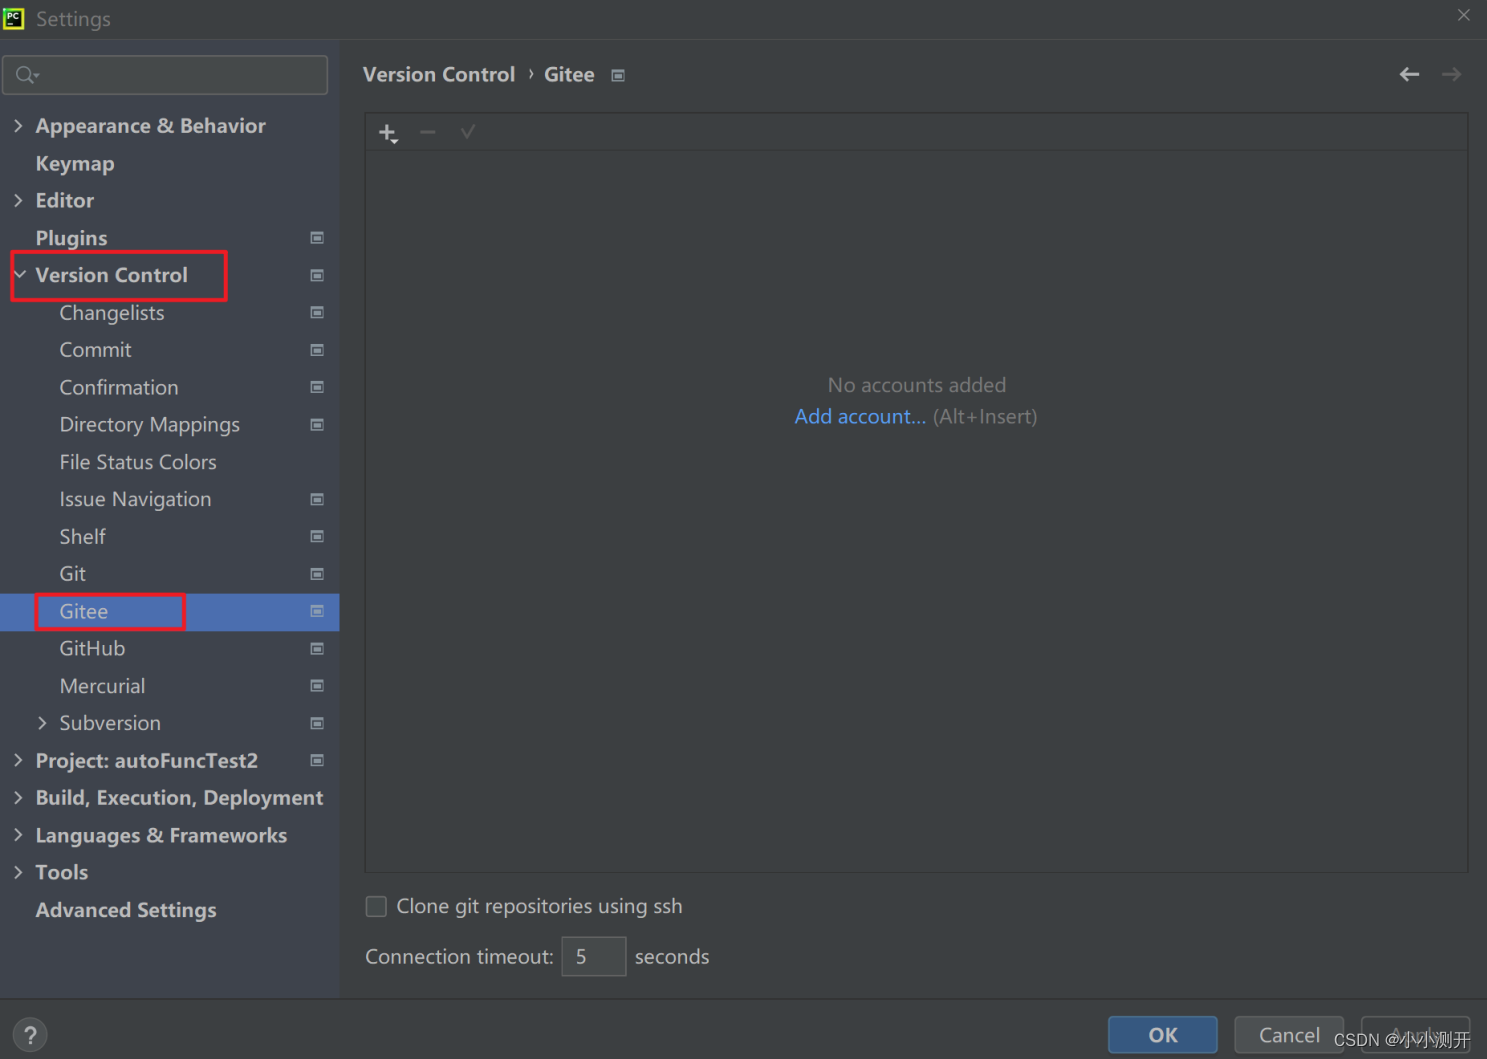
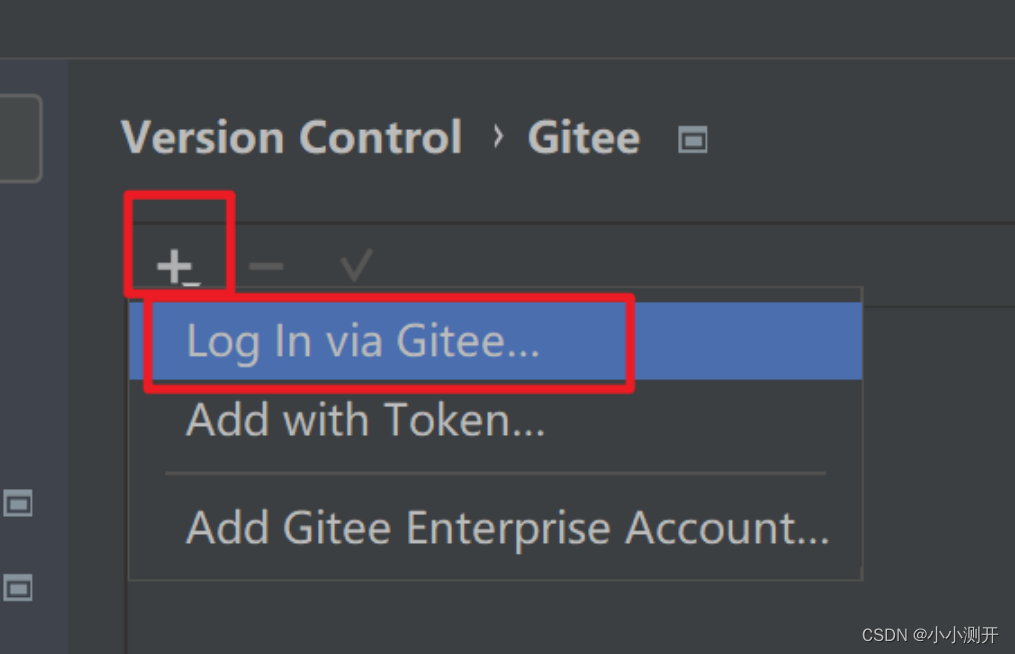
这里登录只能用邮箱登录
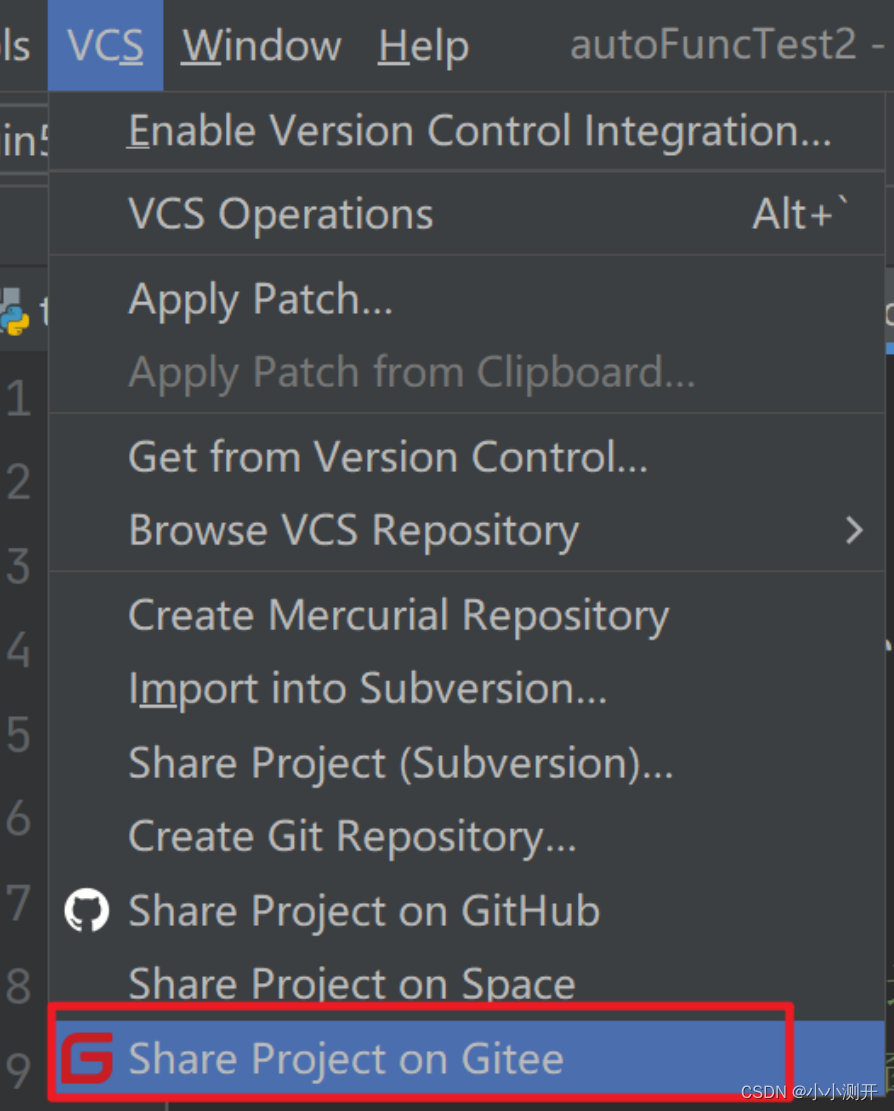
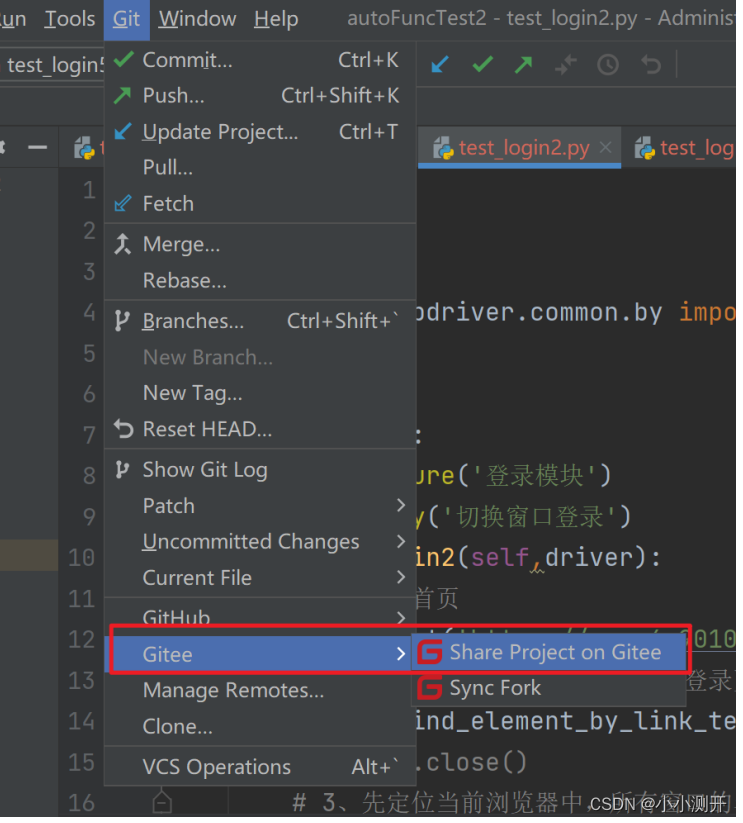
8、把当前项目上传到gitee网站上
菜单栏-->VCS-->Share project to Gitee--->点击Share按钮
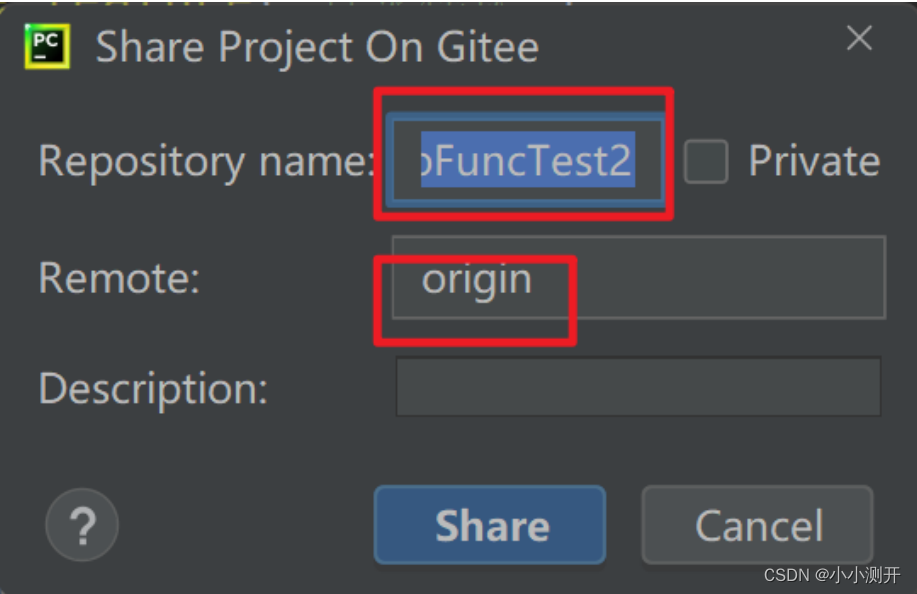
这里面第一个是项目名,也是远程仓库的名字,下面的是远程仓库的别名,都不用改,点击设为私有按钮(不分享出去,有些不需要分享),点击Share
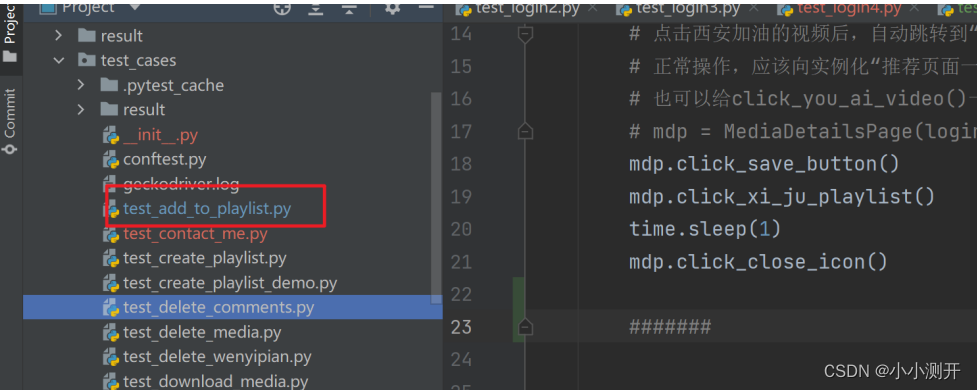
这里面让我们勾选一些我们要上传的代码。其中一些需要去勾选。
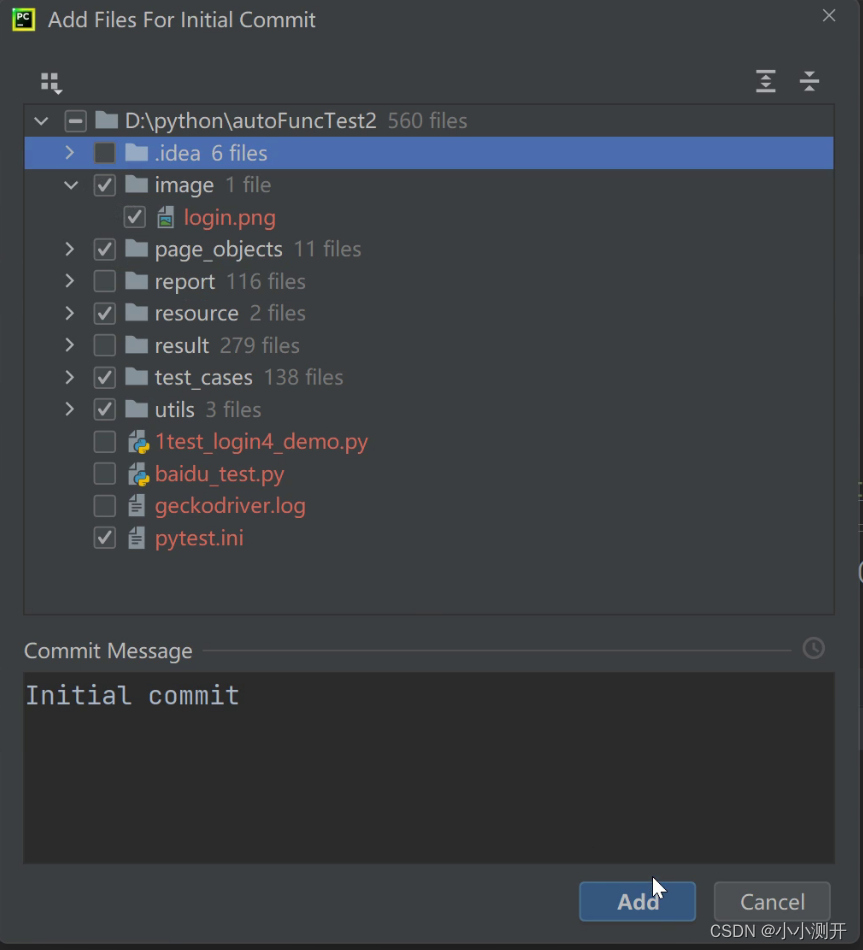
下面要把代码上传到网页上去。不上传.pytest_cache和report和result文件夹中的内容
.idea 这个不是我们写的代码,是创建项目自动生成的。
Image图片必须要分享。留一个文件,不然空文件夹不让上传。
page_objects自己写的要上传。
report测试报告不需要上传。这是运行代码生成的
resouce是我们的excel文件需要上传,
result不上传
test_cases上传
utils上传
geckodriver.log 不上传
pytest.ini 不上传
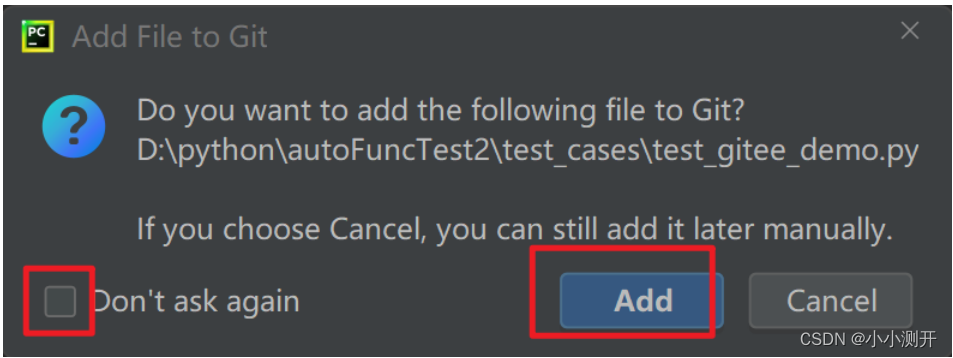
完成后点击"add"按钮。
右下角有个进度条
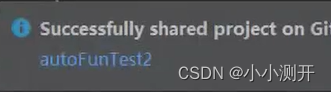
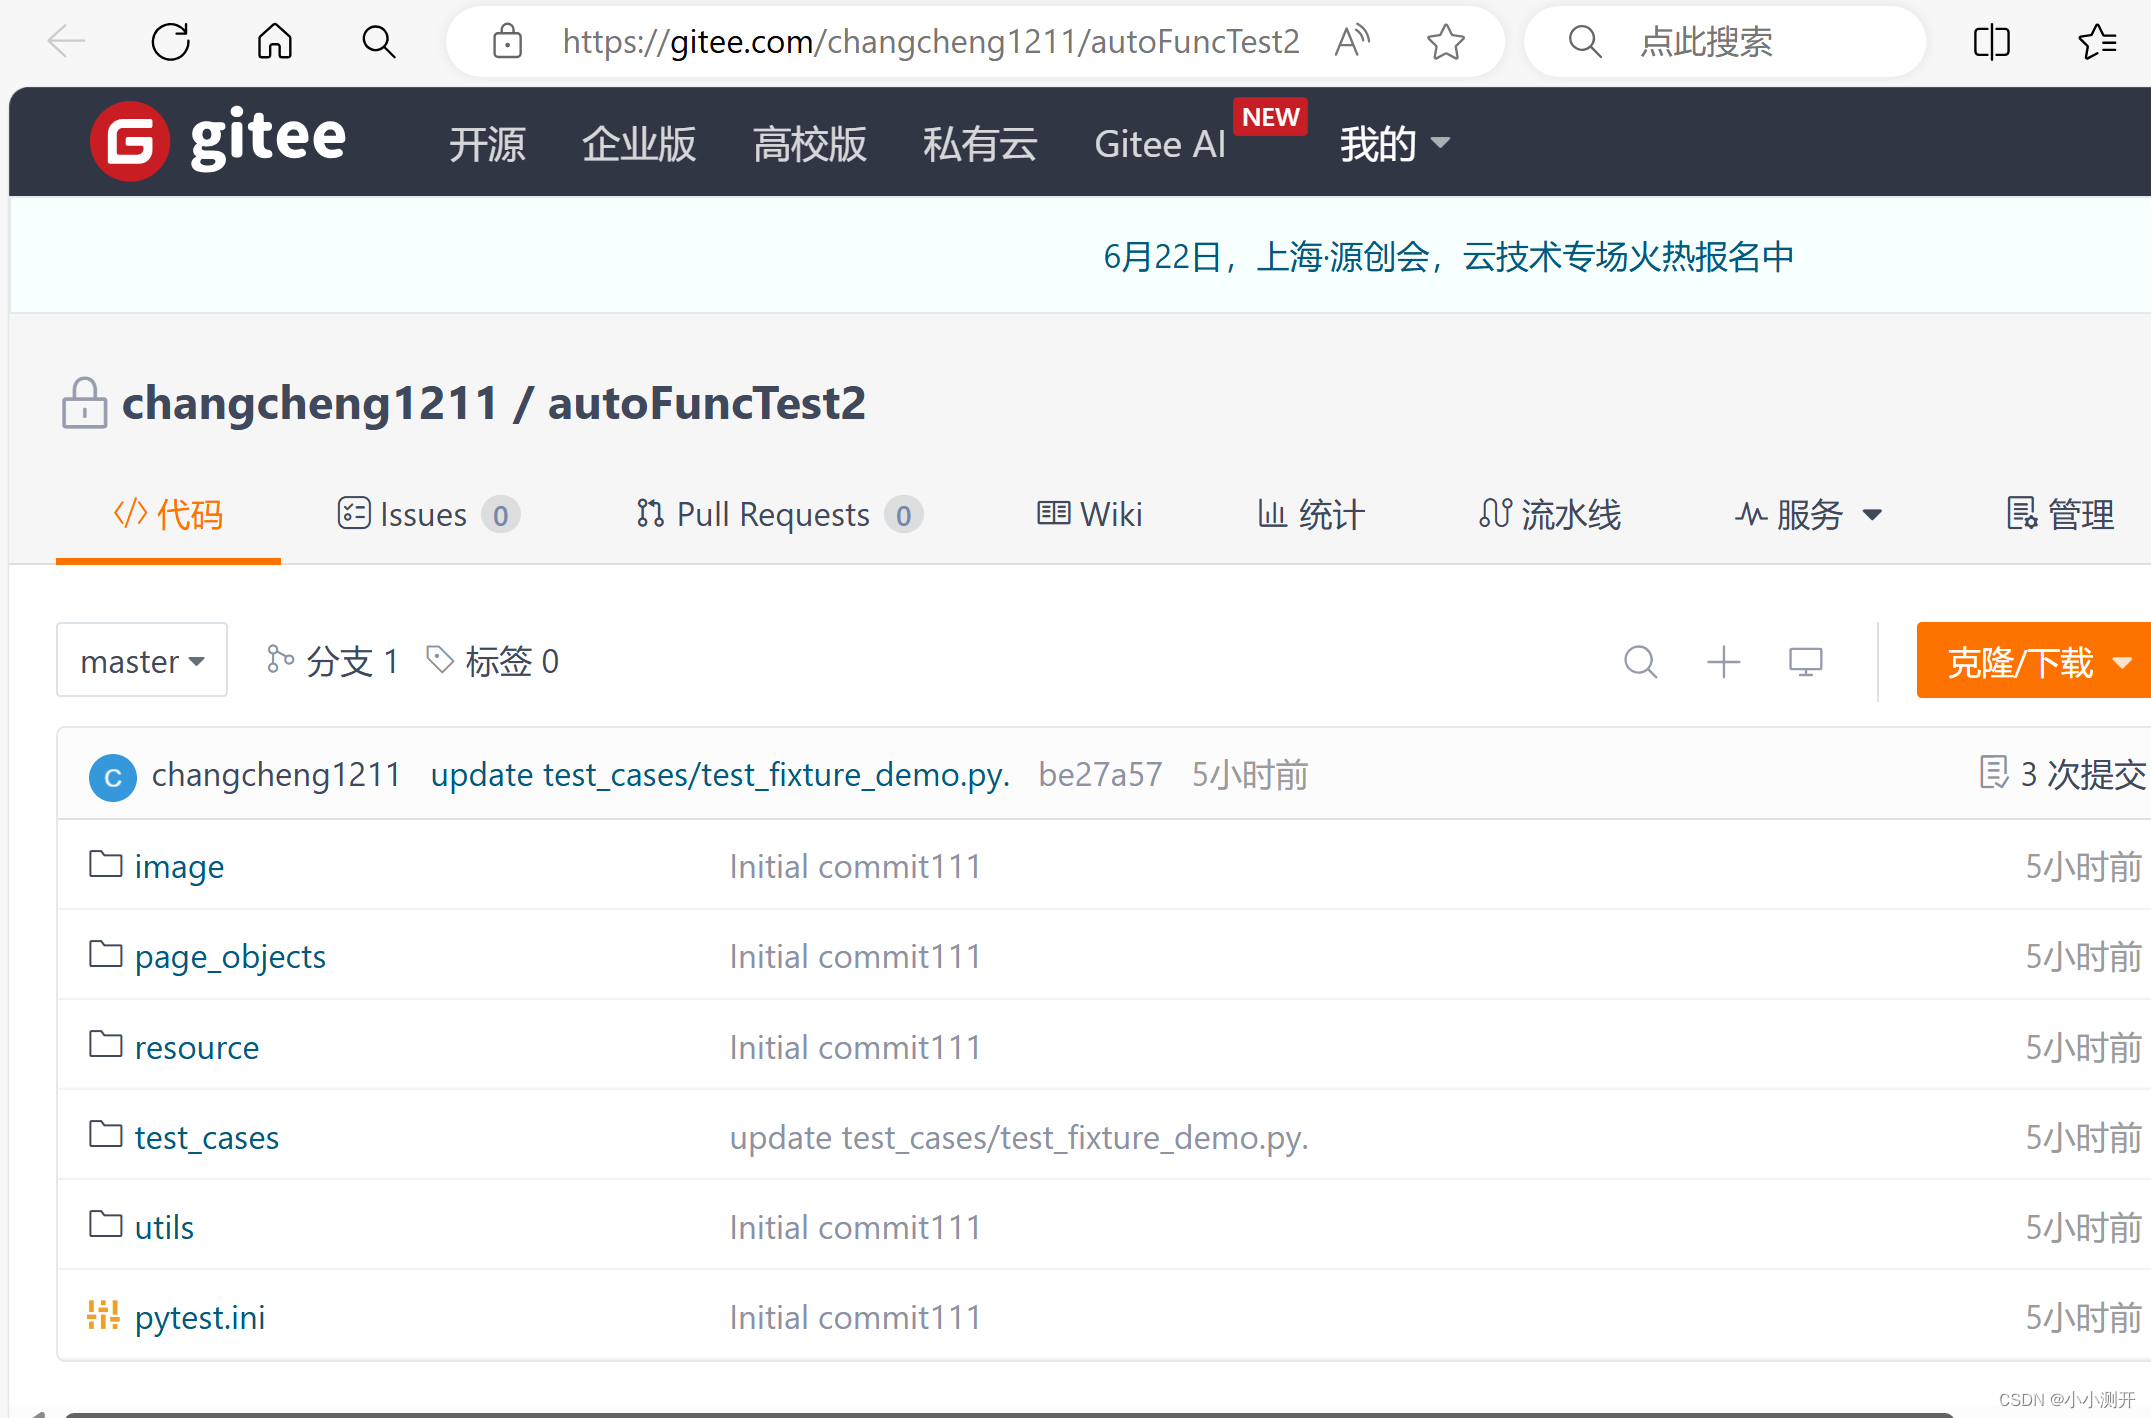
然后我们就可以到gitee里面去看一下代码是否上传上去。可见已经传上去了。
遇见问题1:没有勾选文件直接上传,会上传一个空的项目,可以这样重新上传。
可以点击git--Gitee--Share Project on Gitee
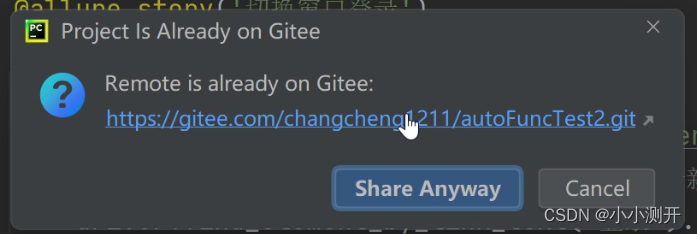
修改一下别名

重新去勾选后点击提交。
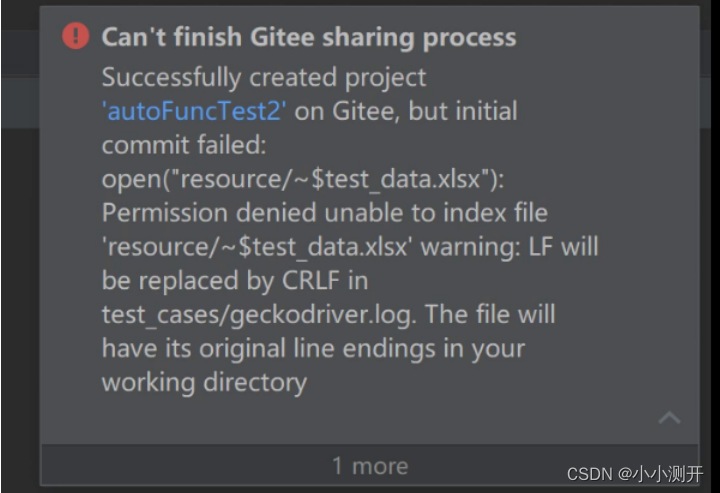
**遇见问题2:**报错:Successfully created project 'autoFuncTest2' on Gitee, but initial commit failed: open("resource/~test_data.xlsx"): Permission denied unable to index file 'resource/\~test_data.xlsx' warning: LF will be replaced by CRLF in test_cases/geckodriver.log. The file will have its original line endings in your working directory
把原来打开的excel文件关掉,并重新上传项目就行了。
9、上传下载
常用命令
add
新建文件时,把文件添加到缓冲区
commit
把最新的代码提交到本地
push
把最新的代码上传到服务器
pull
从服务器上拉取最新的代码
这里说一下git文件颜色有的不太一样
白色:和服务器一致的,已经提交过的
绿色:新建的文件,尚未加入版本控制
蓝色:被Git监控到发生了修改
9.1 首先添加一个文件上传
先添加一个py的文件。把文件添加到缓冲区
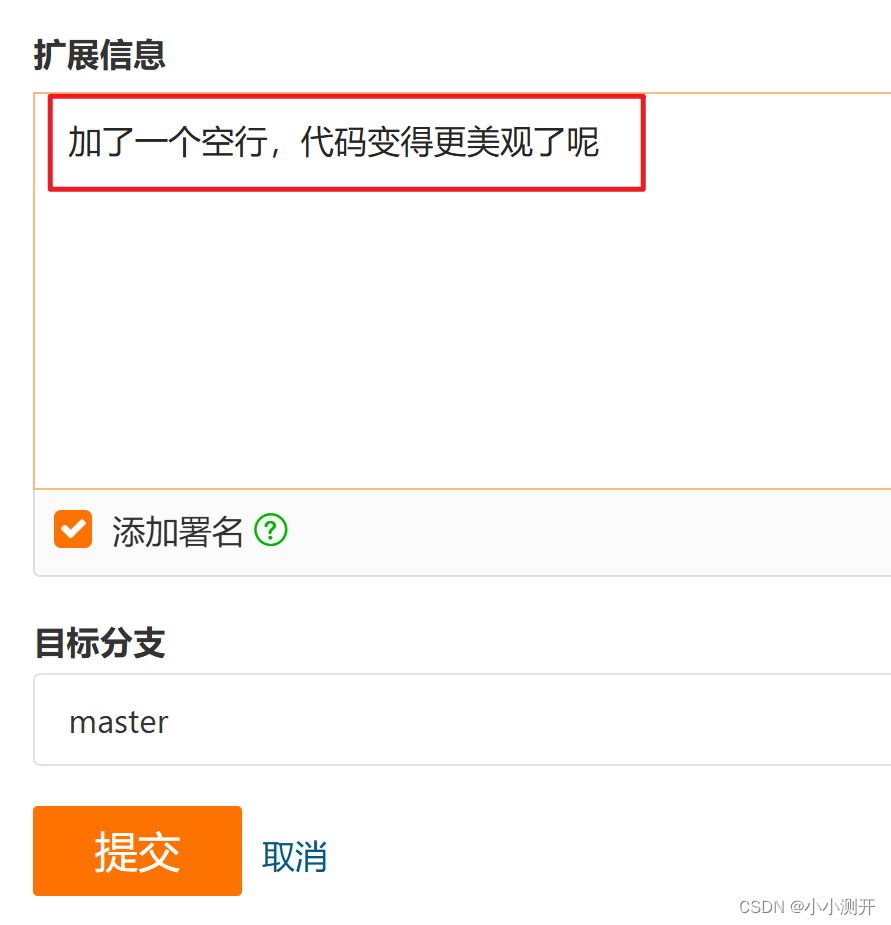
写好之后,点击提交,这个提交只是把最新的代码提交到本地
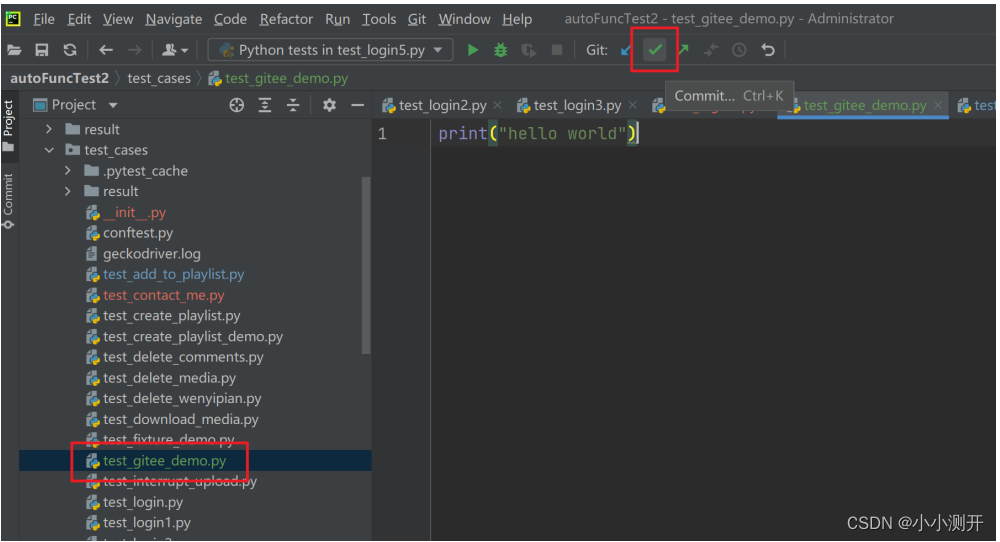

必须要添加注释,否则提交不了。
Commit是只提交到了本地,
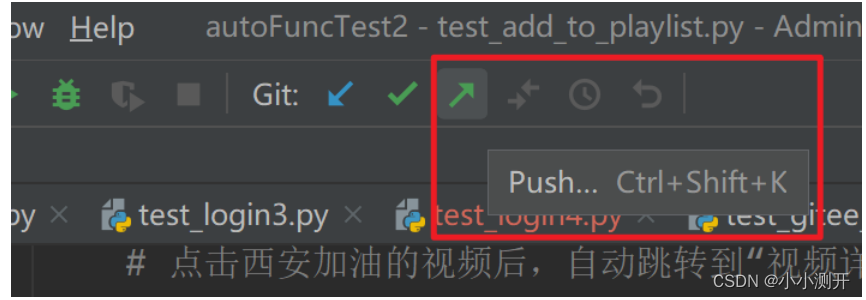
想要提交到网站,需要用push推送。
可以看到写的注释已经上传到网上了
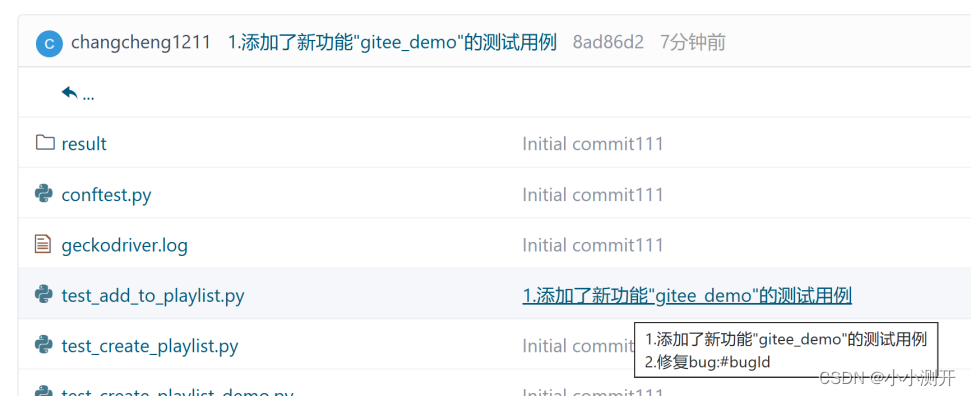
当然也可以在网页端修改,提交。注意一定要添加注释,不然提交不了
如何把别人写的测试用例也拉下来呢?
比如,别人在修改了代码提交后,点击pull拉去下来。会提示是否要合并,点击ok.
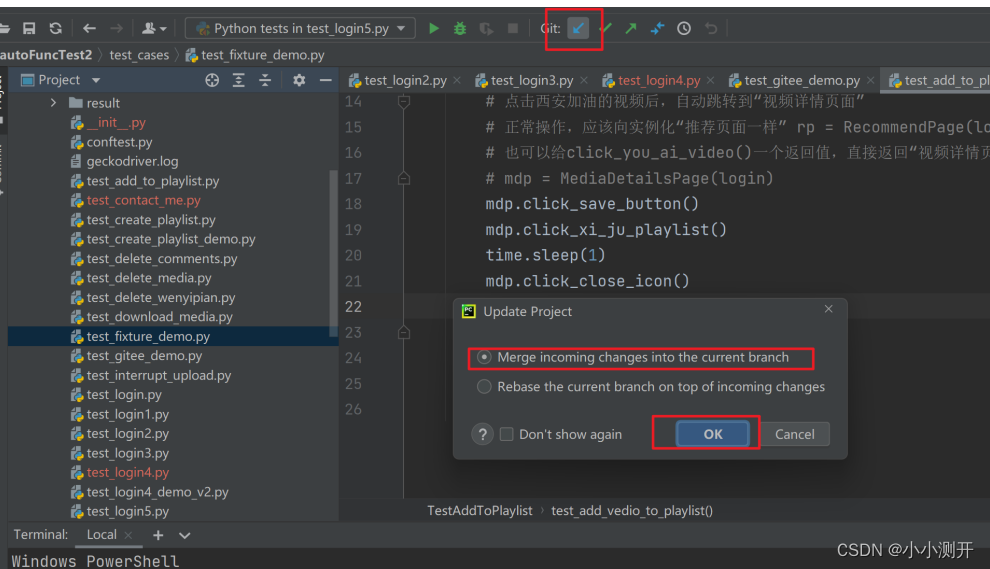
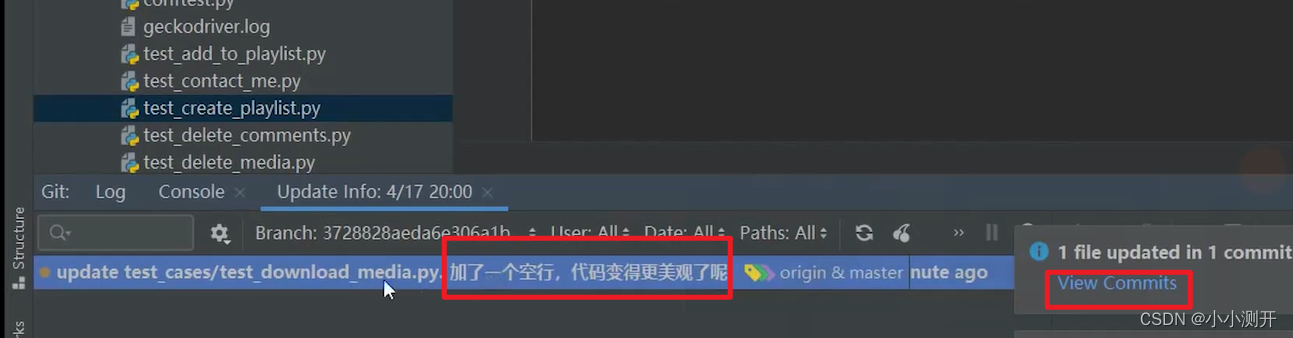
这时就看到一个文件被更新了

点进去就会看到更新的文件。
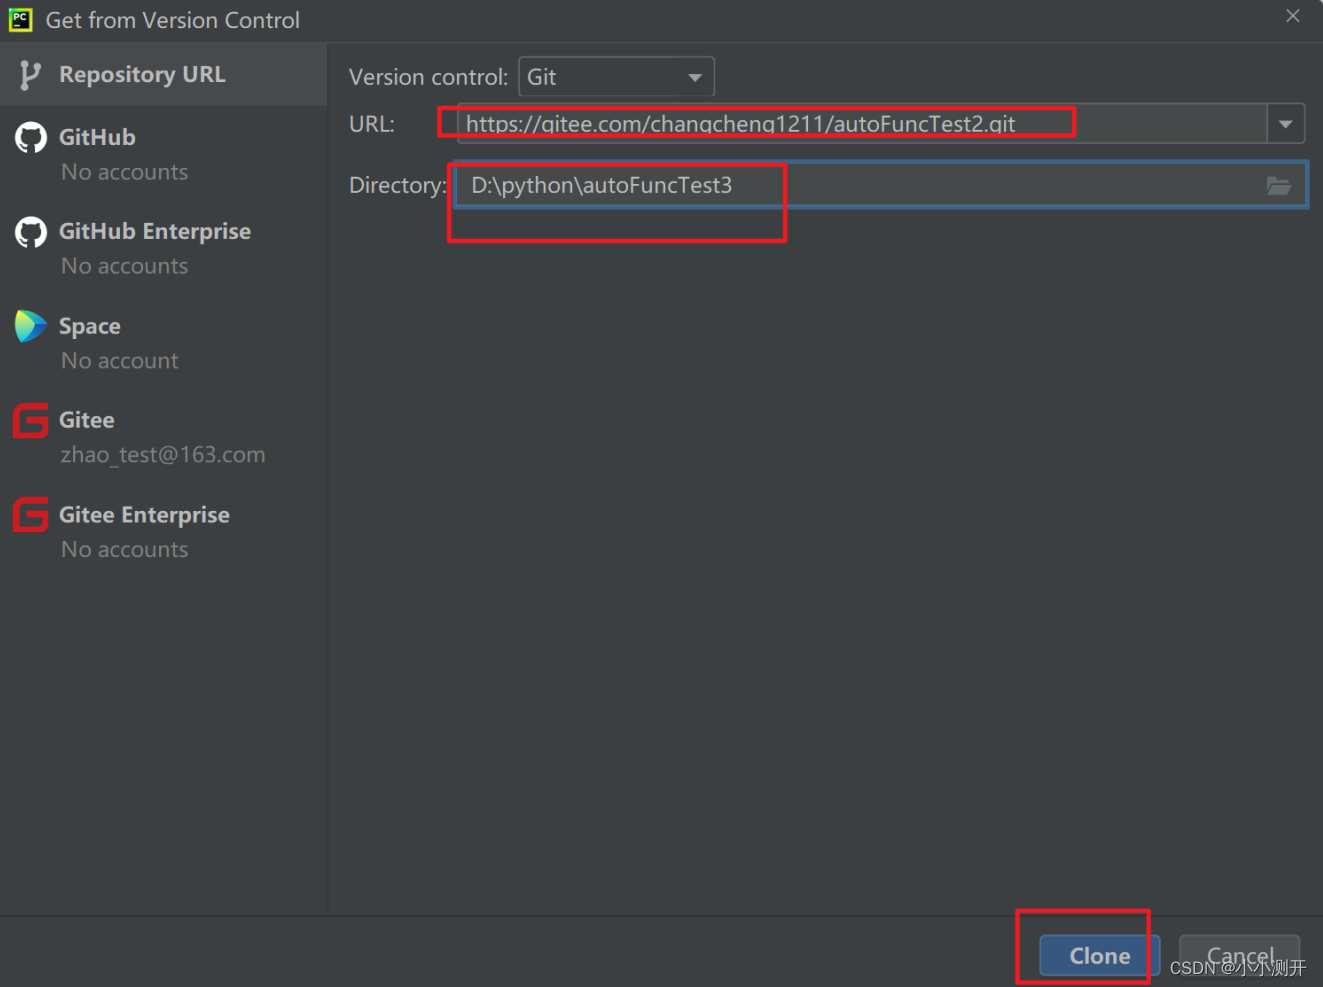
10、如何从git服务器上拉取项目
进入公司后,老板会把公司现有项目的git地址发给你
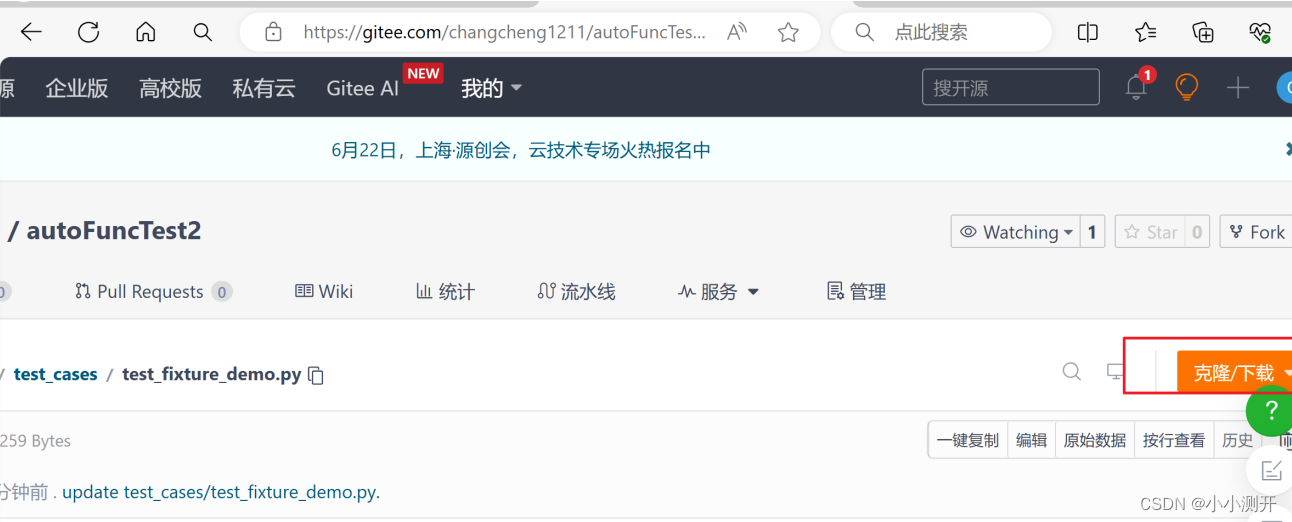
https://gitee.com/changcheng1211/autoFuncTest2.git
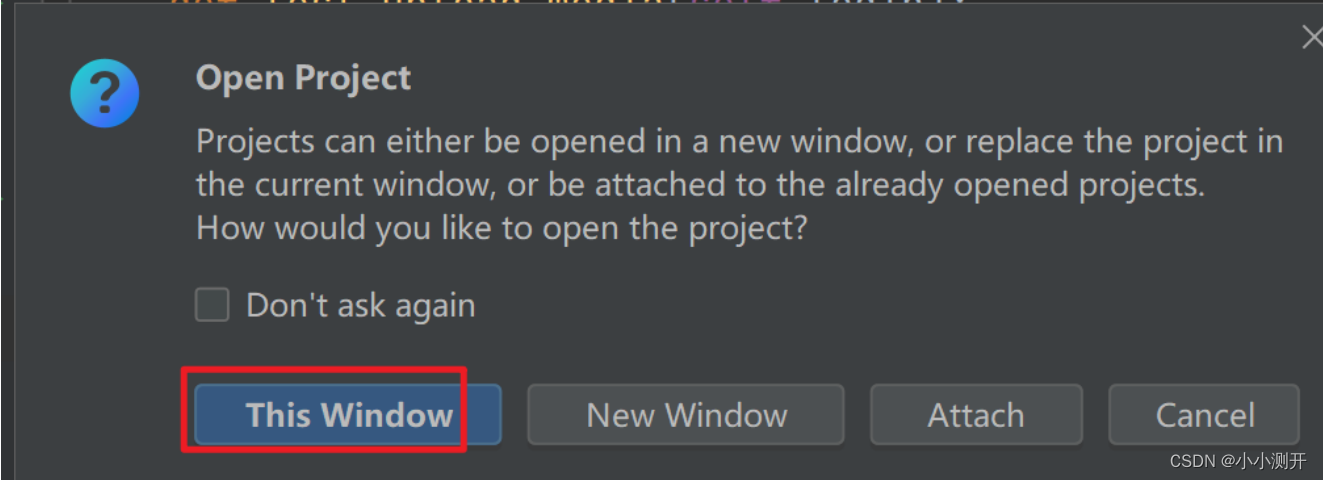
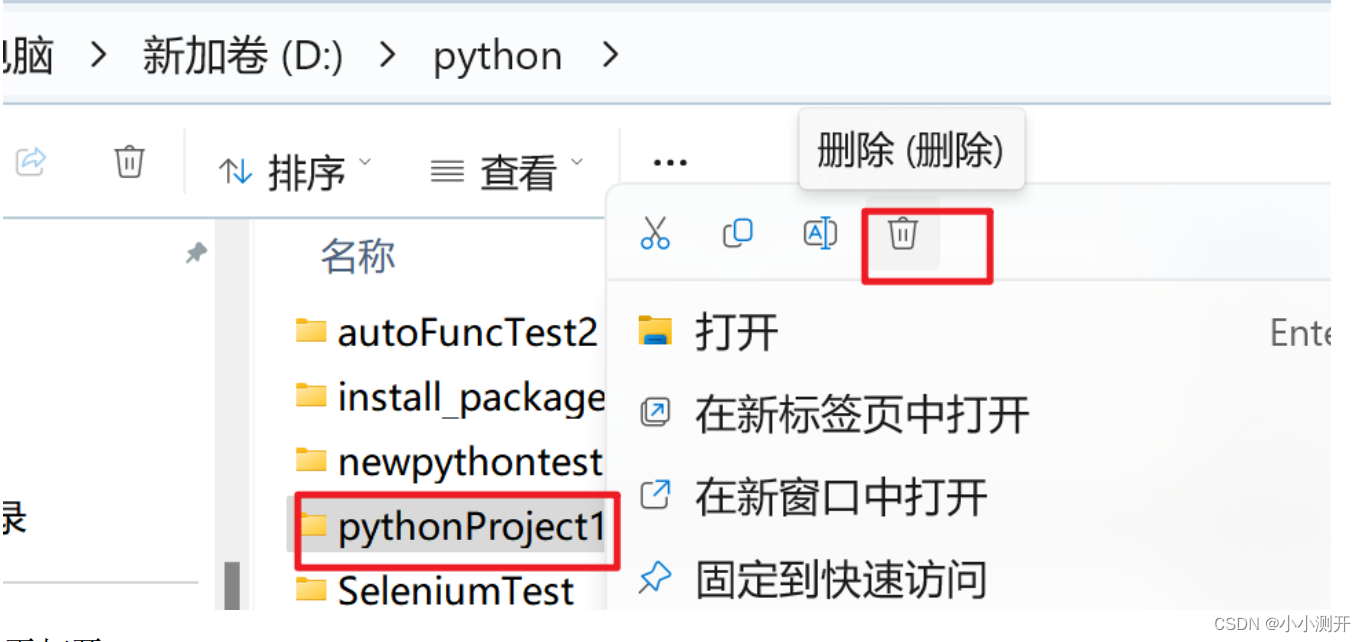
新建一个项目,打开项目所在的文件夹,关闭pycharm,,把新建的项目文件夹删除,重新打开pycharm,
选择"来自版本控制的项目"-->输入git地址,修改项目路径(确保不重名,如果没有重名项目就不用改),确定即可
新建一个项目


把PyCharm关了
把项目删了。
再打开pycharm,点击Get from VCS
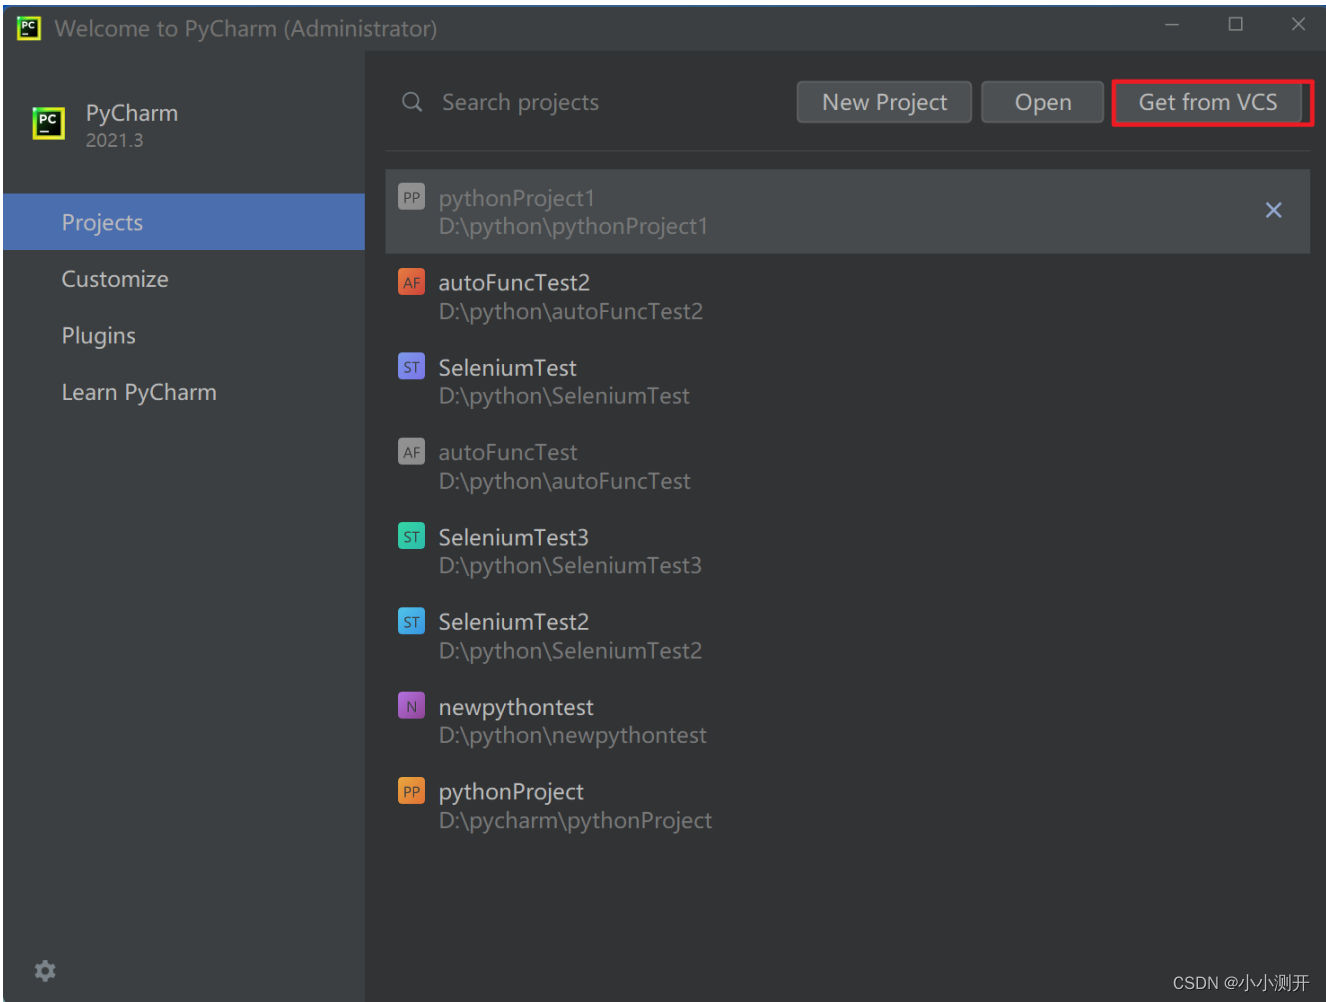
从我们的网址创建项目,要改下项目名,不然重复了。然后点击Clone
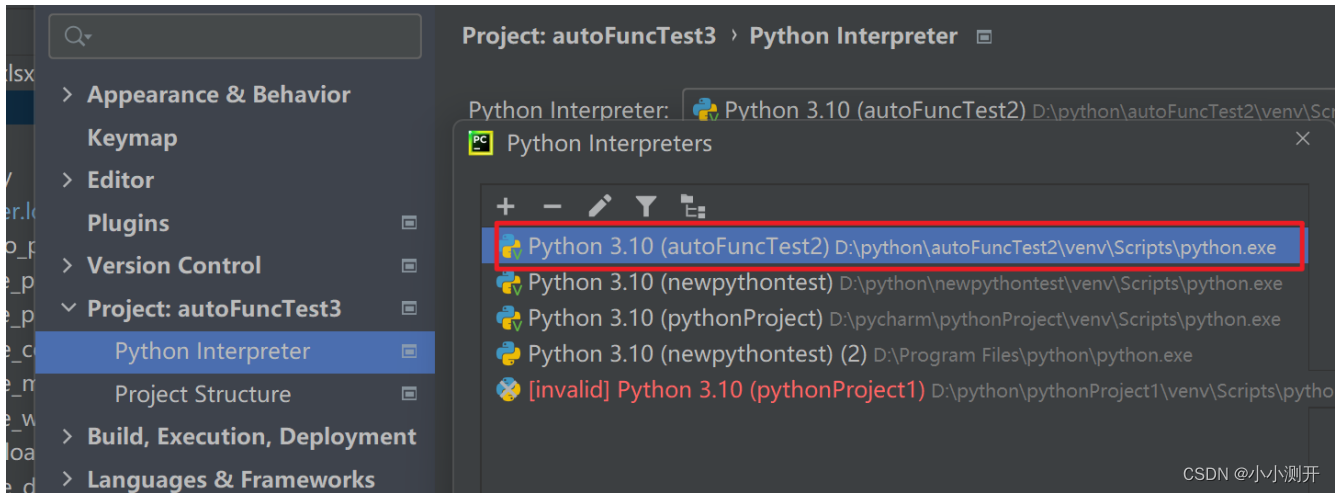
这里好了后,需要重新换一下以前的解释器,保证解释器能读取这个项目。