已更正systemctl管理Redis服务问题
1. 官方下载地址 https://redis.io/downloads/#redis-downloads
1.1 下载或上传到/opt/coisini目录下:
powershell
mkdir /opt/coisini
cd /opt/coisini
wget https://download.redis.io/releases/redis-7.0.15.tar.gz
2. 解压
powershell
tar -zxvf redis-7.0.15.tar.gz 3. 创建软连接
或者直接重命名
mv redis-7.0.15 redis
powershell
ln -s redis-7.0.15 redis4. 进入redis目录
powershell
cd redis5. 准备编译
安装 systemd-devel 和其他编译所需的依赖
powershell
yum -y install centos-release-scl devtoolset-9-gcc devtoolset-9-gcc-c++ devtoolset-9-binutilsscl enable devtoolset-9 bash systemd-devel make gcc配置并编译 Redis
powershell
make BUILD_WITH_SYSTEMD=yes等待一会~
6. 安装编译:
powershell
make install 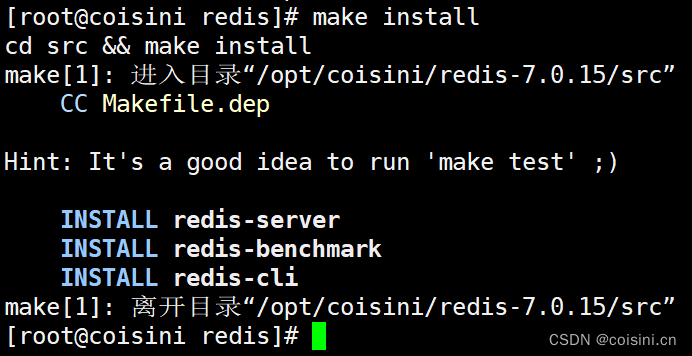
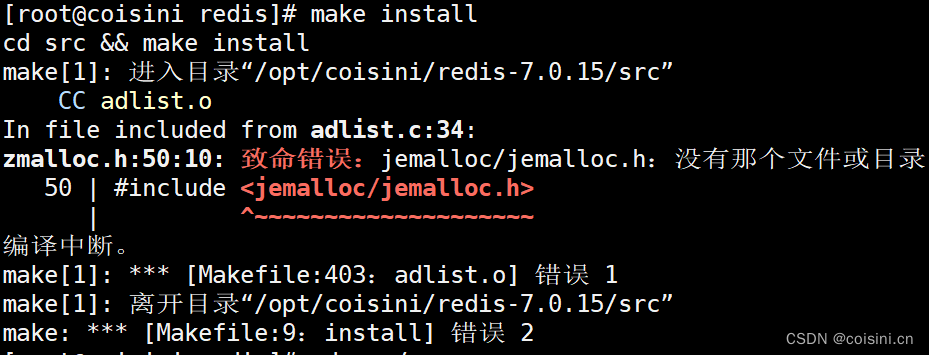
6.1如果报以下错误:
解决办法:
make MALLOC=libc
7. redis的bin目录到$PATH
powershell
vi ~/.bash_profile

PATH=$PATH:$HOME/.local/bin:/opt/coisini/redis/bin:$HOME/bin
esc :wq保存退出
8. 编辑配置文件
powershell
vi /opt/coisini/redis/redis.conf
powershell
(按Esc退出编辑模式下: /protected-mode 即可搜索)

# 关闭保护模式
protected-mode no
# 守护进程模式开启
daemonize yes
# 绑定IP按需修改,bind指定网段远程访问redis,注释就没有限制了。
#bind 127.0.0.1
# 端口(单机默认,集群按需修改)
port 6379
 # (搜/requirepass foobared)设置Redis密码
requirepass 123456
 # systemd接管服务
supervised systemd
# redis日志输出
logfile /var/log/redis/redis.log
注:云服务器一定要设置密码,避免服务器被当成矿机
8.1 创建redis日志目录并赋权
powershell
useradd -r -s /bin/false redis
mkdir -p /var/log/redis
chown redis:redis /var/log/redis
chmod 755 /var/log/redis
touch /var/log/redis/redis.log
chown redis:redis /var/log/redis/redis.log
chown -R redis:redis /opt/coisini/redis-7.0.15
chmod -R 770 /opt/coisini/redis-7.0.15
9. redis启动:进入src目录
powershell
cd /opt/coisini/redis/src

./redis-server /opt/coisini/redis/redis.conf & 
10. 开放端口
powershell
sudo firewall-cmd --permanent --add-port=6379/tcp

firewall-cmd --reload
11. Redis连接工具测试连接
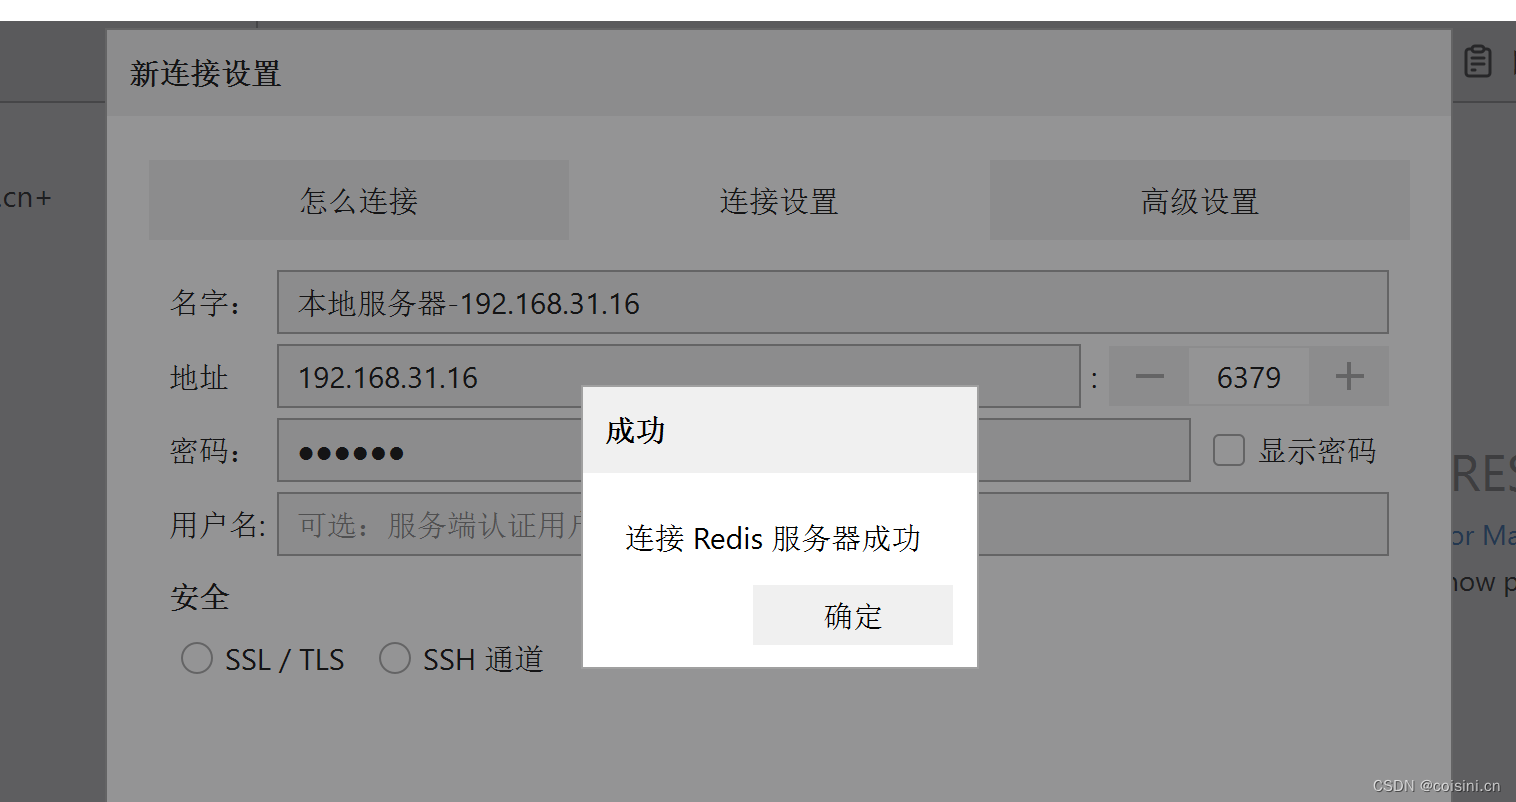
关闭命令:
/opt/coisini/redis/src/redis-cli -a 123456 -p 6379 shutdown
12. 开机自启配置
在redis的utils目录下有相关脚本,我们改下用就行
12.1 etc目录下创建redis目录
powershell
mkdir /etc/redis12.2 将redis配置文件拷贝一份到etc/redis目录下
powershell
cp /opt/coisini/redis/redis.conf /etc/redis/6379.conf12.3 文件赋权,避免文件执行无权限
创建用户和组 redis
powershell
useradd -r -s /bin/false redis
chown redis:redis /etc/redis/6379.conf
chmod -R 755 /etc/redis/6379.conf
chown -R redis:redis /opt/coisini/redis
chmod -R 755 /opt/coisini/redis
12.4 编辑文件
powershell
vi /etc/systemd/system/redis.service添加内容
powershell
[Unit]
Description=Redis data structure server
Documentation=https://redis.io/documentation
Wants=network-online.target
After=network-online.target

[Service]
ExecStart=/opt/coisini/redis/src/redis-server /etc/redis/6379.conf
ExecStop=/opt/coisini/redis/src/redis-cli -a 123456 -p 6379 shutdown
# 用于服务进程的用户和用户组,建议设置为非 root 用户
User=redis
Group=redis
# 启动 Redis 的最大文件描述符数量限制
LimitNOFILE=10032
# 禁止服务进程提升权限
NoNewPrivileges=yes
# 私有临时目录
PrivateTmp=yes
# 服务类型为通知
Type=notify
# 启动超时设置
TimeoutStartSec=300
# 停止超时设置
TimeoutStopSec=300
# 文件权限掩码
UMask=0077
# 工作目录设置
WorkingDirectory=/opt/coisini/redis

[Install]
WantedBy=multi-user.target
12.5 重新加载systemd配置
powershell
systemctl daemon-reload12.6 启动Redis服务命令
powershell
systemctl start redis12.7 查看状态
powershell
systemctl status redis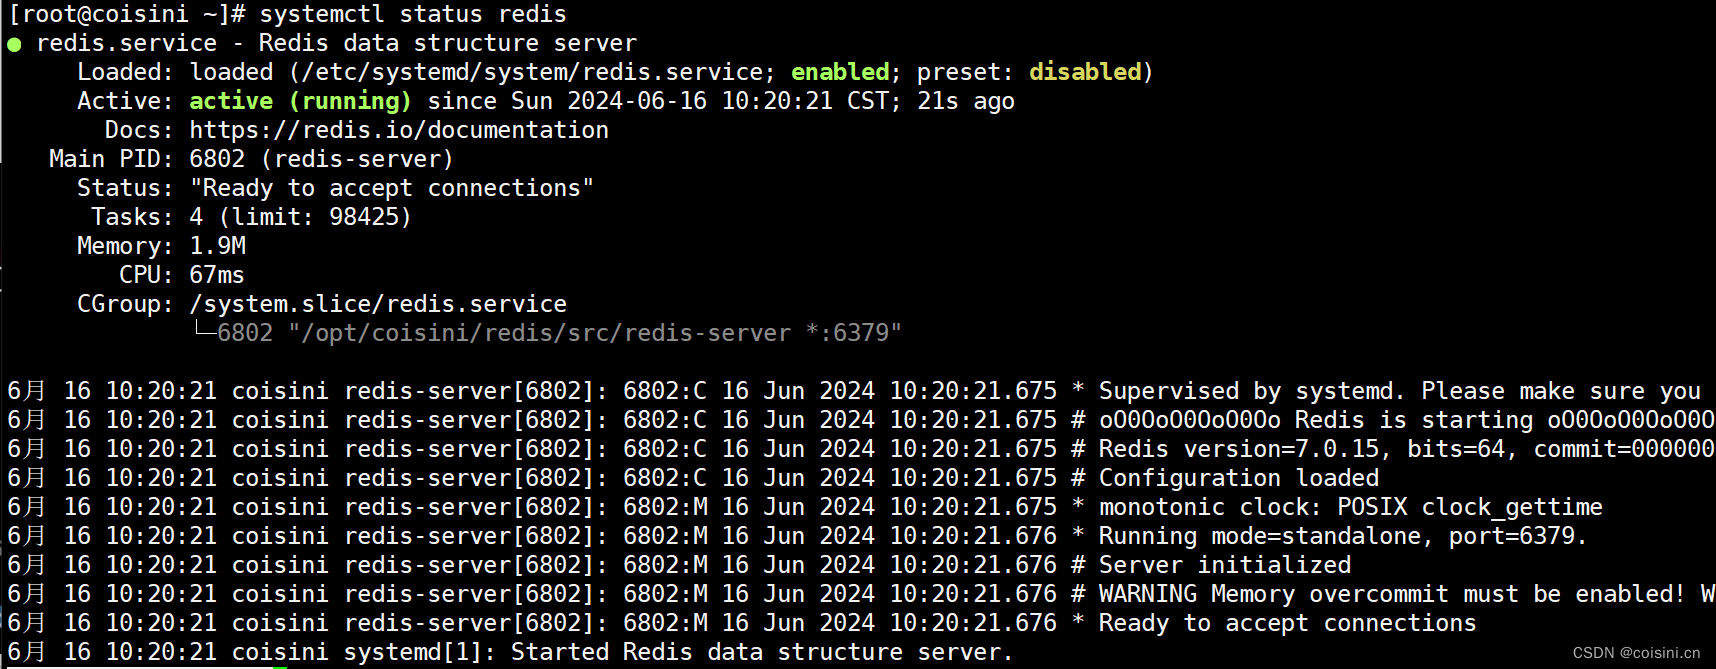
12.8 设置开机自启
powershell
systemctl enable redis
reboot重启测试了启动服务没有问题
13 卸载Redis
涉及 rm -rf 命令,请谨慎操作~
13.1 停止服务:
powershell
systemctl stop redis
systemctl status redis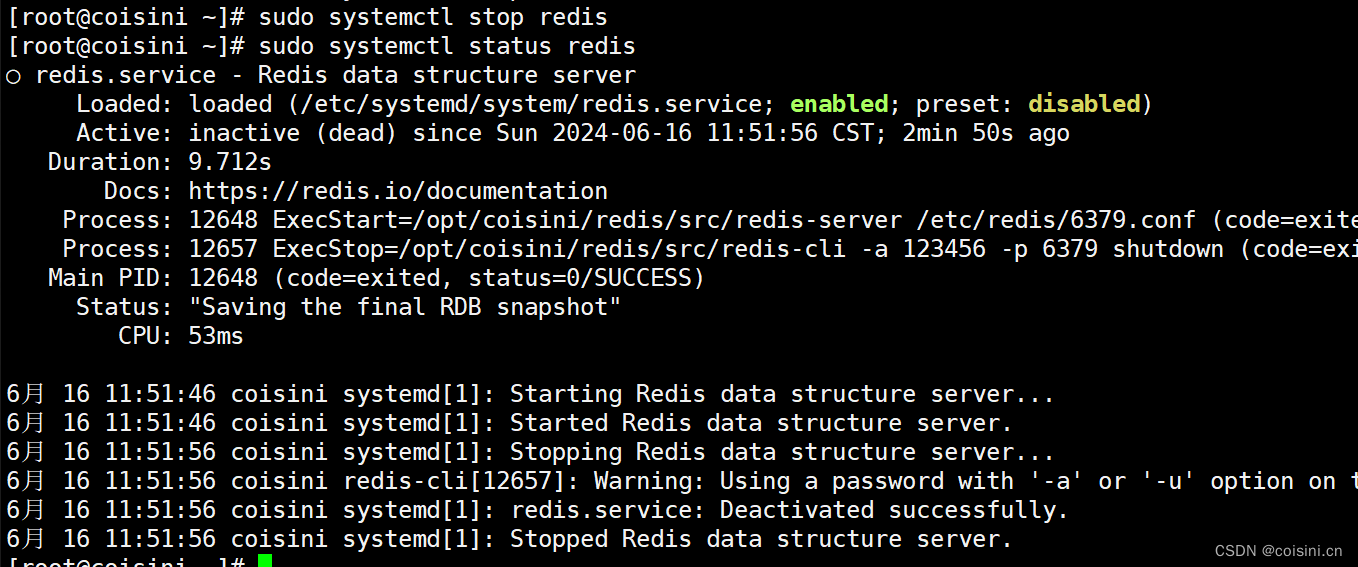
13.2 删除 Redis 可执行文件和目录
powershell
rm -rf /opt/coisini/redis-7.0.15
rm -rf /opt/coisini/redis
rm -rf /var/lib/redis
rm -rf /usr/local/bin/redis-*
13.3 移除 Redis 配置文件
powershell
rm -rf /etc/redis13.4 删除 Redis 日志文件
powershell
rm -rf /var/log/redis13.5 删除 Redis 用户和组
powershell
userdel redis
groupdel redis
13.6 移除 Redis 服务文件
powershell
rm -rf /etc/systemd/system/redis.service重新加载 systemd 配置:
powershell
systemctl daemon-reload13.7 检查是否还有 Redis 相关的残留
powershell
find / -name '*redis*' -print显示 command not found 或类似提示,则Redis 已成功卸载(若是别的文件的可忽略,也许是另外一个软件的文件)。
13.8 卸载 Redis 依赖项(可选)
powershell
yum remove -y tcl
yum autoremove
13.9 清理系统缓存
powershell
yum clean allEND,搞定!
