
2.
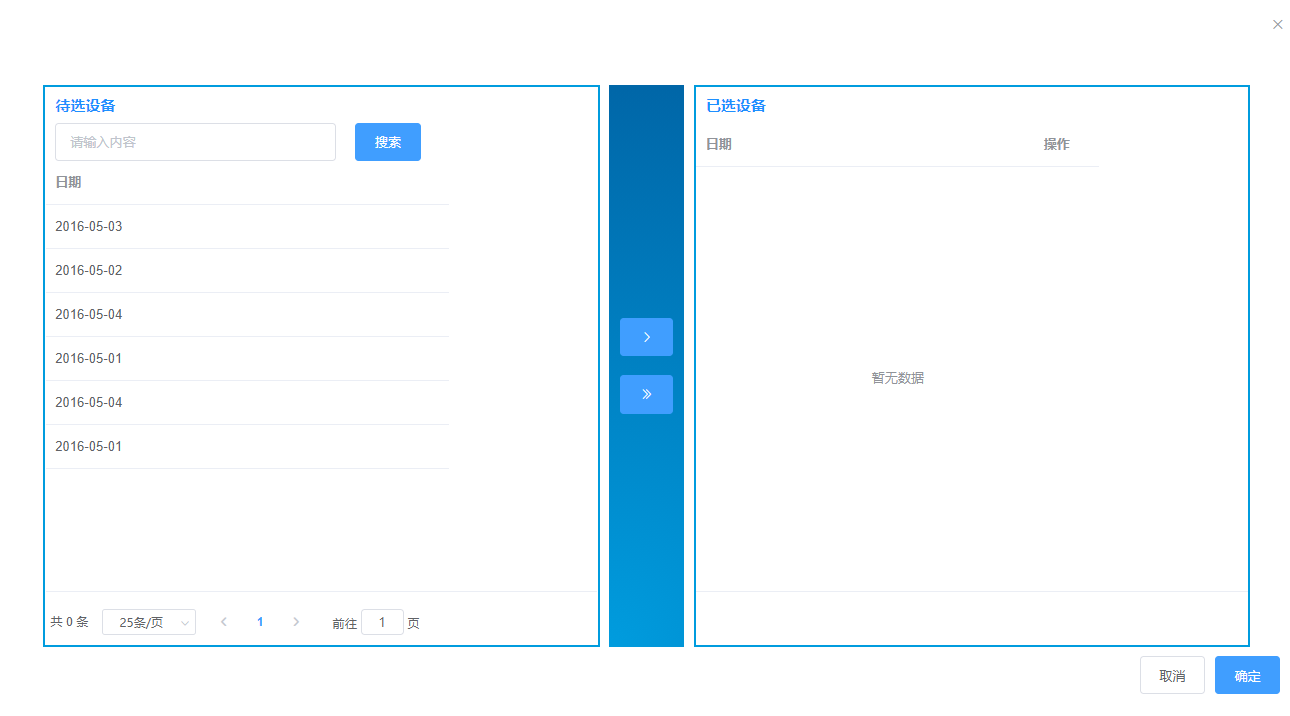
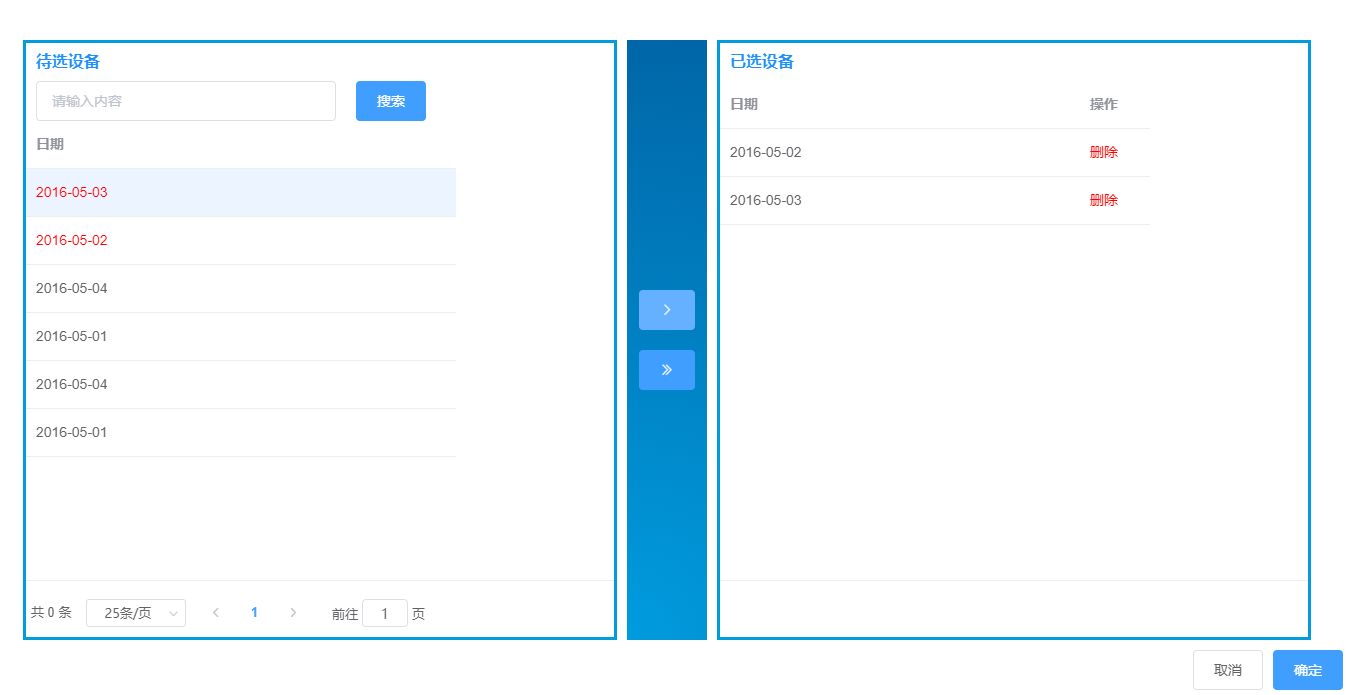
其实可以从最后的效果图看出这个自制的穿梭框,只是由两个table表格和两个按钮组成,只需要写其中逻辑事件即可完成穿梭框的效果,其中的事件主要分为"选中","穿梭"和"删除",其实也只是关于数组的增,删,改,查这些基本操作。这篇博文主要参考了这位博主的文章:添加链接描述,看不懂我的博文可以到这位博主的文章下去看看,具体代码如下:
首先是左边的框框:
HTML:
<!-- 左边框框 -->
          <div class="transferbox">
            <div class="topbox">
              <span style="color:#1E90FF;font-size:16px;font-weight: 550;">待选设备</span>
            </div>
            <div class="level searchbox">
              <el-input v-model="input" placeholder="请输入内容" style="width:300px" />
              <el-button type="primary" style="margin:0 0 0 20px">搜索</el-button>
            </div>

            <el-table
              ref="multipleTable"
              :data="currentPageData"
              highlight-current-row
              tooltip-effect="dark"
              height="460"
              style="width: 100%;height:460px;cursor:pointer;"
              :row-style="setColor"
              @current-change="lineClick"
            >
              <el-table-column
                label="日期"
                width="430"
              >
                <template slot-scope="scope">{
 {
  scope.row.date }}</template>
              </el-table-column>
            </el-table>
其中要重点注意:row-style="setColor"和@current-change="lineClick",这两个触发的事件分别是:选中改变颜色和选中点击的选项的数据。
中间的两个按钮:
HTML:
<!-- 中间按钮 -->
          <div class="vertical center3 centrebtn">
            <el-button type="primary" icon="el-icon-arrow-right" @click="singleSel()" />
            <el-button type="primary" style="margin:20px 0 0 0" icon="el-icon-d-arrow-right" @click="mutiSel()" />
          </div>
右边的框框:
HTML:
<!-- 右边框框 -->
<div class="transferbox">
<div class="topbox">
<span style="color:#1E90FF;font-size:16px;font-weight: 550;">已选设备</span>
</div>
### 最后
**文章到这里就结束了,如果觉得对你有帮助可以点个赞哦**

**文章到这里就结束了,如果觉得对你有帮助可以点个赞哦**
[外链图片转存中...(img-puLQjwYm-1718720354042)]