====================================================================================
目录
Node.js安装详细教程

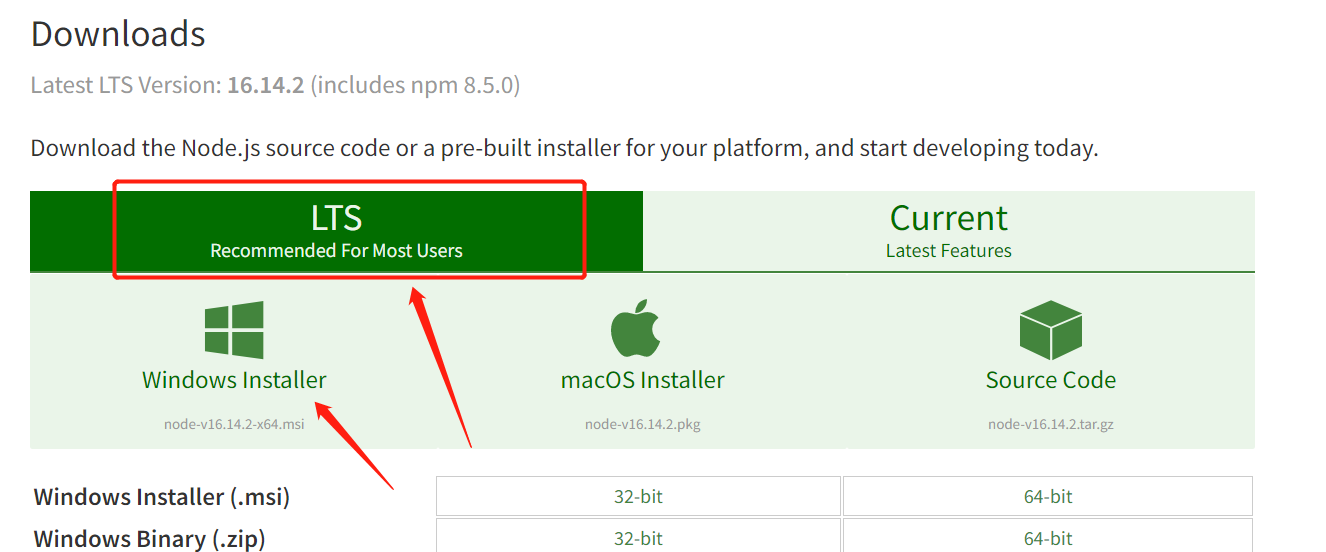
👁官网下载地址:Download | Node.js (nodejs.org)
下载速度慢的话 可以使用网盘下载:
https://pan.quark.cn/s/0199c46004ce
下载
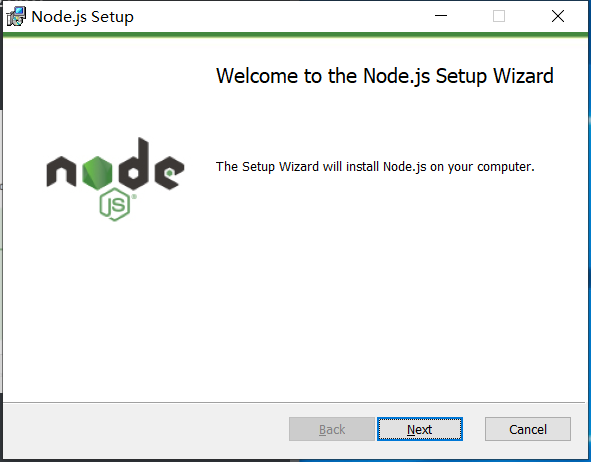
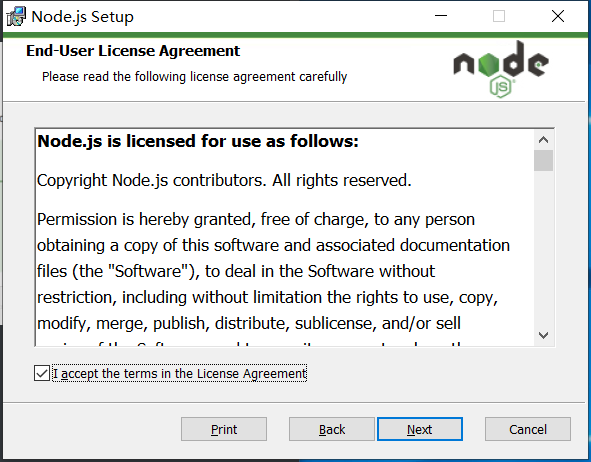
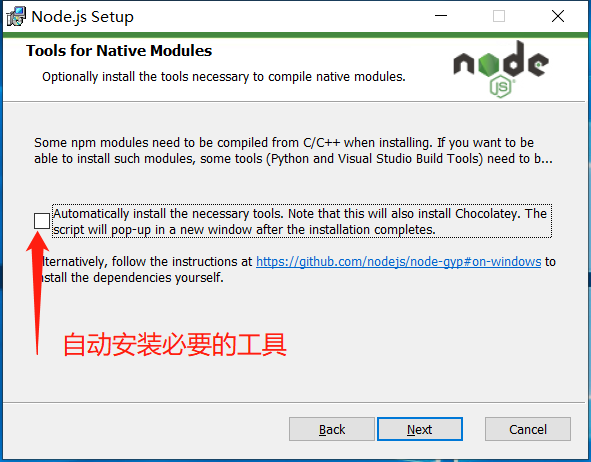
下载好直接下一步即可,傻瓜式安装
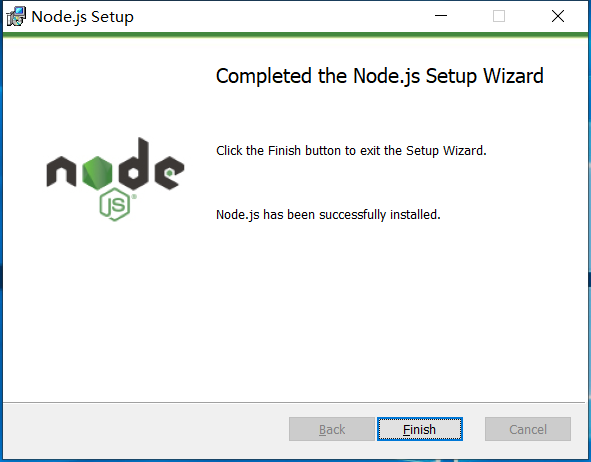
安装
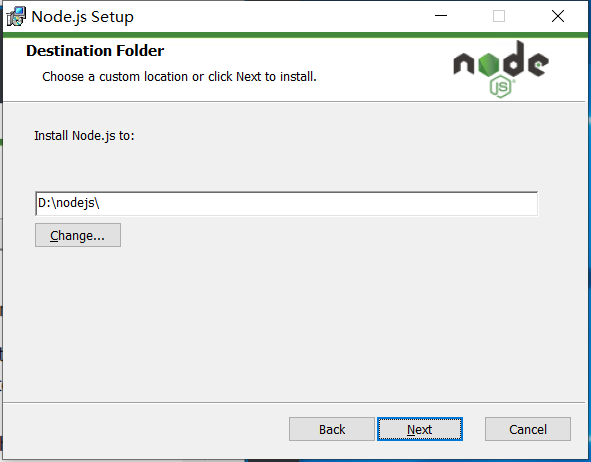
安装的路径默认是C:\Program Files\nodejs\,建议修改
下图根据本身的需要进行,我选择了默认
Node.js runtime,而后Next
Node.js runtime:表示运行环境npm package manager:表示npm包管理器online documentation shortcuts:在线文档快捷方式Add to PATH:添加到环境变量
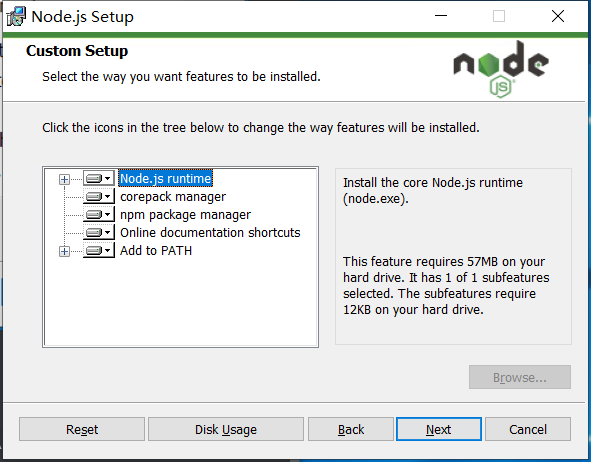
可以直接下一步

环境变量配置

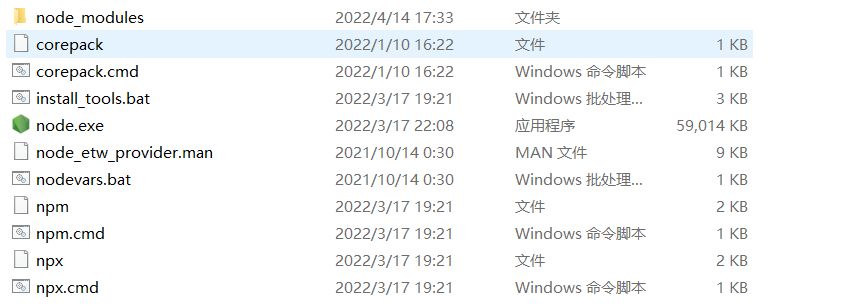
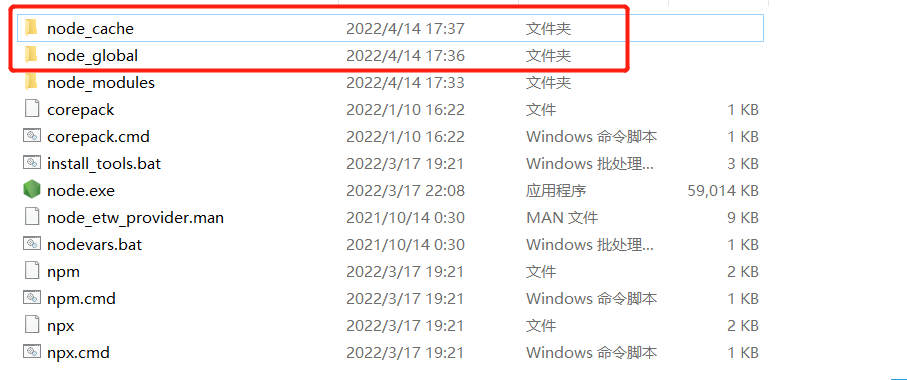
文件结构
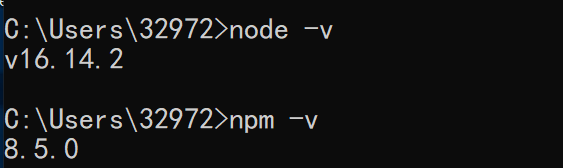
通过执行 node -v 和 npm -v 分别查看node和npm的版本号:
配置npm在安装全局模块时的路径和缓存cache的路径
默认状况下,咱们在执行npm install -g 模块时,下载了一个全局包,这个包的默认存放路径
C:\Users\xxx\AppData\Roaming\npm\node_modules下,时间长了肯定会占用C盘的资源,所以需要我们在node.js 的安装目录下创建两个文件夹:node_global和node_cache
然后执行这两个命令(改成自己的路径):
npm config set prefix "D:\nodejs\node_global"
npm config set cache "D:\nodejs\node_cache"

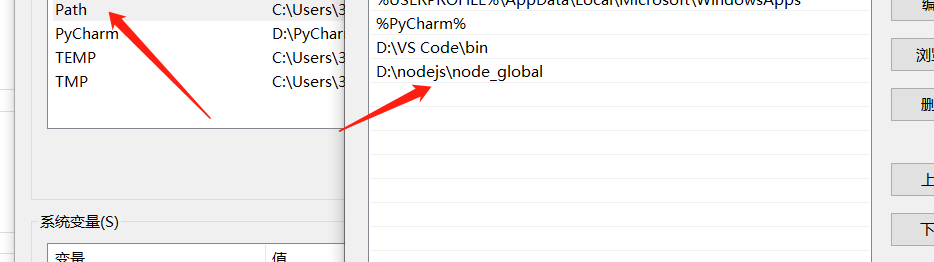
执行成功。然后在环境变量 -> 系统变量中新建一个变量名为 "NODE_PATH", 值为"D:\nodejs\node_modules",如下图:

编辑用户变量里的Path,将相应npm的路径改为:D:\nodejs\node_global,如下:
测试
安装cli测试一下(这是我需要的,自行测试自己的模块),通过npm install -g @vue/cli安装
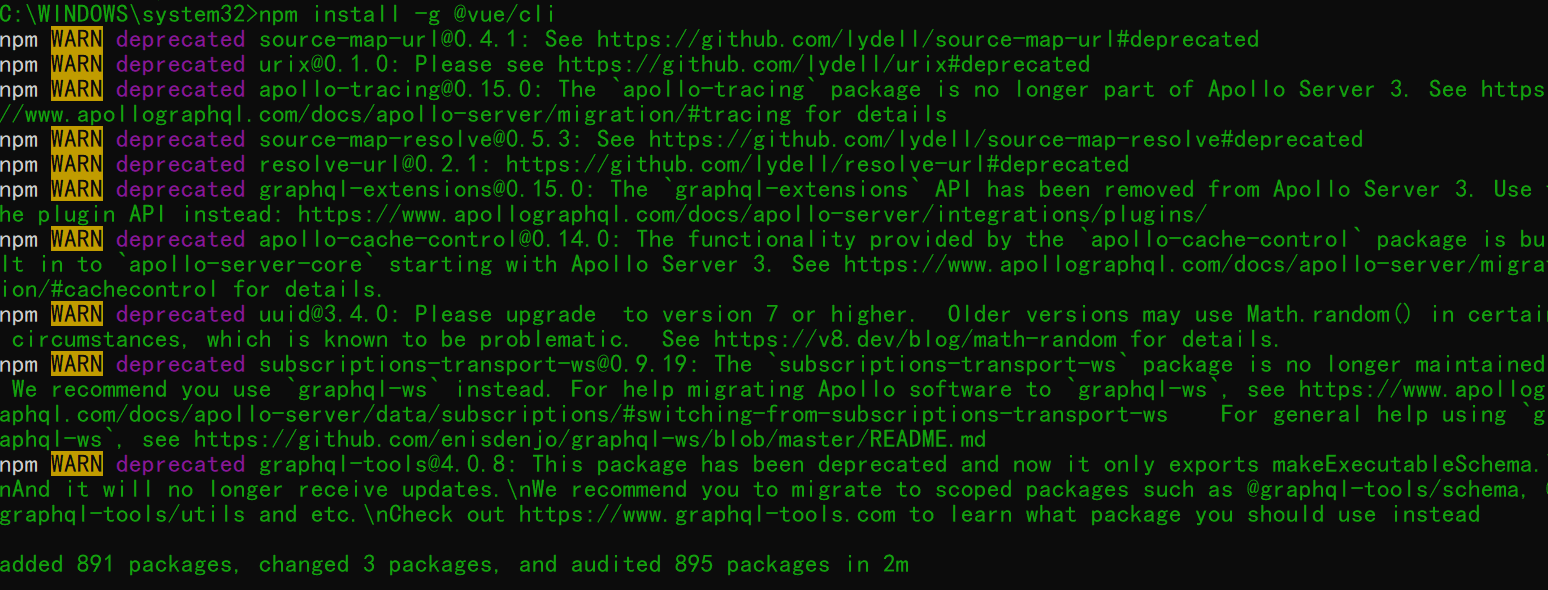
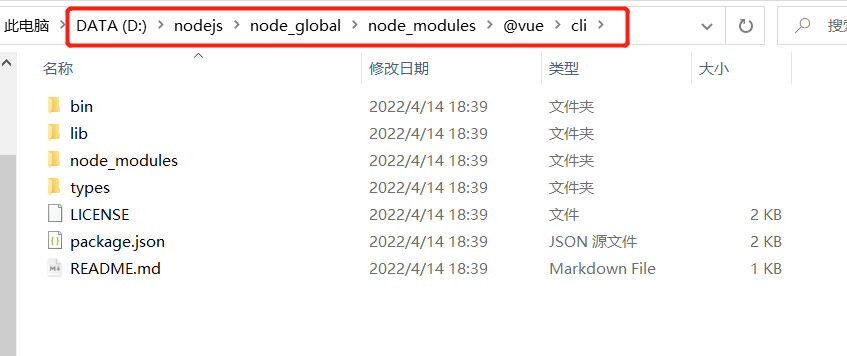
这样就装好了

注意
- 在安装模块的时候建议使用管理员身份打开cmd,避免不必要的错误
- 安装模块过大,网络不稳定可能报错timeout等问题,重来一次就好了
常见命令
node -v:查看node版本

npm -v:查看npm版本

npm root -g:查看包的存放路径

npm init:会引导你建立一个package.json文件,包括名称、版本、作者等信息。

npm list:查看当前目录下已安装的node包。

npm ls:查看当前目录下已安装的node包。

npm install moduleNames:安装Node模块到本地目录node_modules下。

npm install < name > -g:将包安装到全局环境中。

npm install < name > --save:安装的同时,将信息写入package.json中,项目路径中若是有package.json文件时,直接使用npm install方法就能够根据dependencies配置安装全部的依赖包,这样代码提交到git时,就不用提交node_modules这个文件夹了。

npm install < name> --save-dev:安装的同时,将信息写入package.json中项目路径中若是有package.json文件时,直接使用npm install方法就能够根据devDependencies配置安装全部的依赖包,这样代码提交到git时,就不用提交node_modules这个文件夹了。

npm uninstall moudleName:卸载node模块