效果
本文为实现如下前端效果的学习实践记录:
实践
入门的最佳实践我觉得是先去看官网,官网一般都会有快速入门指引。
根据官网的快速上手文档,构建一个新的Vue3+TypeScript,查看新建的项目结构:
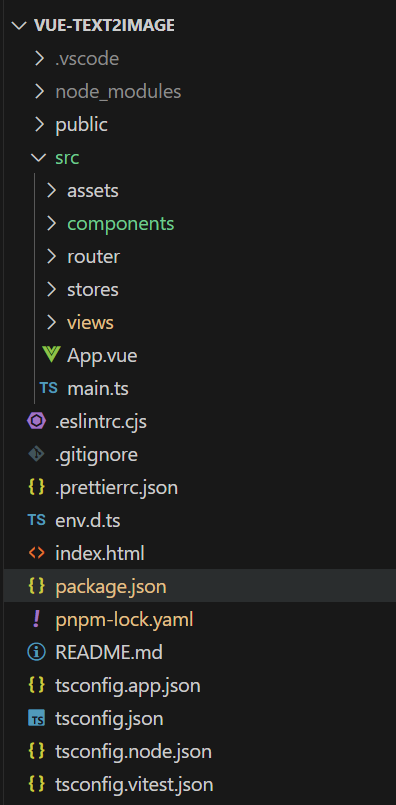
现在先重点关注components、views、App.vue与main.ts。
components目录通常用于存放可复用的Vue组件。
views目录用于存放页面级别的组件。这些组件通常对应应用的不同页面或路由视图。
App.vue是Vue应用的根组件。它通常包含应用的全局样式和结构,是Vue实例挂载的起点,所有的其他组件都是从这个根组件开始渲染的。
main.ts是Vue应用的入口文件。它负责创建Vue实例并将其挂载到DOM中。
学习Vue不单单学习Vue框架还要学习相关生态,作为刚开始学习Vue的人,自己写css或许不是一个好的选择,但是没关系,现在市面上已经有很多组件库了,一般只需要用这些组件库就满足绝大多数需求了。
刚开始学习可以使用element-plus。
GitHub地址:https://github.com/element-plus/element-plus
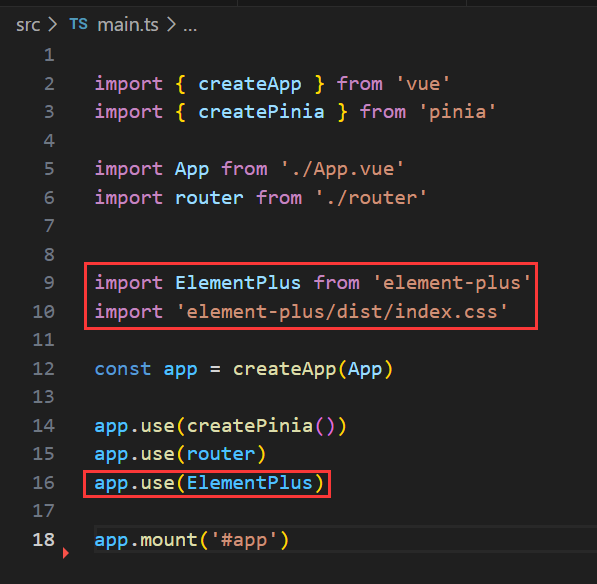
在官网上了解其使用方式,这里简单学习,可以完整引入,在main.ts中添加:
typescript
import ElementPlus from 'element-plus'
import 'element-plus/dist/index.css'

app.use(ElementPlus)
如下所示:
现在就可以开始用ElementPlus的组件了。
观察App.vue:
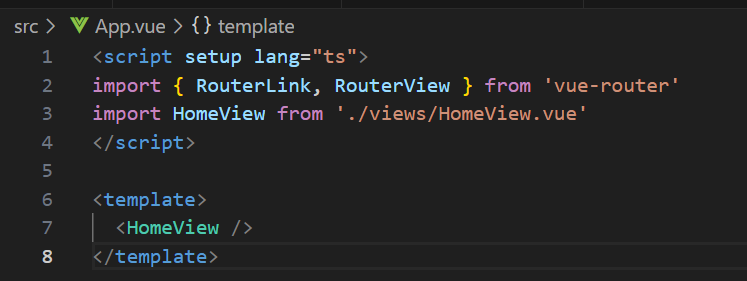
只有views下的HomeView.vue。
再来看下HomeView.vue:
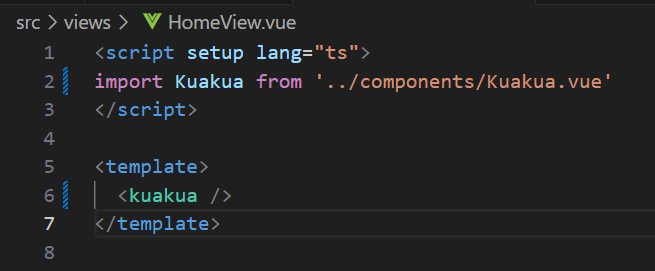
只有来自components的Kuakua.vue。
再来看下Kuakua.vue:
typescript
<script setup lang="ts">
import { ref } from 'vue'
import axios from 'axios'

const prompt1 = ref('')
const fetchData = async () => {
      try {
        const response = await axios.get('https://192.168.1.6:7101/Semantickernel');
        prompt1.value = response.data;
      } catch (error) {
        console.error('There was a problem with the Axios request:', error);
      }
    };
</script>

<template>
    <div>
     <el-row>
    <el-col :span="24">
    <el-space direction="vertical">
    <el-text type="primary" size="large">夸夸</el-text>
    <el-input
    v-model="prompt1"
    style="width: 300px"
     :rows="8"
    type="textarea"
    placeholder="Please input"
    clearable
    />
    <el-button type="primary" round @click="fetchData">夸夸</el-button>
    </el-space>
    </el-col>
    </el-row>
    </div>
</template>
使用了ElementPlus中的UI组件进行布局。
使用v-model将prompt1绑定到el-input。
v-model的文档:https://cn.vuejs.org/guide/components/v-model.html#component-v-model
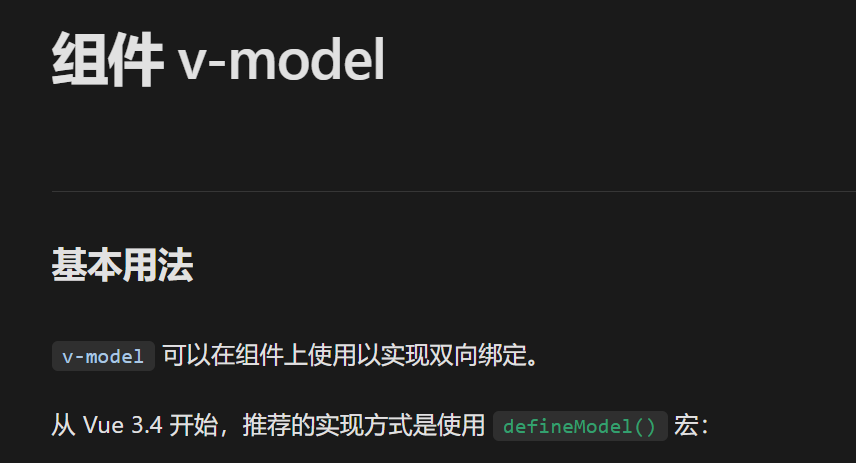
刚开始不需要全部看完,知道是为了实现双向绑定即可。
typescript
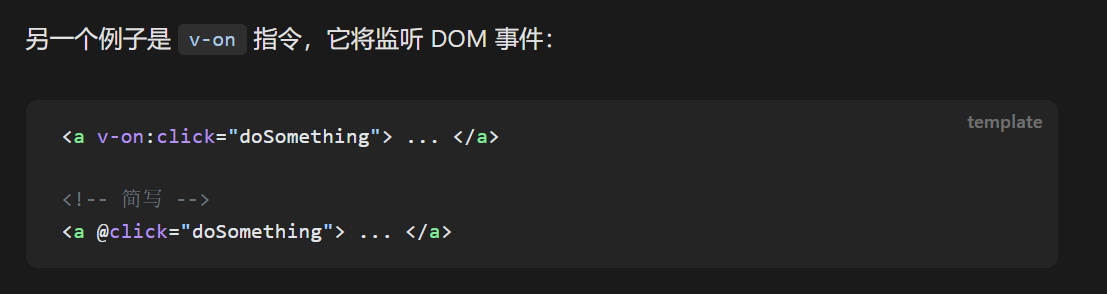
<el-button type="primary" round @click="fetchData">夸夸</el-button>表示一个点击会触发fetchData函数的按钮。@click是v-on:的简写:
在这个事件处理函数中我们需要向后端接口发送一个get请求,可以使用axios来发送http请求。
安装axios,引入axios,使用axios发送请求:
typescript
import axios from 'axios'

const fetchData = async () => {
      try {
        const response = await axios.get('https://192.168.1.6:7101/Semantickernel');
        prompt1.value = response.data;
      } catch (error) {
        console.error('There was a problem with the Axios request:', error);
      }
    };
即可实现开头的效果。
总结
Vue框架相关:了解Vue项目结构各个部分的作用,了解组件化开发思想,学习v-model、v-on。
前端生态相关:了解element-plus与axios。
TypeScript相关:类型注解和类型推断、箭头函数、异步函数(async/await)、模块导入。