
众所周知,WSL 2 为 Windows 用户提供了一个强大、高效且灵活的 Linux 环境,特别适合开发者使用。它结合了 Windows 和 Linux 的优点,为用户提供了更加全面和高效的工作环境。但缺点也很明显,那就是默认安装在本来空间就不富裕的C盘。
本次我们在非C盘的盘符快速安装基于wsl2的linux开发环境,并且无痛使用Win11的网络代理服务。
安装WSL 2
首先确保本机电脑已经开启开启 Windows 虚拟化和 Linux 子系统,点击控制面板->程序->启用或关闭 windows 功能,开启 Windows 虚拟化和 Linux 子系统(WSL2)以及Hyper-V
随后在终端输入命令:
bcdedit /set hypervisorlaunchtype auto开启hyper-v。
随后在终端输入命令:
wsl --update升级系统版本
接着安装ubuntu系统:
wsl --install -d Ubuntu输入用户名和密码之后,会自动登如linux系统:
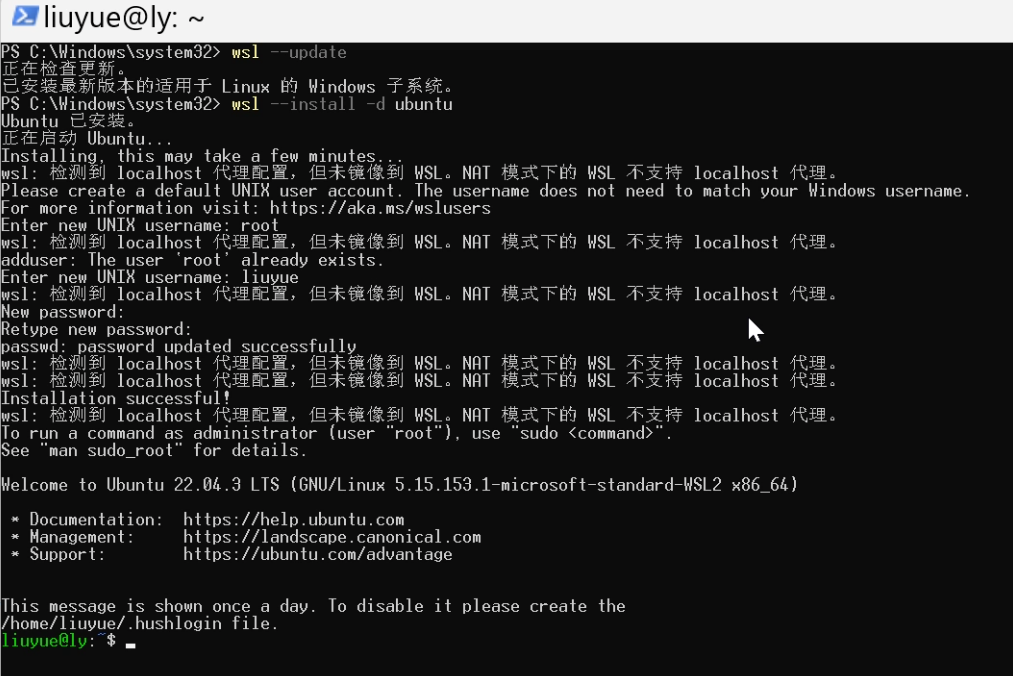
至此,WSL 2 已经安装成功。
WSL 2系统转移
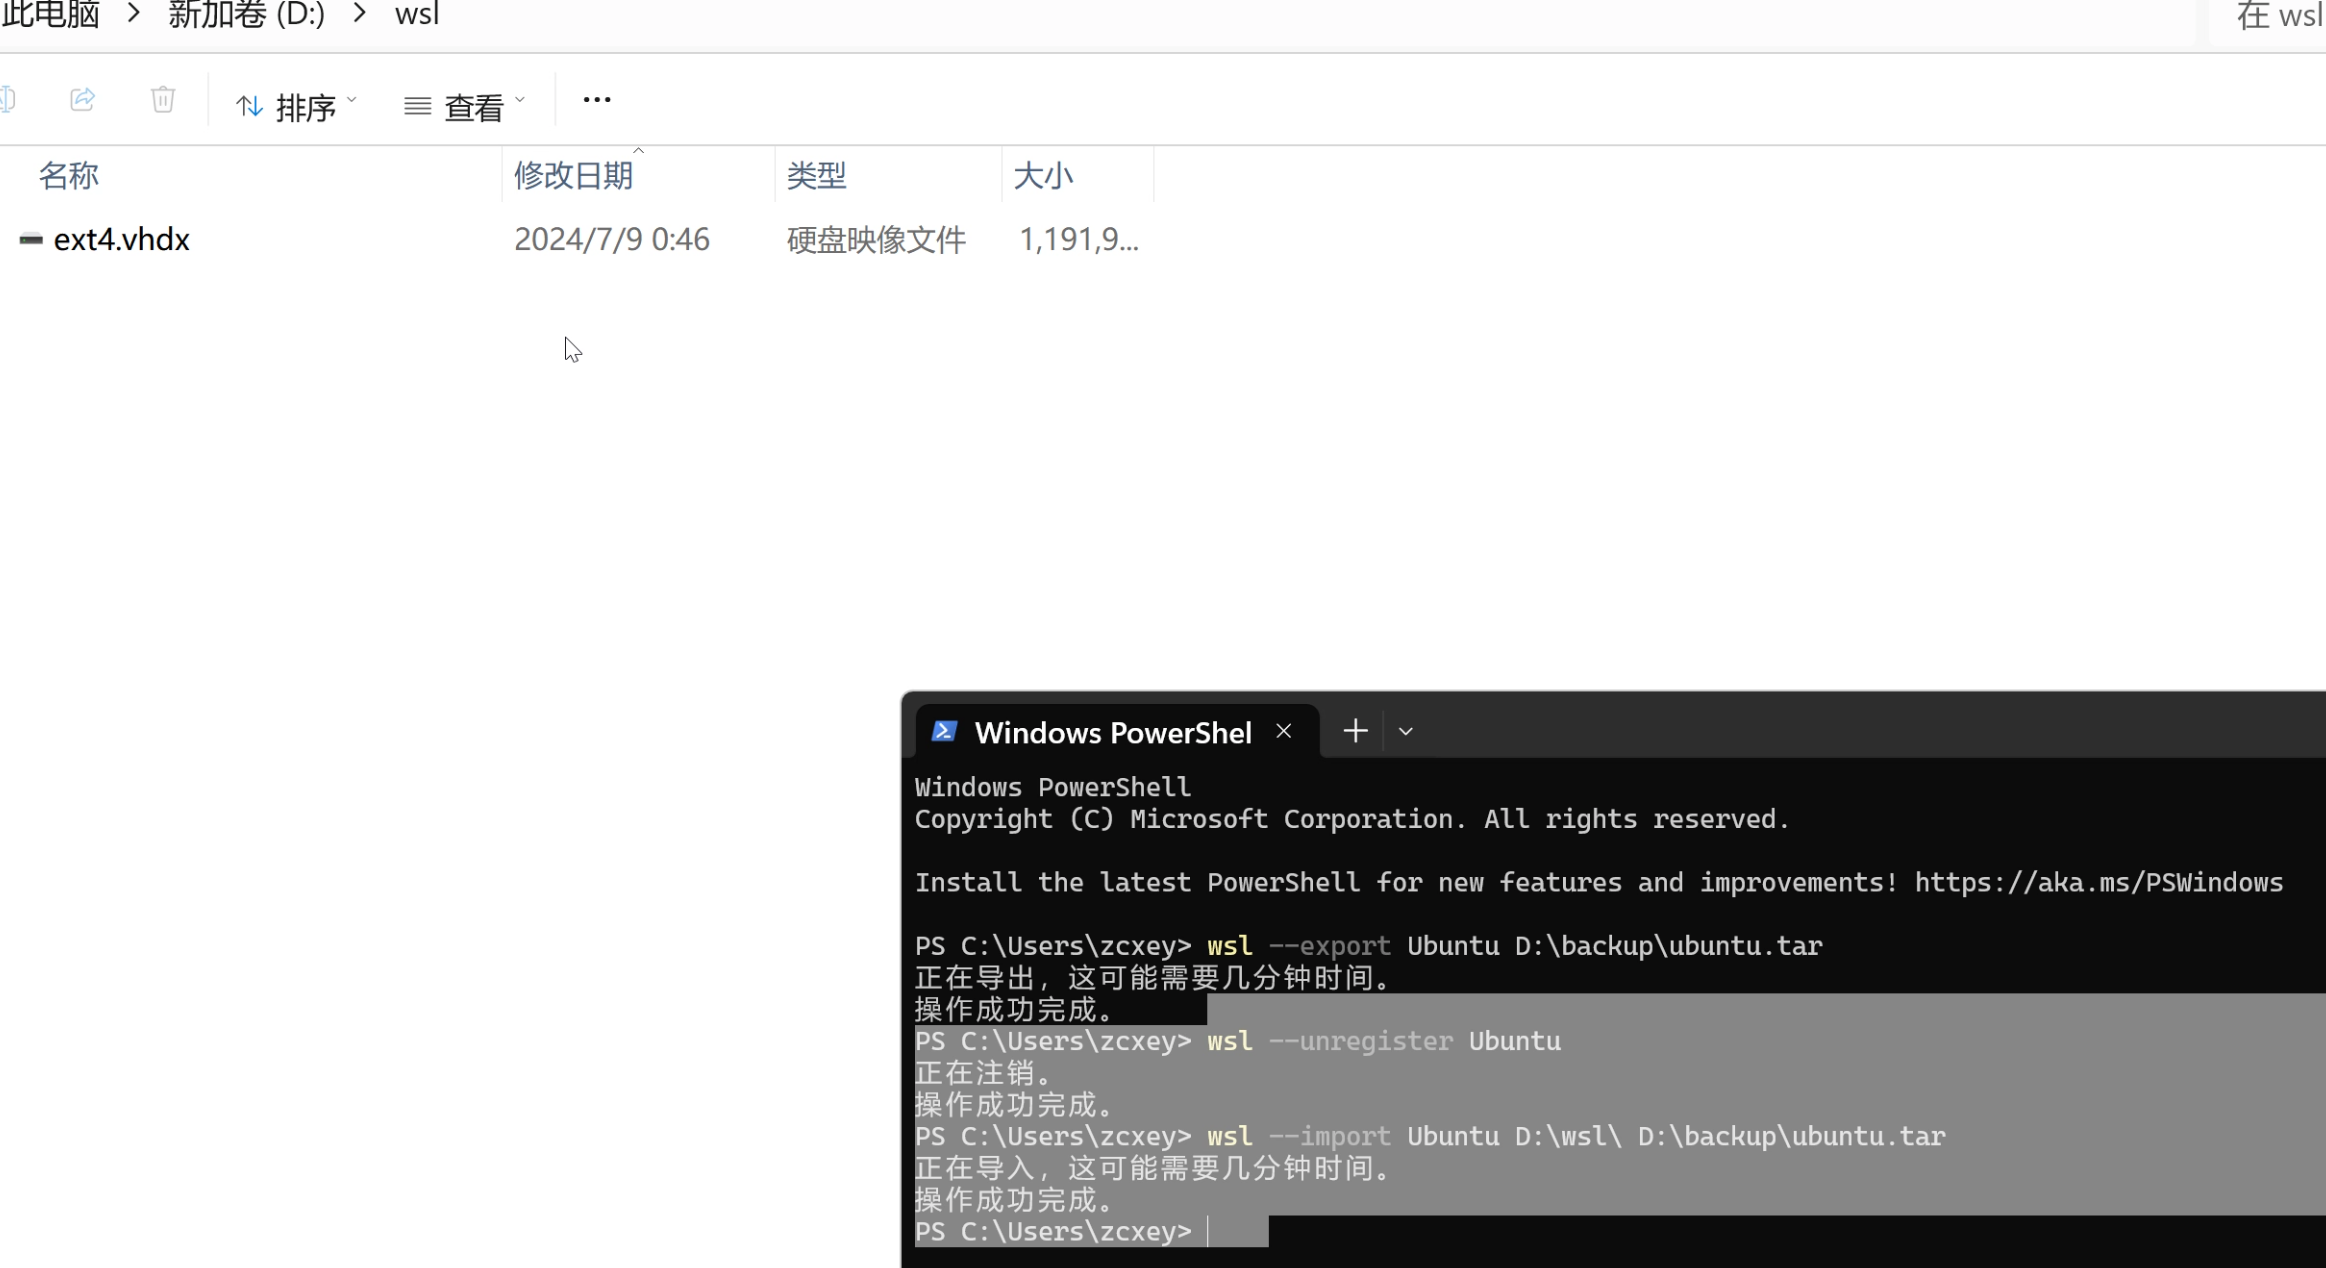
现在我们把linux系统迁移到别的盘符,在非C盘的盘符建立目录 backup
mkdir backup然后运行命令:
wsl --export Ubuntu D:\backup\ubuntu.tar把安装好的系统导出到backup目录。
接着注销C盘的linux系统:
wsl --unregister Ubuntu创建新的wsl目录:
mkdir wsl导入刚才导出的ubuntu系统:
wsl --import Ubuntu D:\wsl\ D:\backup\ubuntu.tar至此,wsl2系统迁移成功:
安装cuda和使用win11的网络代理
安装cuda很简单,直接去nvidia的官网即可:
https://developer.nvidia.com/cuda-downloads?target_os=Linux&target_arch=x86_64&Distribution=Ubuntu&target_version=22.04&target_type=deb_local复制官方给出的安装命令:
wget https://developer.download.nvidia.com/compute/cuda/repos/ubuntu2204/x86_64/cuda-ubuntu2204.pin
sudo mv cuda-ubuntu2204.pin /etc/apt/preferences.d/cuda-repository-pin-600
wget https://developer.download.nvidia.com/compute/cuda/12.6.0/local_installers/cuda-repo-ubuntu2204-12-6-local_12.6.0-560.28.03-1_amd64.deb
sudo dpkg -i cuda-repo-ubuntu2204-12-6-local_12.6.0-560.28.03-1_amd64.deb
sudo cp /var/cuda-repo-ubuntu2204-12-6-local/cuda-*-keyring.gpg /usr/share/keyrings/
sudo apt-get update
sudo apt-get -y install cuda-toolkit-12-6
安装成功后,输入 nvidia-smi 来显示显卡信息:
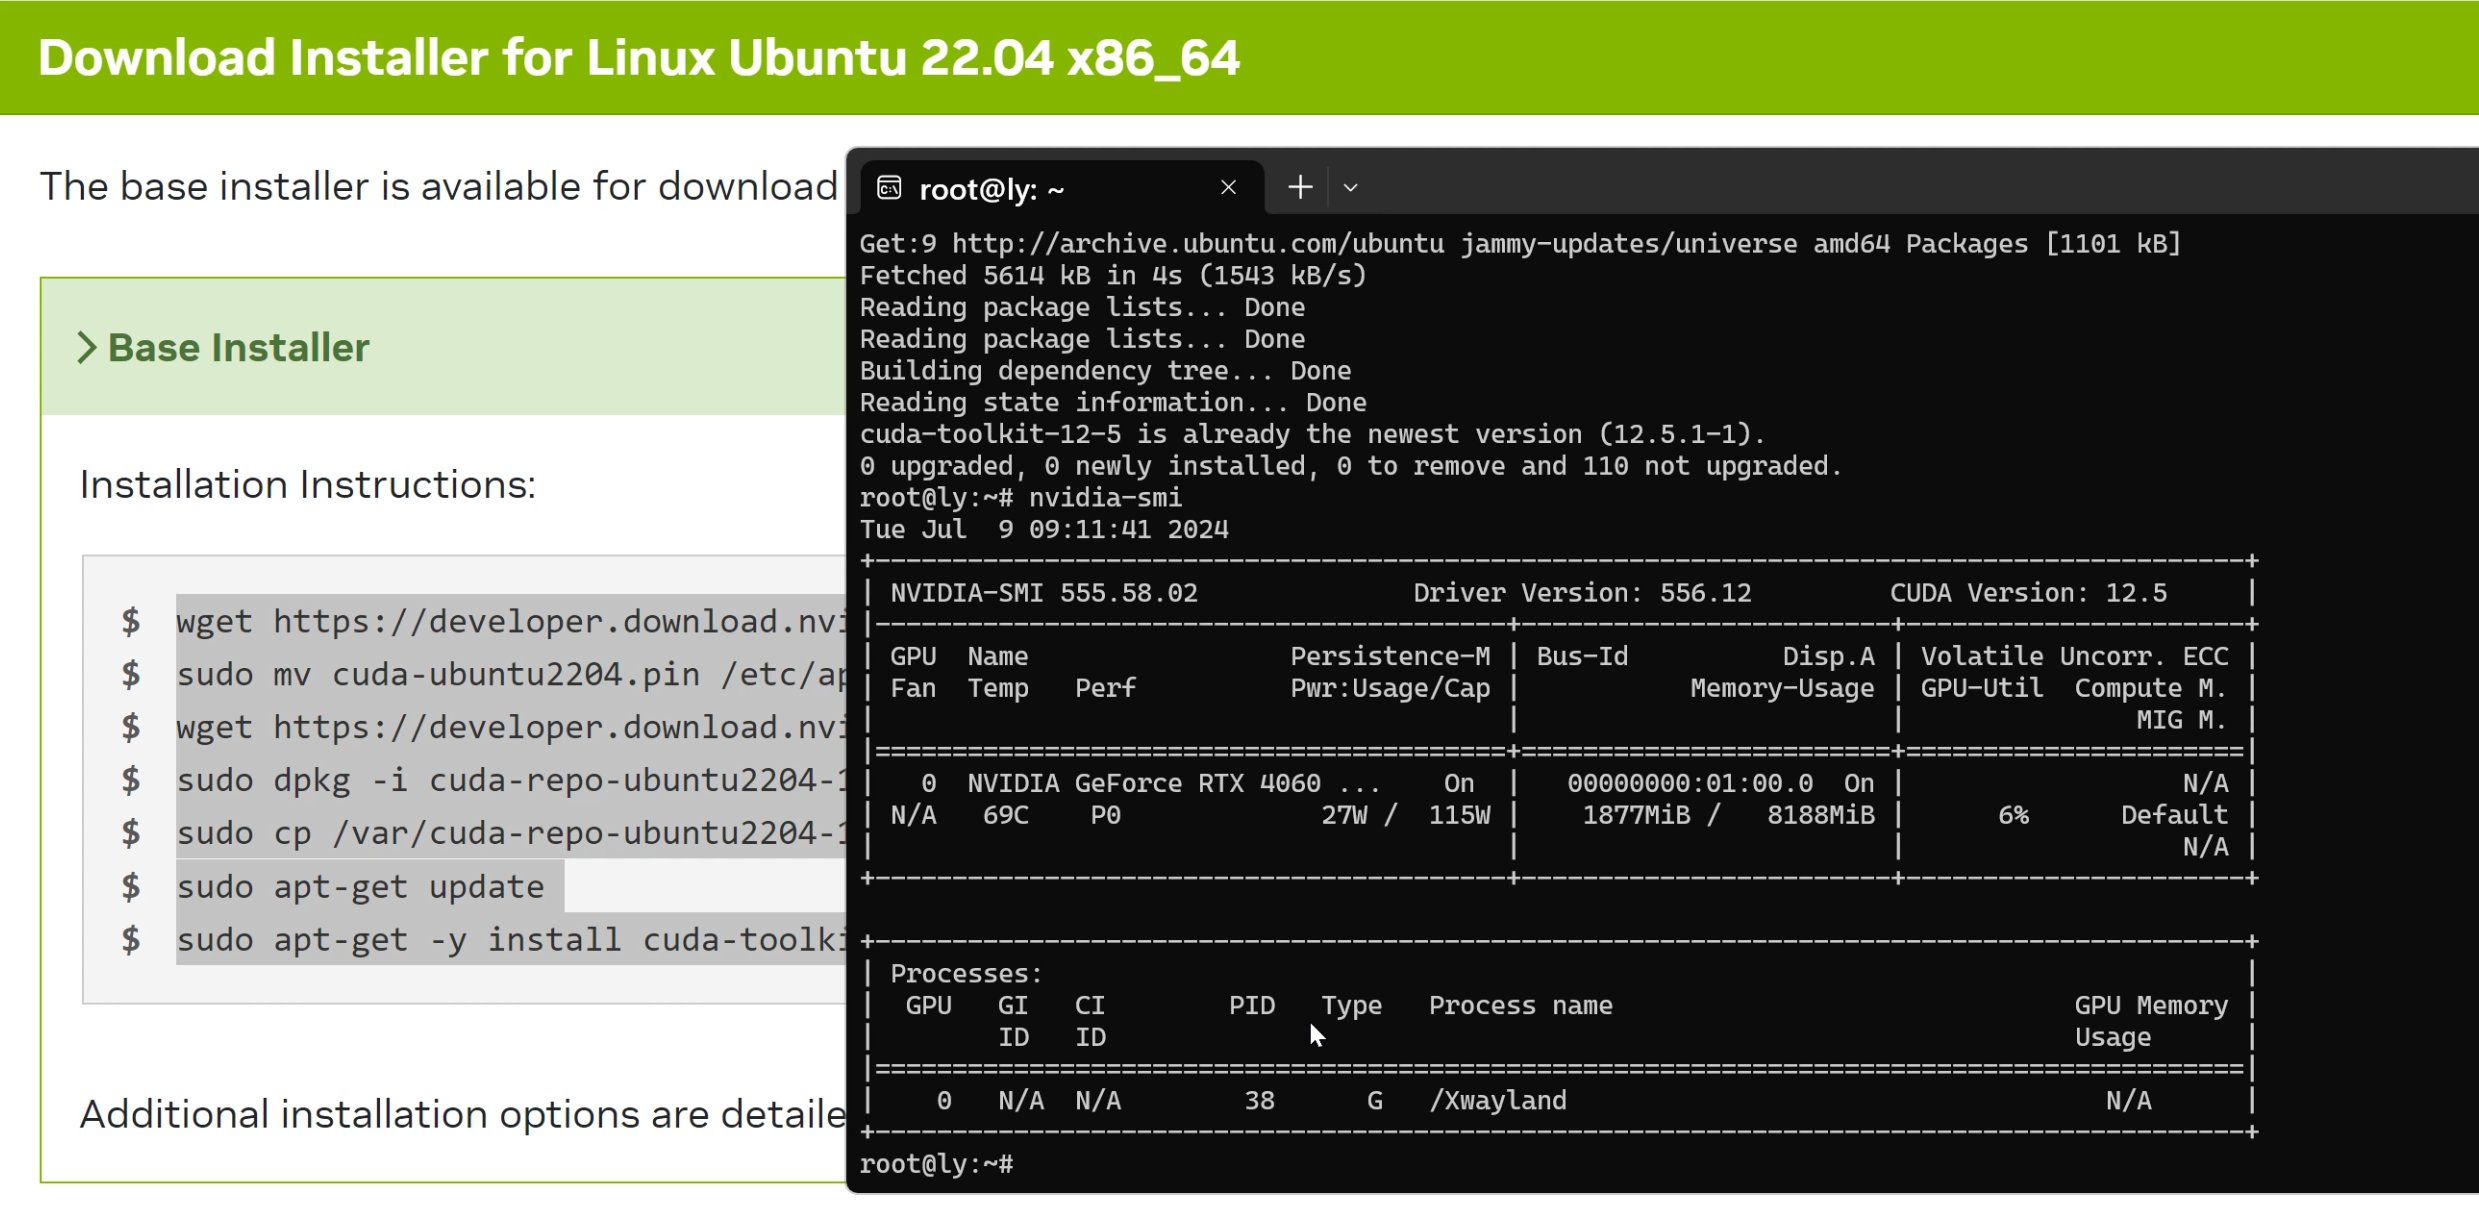
至此cuda就安装完成了。
虽然已经可以正常使用,但系统会提示:
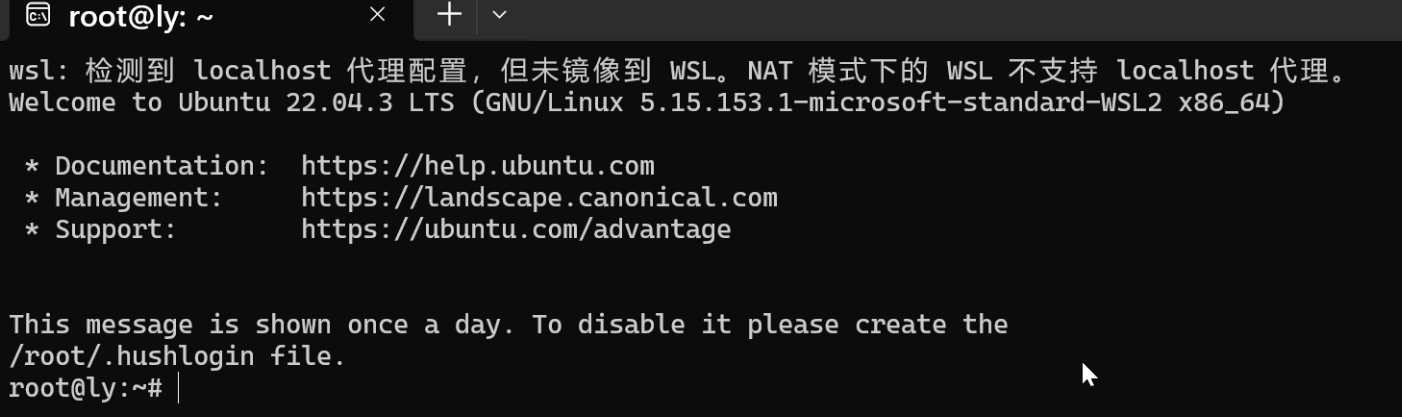
意思是虽然win11有代理配置,但没有镜像到wsl,无法使用代理。
搞开发的如果没有代理服务,那还搞什么开发,岂不是痴人说梦,何易于盲子夜行。
在用户目录新建:.wslconfig 配置文件:
[experimental]
autoMemoryReclaim=gradual  # gradual  | dropcache | disabled
networkingMode=mirrored
dnsTunneling=true
firewall=true
autoProxy=true
随后运行命令重启wsl服务:
wsl --shutdown再次进入linux系统,测试能否访问twitter:
wget x.com系统返回:
(base) root@ly:~# wget x.com
--2024-08-02 17:08:49--  http://x.com/
Connecting to 127.0.0.1:7890... connected.
Proxy request sent, awaiting response... 301 Moved Permanently
Location: https://x.com/ [following]
--2024-08-02 17:08:49--  https://x.com/
Connecting to 127.0.0.1:7890... connected.
Proxy request sent, awaiting response... 200 OK
Length: unspecified [text/html]
Saving to: 'index.html'

index.html                        [ <=>                                              ]   2.55K  --.-KB/s    in 0s

2024-08-02 17:08:50 (1.13 GB/s) - 'index.html' saved [2610]

(base) root@ly:~#
舒适了。
需要注意的是,Win11的代理服务需要开启:允许局域网访问的功能。