Kombu 是一个用于 Python 的消息队列库,提供了高效、灵活的消息传递机制。它是 Celery 的核心组件之一,但也可以单独使用。Kombu 支持多种消息代理(如 RabbitMQ、Redis、Amazon SQS 等),并提供了消息生产者和消费者的功能。安装命令 pip install kombu redis。
一.主要功能
1.消息队列
提供可靠的消息传递和队列机制,允许将消息从生产者发送到消费者。
2.消息代理支持
支持多种消息代理,如 RabbitMQ、Redis、Amazon SQS、MongoDB 等。
3.异步任务
可以用来实现异步任务处理,配合 Celery 使用时,可以构建分布式任务队列。
4.消息格式
支持多种消息格式,包括 JSON、YAML、pickle 等。
5.路由和交换
提供了高级的消息路由和交换功能,可以实现复杂的消息分发逻辑。
二.基本使用
1. 创建消息生产者
生产者负责向消息队列发送消息。
(1)Redis 消息代理
python
from kombu import Connection, Exchange, Producer, Queue

# 设置消息代理的连接URL(Redis)
broker_url = 'redis://localhost:6379/0'

# 创建连接
with Connection(broker_url) as conn:
    # 创建交换机和队列
    exchange = Exchange('my_exchange', type='direct')
    queue = Queue('my_queue', exchange, routing_key='my_key')

    # 创建生产者
    with Producer(conn) as producer:
        # 发送消息
        producer.publish(
            {'key': 'value'},
            exchange=exchange,
            routing_key='my_key',
            serializer='json'
        )
        print("Message sent.")
(2)RabbitMQ 消息代理
python
from kombu import Connection, Exchange, Producer, Queue

# 设置消息代理的连接URL
broker_url = 'amqp://guest:guest@localhost//'

# 创建连接
with Connection(broker_url) as conn:
    # 创建交换机和队列
    exchange = Exchange('my_exchange', type='direct')
    queue = Queue('my_queue', exchange, routing_key='my_key')

    # 创建生产者
    with Producer(conn) as producer:
        # 发送消息
        producer.publish(
            {'key': 'value'},
            exchange=exchange,
            routing_key='my_key',
            serializer='json'
        )
        print("Message sent.")
2. 创建消息消费者
消费者从消息队列中接收和处理消息。
(1)Redis 消息代理
python
from kombu import Connection, Exchange, Queue, Consumer

# 设置消息代理的连接URL(Redis)
broker_url = 'redis://localhost:6379/0'

def callback(body, message):
    print(f"Received message: {body}")
    message.ack()  # 确认消息已处理

# 创建连接
with Connection(broker_url) as conn:
    # 创建交换机和队列
    exchange = Exchange('my_exchange', type='direct')
    queue = Queue('my_queue', exchange, routing_key='my_key')

    # 创建消费者
    with Consumer(conn, [queue], callback=callback) as consumer:
        print("Waiting for messages...")
        # 运行消费者,等待消息
        while True:
            conn.drain_events()
(2)RabbitMQ 消息代理
python
from kombu import Connection, Exchange, Queue, Consumer

# 设置消息代理的连接URL
broker_url = 'amqp://guest:guest@localhost//'

def callback(body, message):
    print(f"Received message: {body}")
    message.ack()  # 确认消息已处理

# 创建连接
with Connection(broker_url) as conn:
    # 创建交换机和队列
    exchange = Exchange('my_exchange', type='direct')
    queue = Queue('my_queue', exchange, routing_key='my_key')

    # 创建消费者
    with Consumer(conn, [queue], callback=callback) as consumer:
        print("Waiting for messages...")
        # 运行消费者,等待消息
        while True:
            conn.drain_events()
3. 高级用法:消息路由
Kombu 支持复杂的消息路由配置,以下示例展示了如何使用路由功能将消息发送到不同的队列。
(1)Redis 消息代理
python
from kombu import Connection, Exchange, Producer, Queue

# 设置消息代理的连接URL(Redis)
broker_url = 'redis://localhost:6379/0'

# 创建交换机和队列
exchange = Exchange('my_exchange', type='direct')
queue1 = Queue('queue1', exchange, routing_key='key1')
queue2 = Queue('queue2', exchange, routing_key='key2')

def route_message(message):
    if message['type'] == 'type1':
        return 'key1'
    return 'key2'

# 创建连接
with Connection(broker_url) as conn:
    with Producer(conn) as producer:
        # 发送消息
        producer.publish(
            {'type': 'type1', 'data': 'value1'},
            exchange=exchange,
            routing_key=route_message({'type': 'type1'}),
            serializer='json'
        )
        print("Message routed and sent.")
(2)RabbitMQ 消息代理
python
from kombu import Connection, Exchange, Producer, Queue

# 设置消息代理的连接URL
broker_url = 'amqp://guest:guest@localhost//'

# 创建交换机和队列
exchange = Exchange('my_exchange', type='direct')
queue1 = Queue('queue1', exchange, routing_key='key1')
queue2 = Queue('queue2', exchange, routing_key='key2')

def route_message(message):
    if message['type'] == 'type1':
        return 'key1'
    return 'key2'

# 创建连接
with Connection(broker_url) as conn:
    with Producer(conn) as producer:
        # 发送消息
        producer.publish(
            {'type': 'type1', 'data': 'value1'},
            exchange=exchange,
            routing_key=route_message({'type': 'type1'}),
            serializer='json'
        )
        print("Message routed and sent.")
4. 结合 Celery 使用
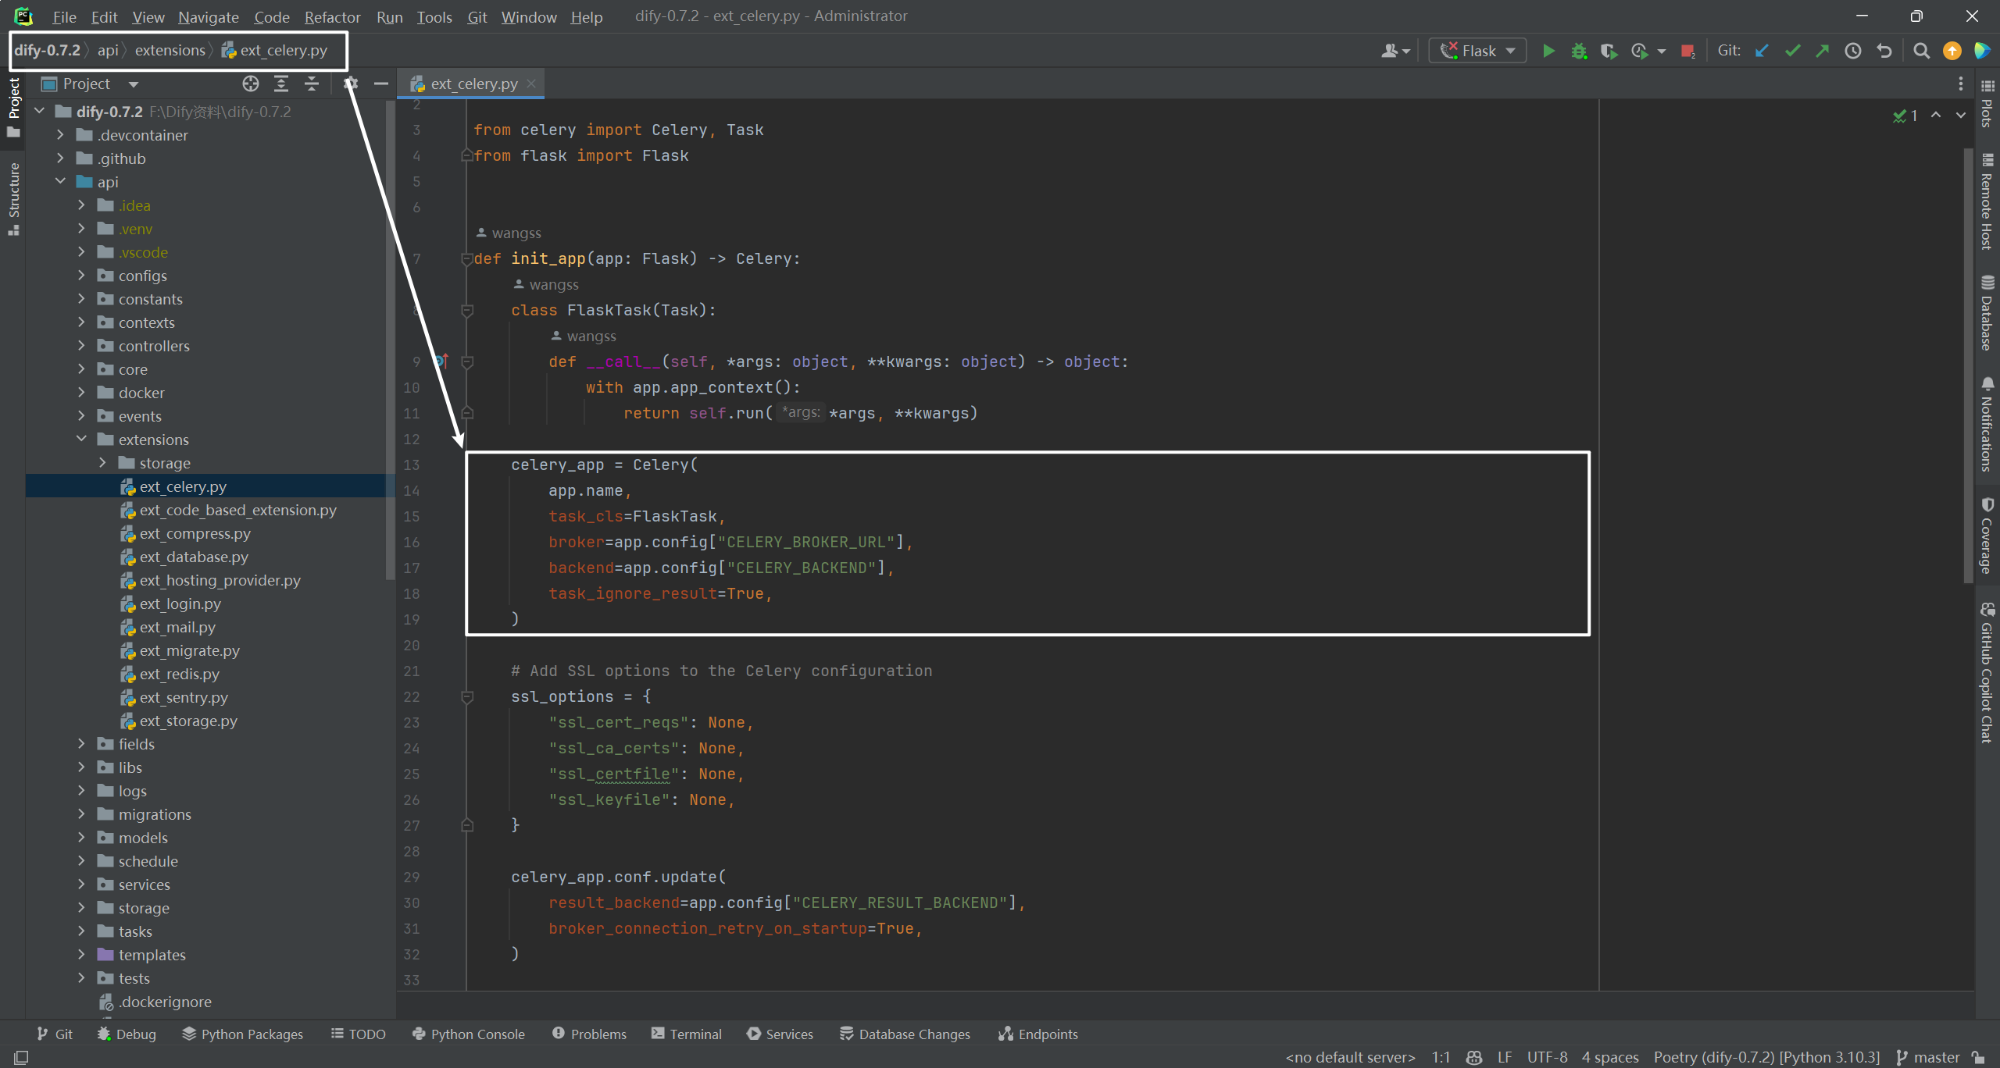
Kombu 通常与 Celery 一起使用来处理异步任务。简单理解,Kombu 是 Celery 的依赖库,Celery 需要 Kombu 来访问消息队列系统。同时 Celery 扩展了 Kombu 的功能,提供了一个高级的任务队列系统。Celery 使用 Kombu 来处理与消息代理之间的连接、消息发送、消息接收等操作。
(1)Redis 消息代理
python
from celery import Celery

# 配置 Celery 使用 Redis 作为消息代理(通过 Kombu 处理)
app = Celery('tasks', broker='redis://localhost:6379/0')

@app.task
def add(x, y):
    return x + y
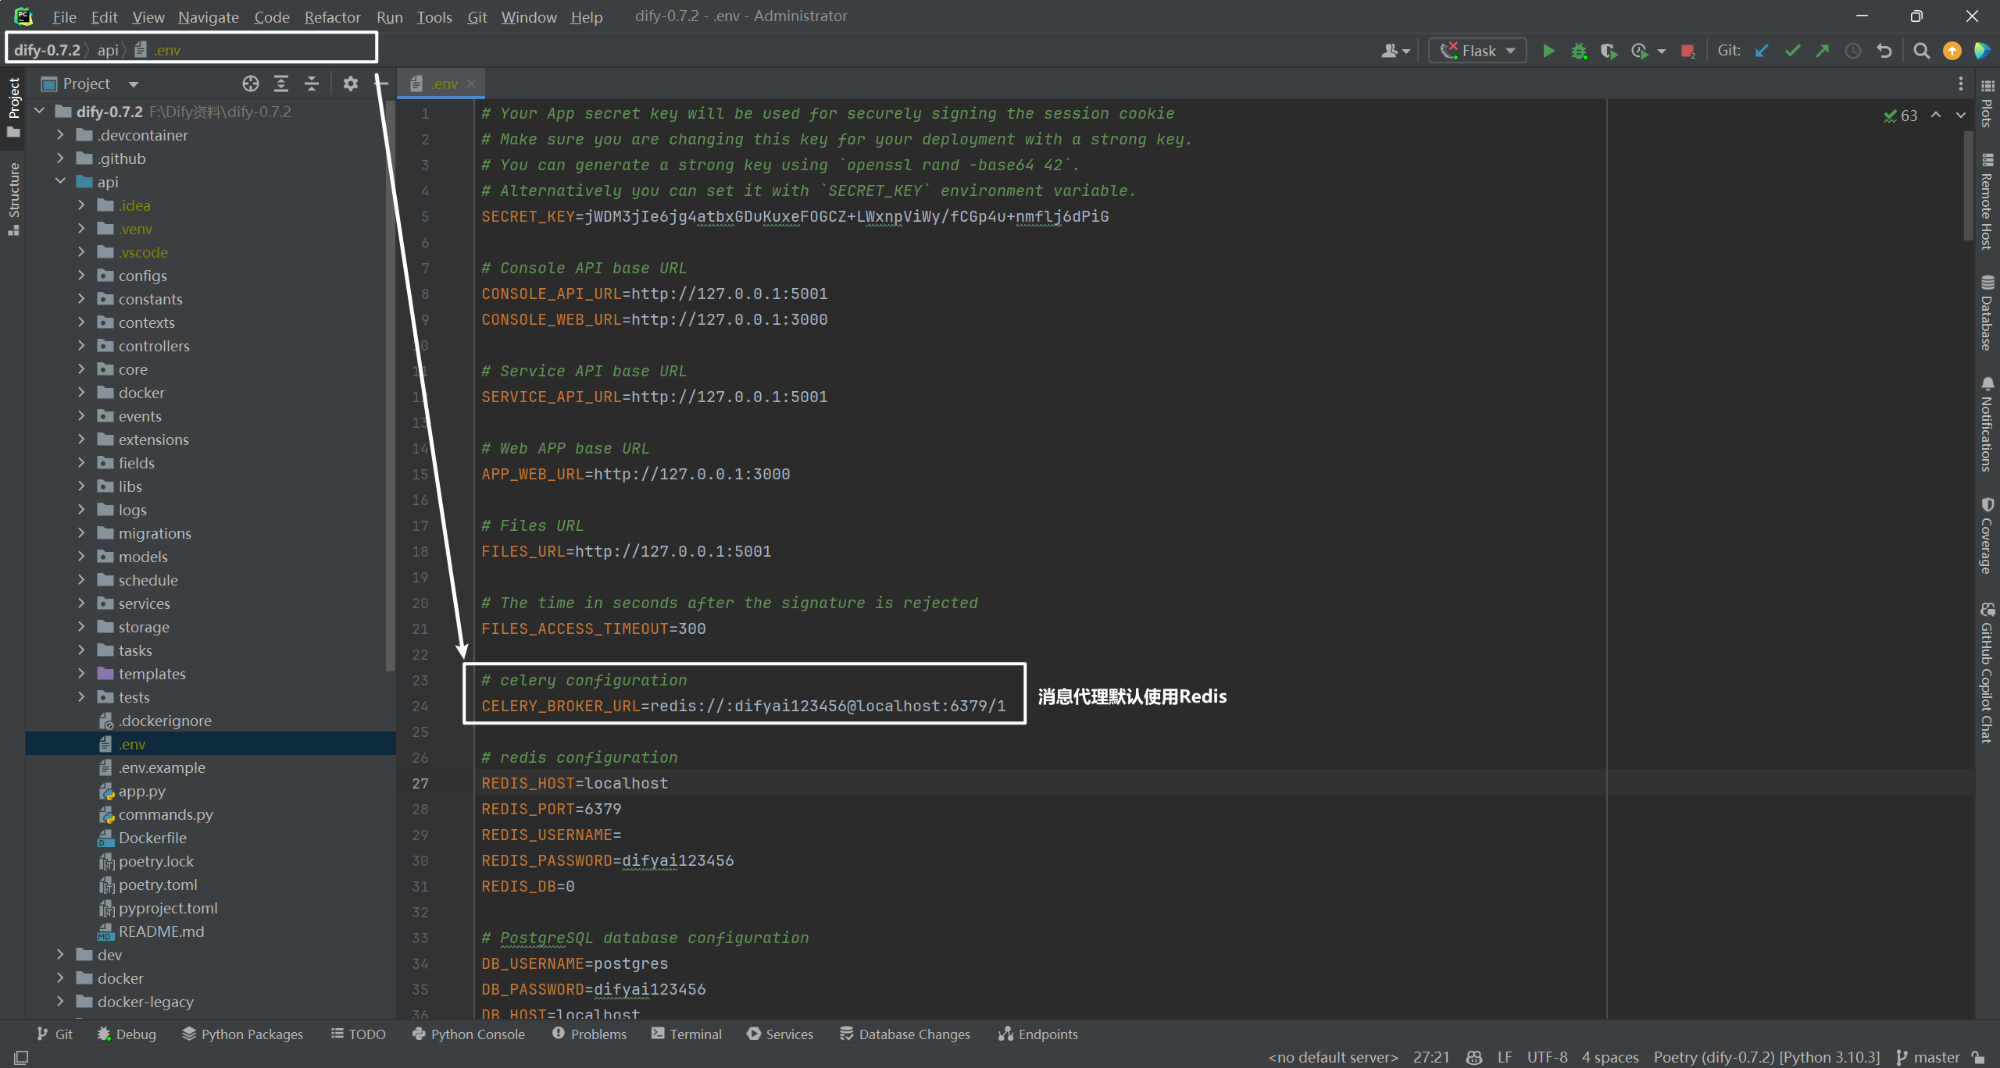
在 Dify 中默认消息代理使用 Redis,如下所示:


(2)RabbitMQ 消息代理
python
from celery import Celery

# 配置 Celery 使用 RabbitMQ 作为消息代理(通过 Kombu 处理)
app = Celery('tasks', broker='amqp://guest:guest@localhost//')

@app.task
def add(x, y):
    return x + y
Kombu 是一个强大的消息传递库,提供了多种消息代理的支持,并能实现复杂的消息队列和路由功能。它支持多种消息格式和高级功能,如交换机、队列、路由等。基础用法 包括创建生产者和消费者,通过消息代理发送和接收消息。高级用法 包括消息路由、与 Celery 集成等,用于构建分布式系统和异步任务处理。
参考文献
1\]