1.先安装vue-ueditor-wrap富文本组件
TypeScript
# vue-ueditor-wrap v3 仅支持 Vue 3
npm i vue-ueditor-wrap@3.x -S
# or
yarn add vue-ueditor-wrap@3.x
2. 下载 UEditor
UEditor 并不支持通过 npm 的方式来安装,vue-ueditor-wrap 也只是一个 Vue 组件,组件本身并不是 UEditor 的 Vue 版。了解 UEditor 基本使用,请参考 UEditor 官网。
说明:不同语言的 UEditor,前端部分,并无区别,只是包含了对应语言的 服务端 示例代码。UEditor 官方并没有提供 Node.js 版的示例代码,有需求的同学可以参考 此处。
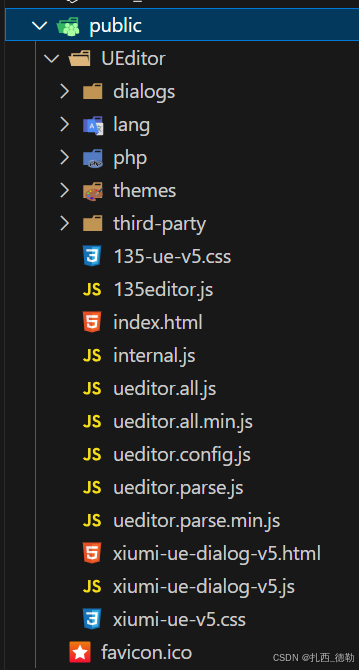
将解压的文件夹重命名为 UEditor 并移动到你项目的静态资源目录下,比如下面是一个由 Vue CLI(v3+)创建的项目,静态资源目录就是 public。

3.注册组件
TypeScript
// main.ts
import { createApp } from 'vue';
import VueUeditorWrap from 'vue-ueditor-wrap';
import App from './App.vue';

createApp(App).use(VueUeditorWrap).mount('#app');
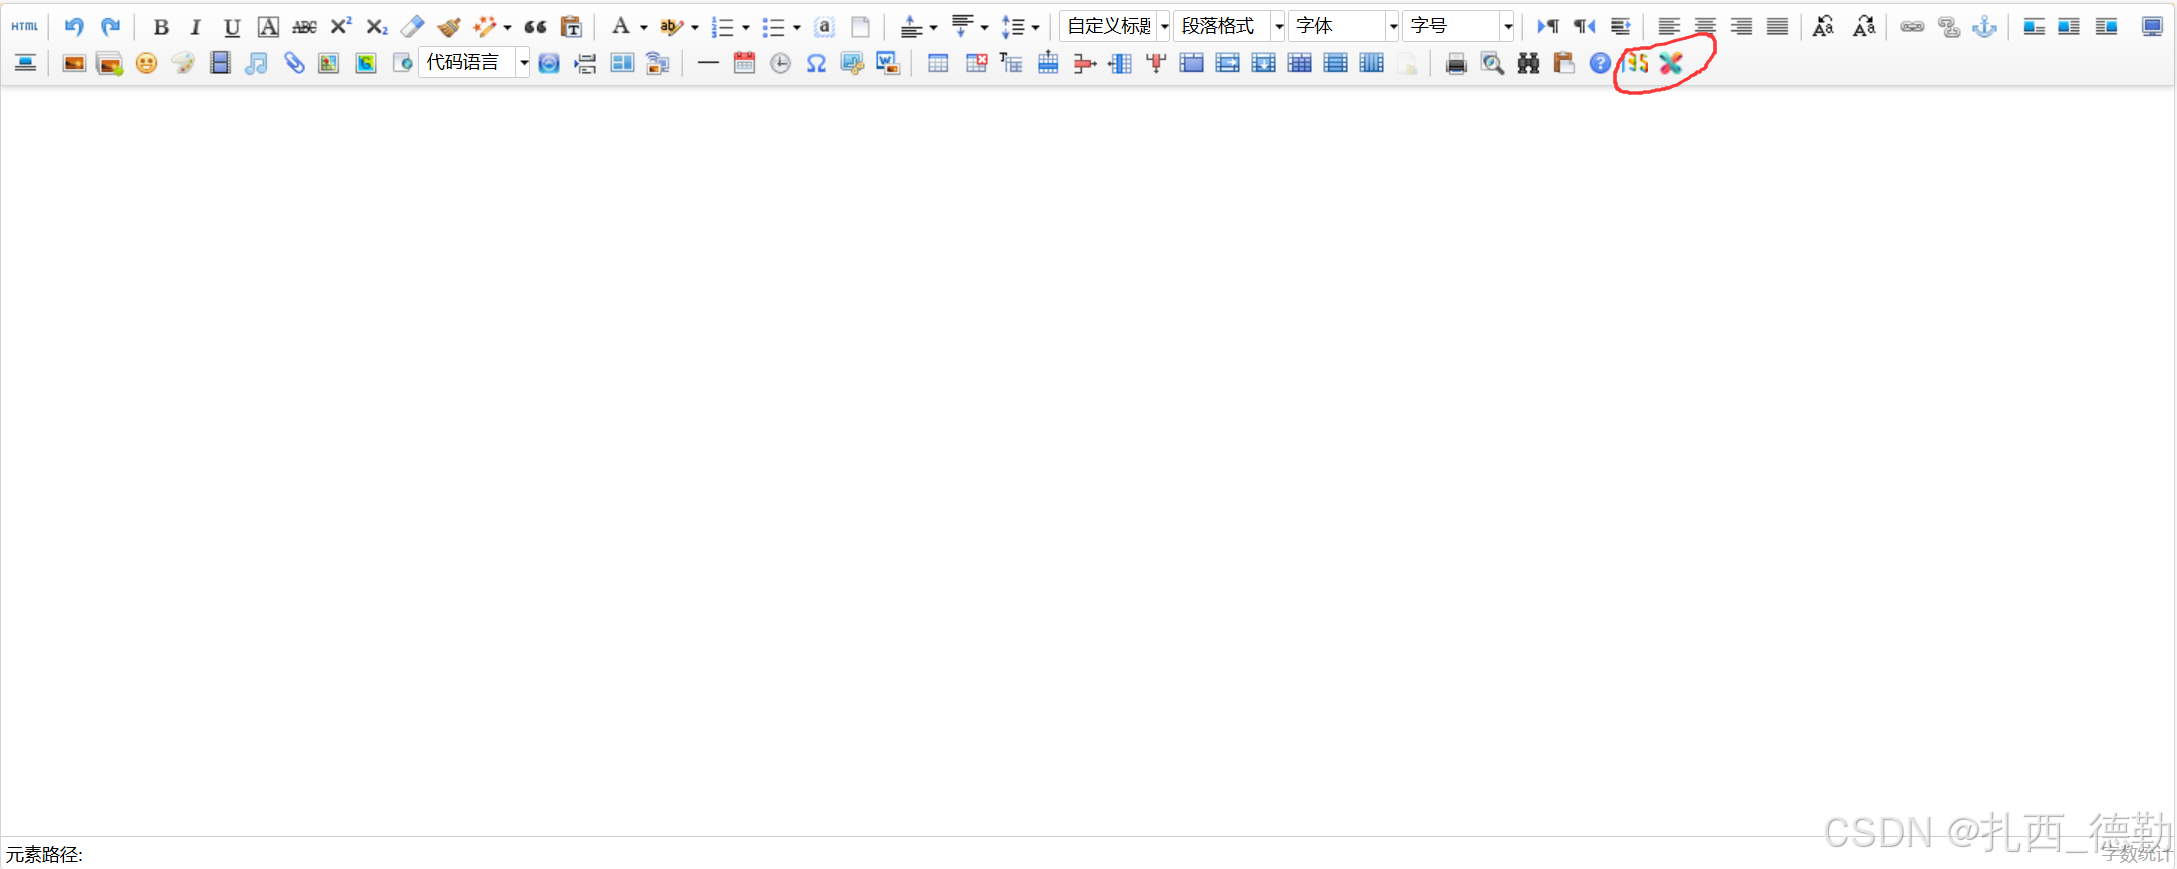
效果预览如下图:


以上图1是135以及秀米编辑器引入成功的样子,图2图3分别是使用135以及秀米编辑器的效果图
以下是135以及秀米跳转成功效果图:


4.接入135编辑器
地址:135编辑器,微信图文编辑器,微信图文美化编辑器,格式多方便的图文编辑-
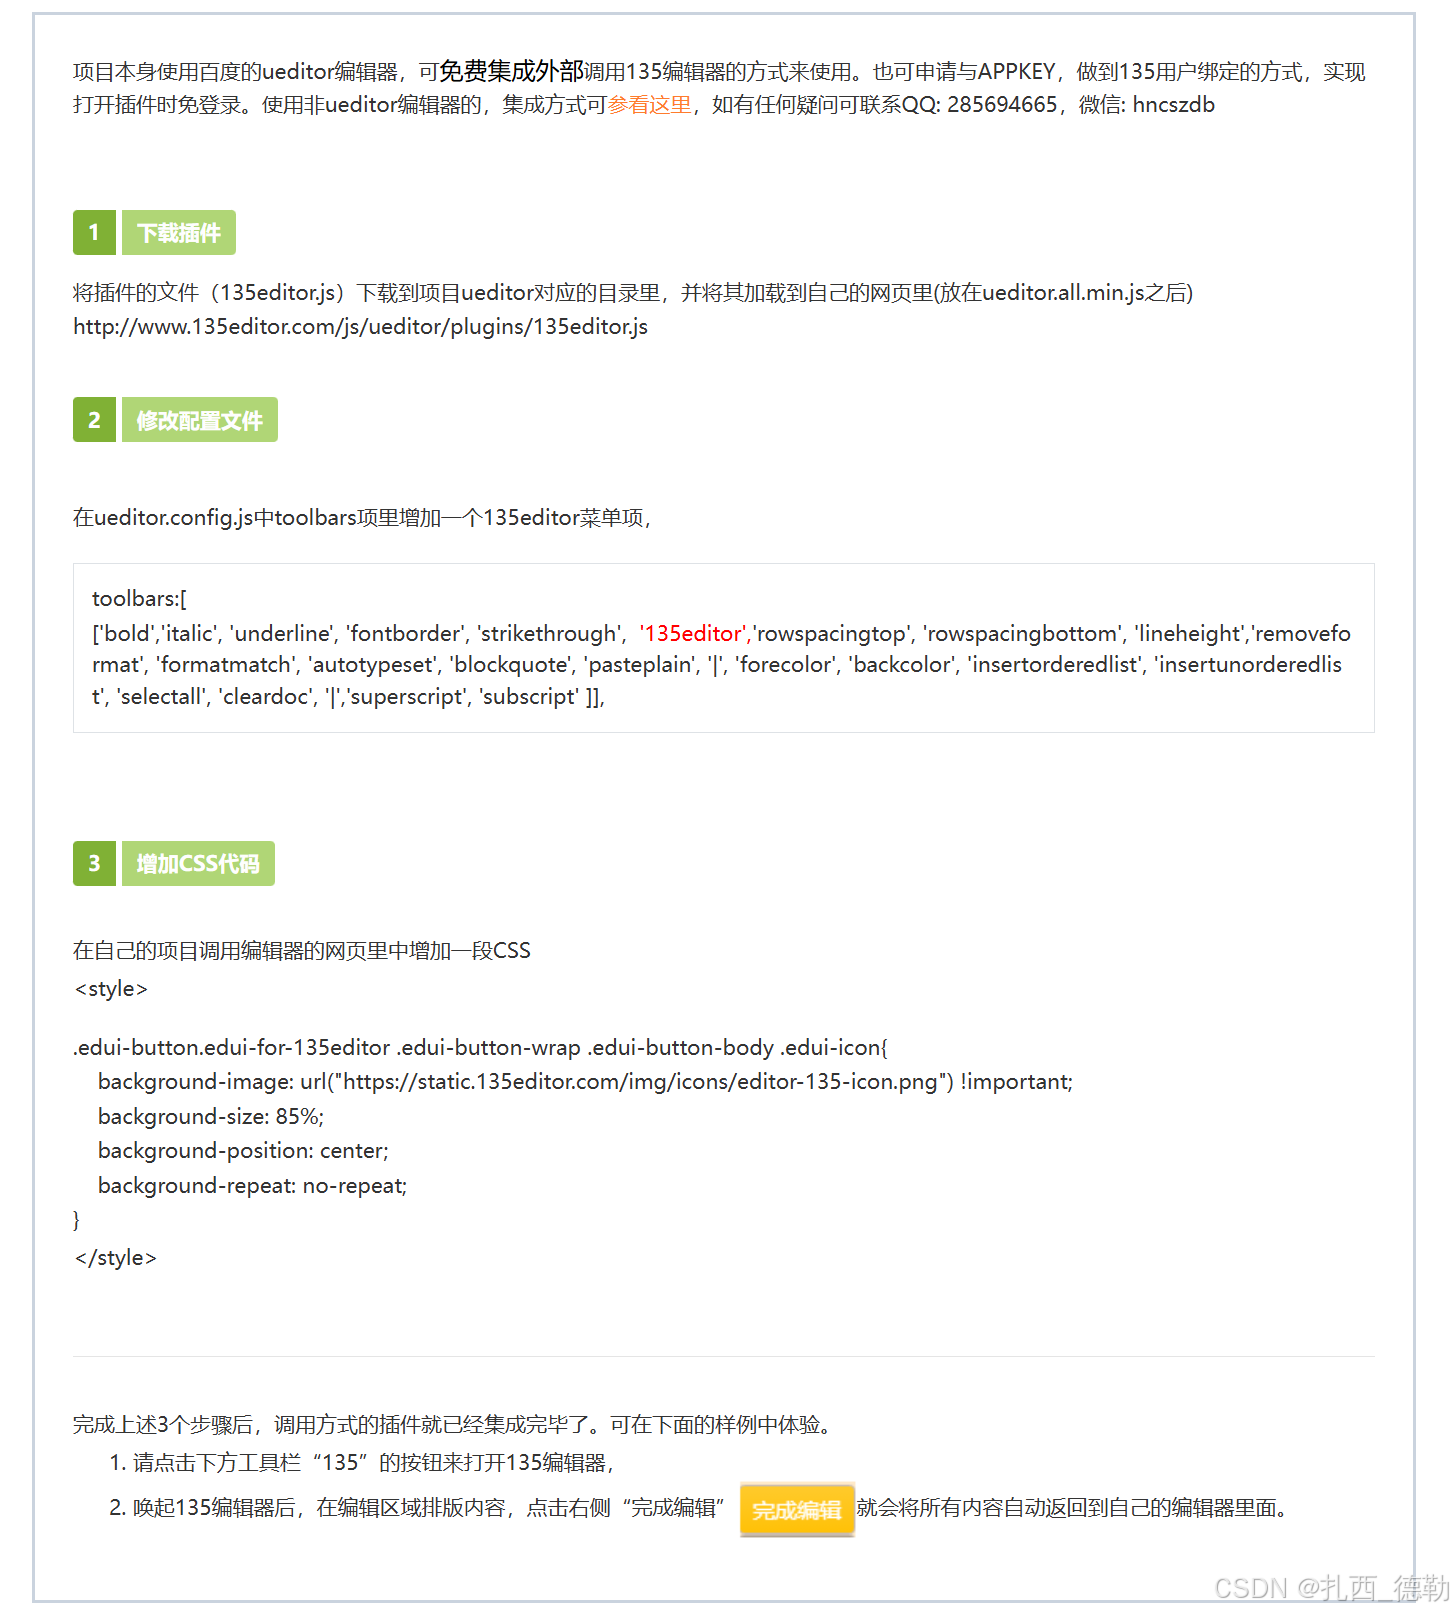
下面是参考文档,跟着文档走!

5.接入秀米编辑器
主要是下载这4个文件:xiumi-ue-dialog-v5.js
xiumi-ue-v5-css
xiumi-ue-dialog-v5-html
internal.js
以上文件存放位置可以参考我最上面的public目录,认真看官方文档很详情!
下面是改xiumi-ue-dialog-v5.js文件iframeUrl路径
改之前:
TypeScript
UE.registerUI('dialog', function (editor, uiName) {
    var btn = new UE.ui.Button({
        name   : 'xiumi-connect',
        title  : '秀米',
        onclick: function () {
            var dialog = new UE.ui.Dialog({
                iframeUrl: 'xiumi-ue-dialog-v5.html',
                editor   : editor,
                name     : 'xiumi-connect',
                title    : "秀米图文消息助手",
                cssRules : "width: " + (window.innerWidth - 60) + "px;" + "height: " + (window.innerHeight - 60) + "px;",
            });
            dialog.render();
            dialog.open();
        }
    });

    return btn;
});
改之后:
TypeScript
UE.registerUI('dialog', function (editor, uiName) {
    var btn = new UE.ui.Button({
        name   : 'xiumi-connect',
        title  : '秀米',
        onclick: function () {
            var dialog = new UE.ui.Dialog({
                iframeUrl: '../../public/UEditor/xiumi-ue-dialog-v5.html',
                editor   : editor,
                name     : 'xiumi-connect',
                title    : "秀米图文消息助手",
                cssRules : "width: " + (window.innerWidth - 60) + "px;" + "height: " + (window.innerHeight - 60) + "px;",
            });
            dialog.render();
            dialog.open();
        }
    });

    return btn;
});
路径是根据自己文件的存放位置来决定的,实际情况要结合自己的目录!
6.页面引用
TypeScript
<template>
    <div>
        <div style="width: 98%;height: 500px;background-color: bisque;margin: auto;margin-top: 100px;">
            <vue-ueditor-wrap :config="editorConfig" :editor-dependencies="editorDependencies"
                editor-id="editor-demo-01"></vue-ueditor-wrap>
        </div>
    </div>
</template>

<script lang="ts" setup>
import { reactive } from 'vue';

// 富文本
const editorConfig = reactive({
    // 编辑器不自动被内容撑高
    autoHeightEnabled: false,
    // 初始容器高度
    initialFrameHeight: 500,
    // 初始容器宽度
    initialFrameWidth: '100%',
    UEDITOR_HOME_URL: '/UEditor/', // 访问 UEditor 静态资源的根路径
});

const editorDependencies = reactive([
    "ueditor.config.js",
    "ueditor.all.min.js",
    "lang/zh-cn/zh-cn.js",
    "135editor.js",
    "xiumi-ue-dialog-v5.js",
]);

</script>

<style lang="scss">
// 135图标
.edui-button.edui-for-135editor .edui-button-wrap .edui-button-body .edui-icon {

    background-image: url("https://static.135editor.com/img/icons/editor-135-icon.png") !important;

    background-size: 85%;

    background-position: center;

    background-repeat: no-repeat;

}

// 秀米图标(该图片路径是我自己放的图标,使用官方路径不知道为什么不显示,大家可以研究一下看能不能解决,但不是什么大问题)
.edui-button.edui-for-xiumi-connect .edui-button-wrap .edui-button-body .edui-icon {
    background-image: url("../../assets/xiumi-connect-icon.png") !important;
    background-size: contain;
}
</style>
以上是在要使用富文本组件的页面添加的代码!
好了从上到下都是经过我本人亲测管用的,感兴趣的程序员们快去试试吧!