
目录
[C++ SDK编译库](#C++ SDK编译库)
[使用 FastDeploy C++ SDK](#使用 FastDeploy C++ SDK)
写在前面
为何要自己进行编译呢?因为如果我们直接使用如下链接中预编译好的zip,你会发现,不能用,会报错【具体为啥报错,目前不太清楚】,因此,还是得我们亲自走一遍【编译】。
参考github链接:GitHub - PaddlePaddle/FastDeploy
总体步骤
-
C++ SDK编译库(以GPU部署环境为例)
-
准备模型、文件、代码和数据
-
使用 FastDeploy C++ SDK
C++ SDK编译库
方式1:编译安装
○ 环境要求
Windows 10/11 x64
cuda >= 11.2
cudnn >= 8.2
cmake >= 3.12
Visual Studio 16 2019
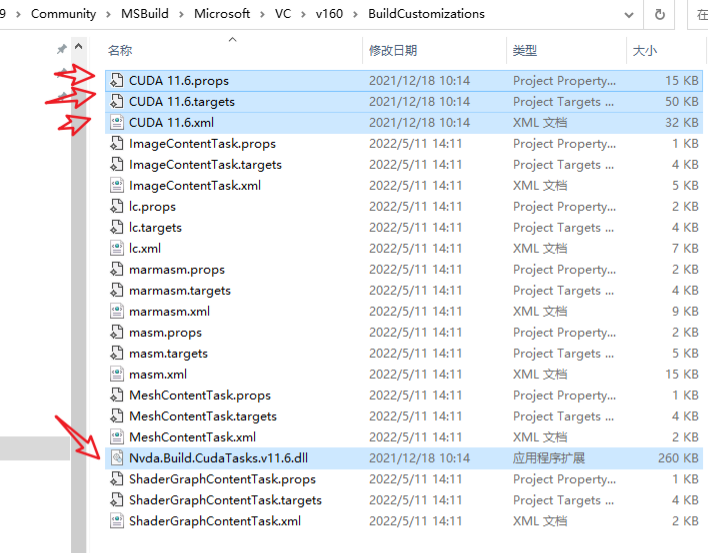
注意:安装CUDA时,需要勾选Visual Studio Integration, 或者手动将C:\Program Files \NVIDIA GPU Computing Toolkit \ CUDA \v11.7 \extras \ visual_studio_integration \MSBuildExtensions\文件夹下的4个文件,复制到C:\Program Files (x86)\Microsoft Visual Studio\2019\Community\MSBuild\Microsoft\VC\v160\BuildCustomizations\文件夹。
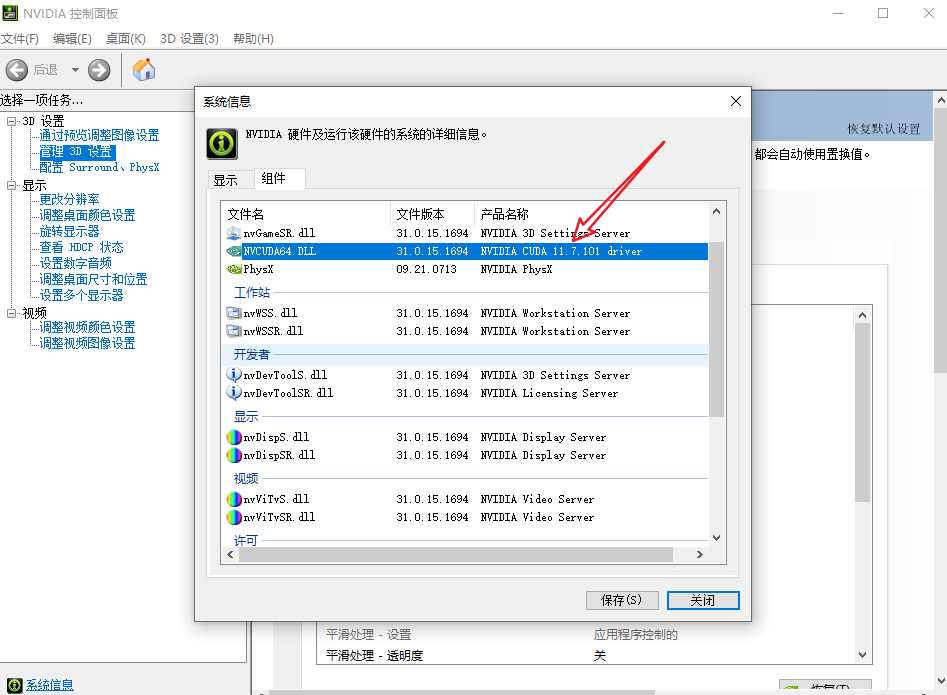
查看电脑cuda版本,如图所示为117.1:
下载cuda对应的版本,网址:CUDA Toolkit Archive | NVIDIA Developer
下载cudnn对应的版本,网址:++https://developer.nvidia.com/rdp/cudnn-download++
否则,执行cmake命令时,可能会遇到No CUDA toolset found报错。
○ CMake GUI编译
参考链接:FastDeploy/build_on_win_with_gui.md
提示:如果自行编译SDK,理论上支持Windows 10/11,VS 2019/2022,CUDA 11.x 以及 TensorRT 8.x等配置,但建议使用默认配置,即:Windows 10, VS 2019, CUDA 11.2 和 TensorRT 8.4.x版本。
另外,如果编译过程中遇到中文字符的编码问题(如UIE example必须传入中文字符进行预测),可参考Visual Studio的官方文档,设置源字符集为/utf-8解决(++/utf-8(将源字符集和执行字符集设置为 UTF-8) | Microsoft Learn++)。
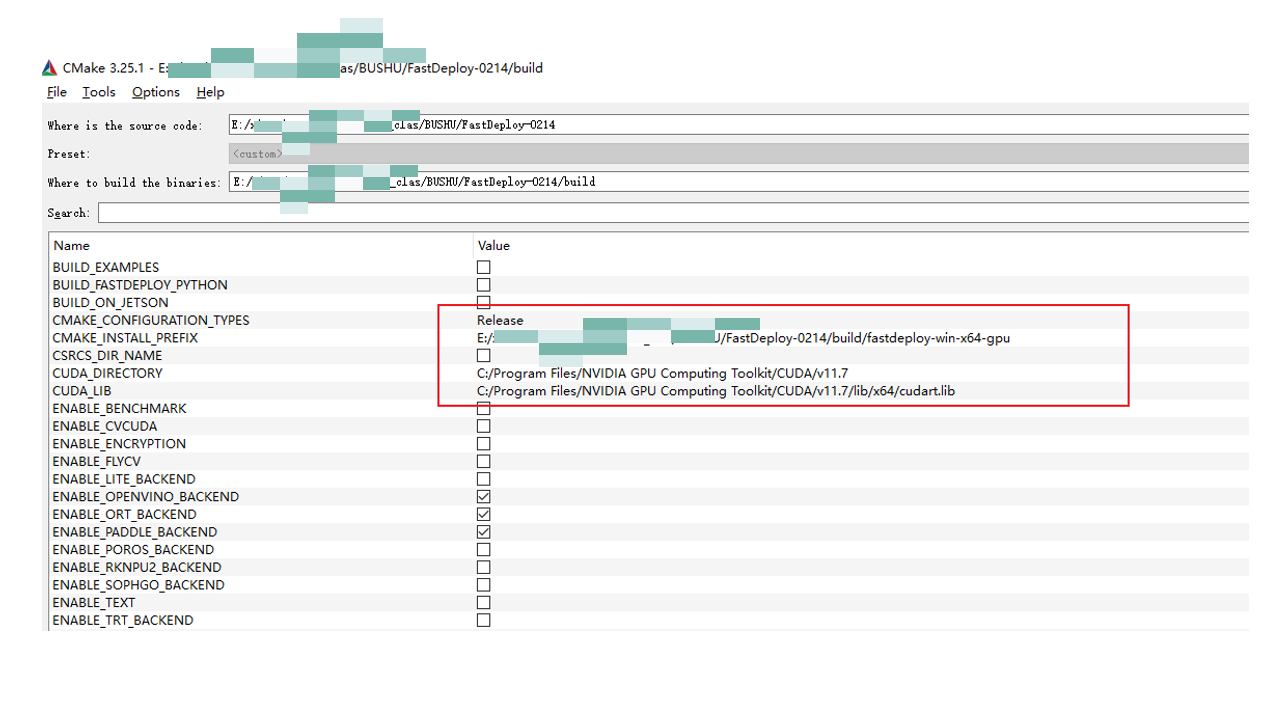
配置如下参数,然后点击 Configure。

Configure之后,会生成如下文件。

然后进行Generate,Generate后,会自动填充如下内容,可以看到:所有编译需要的include路径和lib路径已经被设置好了。

并且,会在指定目录下,出现如下内容,可以看到已经生成fastdeploy.sln解决方案文件。

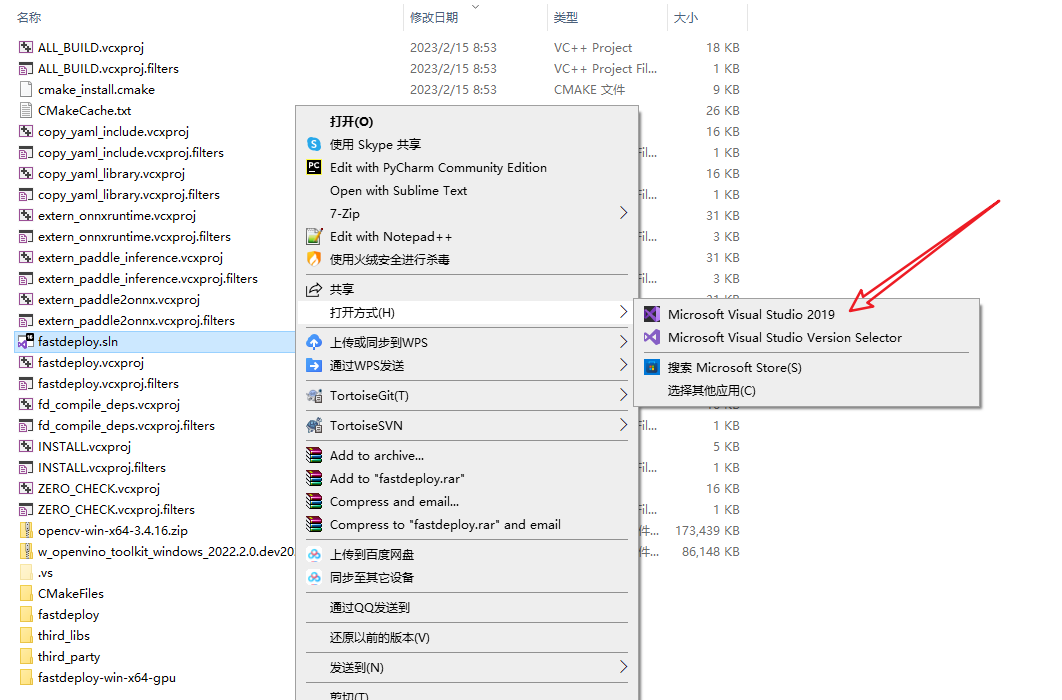
接下来,我们使用Visual Studio 2019打开这个解决方案文件。
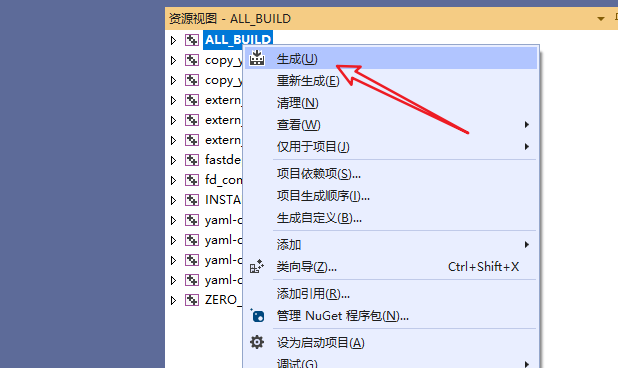
在Visual Studio 2019点击"ALL BUILD"->右键点击"生成"开始编译。(注意,该步骤比较耗时,在4090上大约消耗30分钟。)
成功后,输出如下提示:

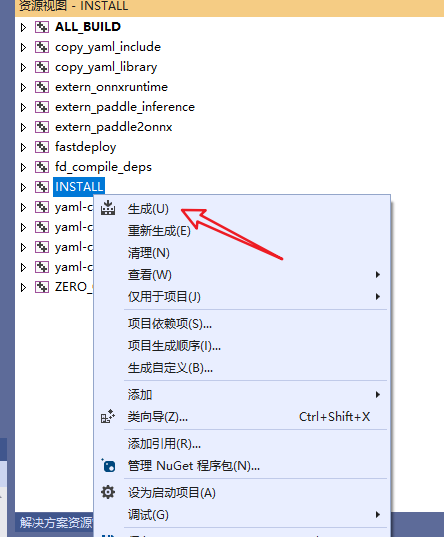
编译完成后,在Visual Studio 2019点击"INSTALL"->右键点击"生成",将编译好的SDK安装到先前指定的目录。
如下提示,说明SDK安装成功!
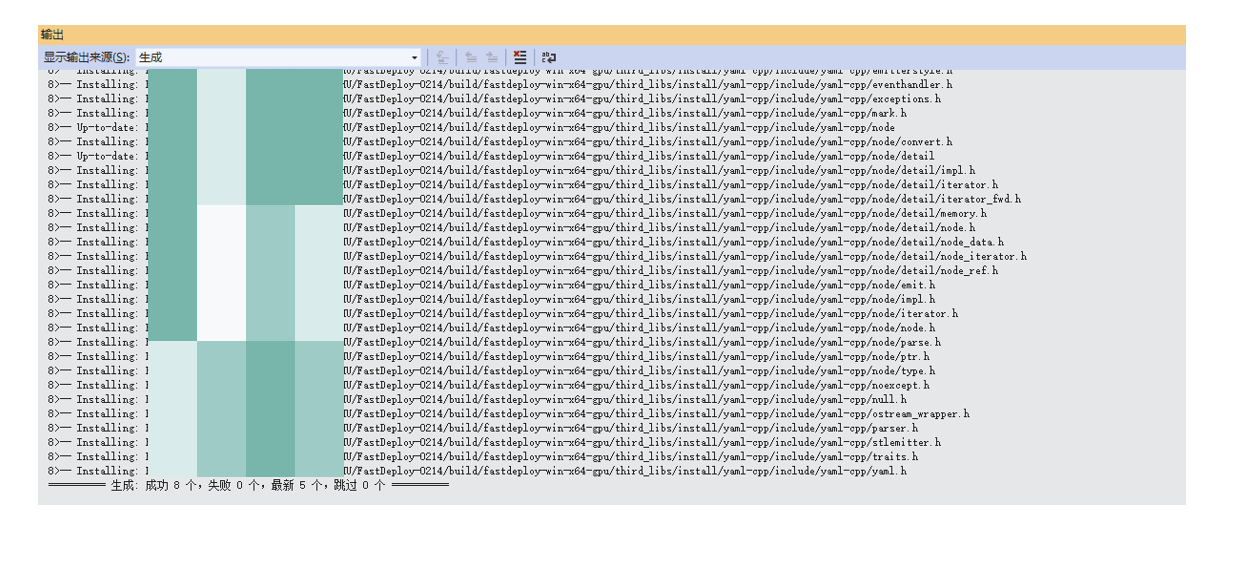
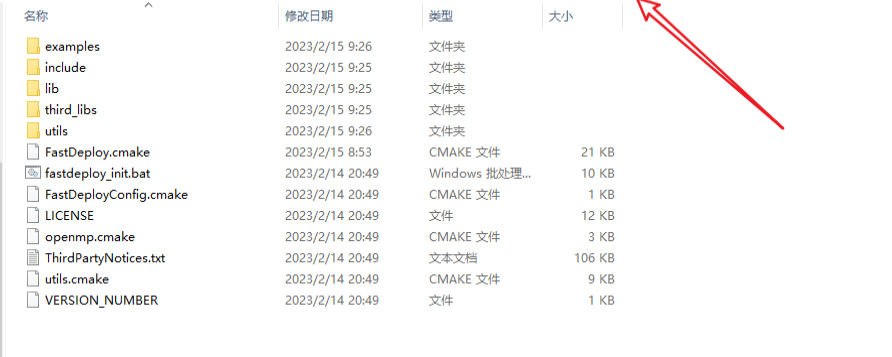
同时,在指定的CMAKE_ INSTALL PREFIX目录中,也会出现如下文件。
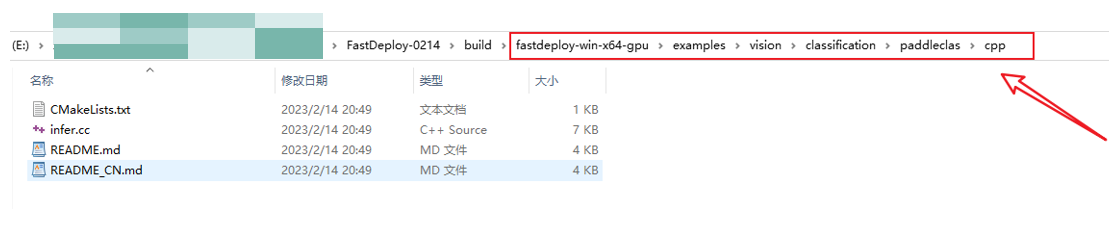
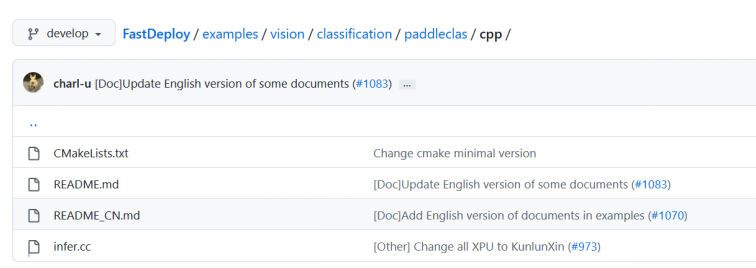
进入到examples/vision/classification/paddlecls/cpp目录中,就会看到paddlecls的预测源码http://infer.cc文件。
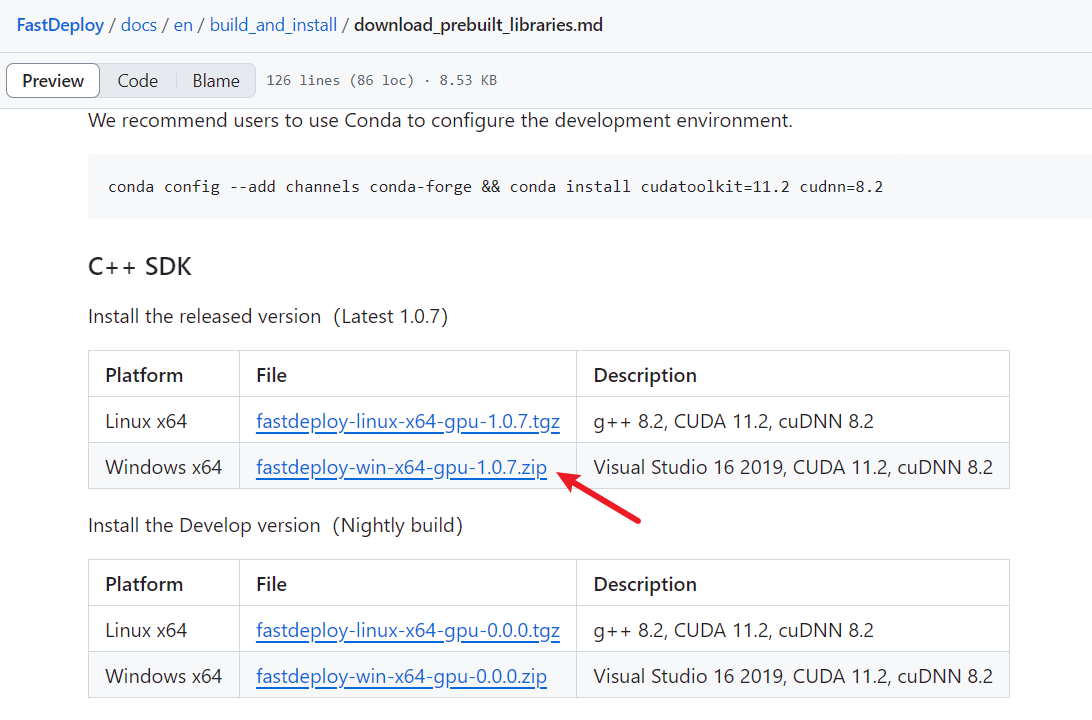
方式2:下载预编译库
经过测试了1.0.7版本,不太行!
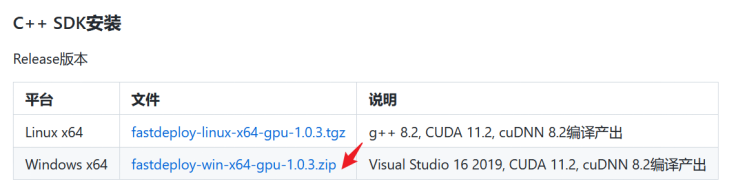
Release版 下载链接:++https://bj.bcebos.com/fastdeploy/release/cpp/fastdeploy-win-x64-gpu-1.0.3.zip++
准备模型、文件、代码和数据
模型文件类型
①.pdmodel、.pdiparams;
注意:原始模型文件(.pdparams、.pdopt、.pdstates)经过paddle inference模型转换工具,即可得到。
②inference_cls.yaml
FastDeploy会从yaml文件中获取模型在推理时需要的预处理信息。
samples代码
http://infer.cc、CMakeLists.txt,SDK编译成功后,就会出现在example文件夹中。
待预测图像
暂不展示。
使用 FastDeploy C++ SDK
将cpp源码编译为exe
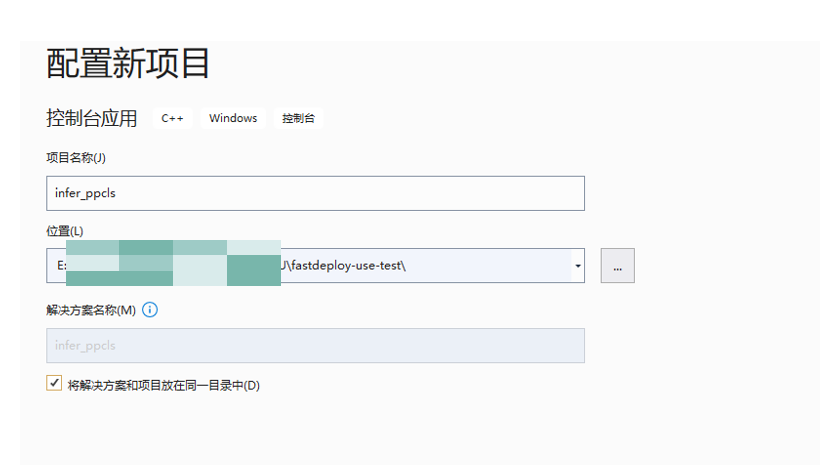
创建空项目
打开Visual Studio 2019,点击"创建新项目"->点击"控制台程序",从而创建新的sln工程项目。参考文档:FastDeploy/use_sdk_on_windows.md

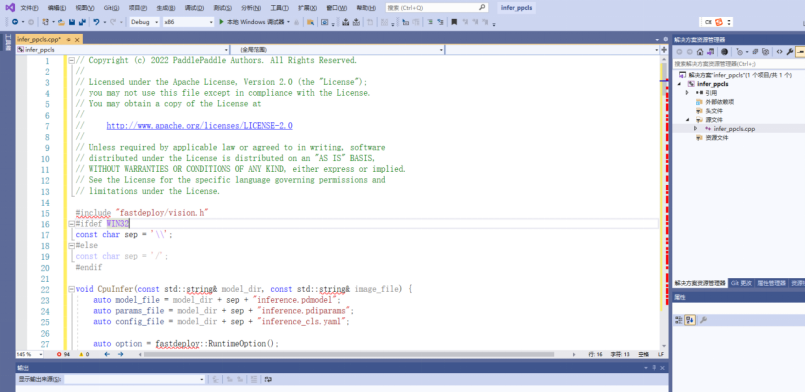
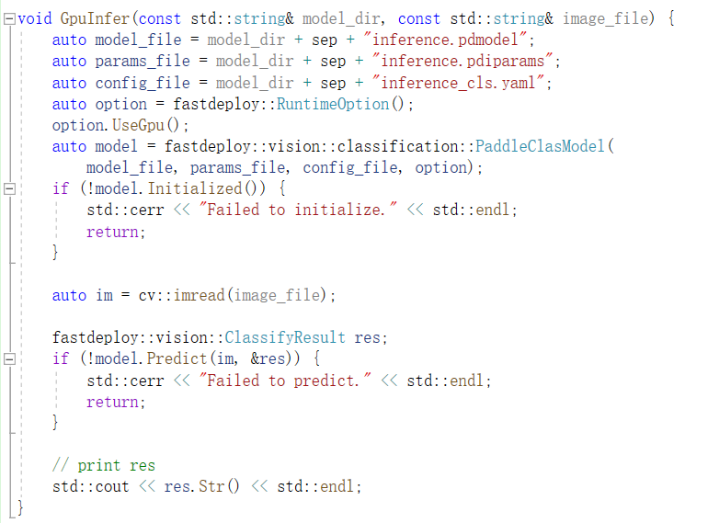
编写cpp代码
将http://infer.cc文件的推理代码粘贴过来,也可以进行二次开发。
然后,点击创建,便创建了一个空的sln工程。我们直接从examples里面拷贝http://infer.cc的代码这里(直接替换默认的初始代码即可)。代码路径为:E:\xxxxxx\FastDeploy\build\fastdeploy-win-x64-gpu\examples\vision\classification\paddleclas\cpp
cpp代码编译exe
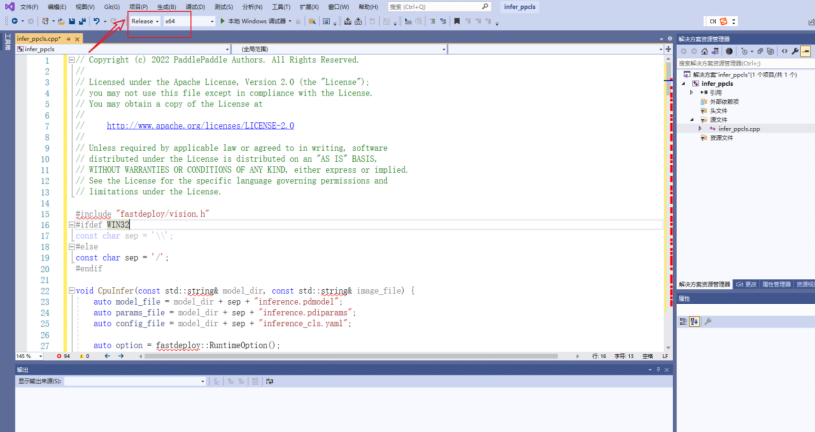
将工程配置设置成"Release x64"配置
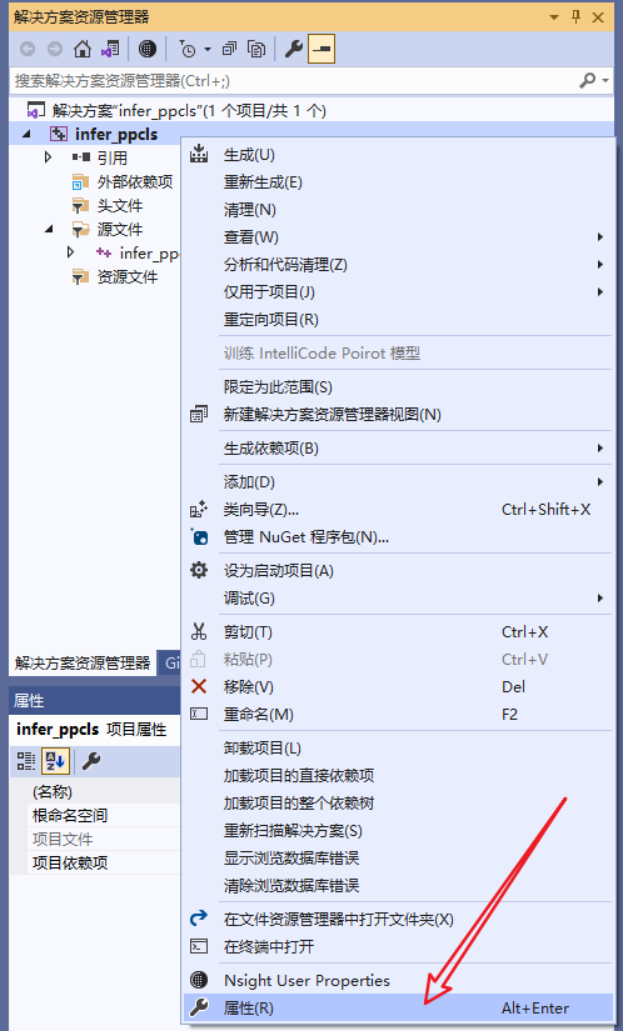
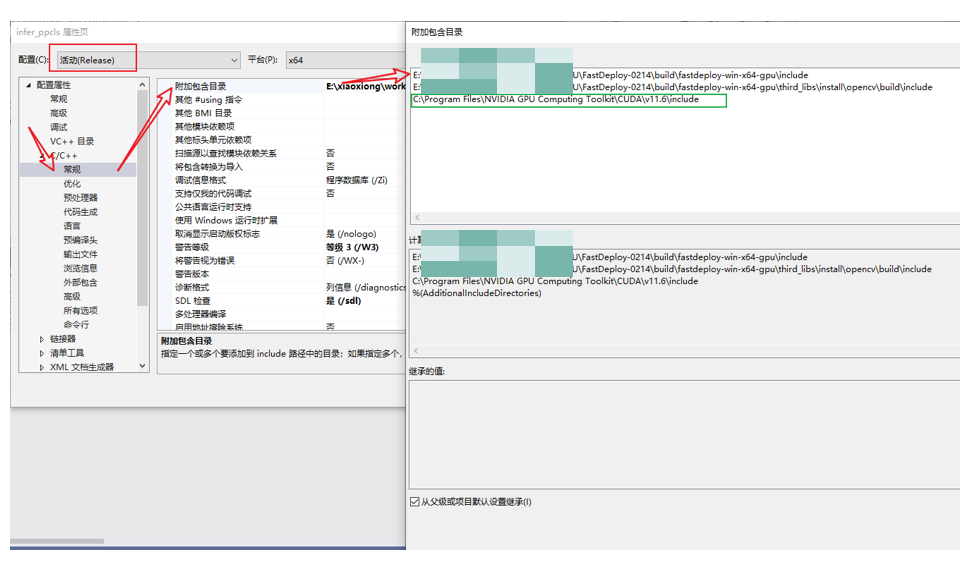
配置头文件include路径:鼠标选择项目,单击右键,即可弹出下来菜单,在其中单击"属性"。
在弹出来的属性页中选择:C/C++ ---> 常规 ---> 附加包含目录,然后在添加 fastdeploy 和 opencv 的头文件路径。如:
fastdeploy路径为:E:\xxxxxx\FastDeploy\build\fastdeploy-win-x64-gpu\include
opencv路径为:E:\xxxxxx\FastDeploy\build\fastdeploy-win-x64-gpu\third_libs\install\opencv\build\include
注意:由于测试时,出现" "cuda_runtime_api.h": No such file or directory"失败的提示,因此,又将cuda的头文件路径添加进去了!
cuda路径为:C:\Program Files\NVIDIA GPU Computing Toolkit\CUDA\v11.6\include
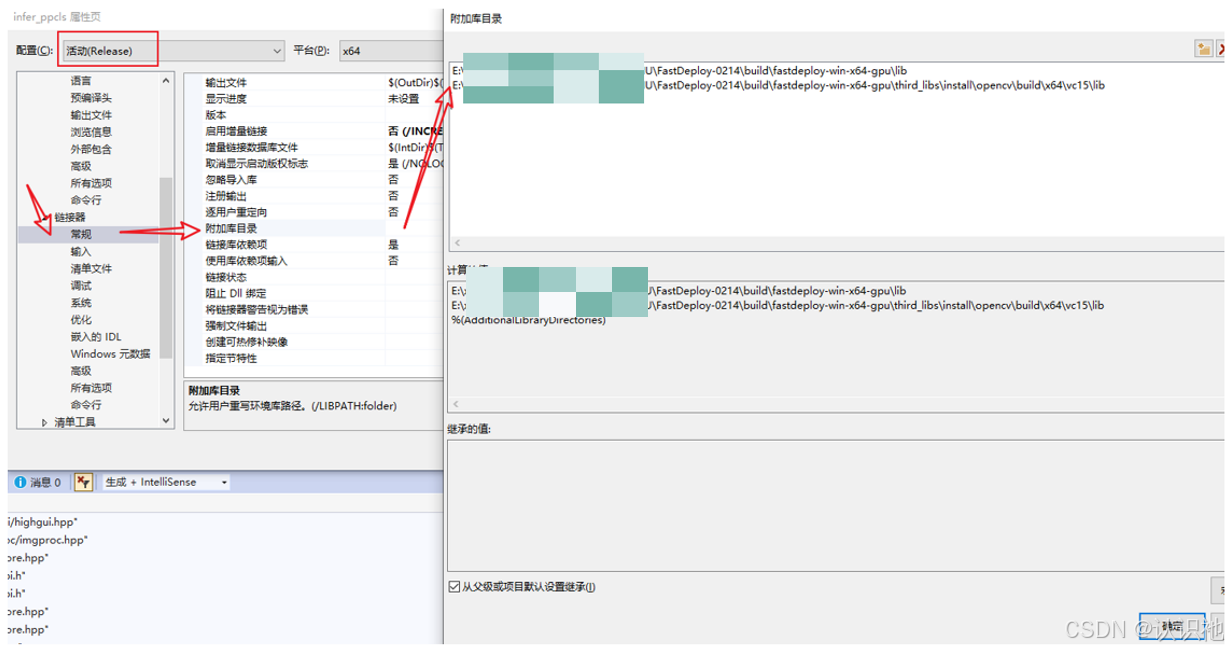
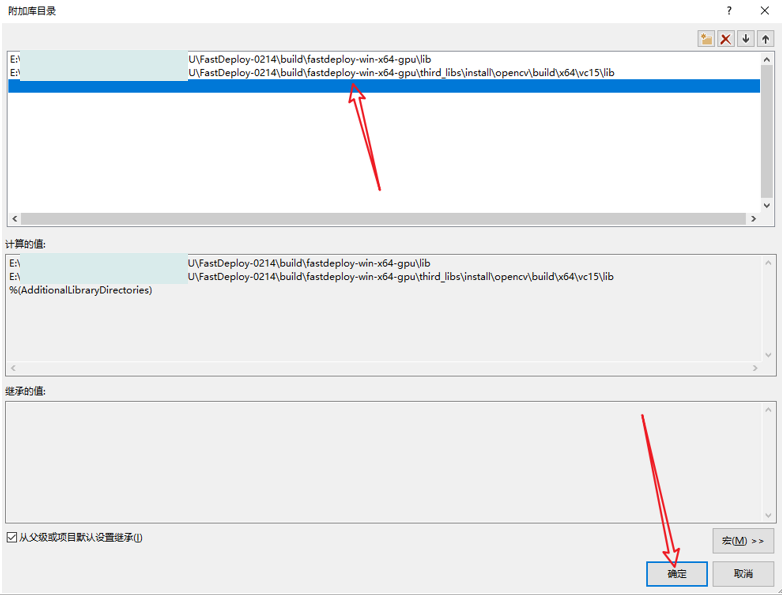
然后,配置lib路径和添加库文件。属性页中,选择:链接器--->常规---> 附加库目录,然后在添加 fastdeploy 和 opencv 的lib路径。如:
fastdeploy路径为:E:\xxxxxx\FastDeploy\build\fastdeploy-win-x64-gpu\lib
opencv路径为:E:\xxxxxx\FastDeploy\build\fastdeploy-win-x64-gpu\third_libs\install\opencv\build\x64\vc15\lib
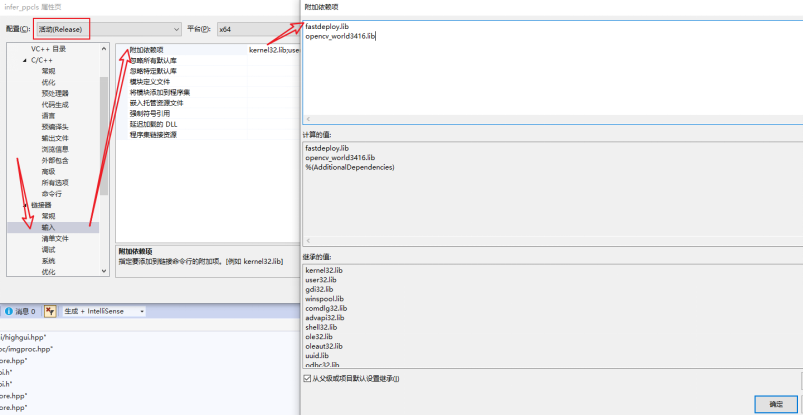
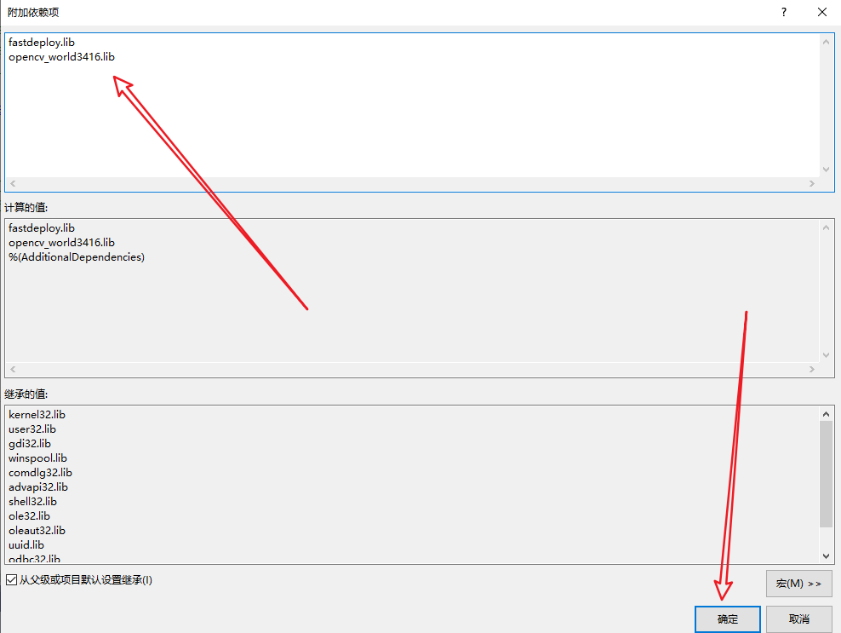
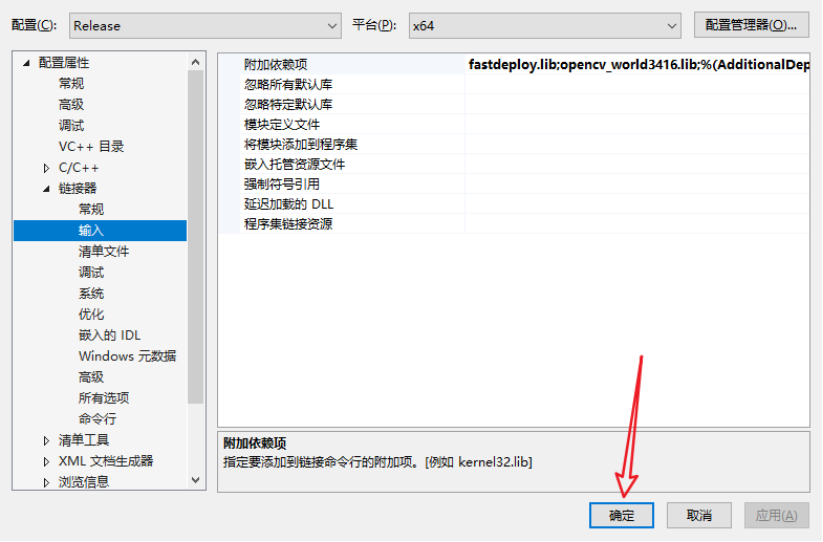
添加库文件。在链接器--->输入---> 附加依赖项中,只需要填写:fastdeploy.lib 和 opencv_world3416.lib。
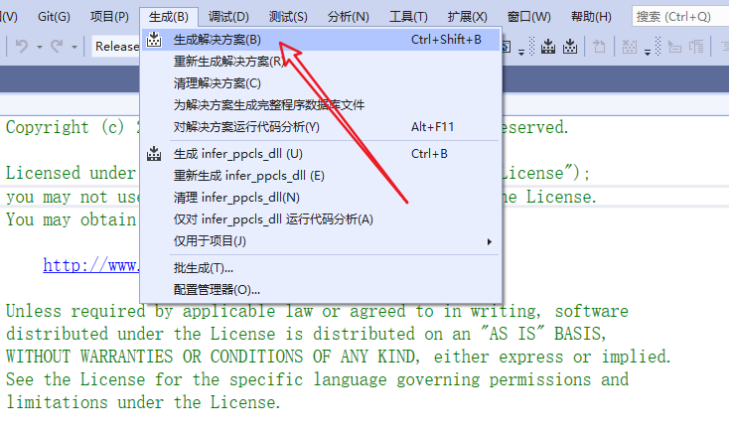
编译工程并运行获取结果。点击菜单栏"生成"->"生成解决方案"。
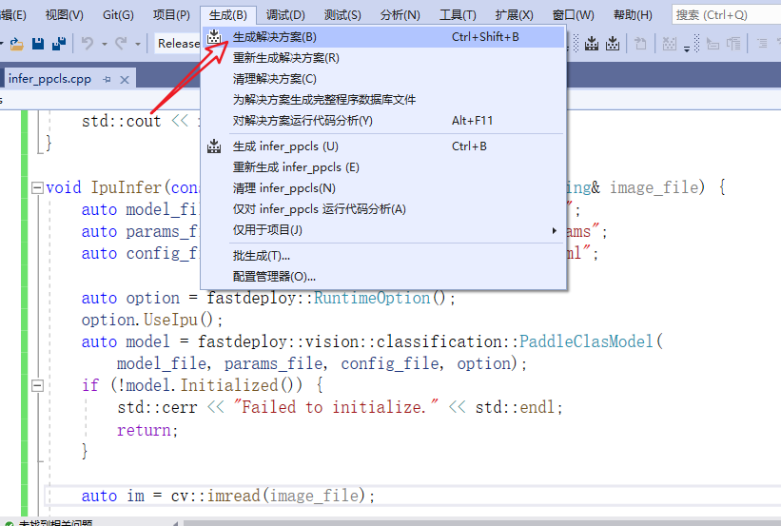
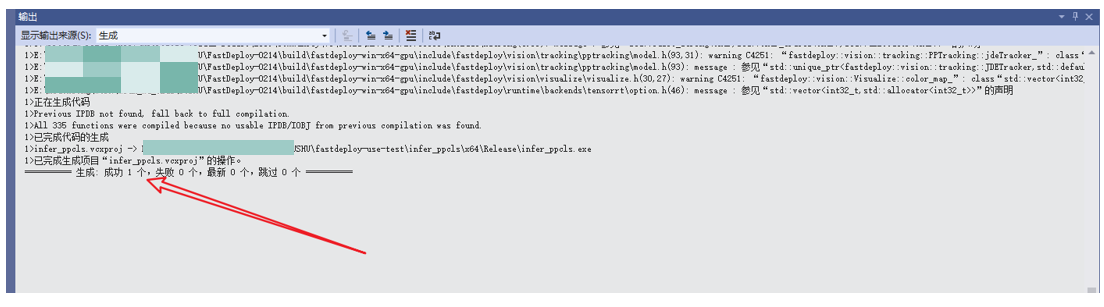
编译成功后,出现结果如下(包含exe的保存路径):
保存路径:E:\xxxxxxx\fastdeploy-use-test\infer_ppcls\x64\Release\infer_ppcls.exe
运行可执行程序exe
执行可执行文件,获得推理结果。
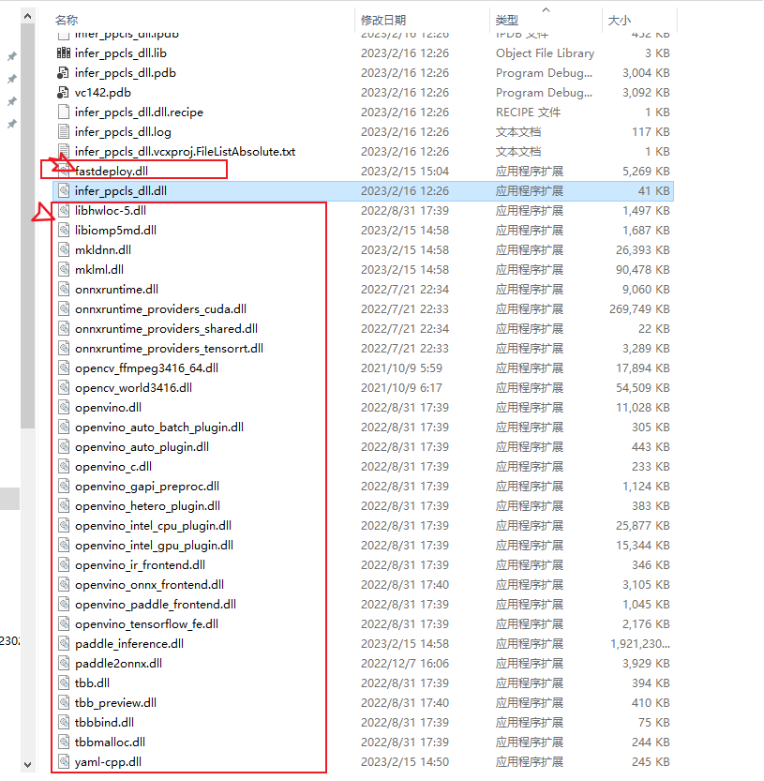
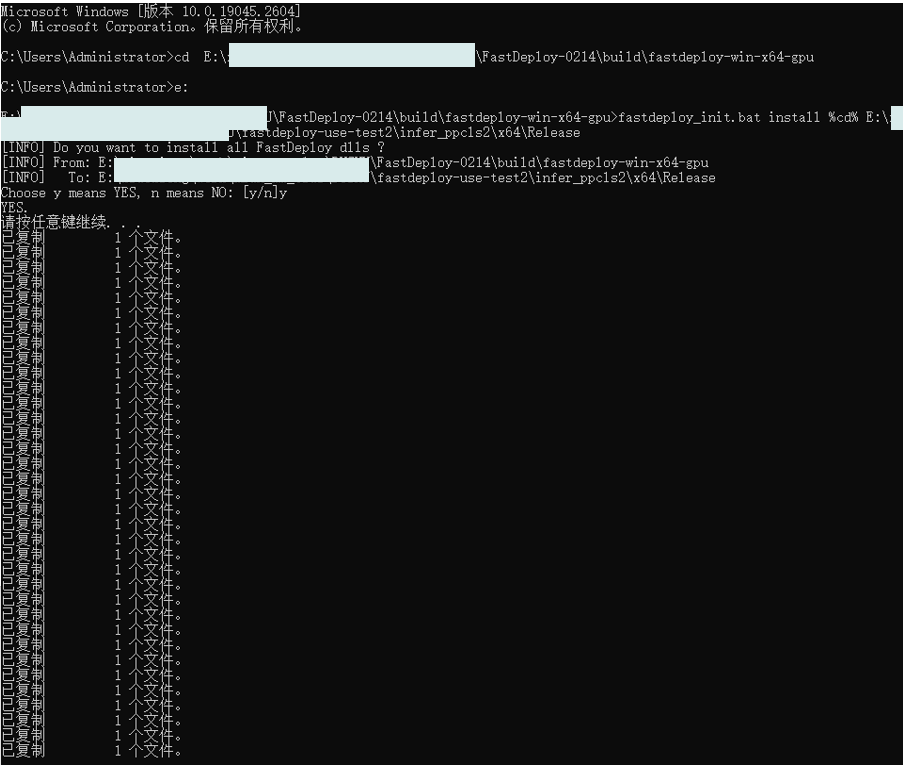
首先,需要拷贝所有的dll到exe所在的目录下。特别说明,exe运行时所需要的依赖库配置方法。FastDeploy提供了工具,可以帮助我们快速将所有依赖库,拷贝至可执行程序所在目录。通过如下命令,将所有依赖的dll文件拷贝至可执行程序所在的目录。
cd  E:\xxxxxx\FastDeploy\build\fastdeploy-win-x64-gpu

fastdploy_init.bat install %cd% E:\xxxxx\fastdeploy-use-test2\infer_ppcls2\x64\Release
将dll依赖的其他dll全部复制到当前目录!
注意一下:
- 在此步骤中,使用到的fastdeploy_init.bat提供更多其它功能,帮忙开发者使用,包括
✓ 查看SDK中所有dll, lib和include的路径
✓ 安装SDK中所有dll至指定目录
✓ 配置SDK环境变量 - fastdeploy_init.bat工具,具体可参考如下文档:FastDeploy/usage_of_fastdeploy_init_bat.md
- 同时,也需要把ppcls的模型文件(不要忘记inference_cls.ymal)和测试图片,拷贝到exe所在的目录。

cmd命令行中运行exe程序,共输入4个参数:
第1个参数:infer_ppcls.exe
第2个参数:模型文件名
第3个参数:图片文件名
第4个参数:推理程序代号
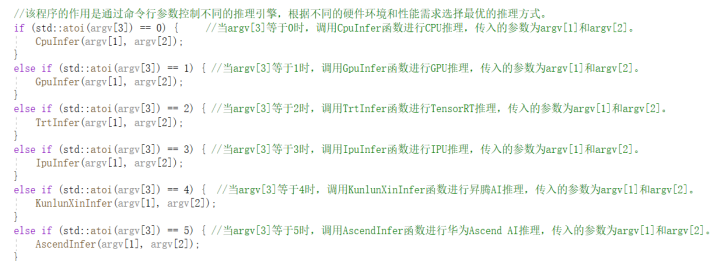
例如,当传入第4个参数为1时,表示进行gpu推理。
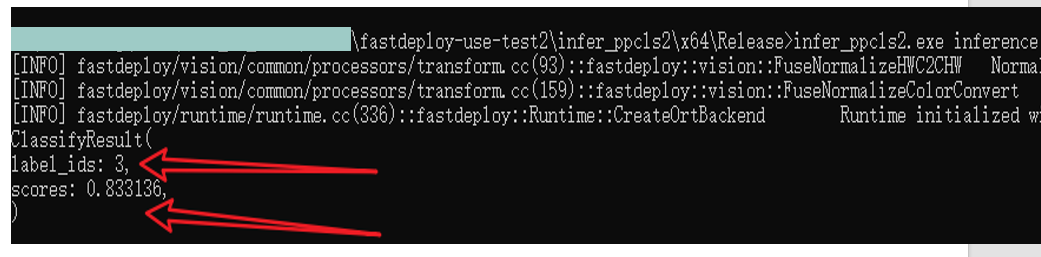
命令行代码为:1.png 1
例如,预测结果如下:标签和得分。
原始图像为:
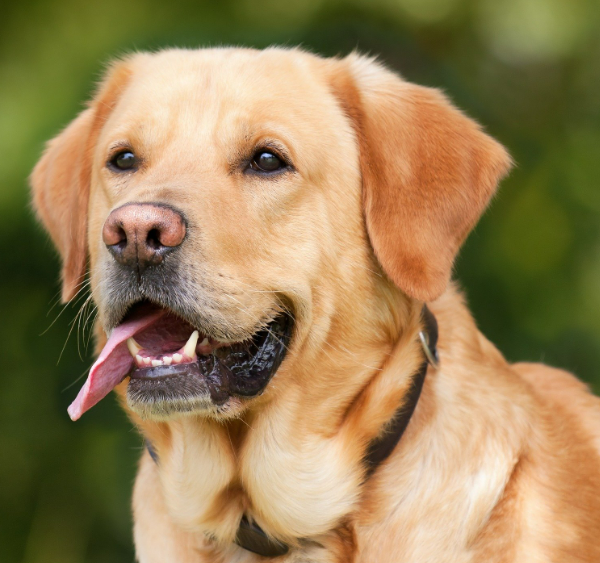
类别为3,3表示小狗,预测正确!
由于实际上在预测时,需要在代码中传入图像路径,模型文件路径,因此,修改了源码。
将cpp源码编译为dll
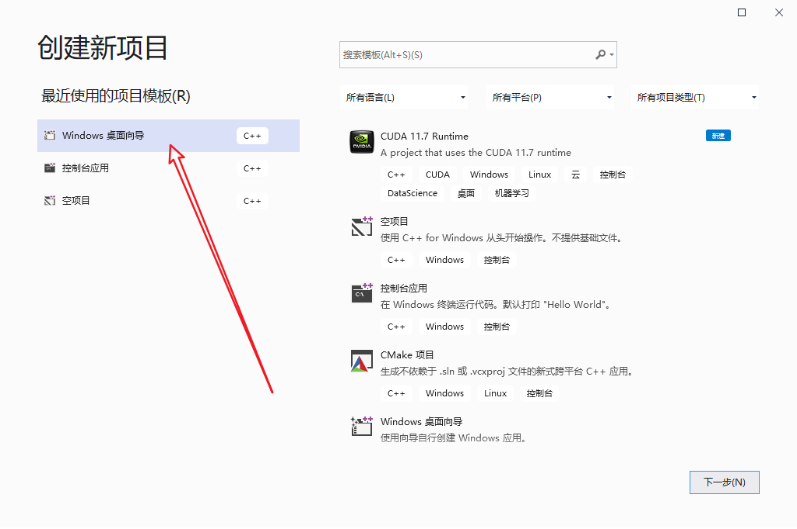
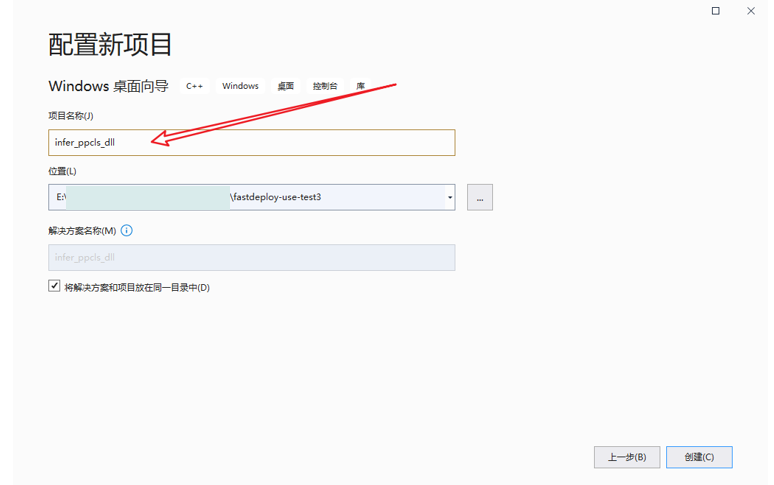
创建空项目
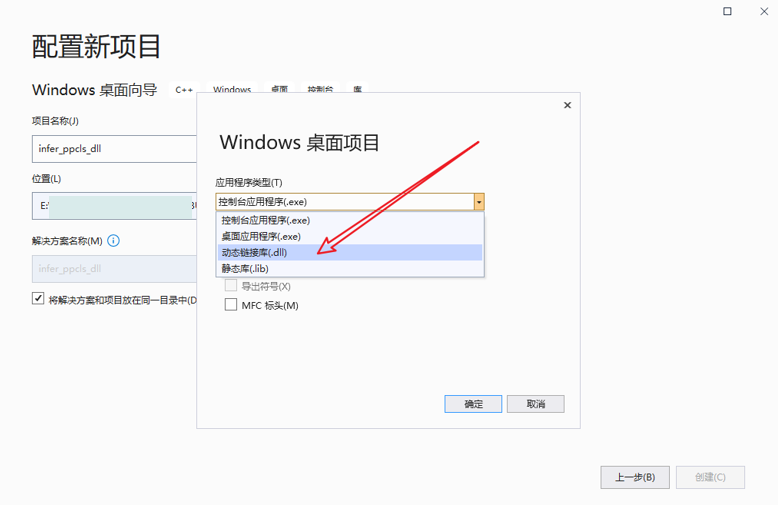
选择"Windows桌面向导"模板并选择"DLL"作为应用程序类型。
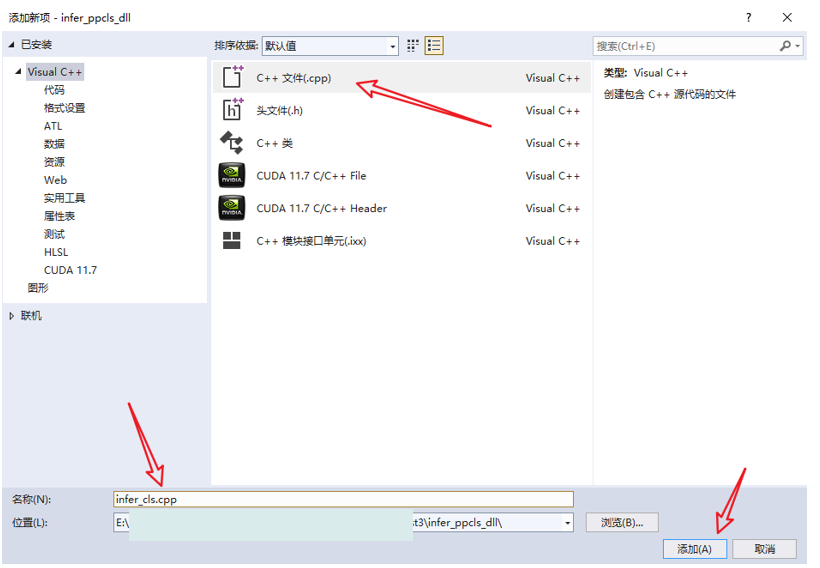
在"解决方案资源管理器"中,右键单击项目,然后选择"添加"->"新建项"。
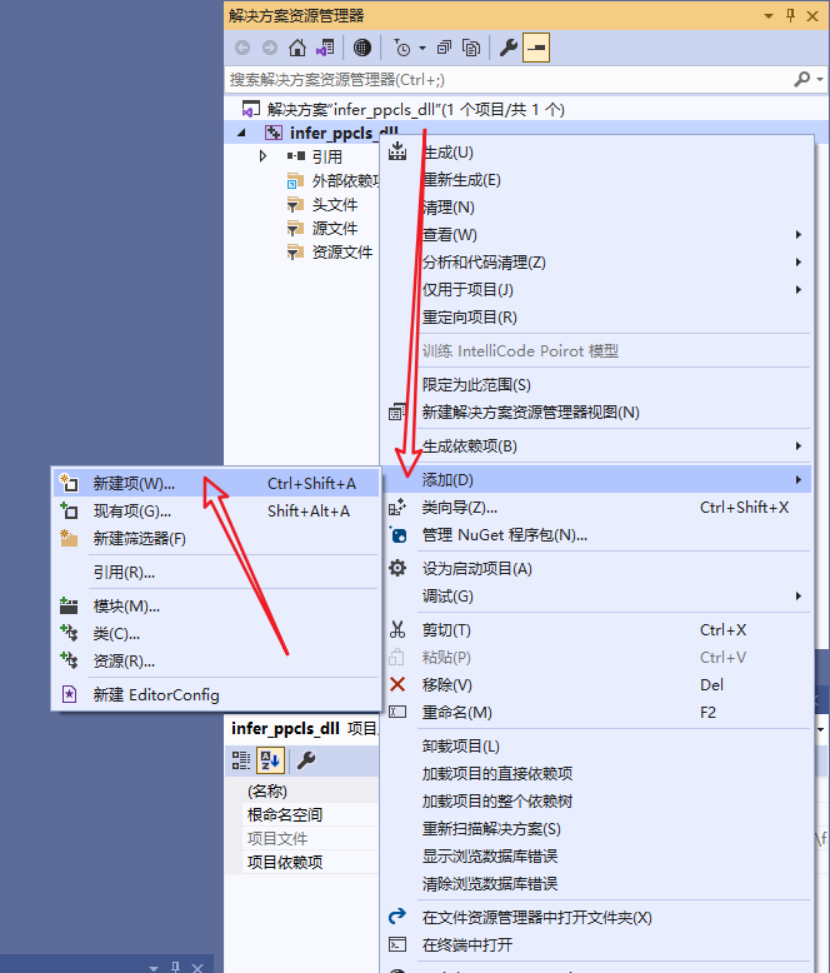
在"添加新项"对话框中,选择"C++文件(.cpp)"类型,命名文件并单击"添加"。
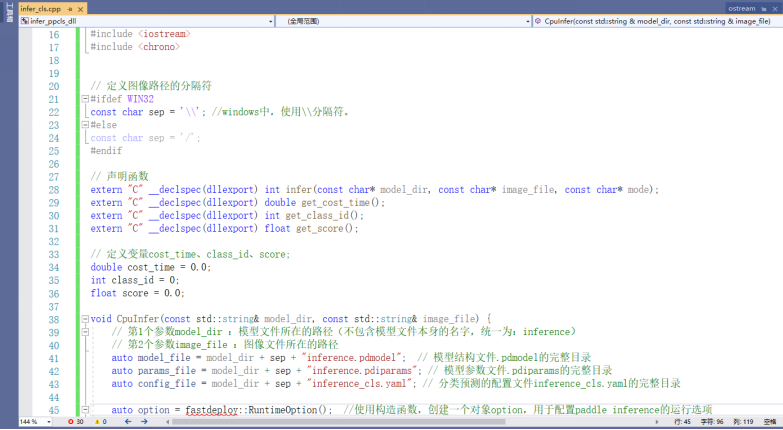
○ 编写cpp代码编写
将源代码复制到cpp文件中,修改程序,然后保存文件。
○ cpp代码编译dll
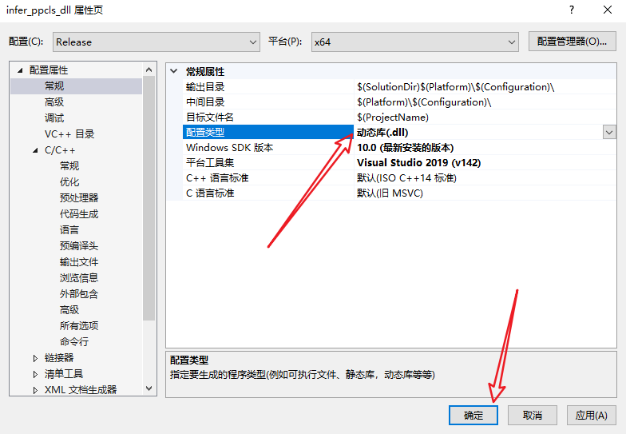
将debug模式调整为release模式(x64),在"解决方案资源管理器"中,右键单击项目,并选择"属性"选项。在"属性页"中,选择"配置属性"->"常规",确保"配置类型"设置为"动态库(.dll)"。
在弹出来的属性页中选择:C/C++ ---> 常规 ---> 附加包含目录,然后在添加 fastdeploy 和 opencv 的头文件路径。如:
fastdeploy路径为:E:\xxxxxx\FastDeploy\build\fastdeploy-win-x64-gpu\include
opencv路径为:E:\xxxxxx\FastDeploy\build\fastdeploy-win-x64-gpu\third_libs\install\opencv\build\include
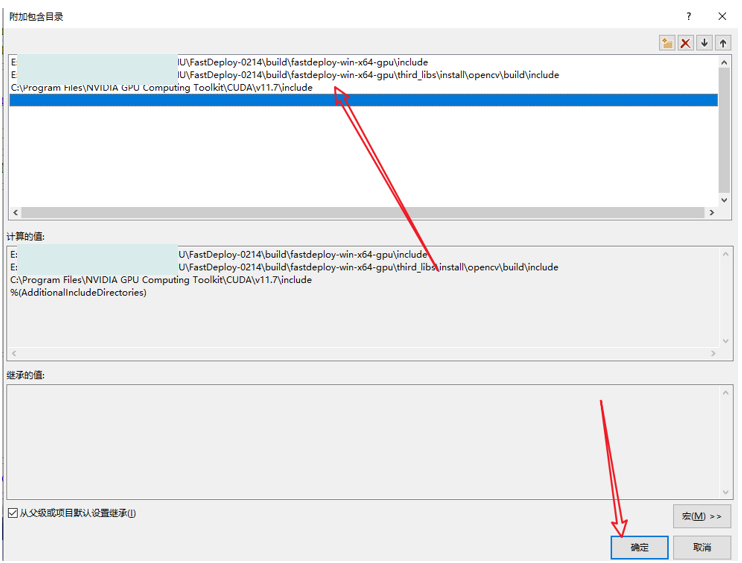
注意:由于测试时,出现" "cuda_runtime_api.h": No such file or directory"失败的提示,因此,又将cuda的头文件路径添加进去了!
cuda路径为:C:\Program Files\NVIDIA GPU Computing Toolkit\CUDA\v11.7\include
在"属性页"中,选择"配置属性"->"链接器"->"常规",然后将"附加库目录"设置为库文件所在的目录。
fastdeploy路径为:E:\xxxxxxx\FastDeploy\build\fastdeploy-win-x64-gpu\lib
opencv路径为:E:\xxxxxxx\FastDeploy\build\fastdeploy-win-x64-gpu\third_libs\install\opencv\build\x64\vc15\lib
在"属性页"中,选择"配置属性"->"链接器"->"输入",然后在"附加依赖项"字段中添加需要链接的库文件。
只需要填写:fastdeploy.lib 和 opencv_world3416.lib。
单击"应用"并单击"确定"。
单击"生成"->"生成解决方案"以构建DLL文件。
出现如下提示,说明构建成功。
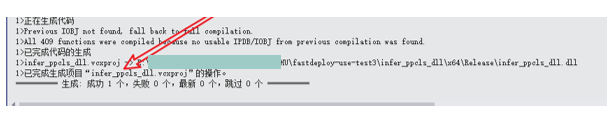
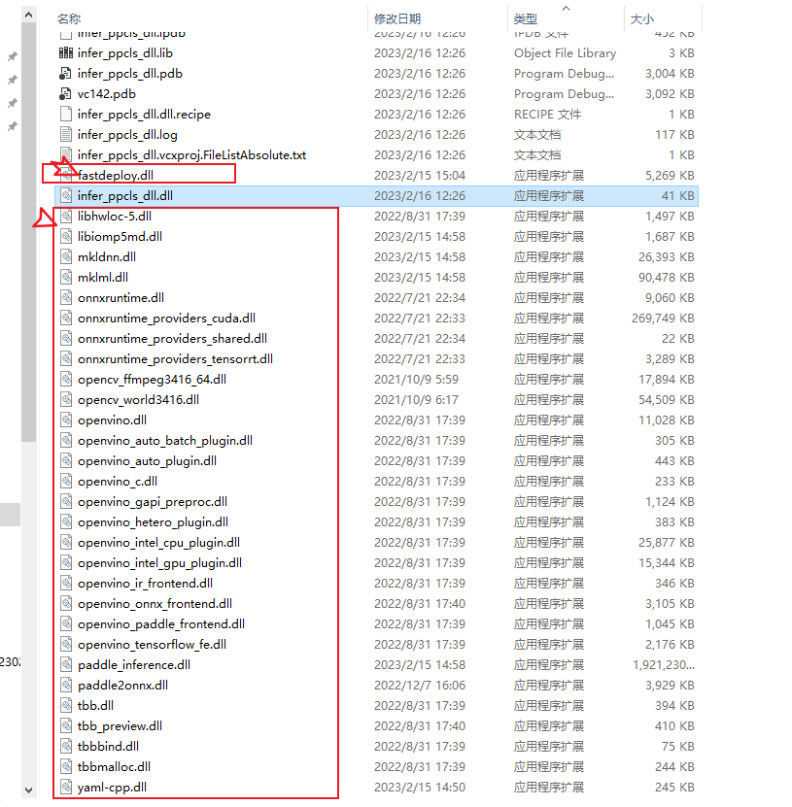
DLL文件将位于项目输出目录下的"Release"文件夹中。
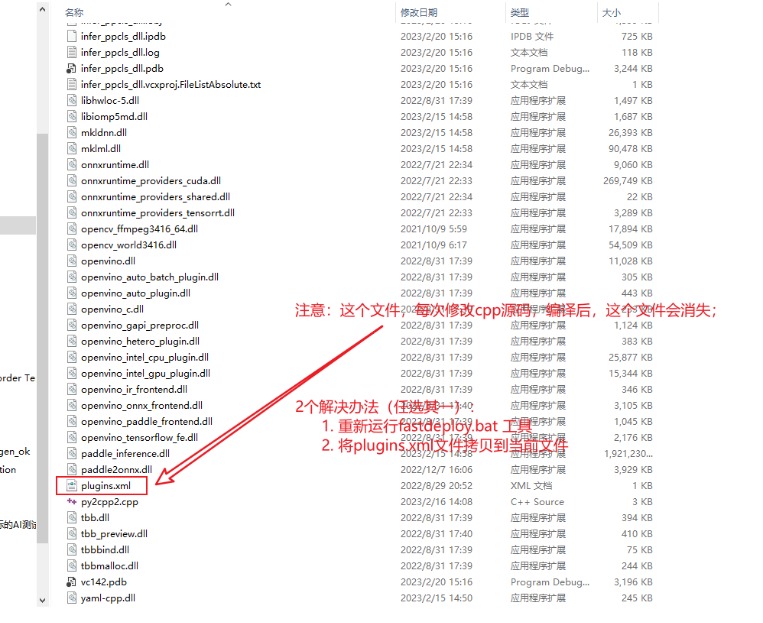
FastDeploy提供了工具,可以帮助我们快速将所有依赖库,拷贝至可执行程序所在目录。通过如下命令,将所有依赖的dll文件拷贝至可执行程序所在的目录。
cd E:\xxxxxxxx\FastDeploy\build\fastdeploy-win-x64-gpu
fastdeploy_init.bat install %cd% E:\xxxxxxxx\fastdeploy-use-test2\infer_ppcls2\x64\Release
将dll依赖的其他dll全部复制到当前目录!
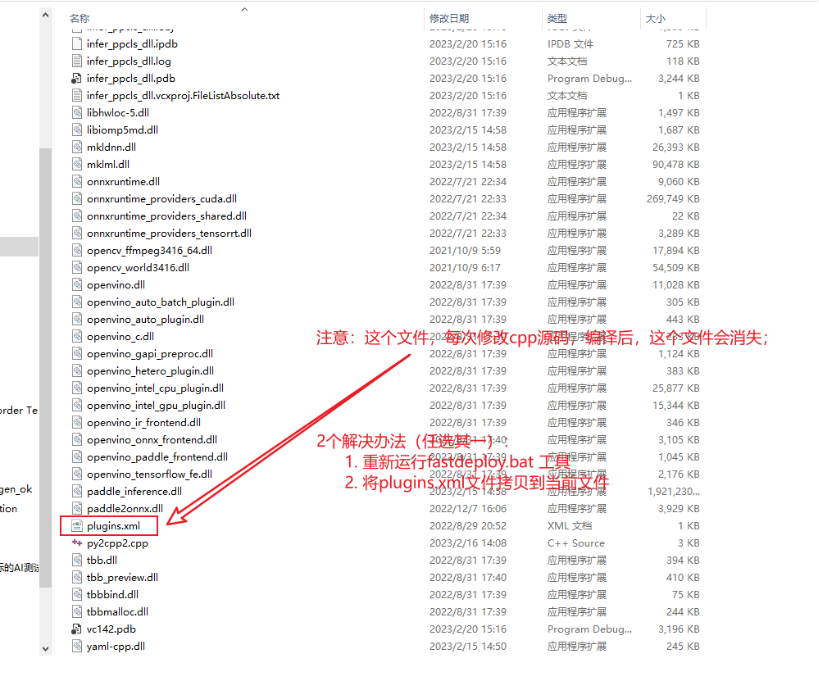
注意一下:
调用动态库dll文件
到这一步就简单了,我们可以编写代码调用dll。
两个关键接口
● PaddleClas C++接口
○ PaddleClas类
fastdeploy::vision::classification::PaddleClasModel(
        const string& model_file,
        const string& params_file,
        const string& config_file,
        const RuntimeOption& runtime_option = RuntimeOption(),
        const ModelFormat& model_format = ModelFormat::PADDLE)
PaddleClas模型加载和初始化,其中model_file, params_file为训练模型导出的Paddle inference文件。
参数
➢ model_file (str): 模型文件路径
➢ params_file (str): 参数文件路径
➢ config_file (str): 推理部署配置文件
➢ runtime_option (RuntimeOption): 后端推理配置,默认为None,即采用默认配置
➢ model_format (ModelFormat): 模型格式,默认为Paddle格式
○ Predict函数
PaddleClasModel::Predict(cv::Mat* im, ClassifyResult* result, int topk = 1)
模型预测接口,输入图像直接输出检测结果。
参数
● im : 输入图像,注意需为HWC,BGR格式
● result : 分类结果,包括label_id,以及相应的置信度, ClassifyResult说明参考FastDeploy/docs/api/vision_results
● topk(int):返回预测概率最高的topk个分类结果,默认为1。
结束啦!有任何不明白,请欢迎咨询!