前言
无意间发现一个华盛顿大学分布式系统的课程实验,感觉课程组设计得非常用心。不同于一般实验仅仅给出若干测试样例并判断程序的输出是否正确,实验中的验证环节通过DFS搜索来遍历分布式系统可能的状态,以此判断学生对分布式协议的实现是否正确。 实验一共有五个,第一个实验lab0是课程组给出的做完了四个实验,决定来写一个总结经验的帖子。
整个项目的文件树如下:
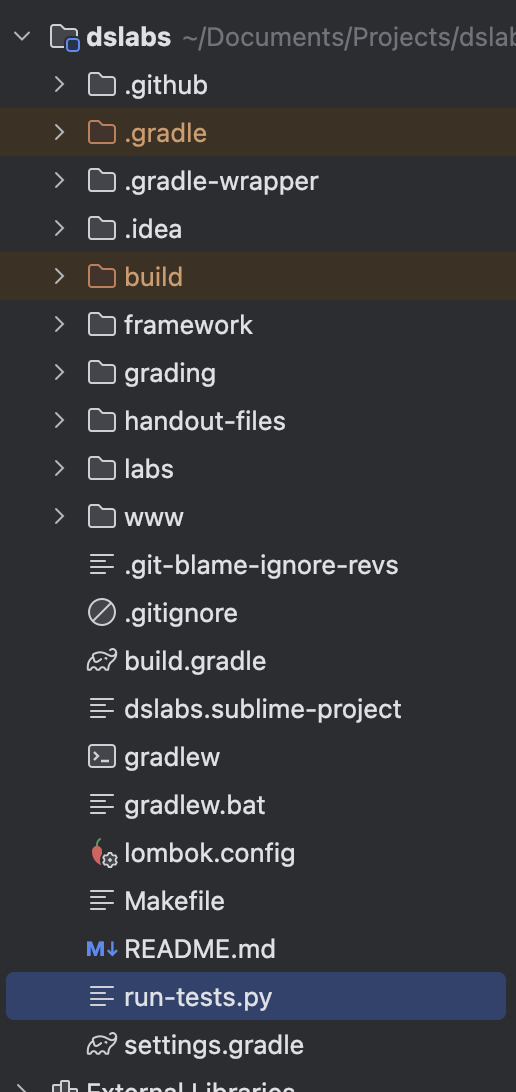
需要关注的由framework和labs两个文件夹。其中framework包含了整个测试框架代码,而学生需要完成的是labs文件夹下面的lab,其中lab0作为例子给出,lab1-4难度逐渐加大。
从Ping-Pong开始
很多通信实验都会以Ping-Pong来作为演示或者验证通信是否成功的一个例子,本次实验也不例外。Ping-Pong就是两个节点间进行通信,通信不携带信息,只是简单地进行发送和接收。以节点A、B为例,节点A发送Ping到节点B,节点B收到后,就回复Pong到A,A再继续发送Ping,如此重复下去就是Ping-Pong过程。
Lab0的主要目的是让人熟悉一下实验的框架代码和测试方法,类似于很多课程都有环境配置、Hello World程序一样。
Lab0中关于client和server的定义如下:
java
class PingClient extends Node implements Client {
	//...
}

public class PingServer extends Node {
	//...
}
PingClient 和 Server 都继承于父类 Node 。 Node 是定义于课程组提供框架中的一个类,具有类成员有地址(Address),几个主要被使用的类方法有:
java
  /**
   * The address of this Node.
   *
   * @return the address
   */
  public final Address address() {
    return address;
  }

  /**
   * Send a message to a Node with the given {@link Address}. The message will be cloned or
   * serialized immediately as it is sent; there is no need to deep copy data structures when
   * creating messages.
   *
   * @param message the message to send
   * @param to the destination address
   */
  protected void send(Message message, Address to) {
    send(message, address, to);
  }

  /**
   * Sends a message to all Nodes in the array.
   *
   * @param message the message to send
   * @param to the destination addresses
   */
  protected void broadcast(Message message, Address[] to) {
    broadcast(message, address, to);
  }

  /**
   * Sets a {@link Timer} to be tracked by the environment. The Timer will be re-delivered to the
   * setting {@link Node} after timerLengthMillis milliseconds. Timers may be cloned by the testing
   * infrastructure before being re-delivered.
   *
   * @param timer the timer to set
   * @param timerLengthMillis the timer duration
   */
  protected void set(Timer timer, int timerLengthMillis) {
    set(timer, timerLengthMillis, timerLengthMillis, address);
  }
这几个方法包括获取本节点的地址,向某一地址的节点发送消息,向列表中的地址广播消息以及设置定时器等。这反映了节点模型具有的特征:一个根据接收消息队列和定时器队列来进行状态转换的有限状态机。
在分布式领域的奠基之作,Lamport的论文《Time, Clocks, and the Ordering of Events in a Distributed System》中将分布式系统抽象为一系列具有定时器,彼此之间互相发送和接收消息的有限状态机的集合。因此后来的分布式协议中一般都采用类似的节点模型。注意,分布式系统中消息的传输是不可靠的,可能丢失,乱序,节点将定时器消息和接收到的消息排成一个队列作为有限状态机的输入序列。
在lab0的Ping-Pong协议里,我们定义了消息的发送、接收和超时处理逻辑:
java
  /* -----------------------------------------------------------------------------------------------
   *  Client Methods
   * ---------------------------------------------------------------------------------------------*/
  @Override
  public synchronized void sendCommand(Command command) {
    if (!(command instanceof Ping)) {
      throw new IllegalArgumentException();
    }

    Ping p = (Ping) command;

    ping = p;
    pong = null;

    send(new PingRequest(p), serverAddress);
    set(new PingTimer(p), RETRY_MILLIS);
  }

  /* -----------------------------------------------------------------------------------------------
   *  Message Handlers
   * ---------------------------------------------------------------------------------------------*/
  private synchronized void handlePongReply(PongReply m, Address sender) {
    if (Objects.equal(ping.value(), m.pong().value())) {
      pong = m.pong();
      notify();
    }
  }

  /* -----------------------------------------------------------------------------------------------
   *  Timer Handlers
   * ---------------------------------------------------------------------------------------------*/
  private synchronized void onPingTimer(PingTimer t) {
    if (Objects.equal(ping, t.ping()) && pong == null) {
      send(new PingRequest(ping), serverAddress);
      set(t, RETRY_MILLIS);
    }
  }
这里定义的方法都是由测试框架来调用,测试框架会处理节点之间的发送、接收和超时器的注册和到期处理。上面代码的核心就是在发送消息时设置超时器,在发送超时后进行消息的重传。
服务端的逻辑更加简单,对于接收到的消息直接回复即可:
java
/* -----------------------------------------------------------------------------------------------
* Message Handlers
* ---------------------------------------------------------------------------------------------*/
private void handlePingRequest(PingRequest m, Address sender) {
Pong p = app.execute(m.ping());
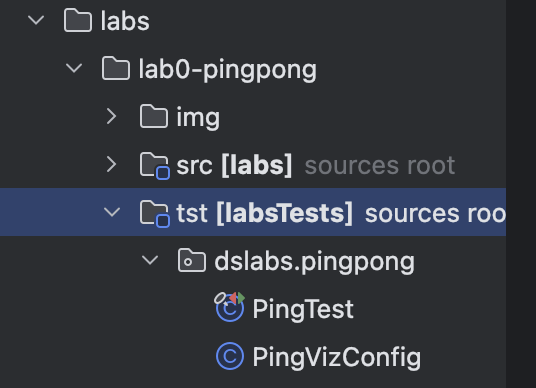
send(new PongReply(p), sender);
}我们可以在lab0的下面的tst文件夹找到测试,里面包含了若干个测试点,在idea中点击单测即可进行测试。