这是一次hexo搭建博客并引入archer主题的使用记录。
环境准备
首先是hexo工具的安装使用,这个工具是依赖于nodejs的一个命令行工具,并且各种使用也依赖于node生态,所以需要先进行node的安装配置,具体参考这里。
而后使用node的包管理工具,或npm,或pnpm,抑或cnpm都行,执行全局安装命令下载hexo,必须是全局安装,否则无法使用hexo:
bash
$ npm install hexo -g
$ hexo -v
hexo-cli: 4.3.2
os: linux 6.11.0-19-generic Ubuntu 24.10 24.10 (Oracular Oriole)
node: 20.16.0
安装完成后,可以输出hexo版本来检查是否安装和配置完成,安装完成以后,就可以使用hexo工具来操作了,对于hexo的应用,都源自于这个命令行工具,下面是hexo工具的一些使用命令:
bash
# 创建一个hexo博客文件夹,名为test
$ hexo init test
# 在博客文件夹中执行,
# 创建一篇名为test的markdown文章,可在source/_posts下找到
$ hexo new test
# 将现有_posts中的md文章进行转化,生成对应html格式的文章在public文件夹
$ hexo generate
# 删除public文件夹
$ hexo clean
# 利用node来启动服务器,预览博客效果,这需要在hexo generate之后进行
$ hexo server
# 部署本地博客文章都对应服务器
$ hexo deployhexo命令有缩写使用,上面的都是完整命令,hexo有自己的官网,很多使用,可以在官方文档去进行需要的检索,不过国内访问可能比较麻烦,记得科学一下。
哈吉咩
首先就是初始化,创建一个blogs项目文件夹,进行我们需要的配置自定义。
bash
$ hexo init blogs
$ cd blogs && ls
_config.landscape.yml  _config.yml  node_modules  package.json  scaffolds  source  themes  yarn.lock
$ ls source/_posts/
hello-world.md
$ hexo g
INFO  Validating config
INFO  Start processing
INFO  Files loaded in 267 ms
INFO  Generated: archives/index.html
INFO  Generated: archives/2025/index.html
INFO  Generated: archives/2025/04/index.html
INFO  Generated: index.html
INFO  Generated: css/style.css
INFO  Generated: fancybox/jquery.fancybox.min.css
INFO  Generated: js/jquery-3.6.4.min.js
INFO  Generated: fancybox/jquery.fancybox.min.js
INFO  Generated: js/script.js
INFO  Generated: 2025/04/06/hello-world/index.html
INFO  Generated: css/images/banner.jpg
INFO  11 files generated in 348 ms
$ ls public
2025  archives  css  fancybox  index.html  js
如上,简单介绍项目结构和重要的markdown文章所在source文件夹以及博客展示以及部署需要的public文件夹,创建一下文章进行一下演示:
1. 新增一篇post:
在blogs下执行:
bash
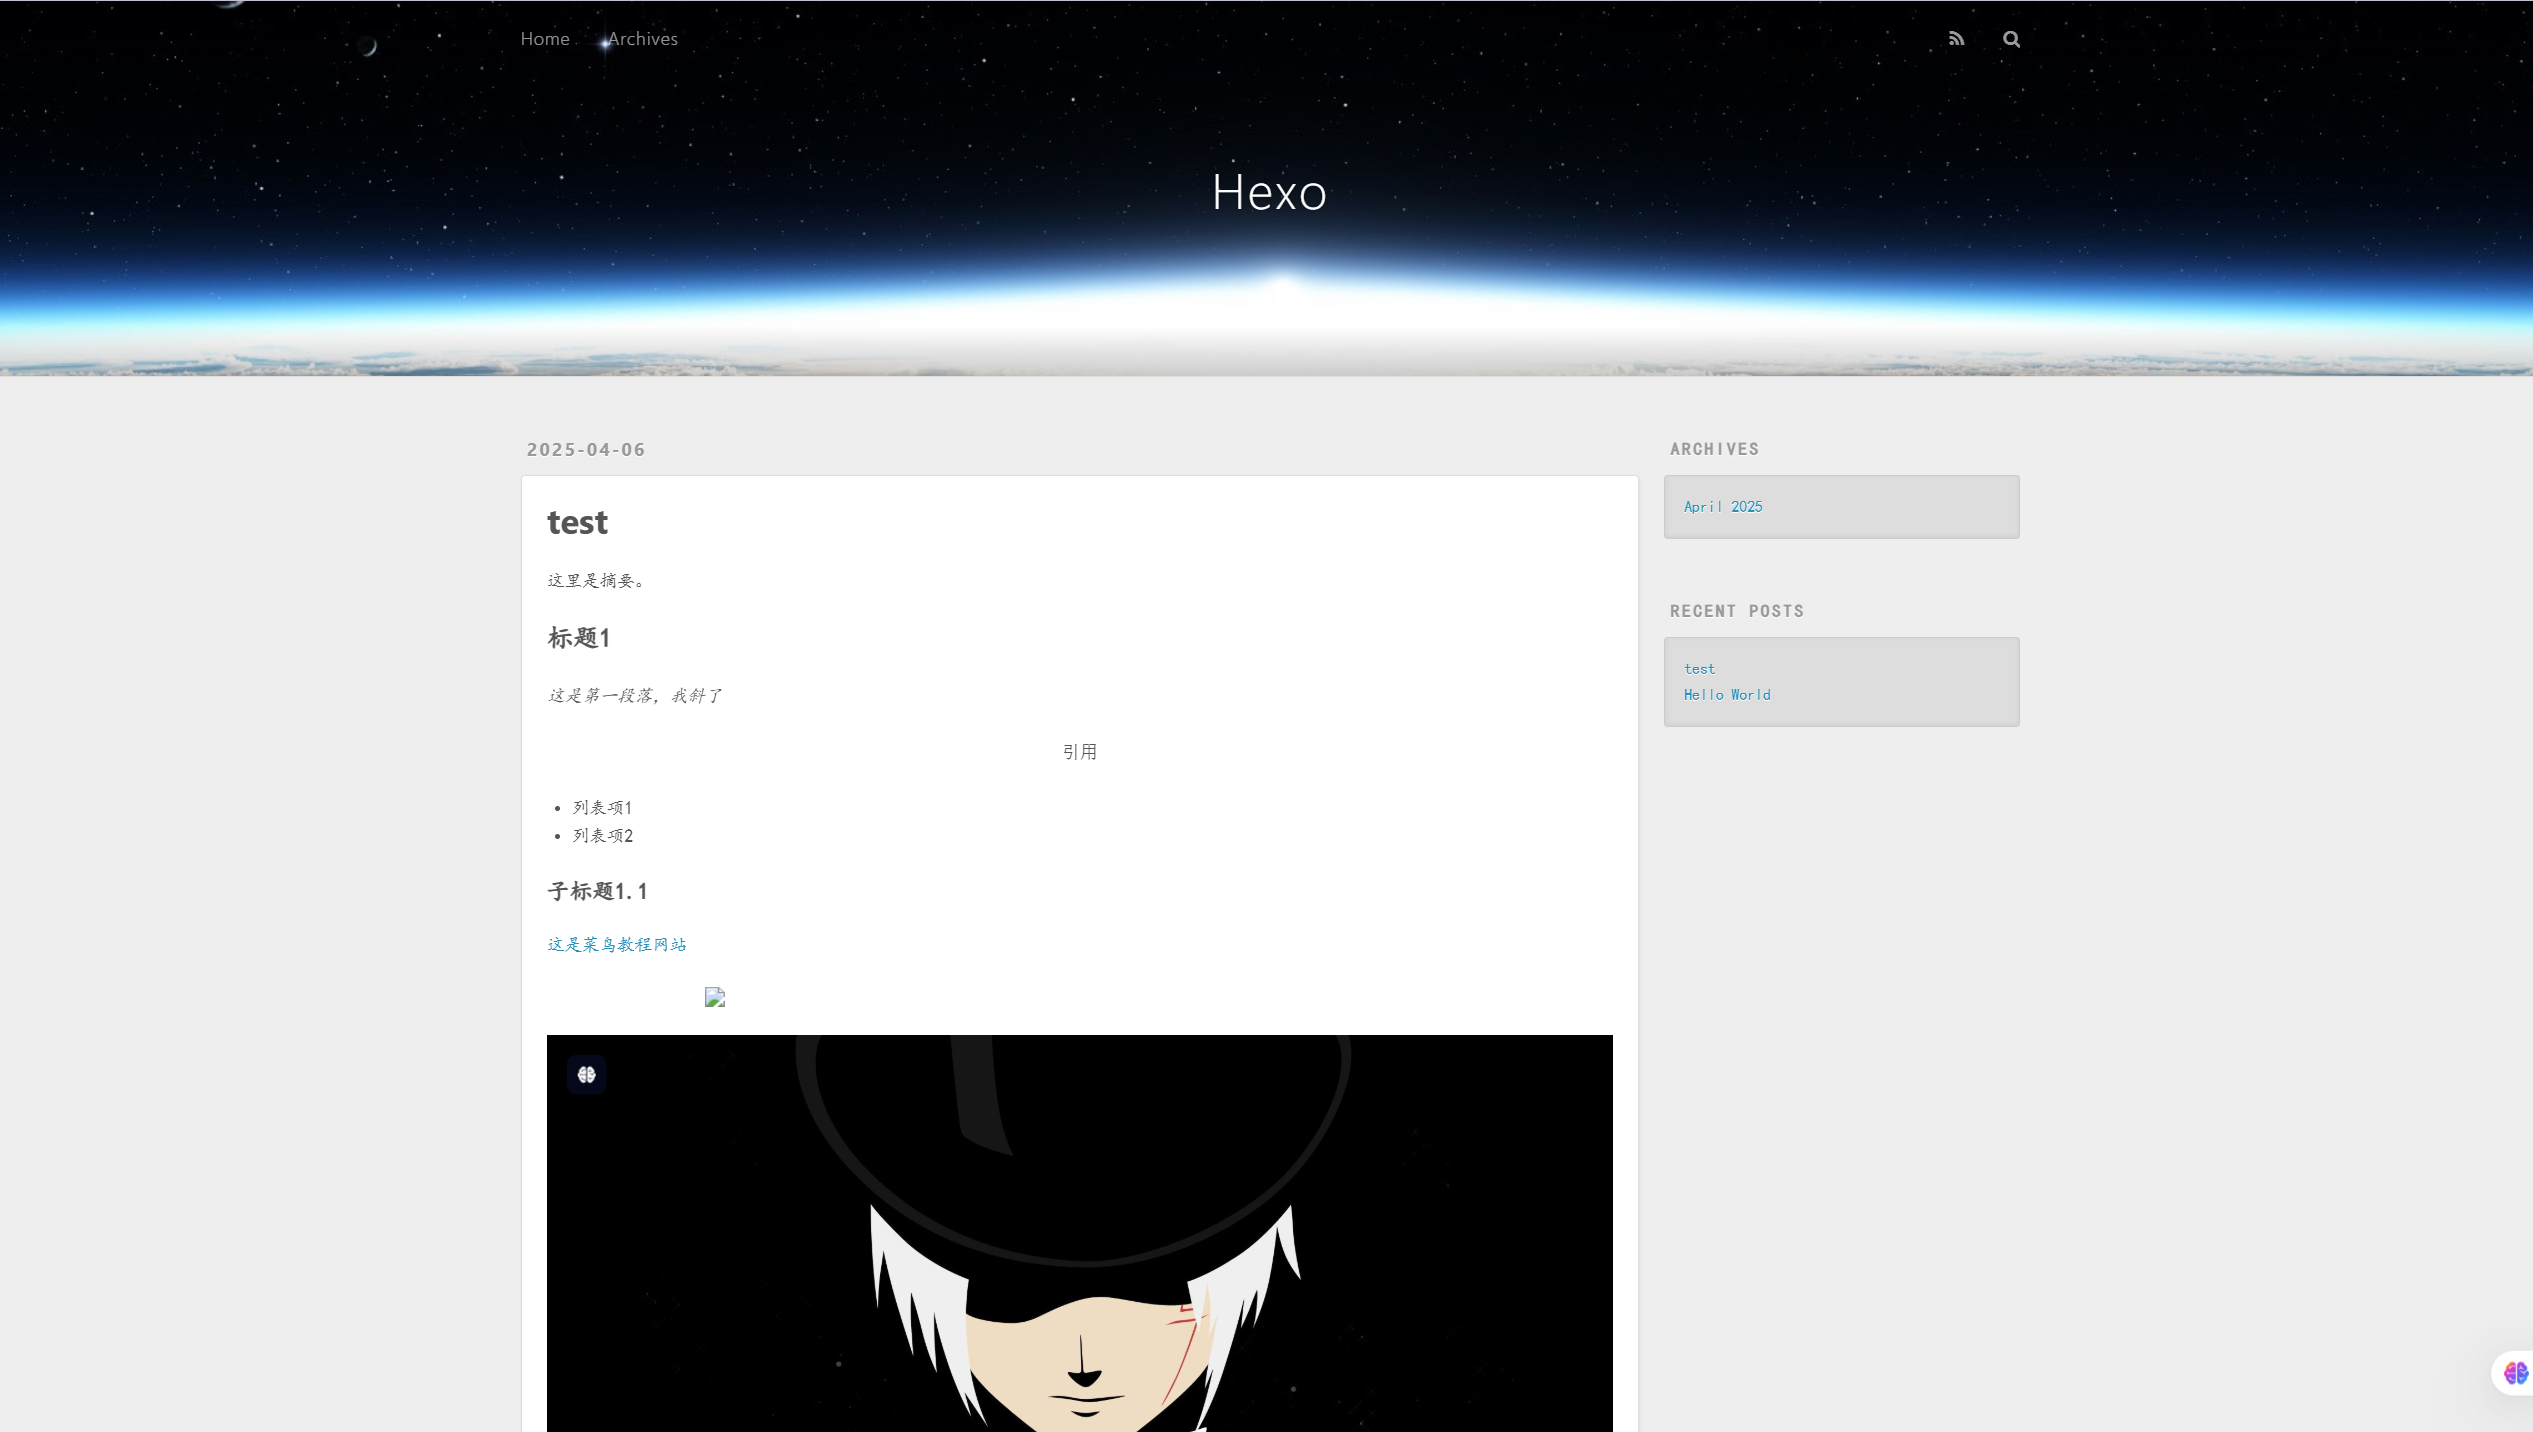
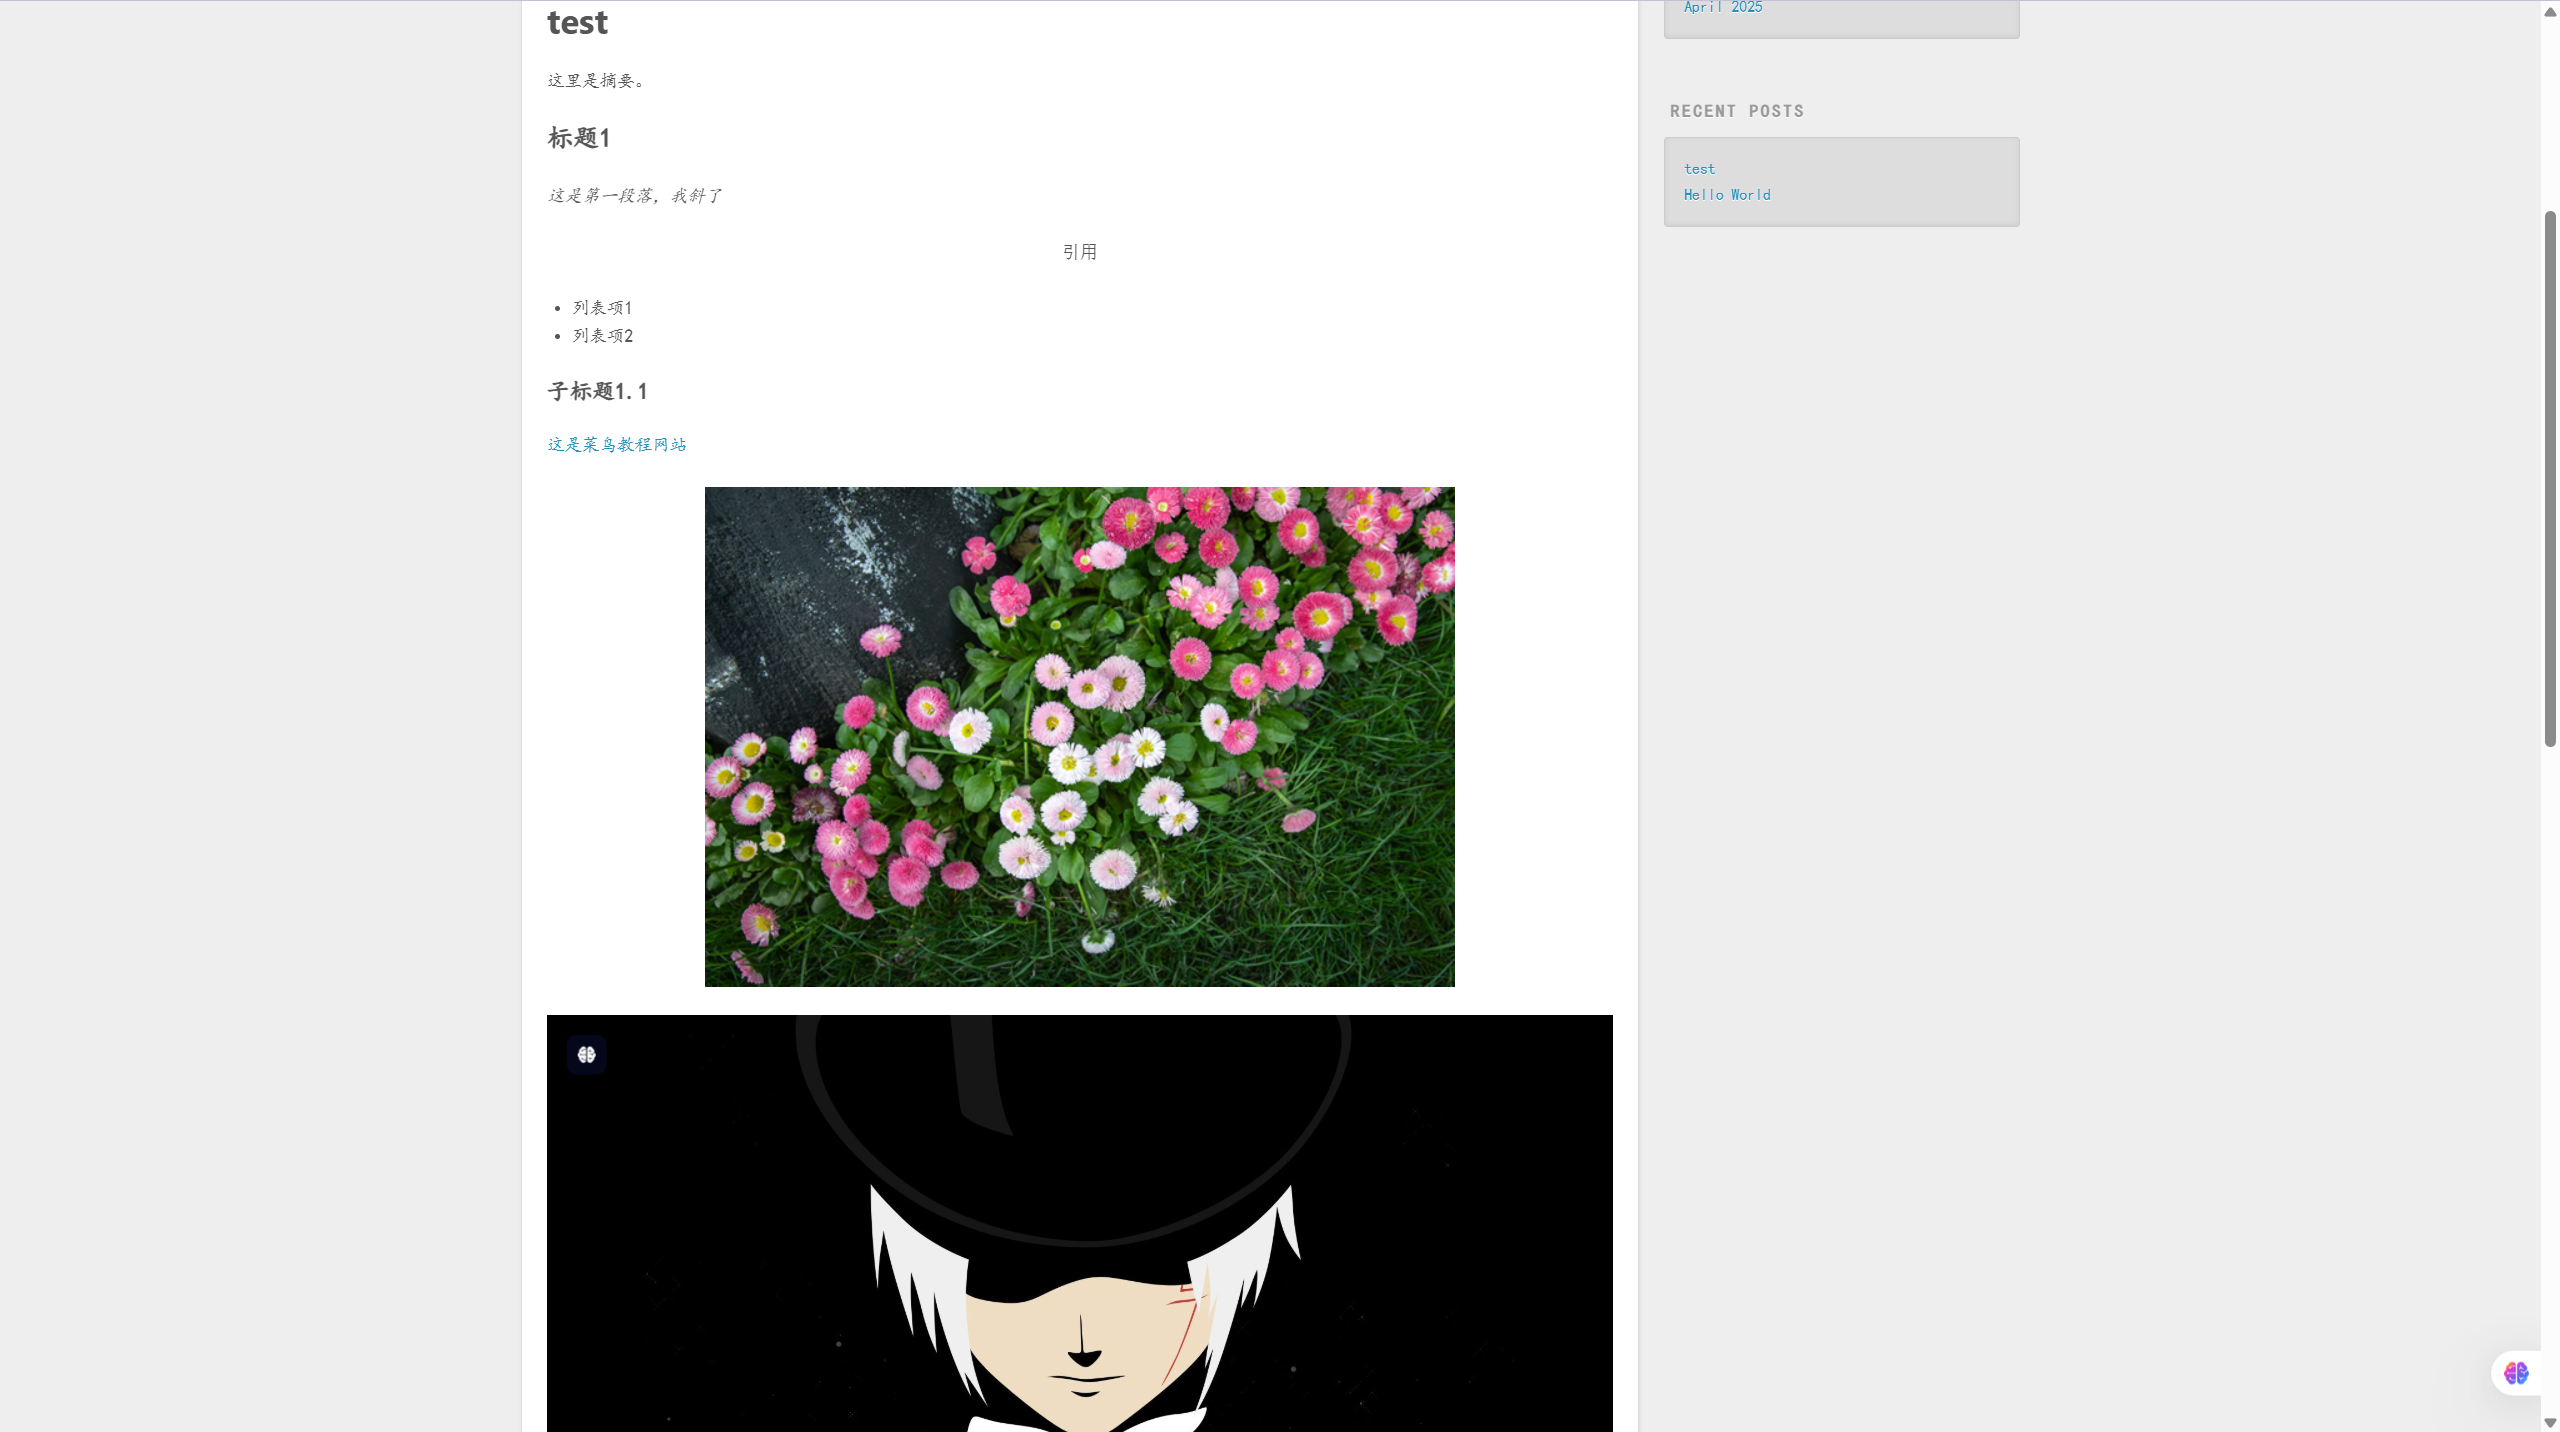
$ hexo new test然后用需要的编辑器来编辑source/_posts/test.md即可:
markdown
---
title: test
date: 2025-04-06 17:20:57
tags:
---
<font face="楷体">
这里是摘要。
<!--more-->
## 标题1
*这是第一段落,我斜了*
> 引用
* 列表项1
* 列表项2
### 子标题1.1
[这是菜鸟教程网站](https://www.runoob.com/)
<a target="_blank" href="https://nodejs.org/zh-cn/download">
<img src="https://img2024.cnblogs.com/blog/2263862/202504/2263862-20250406155226402-1286469402.png" width="600">
</a>
如上,hexo创建的文章都会带有一个头部信息进行区分,其下才是个人编辑,上面这份既有正经markdown语法,也用了html语法来进行编辑,因为渲染引擎支持,所以完全可以使用html语法,另外html也能更精准地进行表达和样式设计。
还有一件事,要在md文章中引入图片,需要在source中创建images文件夹,才能如上面那样本地引入。
2.本地预览:
进行本地预览需要生成对应html文本,而后应用hexo改造的node内置服务器的启动:
bash
$ hexo g && hexo s
INFO  Validating config
INFO  Start processing
INFO  Files loaded in 145 ms
INFO  Generated: 2025/04/06/test/index.html
INFO  Generated: 2025/04/06/hello-world/index.html
INFO  Generated: archives/index.html
INFO  Generated: archives/2025/index.html
INFO  Generated: archives/2025/04/index.html
INFO  Generated: index.html
INFO  Generated: images/alian.png
INFO  7 files generated in 38 ms
INFO  Validating config
INFO  Start processing
INFO Hexo is running at http://localhost:4000/ . Press Ctrl+C to stop.如上,访问http://localhost:4000/即可得到:
3. 部署到github:
其实在此之前,可以部署到gitee的,不过它势利眼,需要开会员才能部署了,所以只能部署到github了。首先创建一个github-page的公开仓库,该仓库需要以username.github.io的形式进行命名(因为命名问题导致最后访问不通,这往往是第一大错误所在)。
修改blogs项目配置文件_config.yml文件:
yml
# Deployment
## Docs: https://hexo.io/docs/one-command-deployment
deploy:
  type: git
  repo: https://github.com/Jack-samu/Jack-samu.github.io.git
branch: main如上修改,然后执行hexo d来调动git将本地blogs的public文件夹下文件全部提交到username.github.io仓库中(这里记得提前准备git工具),只要中间没有问题,就可以通过https://username.github.io访问上面博客了(记得科学)。
为了方便提交,可以创建ssh公钥秘钥对,将公钥丢给github从而创建一份ssh连接,这样提交会方便很多,只不过这样就不能用科学了,提交的时候。
要做的就这样,编辑markdown,然后生成html,而后提交一下,完了。
应用archer主题
hexo自带的landscape主题委实太丑,很多不堪用,所以去hexo主题库,找一份需要的来进行主题修改。我选的是archer主题,很多主题都有对应的操作文档在其代码仓,可以按部就班跟着操作的,archer也一样。
这个主题是响应式设计,所以针对手机和电脑PC访问都能有比较合适的布局,访问起来不会很难受,
1. 快速上手
github上下载themes代码:
bash
$ git clone https://github.com/fi3ework/hexo-theme-archer.git themes/archer --depth=1配置_config.yml,应用archer主题:
yml
theme: archer安装侧边栏索引依赖:
bash
$ npm install hexo-generator-json-content_config.yml添加配置,应用jsonContent:
yml
jsonContent:
  meta: true
  pages: false
  posts:
    title: true
    date: true
    path: true
    text: false
    raw: false
    content: false
    slug: false
    updated: false
    comments: false
    link: false
    permalink: true
    excerpt: false
    categories: true
    tags: true
2. 配置_config.archer.yml
blogs路径添加_config.archer.yml配置文件,在这里针对archer进行相应功能配置,
启用字数统计
bash
$ npm install hexo-wordcount_config.archer.yml中添加:
yml
reading_info: true配置自我介绍页面
bash
hexo new page "about"在source/about/index.md中进行个人介绍页面的编辑:
markdown
---
title: about
date: 2025-03-04 17:20:12
---
## 这是我的第一版的博客,就目前而言,还是处于不断地积累做加法阶段,请多指教!!!
简简单单的介绍。
配置404:
直接在source中创建404.md,不用在_posts里面创建,简单编辑:
markdown
---
layout: 404
title: "404"
description: "何もありません。"
---
为了让404页面不用那么单调,所以又配置了一下背景图片:
yml
_404_image: /intro/404.jpgintro文件夹在themes/archer/source/intro中,因为配置的是_config.archer.yml配置文件,所以上面配置中的相对路径就是直接/intro/404.jpg。
启用mermaid支持
现在很多时候coder画图都是使用mermaid进行渲染,因为它支持笔者编辑markdown从而由工具渲染成各种流程图和图标。先安装依赖:
bash
$ npm install hexo-filter-mermaid-diagrams --save配置_config.archer.yml:
yml
# Mermaid Chart: https://github.com/knsv/mermaid
mermaid:
  enable: true
  # Version number '8' is for the latest '8.x' version of Mermaid.
  version: 8.11.0
  theme: dark
  # find more api options from https://github.com/knsv/mermaid/blob/master/src/mermaidAPI.js
  options:
然后随便找一个mermaid代码来进行一下测试就行,这里是测试通过的。
启用LaTex数学公式支持
有时候单纯的markdown并不足以进行公式方面的复杂渲染,所以需要对LaTeX进行支持,不过这个需要先引入一个外部pandoc工具:
bash
$ sudo apt install pandoc因为使用的ubuntu,所以直接apt安装就完了,而后引入hexo中latex实现依赖:
bash
$ npm install hexo-renderer-pandoc --save配置_config.archer.yml:
yml
math:
  mathjax:
    enable: true
    version: 3.2.0
目录支持
配置_config.archer.yml开启对目录的支持:
yml
toc: true可惜它这个目录的生成有点问题,后面再改改吧。
archer主题功能添加
在前面进行配置一通后,基本就算ok能用的状态了,不过还是有不少需要自定义一下的,比如说评论功能,它就还需要搞一波。
utterance实现评论功能
之前利用gitalk来进行了评论功能的实现,不过后来发现,很多人说它有问题,出现过各种安全事故,全因它需要利用一个代码仓提供issues存放,这一个个issue就是对应文章的评论存放处,但是gitalk要的权限太多,导致容易被恶意修改。
先简单介绍一下hexo中利用utterance来实现评论功能的步骤:
1. 创建评论信息存储需要的github仓库 :
登录github账号随便创建一个公开仓库
2.为仓库安装utterances应用 :
进入该utterances安装页面,进行应用安装,配置为上面仓库专用即可
3. 获取utterance配置 :
跟随页面指示,填入对应github仓库信息、issue-label和个人theme以及What to Comment等字段
完成后,复制生成的js代码。
4.利用生成的代码创建utterance.ejs :
在layout/_partials文件夹中创建utterances.ejs文件,将上面复制的js代码粘贴进去;
在页面布局代码中进行上面utterances.ejs组件引入,通常是这样样式:
html
<%- partial('utterances') %> 5.调整评论所用代码仓,添加邮箱通知 :
进入到评论仓库中,
上面是正经hexo引入utterance的一个流程,但在archer中不用那么麻烦,实际要做的也就是创建评论仓库和为仓库安装utterances应用以及配置archer而已。archer主题中已经给引入了utterances的模板和使用,只需要在_config.archer.yml进行对应配置就好:
yml
# ========== Comment ========== #
# Fill in the field to enable the corresponding comment plugin
# If you want to add other comment plugin, edit in "custom.ejs"
comment:
...
  # utteranc site: https://utteranc.es/
  utteranc_repo:  "Jack-samu/comment"
  utteranc_label: "Comment"
  utteranc_theme: "github-light"
  utteranc_issue_term: "title"
然后先进行一下本地测试:
bash
$ hexo clean && hexo g
$ hexo s
随便打开一个页面,下面这种效果就算成了:
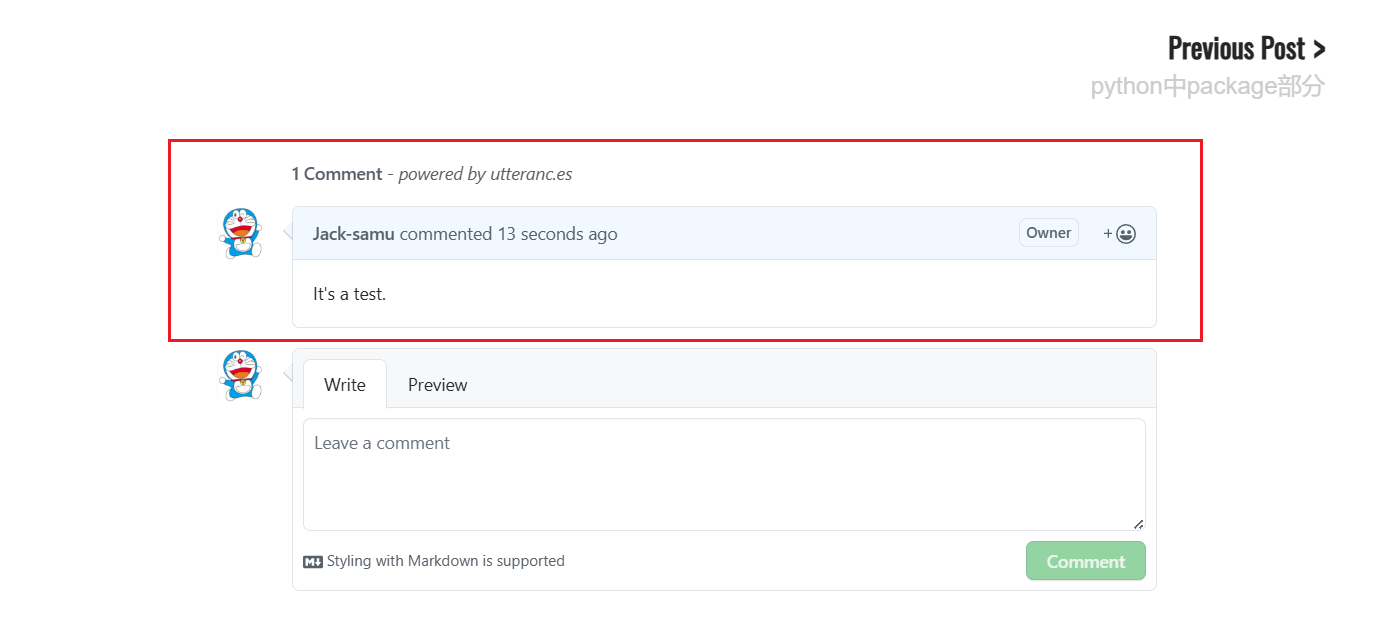
搞定以后,还要对应部署到github-page中:
bash
$ hexo d剩下的就是在comment仓库中开启邮件通知了,仓库settings-Notifications中进行对应设置,设定好消息通知的邮箱和对应触发通知的消息。