Vue中强大的图片预览组件,v-viewr,支持缩放、旋转等操作
亲测非常好用,Vue2和Vue3都可以使用,本文演示Vue3的用法
作者网站:传送门
1.创建demo
bash
# 创建一个vue3项目,取名v-viewer
npm create vue@latest

# 进入目录
cd .\v-viewer\

# 安装依赖
npm i

# 安装v-viewer
npm install v-viewer@next viewerjs创建以后,清空一下App.vue中默认的组件以及main.ts中引入的样式,方面我们后面操作。然后创建一个组件用来测试效果
vue
// App.vue
<template>
    <TestViewer />
</template>

<script setup lang="ts">
import TestViewer from "@/components/TestViewer.vue";
</script>
ts
// main.ts

import { createApp } from 'vue'
import App from './App.vue'

const app = createApp(App)
app.use(VueViewer)
app.mount('#app')
vue
// components/TestViewer.vue

<template>
  <div></div>
</template>
<script lang="ts" setup>

</script>
2.全局引入v-viewer
引入v-viewer及必需的css样式,并使用app.use()注册插件,之后即可使用。
有三种使用方法:1.组件;2.指令;3.api
引入以后这三种方式都能够使用。
ts
// main.ts

import { createApp } from 'vue'
import App from './App.vue'
// 引入viewer的样式
import 'viewerjs/dist/viewer.css'
import VueViewer from 'v-viewer'

const app = createApp(App)
// 使用viewer
app.use(VueViewer)
app.mount('#app')
3.使用
组件形式和指令形式一行,都会展示图片列表
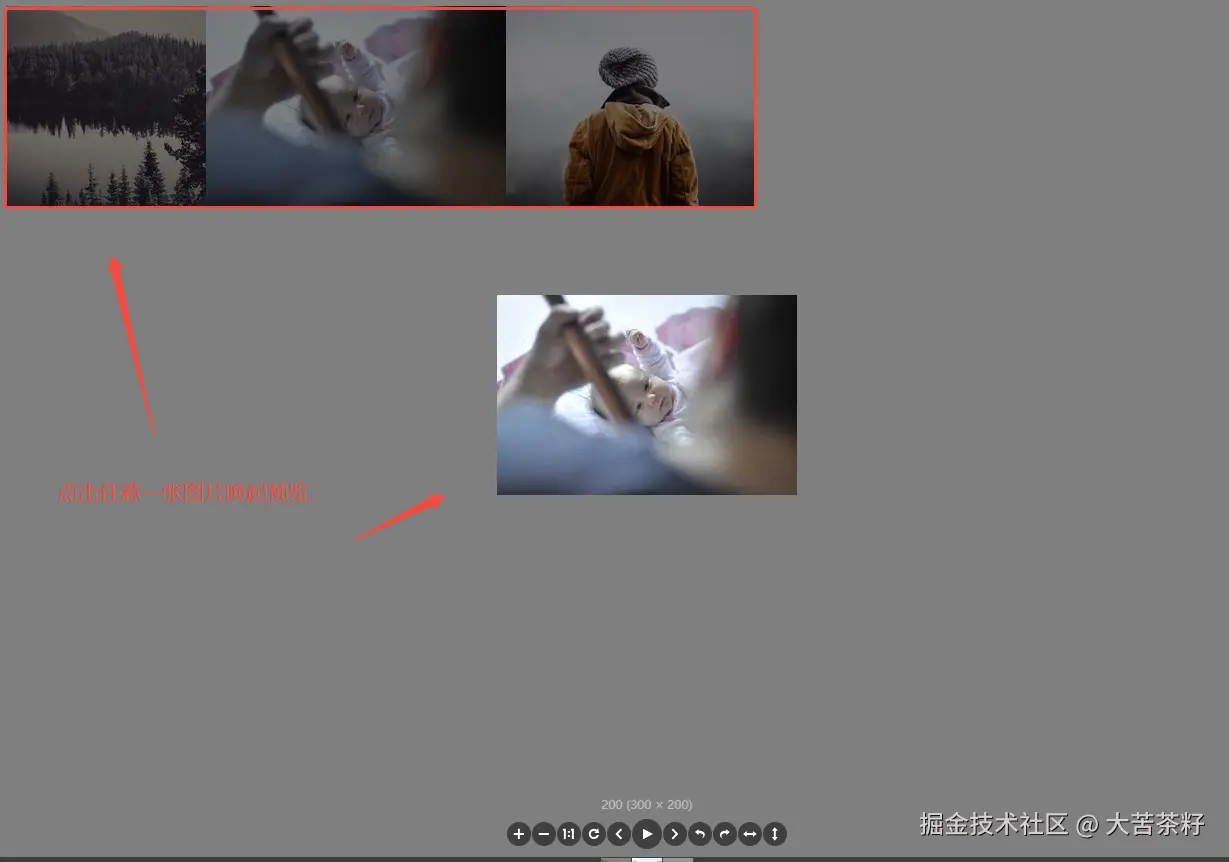
3.1.组件形式
vue
// components/TestViewer.vue

// 直接使用全局注册的组件<viewer>
<template>
  <div>
    <viewer :images="images">
      <img v-for="src in images" :key="src" :src="src">
    </viewer>
  </div>
</template>

<script lang="ts" setup>
import { reactive} from 'vue'

const images = reactive([
  "https://picsum.photos/200/200",
  "https://picsum.photos/300/200",
  "https://picsum.photos/250/200"
])

</script>
3.2.指令形式
vue
// components/TestViewer.vue

// 在一个div上使用v-viewer即可
<template>
  <div>
    <div class="images" v-viewer>
      <img v-for="src in images" :key="src" :src="src">
    </div>
  </div>
</template>
<script lang="ts" setup>
import { reactive} from 'vue'

const images = reactive([
  "https://picsum.photos/200/200",
  "https://picsum.photos/300/200",
  "https://picsum.photos/250/200"
])

</script>
3.3.api形式
这种形式可以不用展示出图片列表,例如下图,可以点击按钮唤起预览。
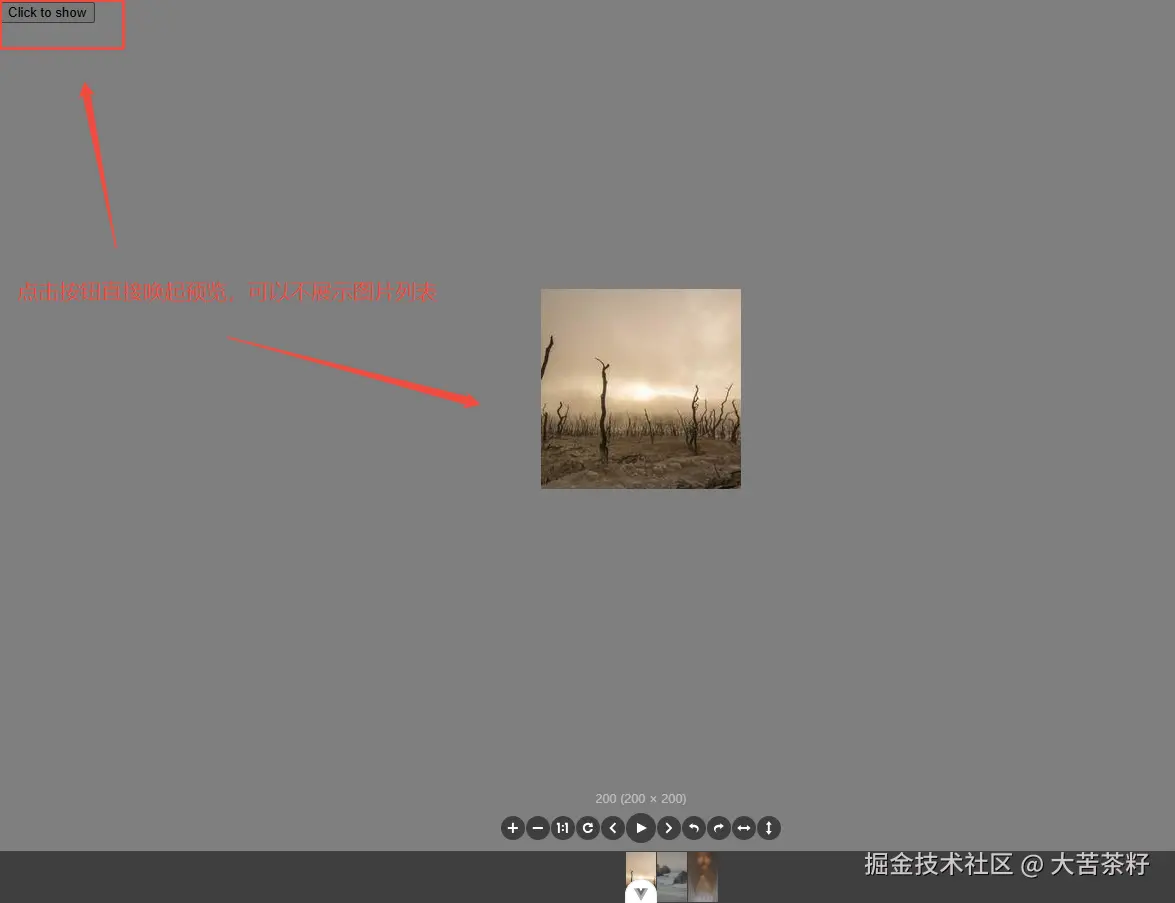
要是用这种形式,使用setup就不方便了,因为要使用this。不使用this也可以,那就不能全局引入了。下面演示两种形式:
vue
// components/TestViewer.vue
// 全局引入,使用this调用api

<template>
  <div>
    <button type="button" @click="show">Click to show</button>
  </div>
</template>
<script lang="ts">
import { defineComponent } from 'vue'
export default defineComponent({
  data() {
    return {
      images: [
        "https://picsum.photos/200/200",
        "https://picsum.photos/300/200",
        "https://picsum.photos/250/200"
      ]
    };
  },
  methods: {
    show() {
      this.$viewerApi({
        images: this.images,
      })
    },
  },
})
</script>非全局引入,去掉main.ts中的app.use(VueViewer)
vue
<template>
  <div>
    <button type="button" @click="show">Click to show</button>
  </div>
</template>
<script lang="ts" setup>
import {reactive} from "vue";
// 单独引入api使用
import { api as viewerApi } from "v-viewer"

const images = reactive([
  "https://picsum.photos/200/200",
  "https://picsum.photos/300/200",
  "https://picsum.photos/250/200"
])

const show = ()=>{
  viewerApi({
    images: images,
  })
}
</script>
4.配置项
以上基本就可以满足绝大部分需求了,如果要更加的定制化的话,建议把产品经理打一顿。
更多的配置项要自己去viewerjs慢慢看了。