公司要用服务器之间进行数据加密,这里用的XrayR
我使用的Centos 7。
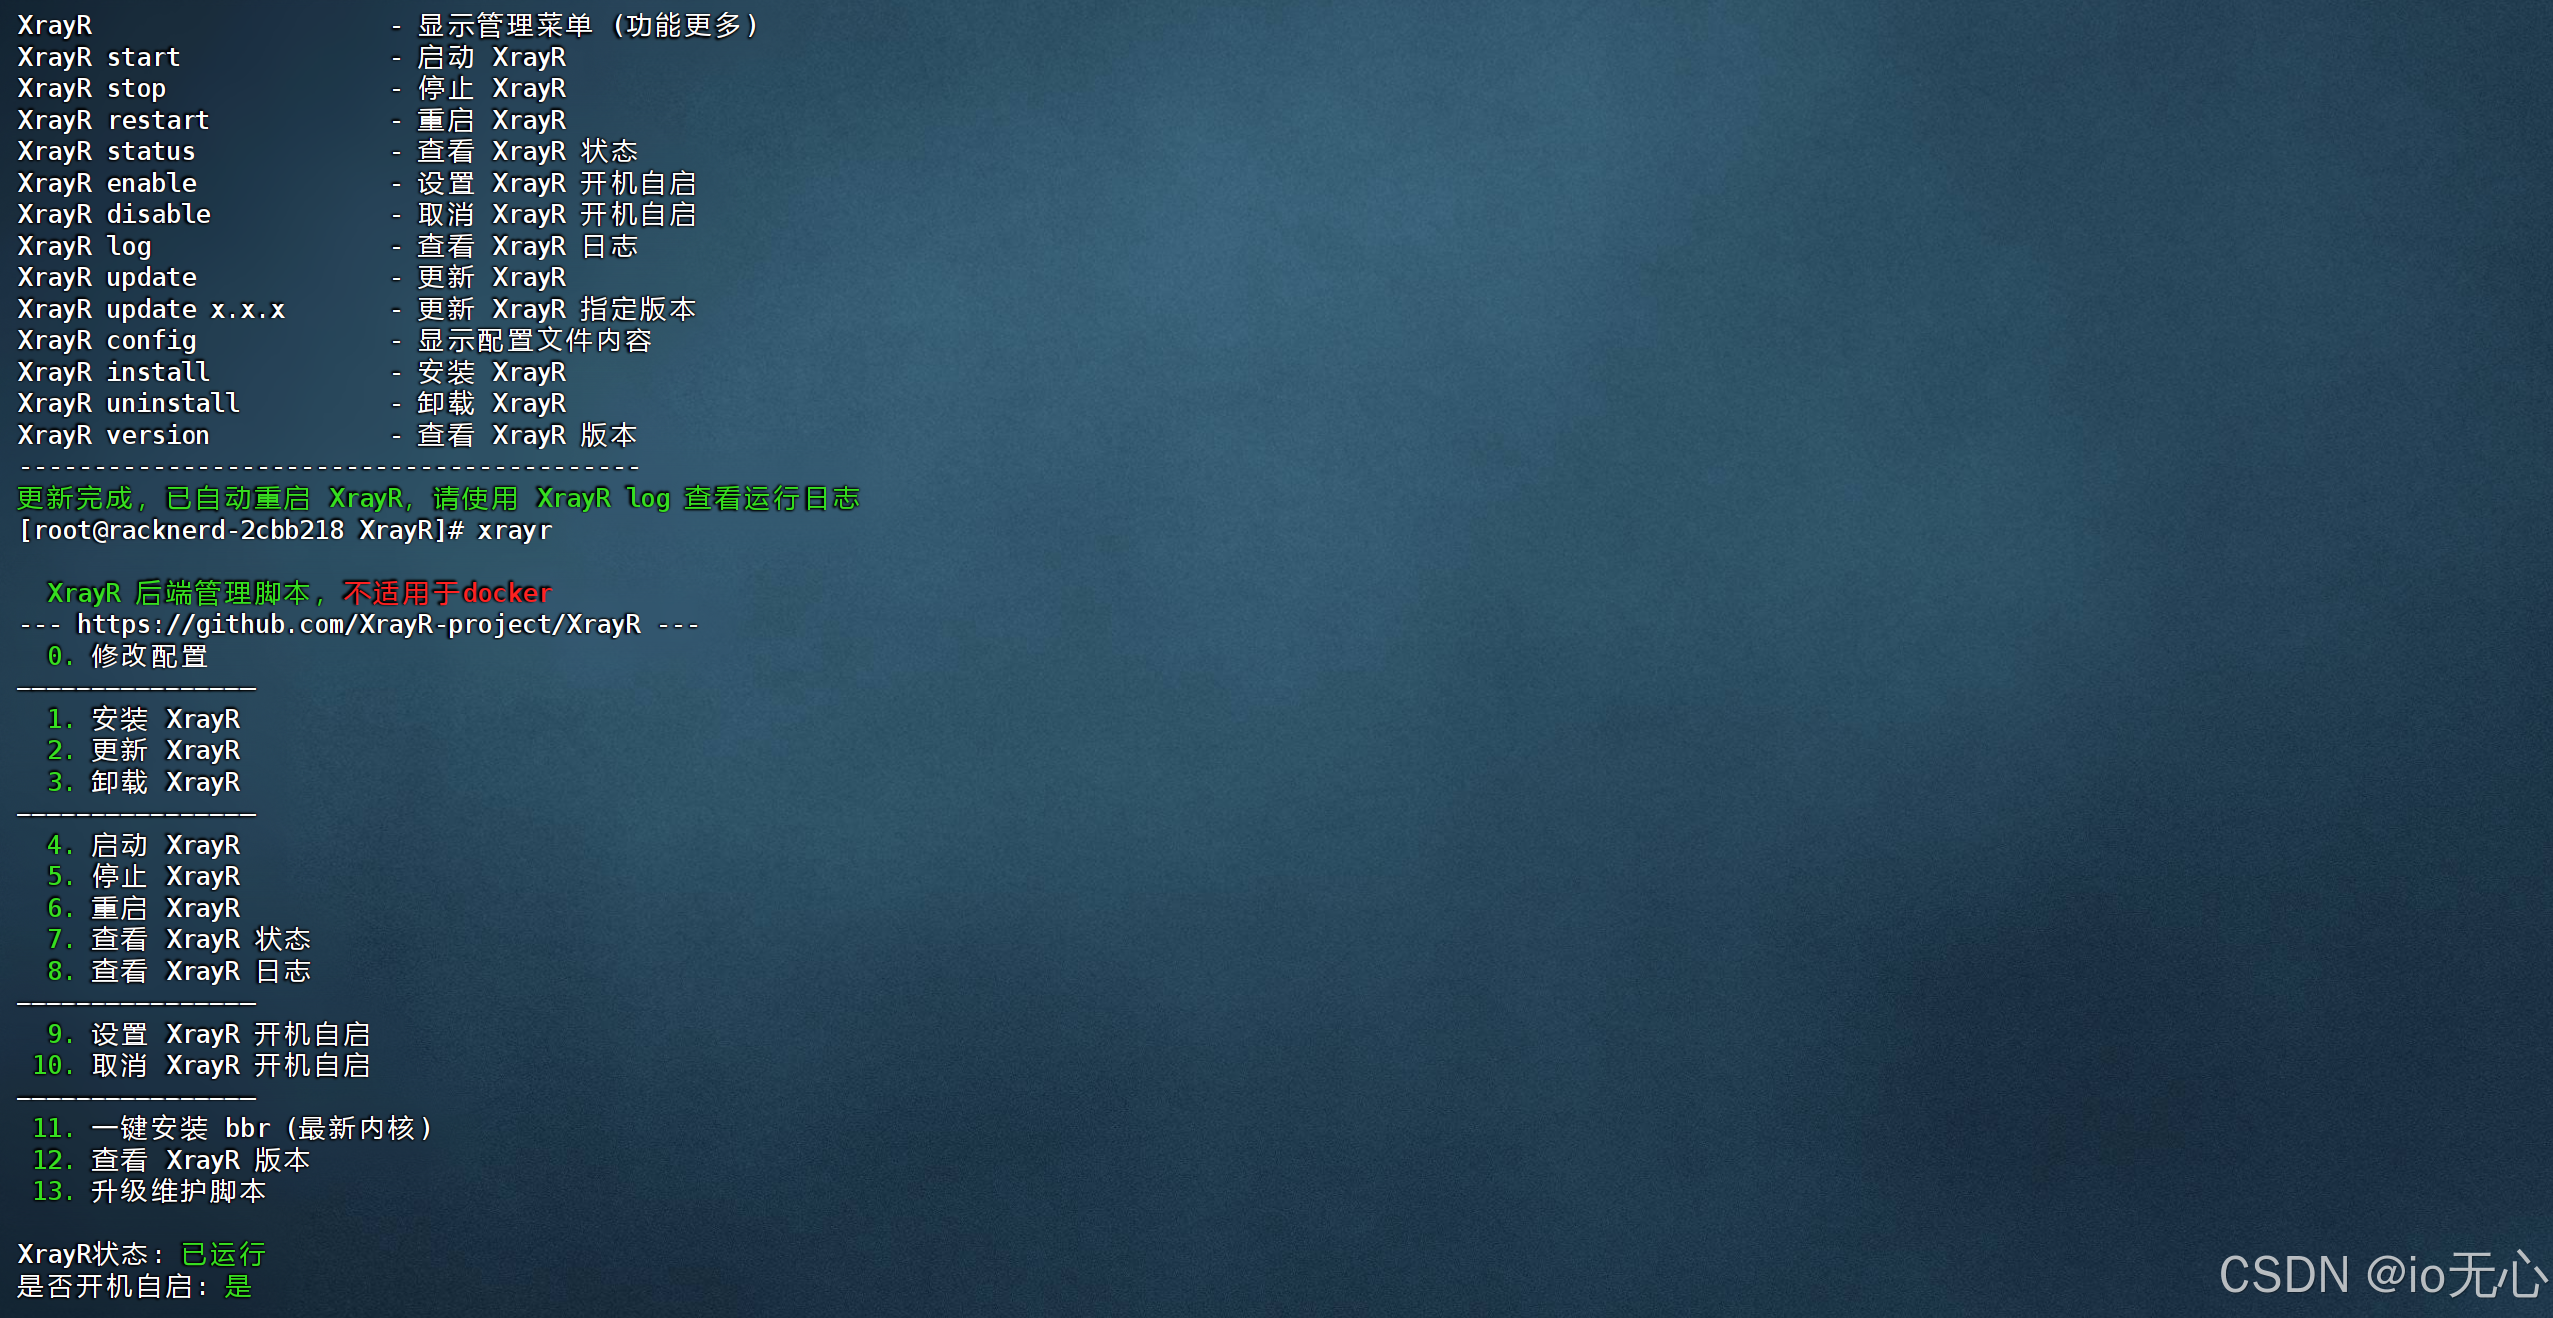
我这里使用一键脚本安装后,/etc/XrayR目录下没有配置文件。
解决方案
XrayR安装时,系统没有unzip工具,也是会安装失败的,因为Centos7已经停止维护了,得换个数据源。
bash
vi /etc/yum.repos.d/CentOS-Base.repo把下面的配置文件,替换掉源文件。
bash
[base]
name=CentOS-7 - Base
baseurl=http://vault.centos.org/7.9.2009/os/$basearch/
gpgcheck=1
gpgkey=file:///etc/pki/rpm-gpg/RPM-GPG-KEY-CentOS-7

[updates]
name=CentOS-7 - Updates
baseurl=http://vault.centos.org/7.9.2009/updates/$basearch/
gpgcheck=1
gpgkey=file:///etc/pki/rpm-gpg/RPM-GPG-KEY-CentOS-7

[extras]
name=CentOS-7 - Extras
baseurl=http://vault.centos.org/7.9.2009/extras/$basearch/
gpgcheck=1
gpgkey=file:///etc/pki/rpm-gpg/RPM-GPG-KEY-CentOS-7
保存退出后,再执行:
bash
yum clean all
yum makecache
yum install unzip -y
下面所有命令都用 root 直接复制粘贴即可:
bash
cat >/etc/yum.repos.d/CentOS-Base.repo <<'EOF'
[base]
name=CentOS-7 - Base
baseurl=http://vault.centos.org/7.9.2009/os/$basearch/
gpgcheck=1
gpgkey=file:///etc/pki/rpm-gpg/RPM-GPG-KEY-CentOS-7

[updates]
name=CentOS-7 - Updates
baseurl=http://vault.centos.org/7.9.2009/updates/$basearch/
gpgcheck=1
gpgkey=file:///etc/pki/rpm-gpg/RPM-GPG-KEY-CentOS-7

[extras]
name=CentOS-7 - Extras
baseurl=http://vault.centos.org/7.9.2009/extras/$basearch/
gpgcheck=1
gpgkey=file:///etc/pki/rpm-gpg/RPM-GPG-KEY-CentOS-7
EOF

yum clean all
yum makecache
# 把缺的工具一次性补上
yum -y install wget curl unzip tar
删除残缺目录,重新跑官方一键脚本:
bash
rm -rf /usr/local/XrayR
bash <(curl -Ls https://raw.githubusercontent.com/XrayR-project/XrayR-release/master/install.sh)
OK完成。
config.yml配置示例
bash
Log:
  Level: none # Log level: none, error, warning, info, debug
  AccessPath: # /etc/XrayR/access.Log
  ErrorPath: # /etc/XrayR/error.log
DnsConfigPath: # /etc/XrayR/dns.json # Path to dns config, check https://xtls.github.io/config/dns.html for help
RouteConfigPath: # /etc/XrayR/route.json # Path to route config, check https://xtls.github.io/config/routing.html for help
InboundConfigPath: # /etc/XrayR/custom_inbound.json # Path to custom inbound config, check https://xtls.github.io/config/inbound.html for help
OutboundConfigPath: # /etc/XrayR/custom_outbound.json # Path to custom outbound config, check https://xtls.github.io/config/outbound.html for help
ConnectionConfig:
  Handshake: 4 # Handshake time limit, Second
  ConnIdle: 10 # Connection idle time limit, Second
  UplinkOnly: 2 # Time limit when the connection downstream is closed, Second
  DownlinkOnly: 4 # Time limit when the connection is closed after the uplink is closed, Second
  BufferSize: 64 # The internal cache size of each connection, kB
Nodes:
  -
    PanelType: "V2board" # Panel type: SSpanel, NewV2board, V2board, PMpanel, Proxypanel
    ApiConfig:
      ApiHost: "http://xin.students.xin"
      ApiKey: "V2boardV2boardV2board"
      NodeID: 1
      NodeType: Shadowsocks # Node type: V2ray, Trojan, Shadowsocks, Shadowsocks-Plugin
      Timeout: 30 # Timeout for the api request
      EnableVless: false # Enable Vless for V2ray Type
      EnableXTLS: false # Enable XTLS for V2ray and Trojan
      SpeedLimit: 0 # Mbps, Local settings will replace remote settings, 0 means disable
      DeviceLimit: 0 # Local settings will replace remote settings, 0 means disable
      RuleListPath: # /etc/XrayR/rulelist Path to local rulelist file
    ControllerConfig:
      ListenIP: 0.0.0.0 # IP address you want to listen
      SendIP: 0.0.0.0 # IP address you want to send pacakage
      UpdatePeriodic: 60 # Time to update the nodeinfo, how many sec.
      EnableDNS: false # Use custom DNS config, Please ensure that you set the dns.json well
      DNSType: AsIs # AsIs, UseIP, UseIPv4, UseIPv6, DNS strategy
      DisableUploadTraffic: false # Disable Upload Traffic to the panel
      DisableGetRule: false # Disable Get Rule from the panel
      DisableIVCheck: false # Disable the anti-reply protection for Shadowsocks
      DisableSniffing: false # Disable domain sniffing
      EnableProxyProtocol: false
      AutoSpeedLimitConfig:
        Limit: 0 # Warned speed. Set to 0 to disable AutoSpeedLimit (mbps)
        WarnTimes: 0 # After (WarnTimes) consecutive warnings, the user will be limited. Set to 0 to punish overspeed user immediately.
        LimitSpeed: 0 # The speedlimit of a limited user (unit: mbps)
        LimitDuration: 0 # How many minutes will the limiting last (unit: minute)
      GlobalDeviceLimitConfig:
        Enable: false # Enable the global device limit of a user
        RedisAddr: 127.0.0.1:6379 # The redis server address
        RedisPassword: YOUR PASSWORD # Redis password
        RedisDB: 0 # Redis DB
        Timeout: 5 # Timeout for redis request
        Expiry: 60 # Expiry time (second)
      EnableFallback: false # Only support for Trojan and Vless
      FallBackConfigs:  # Support multiple fallbacks
        -
          SNI: # TLS SNI(Server Name Indication), Empty for any
          Alpn: # Alpn, Empty for any
          Path: # HTTP PATH, Empty for any
          Dest: 80 # Required, Destination of fallback, check https://xtls.github.io/config/fallback/ for details.
          ProxyProtocolVer: 0 # Send PROXY protocol version, 0 for dsable
      CertConfig:
        CertMode: dns # Option about how to get certificate: none, file, http, dns. Choose "none" will forcedly disable the tls config.
        RejectUnknownSni: false # Reject unknown SNI
        CertDomain: "niuyuenoe.guangdongxjl.cfd" # Domain to cert
        CertFile: /etc/XrayR/cert/node1.test.com.cert # Provided if the CertMode is file
        KeyFile: /etc/XrayR/cert/node1.test.com.key
        Provider: alidns # DNS cert provider, Get the full support list here: https://go-acme.github.io/lego/dns/
        Email: test@me.com
        DNSEnv: # DNS ENV option used by DNS provider
          ALICLOUD_ACCESS_KEY: aaa
          ALICLOUD_SECRET_KEY: bbb