ESP实现Web服务器
典型的基于 ESP32 的静态网页与图片嵌入展示的 本地 Web Server(AP 模式)项目
项目功能概述
ESP32 创建一个 Wi-Fi 热点,启动一个 HTTP Web Server,当手机或电脑连接到此热点时,可以通过浏览器(192.168.4.1)访问静态网页(index.html)以及显示嵌入的图片(pic.png)。
代码逻辑结构分析
1. 嵌入资源声明
c
//html网页文件
extern const uint8_t _binary_index_html_start[];
extern const uint8_t _binary_index_html_end[];
//png图片文件
extern const uint8_t _binary_pic_png_start[];
extern const uint8_t _binary_pic_png_end[];- 使用
idf_component_register(... EMBED_FILES ...)将index.html和pic.png文件嵌入到固件中。 - 这几个符号由构建系统自动生成,用于访问文件在 Flash 中的位置。
2. HTTP 处理器函数
index_handler:返回网页
c
static esp_err_t index_handler(httpd_req_t *req)
{
    httpd_resp_set_type(req, "text/html");
    return httpd_resp_send(req, (const char *)_binary_index_html_start, _binary_index_html_end - _binary_index_html_start);
}
️ pic_handler:返回图片
c
static esp_err_t pic_handler(httpd_req_t *req)
{
    httpd_resp_set_type(req, "image/png");
    return httpd_resp_send(req, (const char *)_binary_pic_png_start, _binary_pic_png_end - _binary_pic_png_start);
}
3. 启动 Web 服务器
c
httpd_handle_t start_webserver(void)
{
    httpd_config_t config = HTTPD_DEFAULT_CONFIG();
    httpd_handle_t server = NULL;
    if (httpd_start(&server, &config) == ESP_OK) {
        // 注册网页 URI
        httpd_register_uri_handler(server, &index_uri);
        // 注册图片 URI
        httpd_register_uri_handler(server, &pic_uri);
    }
    return server;
}/:返回index.html/pic.png:返回图片内容
4. 配置 Wi-Fi 为 AP 模式
c
void wifi_init_softap()
{
    // 初始化网络接口
    ESP_ERROR_CHECK(esp_netif_init());
    // 创建默认的事件循环
    ESP_ERROR_CHECK(esp_event_loop_create_default());
    // 创建默认的WiFi AP网络接口
    esp_netif_create_default_wifi_ap();

    // 初始化WiFi配置
    wifi_init_config_t cfg = WIFI_INIT_CONFIG_DEFAULT();
    // 初始化WiFi
    ESP_ERROR_CHECK(esp_wifi_init(&cfg));

    // 设置WiFi配置
    wifi_config_t wifi_config = {
        .ap = {
            .ssid = "ESP32_WEB", // 设置AP的SSID
            .ssid_len = strlen("ESP32_WEB"), // 设置SSID的长度
            .password = "12345678", // 设置AP的密码
            .max_connection = 2, // 设置最大连接数
            .authmode = WIFI_AUTH_WPA_WPA2_PSK // 设置认证模式
        },
    };

    // 如果密码为空,则设置为开放模式
    if (strlen((char *)wifi_config.ap.password) == 0)
        wifi_config.ap.authmode = WIFI_AUTH_OPEN;

    // 设置WiFi模式为AP
    ESP_ERROR_CHECK(esp_wifi_set_mode(WIFI_MODE_AP));
    // 设置WiFi配置
    ESP_ERROR_CHECK(esp_wifi_set_config(WIFI_IF_AP, &wifi_config));
    // 启动WiFi
    ESP_ERROR_CHECK(esp_wifi_start());

    // 打印AP已启动的信息
    ESP_LOGI(TAG, "Wi-Fi AP started. SSID:%s password:%s", "ESP32_WEB", "12345678");
}- ESP32 开启 AP 模式,创建名为
ESP32_WEB的热点,密码为12345678 - 支持最多
2个客户端连接 - 一旦连接上,就可以通过 IP 访问该 Web Server(默认 192.168.4.1)
5. 程序入口 app_main()
c
void app_main()
{
    nvs_flash_init();        // 初始化 NVS
    wifi_init_softap();      // 启动热点(设置为AP模式)
    start_webserver();       // 启动 Web 服务
}
✅ 总结(功能模块)
| 模块 | 功能 |
|---|---|
wifi_init_softap |
启动 Wi-Fi 热点(AP) |
start_webserver |
启动 HTTP Web 服务器 |
index_handler |
处理 / 请求,返回网页 |
️ pic_handler |
处理 /pic.png 请求,返回嵌入图片 |
EMBED_FILES |
将静态资源嵌入到固件中 |
简单插入图片例程:
html文件:
html
<!DOCTYPE html>
<html>
<head>
<meta charset="UTF-8" />
<title>ESP32 Web Server</title>
</head>
<body style="background-color: #202020; color: #fff; text-align: center">
<h1>ESP32嵌入图片展示</h1>
<img
src="/pic.png"
alt="Embedded Image"
style="max-width: 90%; height: auto"
/>
</body>
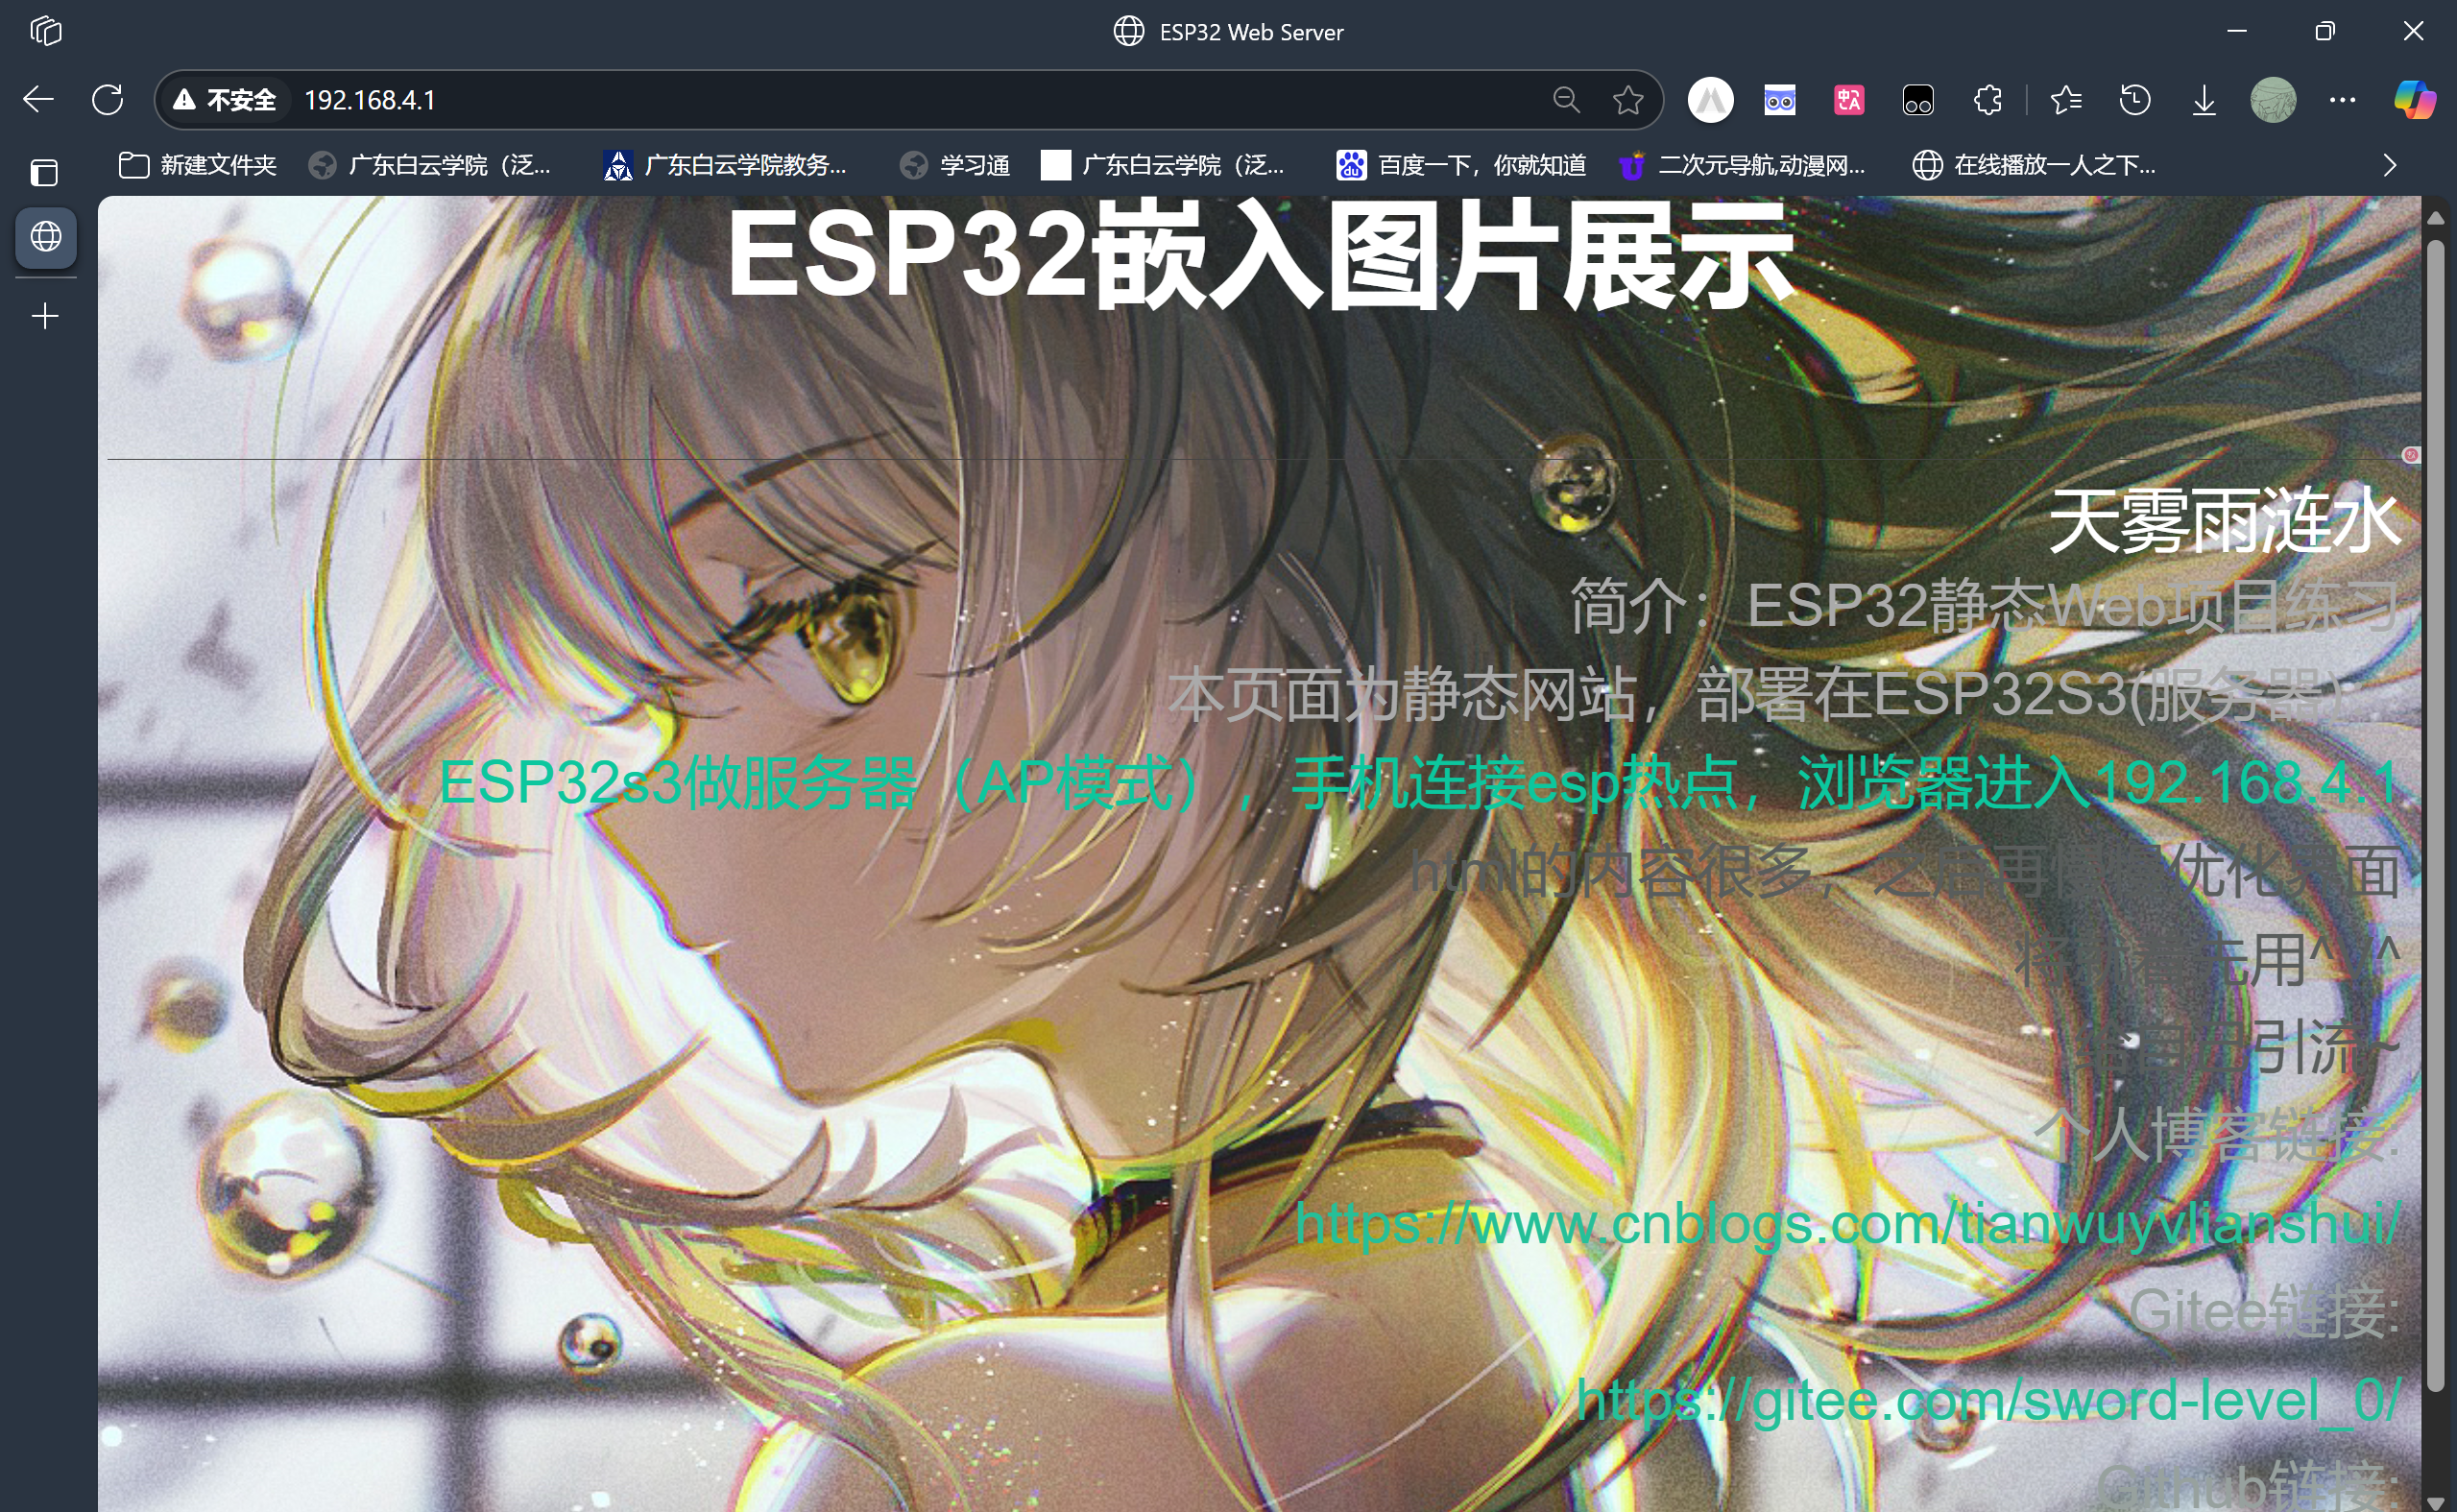
</html>现象:
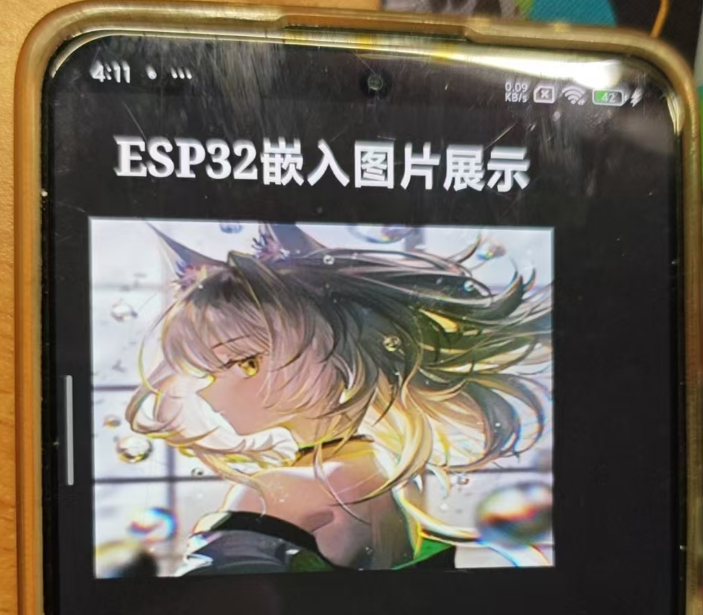
插入高清图片,并添加文本标题,简单设计静态界面:
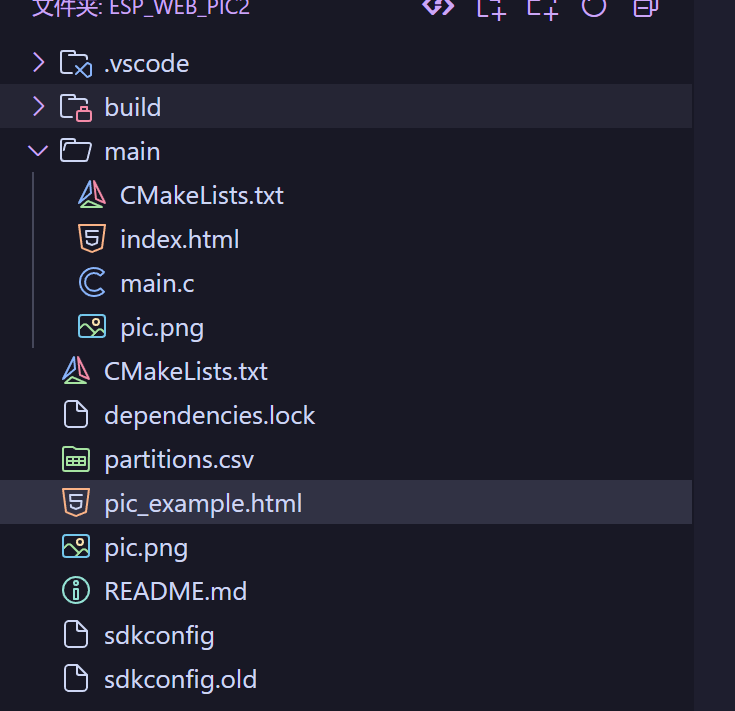
工程框架:
概括:
ESP32s3 做服务器,使用AP模式开启热点。
客户端 (手机,电脑)连接热点,与ESP32s3形成局域网通信。
客户端通过http请求服务器,服务器响应,返回html和图片
项目的功能实现 是依靠 ESP-IDF 提供的 HTTP Server 组件(esp_http_server)作为底层核心支持的。
HTTP Server 的核心作用
ESP-IDF 中的 esp_http_server 是一个轻量级、嵌入式的 HTTP 服务模块,它提供了一套完整的 HTTP 请求响应框架,就像一个 Web 后端框架一样,只是运行在 ESP32 芯片上。
✅ 它在项目中实现了的功能
| 功能 | 依赖 esp_http_server 实现 |
描述 |
|---|---|---|
| 启动 Web 服务器 | ✅ httpd_start() |
初始化一个监听端口(默认 80)的 Web Server |
| 注册路由(URI) | ✅ httpd_register_uri_handler() |
绑定某个路径(如 / 或 /pic.png)到特定处理函数 |
| 处理 HTTP 请求 | ✅ index_handler, pic_handler |
根据请求的 URI 进行内容响应 |
| 设置响应类型 | ✅ httpd_resp_set_type() |
设置返回数据类型:text/html, image/png |
| 返回数据内容 | ✅ httpd_resp_send() |
把嵌入的 HTML / PNG 数据返回给客户端 |
txt
[浏览器发起请求]
     |
     v
[ESP32 HTTP Server] <--------- 启动于 SoftAP 模式下(默认 IP:192.168.4.1)
     |
 ┌──────────────┬──────────────┐
 │              │              │
 v              v              v
/              /pic.png      其余
(index_handler) (pic_handler)

返回:
- text/html → index.html(嵌入)
- image/png → pic.png(嵌入)