本文目的是为探究vue初始化时的挂载流程,主要包括如下核心问题:
- 渲染器的创建
- vnode的创建
- vnode的渲染
环境准备
- 克隆
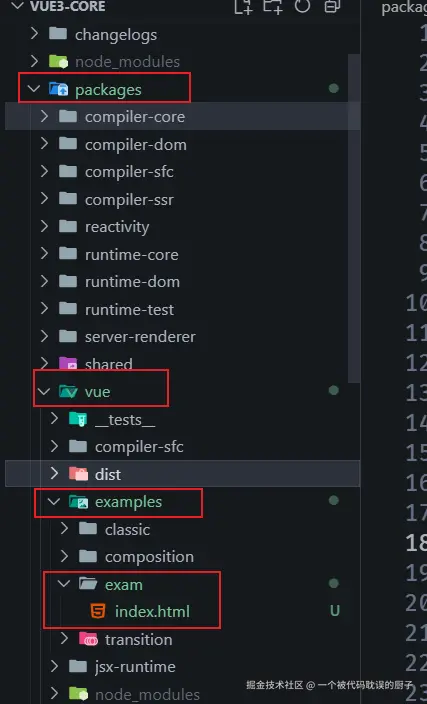
vuejs/core到本地:git clone https://github.com/vuejs/core.git - pnpm i安装依赖==> pnpm run dev-esm打一个
runtime的包==>打出来的包在packages/vue/dist/vue.runtime.esm-bundler.js,并且生成了sourceMap便于调试 - 创建test文件,文件位置如下:
html
    <!doctype html>
    <html lang="en">
      <head>
        <meta charset="UTF-8" />
        <meta name="viewport" content="width=device-width, initial-scale=1.0" />
        <title>Document</title>
      </head>
  <body>
    <div id="root"></div>
    <script type="module">
      import { h, ref, createApp } from '../../dist/vue.runtime.esm-bundler.js'

      const count = ref(0)

      const HelloWorld = {
        name: 'Child',
        render() {
          return h('div', `我是子组件: count: ${count.value}`)
        },
      }

      const App = {
        name: 'App',
        render() {
          return h('div', { tId: 1 }, [h('p', {}, '我是父组件'), h(HelloWorld)])
        },
      }

      createApp(App).mount(document.querySelector('#root'))
    </script>
  </body>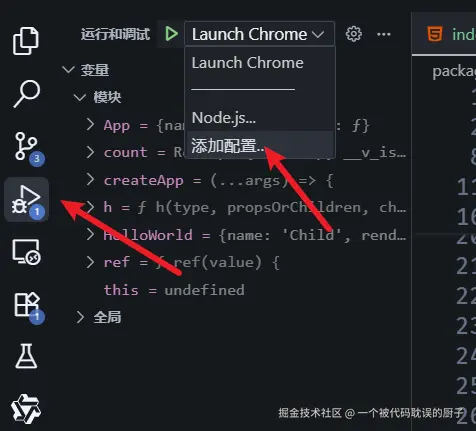
</html>- 创建vscode的debugger文件,可进行本地调试
launch.json
{
  "version": "0.2.0",
  "configurations": [
    {
      "name": "Launch Chrome",
      "request": "launch",
      "type": "chrome",
      "url": "http://127.0.0.1:5501/packages/vue/examples/exam/index.html",
      "webRoot": "${workspaceFolder}"
    }
  ]
}上述文件中的端口自行修改 ,我们打个断点,然后按F5就可以打开调试页面了。: 
源码看起来比较复杂,我是通过画思维导图来学习整体流程的。