创建简单网页应用服务器
创建一个简单的网页应用,可以在服务器上运行并从本地访问。使用Flask框架来实现这个功能
步骤1: 创建基本的Flask应用
首先创建一个简单的Flask应用,包含静态页面和一个简单的接口:
# app.py
from flask import Flask, render_template, jsonify
import os
app = Flask(__name__, template_folder='templates', static_folder='static')
@app.route('/')
def index():
"""主页"""
return render_template('index.html')
@app.route('/api/status')
def status():
"""API状态检查"""
return jsonify({
"status": "running",
"message": "服务器运行正常",
"version": "1.0"
})
if __name__ == '__main__':
# 获取端口,如果环境变量中没有设置,则使用默认端口5000
port = int(os.environ.get('PORT', 5000))
# 设置host为0.0.0.0使得服务可以被外部访问
app.run(host='0.0.0.0', port=port, debug=True)步骤2: 创建HTML模板
创建一个简单的HTML页面:
<!-- templates/index.html -->
<!DOCTYPE html>
<html lang="zh">
<head>
<meta charset="UTF-8">
<meta name="viewport" content="width=device-width, initial-scale=1.0">
<title>简单网页应用</title>
<link rel="stylesheet" href="{{ url_for('static', filename='css/style.css') }}">
</head>
<body>
<div class="container">
<h1>欢迎访问我的简单网页应用</h1>
<p>这是一个使用Flask创建的简单网页服务</p>
<div class="status-box">
<h2>服务器状态</h2>
<div id="status-message">正在检查状态...</div>
</div>
<div class="card">
<h2>向量数据库演示</h2>
<p>这里可以放置Milvus相关的操作和展示内容</p>
<button id="demo-button">运行演示</button>
<div id="demo-results" class="results-container"></div>
</div>
</div>
<script src="{{ url_for('static', filename='js/script.js') }}"></script>
</body>
</html>步骤3: 添加CSS样式
/* static/css/style.css */
body {
font-family: 'Arial', sans-serif;
line-height: 1.6;
margin: 0;
padding: 0;
background-color: #f4f4f4;
color: #333;
}
.container {
width: 80%;
max-width: 1100px;
margin: 0 auto;
padding: 20px;
}
h1 {
color: #2c3e50;
text-align: center;
margin-bottom: 30px;
border-bottom: 2px solid #3498db;
padding-bottom: 10px;
}
.status-box {
background-color: #ecf0f1;
border-radius: 5px;
padding: 15px;
margin-bottom: 20px;
box-shadow: 0 2px 5px rgba(0,0,0,0.1);
}
.card {
background: white;
border-radius: 5px;
padding: 20px;
margin-bottom: 20px;
box-shadow: 0 2px 5px rgba(0,0,0,0.1);
}
button {
background: #3498db;
color: white;
border: none;
padding: 10px 15px;
border-radius: 4px;
cursor: pointer;
font-size: 16px;
transition: background 0.3s;
}
button:hover {
background: #2980b9;
}
.results-container {
margin-top: 15px;
padding: 15px;
background: #f9f9f9;
border-left: 3px solid #3498db;
display: none;
white-space: pre-wrap;
}
.status-ok {
color: #27ae60;
}
.status-error {
color: #e74c3c;
}步骤4: 添加JavaScript脚本
// static/js/script.js
document.addEventListener('DOMContentLoaded', function() {
// 检查服务器状态
checkStatus();
// 为演示按钮添加点击事件
document.getElementById('demo-button').addEventListener('click', runDemo);
});
function checkStatus() {
const statusElement = document.getElementById('status-message');
fetch('/api/status')
.then(response => response.json())
.then(data => {
statusElement.innerHTML = `
<span class="status-ok">✓</span> ${data.message}<br>
<small>版本: ${data.version}</small>
`;
statusElement.classList.add('status-ok');
})
.catch(error => {
statusElement.textContent = `无法连接到服务器: ${error.message}`;
statusElement.classList.add('status-error');
});
}
function runDemo() {
const resultsElement = document.getElementById('demo-results');
resultsElement.style.display = 'block';
resultsElement.textContent = '正在运行演示...';
// 这里可以添加真实的API调用来运行Milvus演示
// 为了简单起见,我们这里只是模拟一个延迟响应
setTimeout(() => {
resultsElement.innerHTML = `
<h3>演示结果</h3>
<p>向量数据库连接成功!</p>
<p>创建集合: demo_collection_${Date.now()}</p>
<p>插入20条记录...</p>
<p>创建索引: IVF_FLAT</p>
<p>执行向量搜索...</p>
<p>查询完成!</p>
`;
}, 1500);
}步骤5: 目录结构
目录结构如下:
webpage/
├── app.py
├── templates/
│   └── index.html
└── static/
    ├── css/
    │   └── style.css
    └── js/
        └── script.js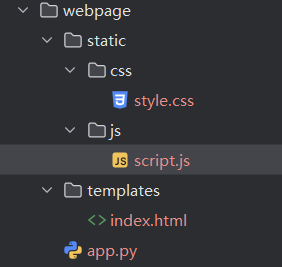
步骤6: 安装依赖并运行
-
在服务器上安装必要的依赖:
pip install flask
-
运行应用:
python app.py
如果你想让应用在后台运行:
nohup python app.py & 步骤7: 设置防火墙和访问权限
确保服务器防火墙允许5000端口(或你设置的其他端口)的访问:
# Ubuntu/Debian系统
sudo ufw allow 5000
# CentOS/RHEL系统
sudo firewall-cmd --zone=public --add-port=5000/tcp --permanent
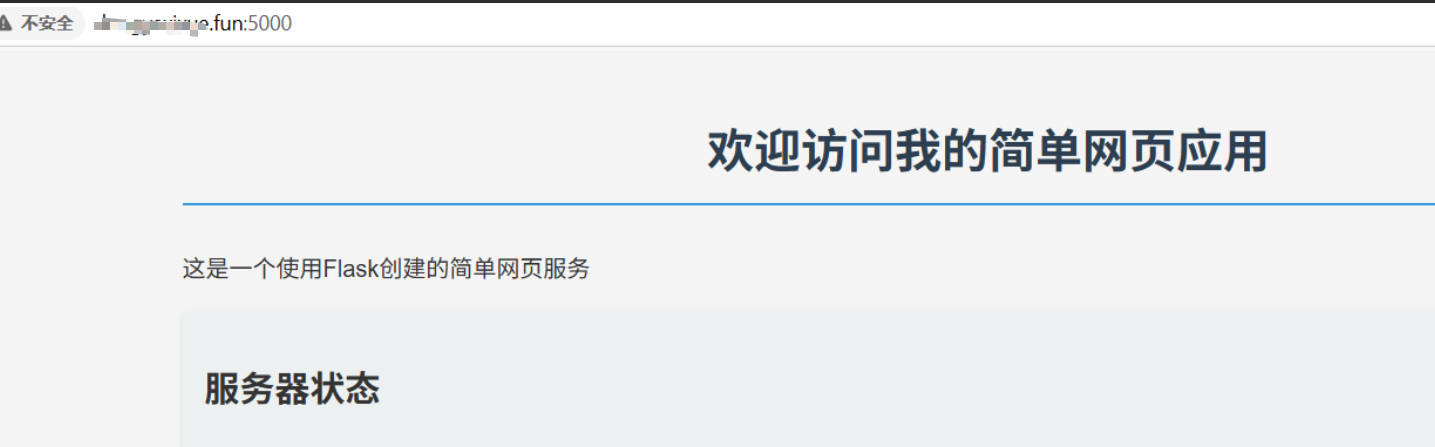
sudo firewall-cmd --reload步骤8: 访问网页
在本地浏览器中输入:

http://服务器IP地址:5000
例如:

http://192.168.1.100:5000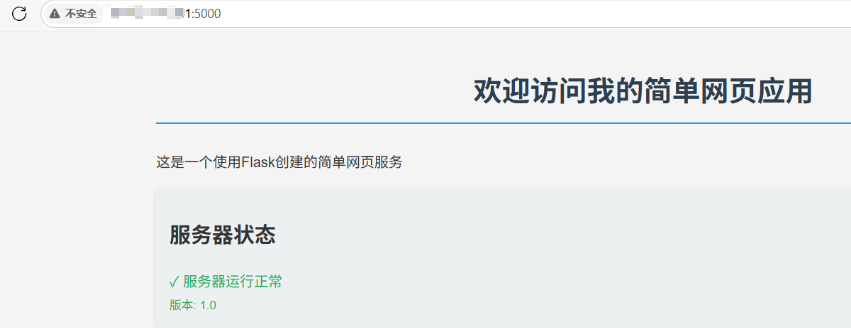
高级选项(可选)
-
使用Gunicorn作为生产级WSGI服务器:
pip install gunicorn
gunicorn -b 0.0.0.0:5000 app:app -
配置Nginx作为反向代理:
server {
listen 80;
server_name 你的域名或IP;
location / {
proxy_pass http://127.0.0.1:5000;
proxy_set_header Host host; proxy_set_header X-Real-IP remote_addr;
}
}
这样就能通过80端口直接访问你的应用。
通过这个简单的网页应用,你可以在浏览器中访问并展示相关内容。
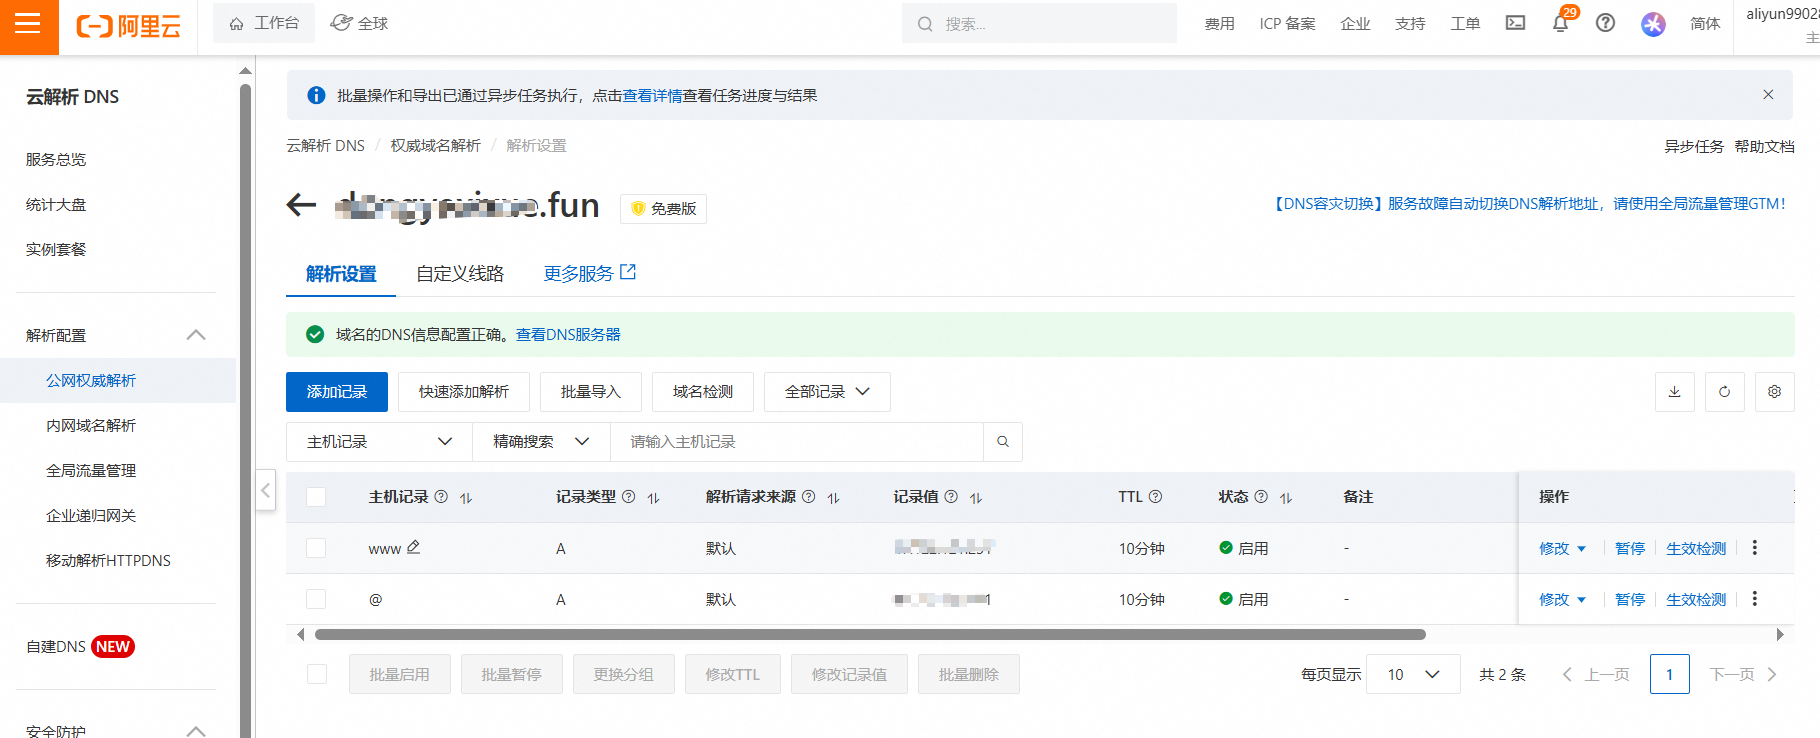
域名解析
先买个域名,然后再配
阿里云-控制台首页-云解析DNS-解析设置