
前言
本文是学习Stylet中导航Demo的总结,希望对你有所帮助。
Demo所在的位置:
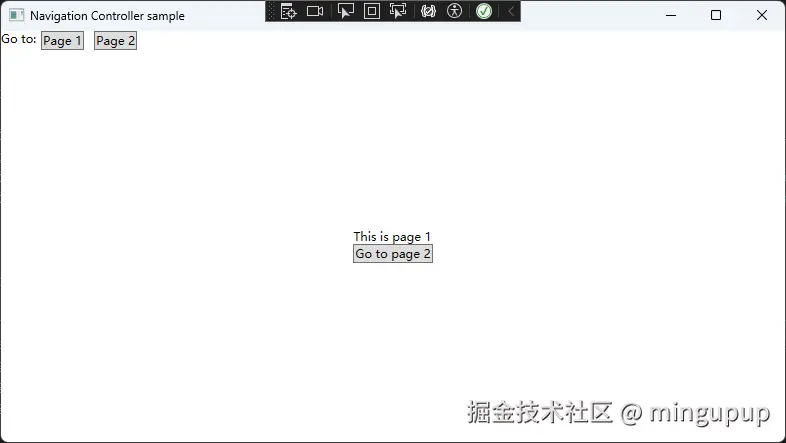
先看一下导航的效果:
首页
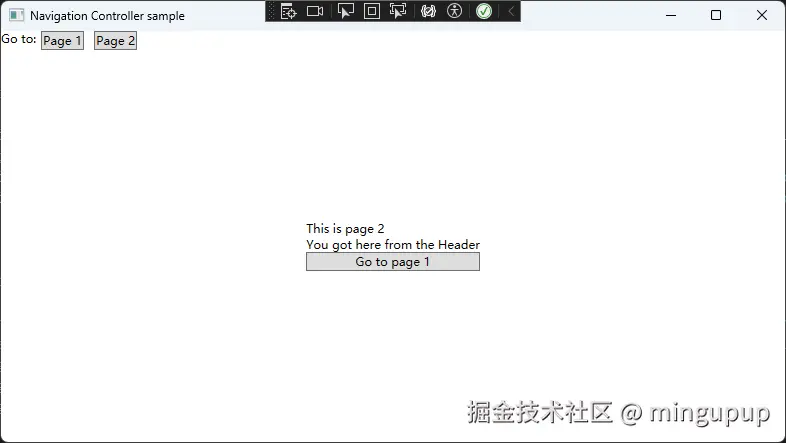
通过上面导航到Page 2:
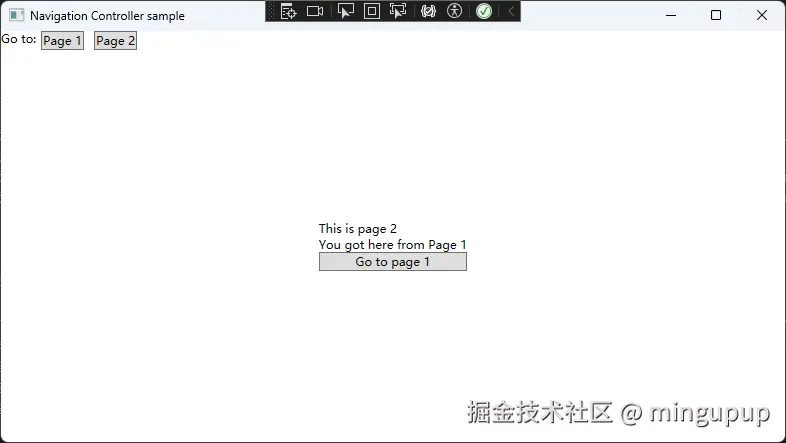
通过Page1导航到Page2:
Stylet是如何实现导航的?
先来看一下页面布局:
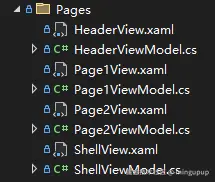
一共有ShellView、HeaderView、Page1View与Page2View一共四个View。
ShellView的xaml如下:
xaml
<Window x:Class="Stylet.Samples.NavigationController.Pages.ShellView"
        xmlns="http://schemas.microsoft.com/winfx/2006/xaml/presentation"
        xmlns:x="http://schemas.microsoft.com/winfx/2006/xaml"
        xmlns:d="http://schemas.microsoft.com/expression/blend/2008"
        xmlns:mc="http://schemas.openxmlformats.org/markup-compatibility/2006"
        xmlns:local="clr-namespace:Stylet.Samples.NavigationController.Pages"
        mc:Ignorable="d"
        Title="Navigation Controller sample" Height="450" Width="800"
        xmlns:s="https://github.com/canton7/Stylet"
        d:DataContext="{d:DesignInstance local:ShellViewModel}">
    <DockPanel>
        <ContentControl DockPanel.Dock="Top" s:View.Model="{Binding HeaderViewModel}"/>
        <ContentControl s:View.Model="{Binding ActiveItem}"/>
    </DockPanel>
</Window>页面的上部分通过s:View.Model="{Binding HeaderViewModel}"绑定到了HearView。
下部分通过s:View.Model="{Binding ActiveItem}"绑定到了激活项的View。
这里你可能会感到疑惑,ActiveItem这个属性是哪里来的呢?
ActiveItem这个属性是在ConductorBaseWithActiveItem<T>中定义的:
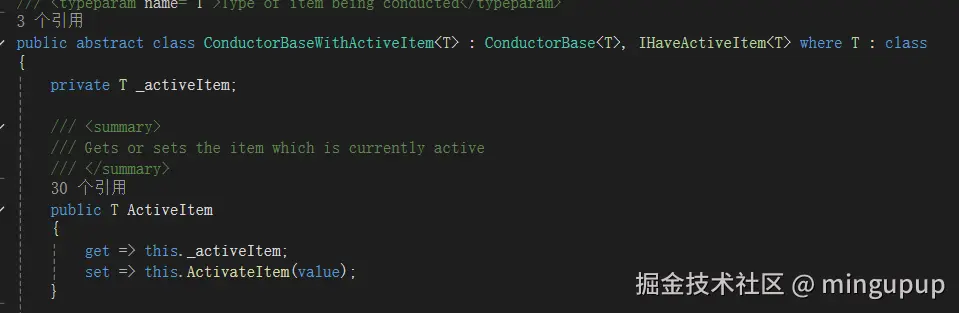
ShellViewModel继承 Conductor<IScreen>, Conductor<IScreen>继承 ConductorBaseWithActiveItem<T>。
这里你就把ActiveItem理解成导航激活的那个ViewModel就行了,这个例子中要么是Page1ViewModel要么就是Page2ViewModel。
现在来看一下NavigationController:
csharp
public class NavigationController : INavigationController
{
    private readonly Func<Page1ViewModel> page1ViewModelFactory;
    private readonly Func<Page2ViewModel> page2ViewModelFactory;

    public INavigationControllerDelegate Delegate { get; set; }

    public NavigationController(Func<Page1ViewModel> page1ViewModelFactory, Func<Page2ViewModel> page2ViewModelFactory)
    {
        this.page1ViewModelFactory = page1ViewModelFactory ?? throw new ArgumentNullException(nameof(page1ViewModelFactory));
        this.page2ViewModelFactory = page2ViewModelFactory ?? throw new ArgumentNullException(nameof(page2ViewModelFactory));
    }

    public void NavigateToPage1()
    {
        this.Delegate?.NavigateTo(this.page1ViewModelFactory());
    }

    public void NavigateToPage2(string initiator)
    {
        Page2ViewModel vm = this.page2ViewModelFactory();
        vm.Initiator = initiator;
        this.Delegate?.NavigateTo(vm);
    }
}
看一下INavigationController:
csharp
public interface INavigationController
{
    void NavigateToPage1();
    void NavigateToPage2(string initiator);
}首先解决一个疑问,这里为什么使用private readonly Func<Page1ViewModel> page1ViewModelFactory;而不是直接使用Page1ViewModel呢?
我们知道在C#中Func<Page1ViewModel>表示一个没有参数,返回值为Page1ViewModel的委托。
再看看Bootstrapper中的ConfigureIoC方法:
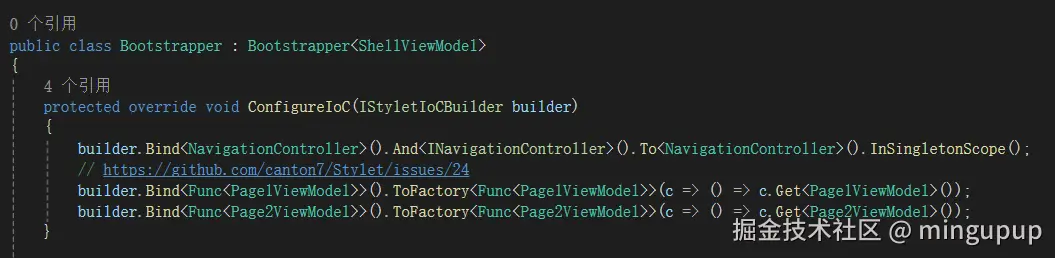
这样写的目的就是不是一开始就将Page1ViewModel与Page2ViewModel注入进来,而是在使用的时候才注入进来。
我们发现在NavigationController中具体实现导航是通过INavigationControllerDelegate接口实现的,让我们再来看看这个接口:
csharp
public interface INavigationControllerDelegate
{
    void NavigateTo(IScreen screen);
}
回到ShellViewModel,我们发现它实现了这个接口。
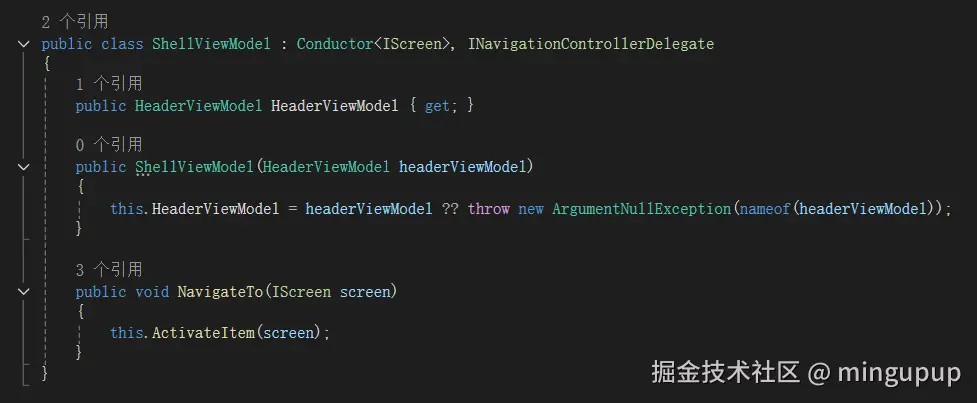
来看下它的实现:
csharp
 public void NavigateTo(IScreen screen)
 {
     this.ActivateItem(screen);
 }
使用的是 Conductor<T>中的ActivateItem方法:

当我们从页面1导航到页面2时:
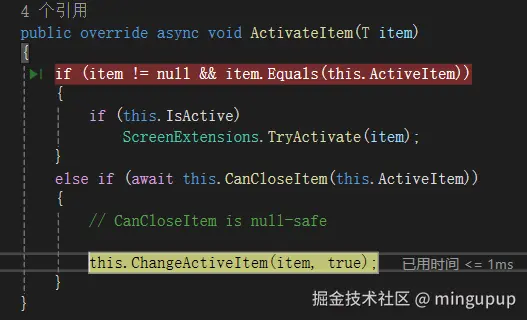
由于要导航去的Page2ViewModel不是当前的激活项Page1ViewModel,就会来到ChangeActiveItem方法:
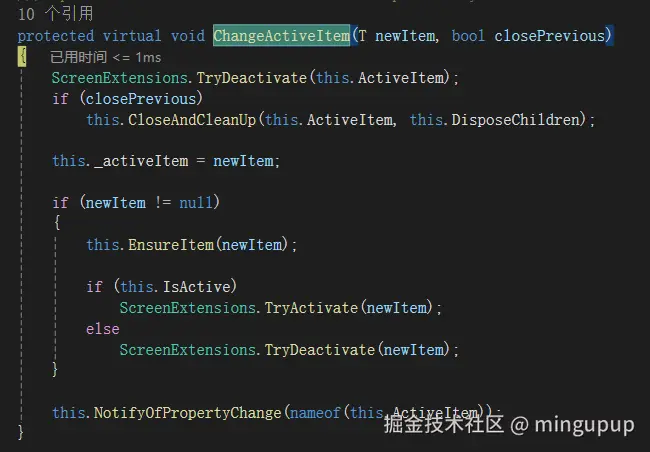
关闭之前的激活项,设置新的激活项。
就成功导航到Page2ViewModel了,然后根据Page2ViewModel就会找到Page2View了,这样就成功实现导航功能了。
最后再来看一下有一个循环依赖问题:
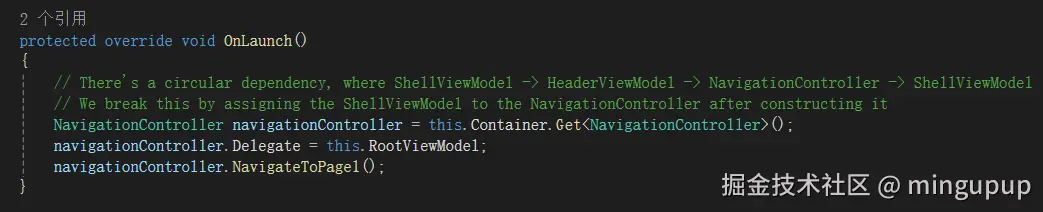
这里存在一个循环依赖关系:ShellViewModel -> HeaderViewModel -> NavigationController -> ShellViewModel。
如果直接在NavigationController的构造函数中注入ShellViewModel就会引发这个循环依赖问题。
作者通过在构建 NavigationController 后,再将 ShellViewModel 赋值给它的方式来打破这一循环依赖。
最后
Stylet导航功能的实现主要是通过Conductor<T>实现的。
从作者的这个示例中学习了如何使用Stylet实现一个导航应用,还是学习到了很多知识的,感谢作者的付出!!