1. 给 npm 包取个【唯一】的名字!
npm 包命名规范
- 只能包含小写字母(a-z)、数字(0-9)、连字符(-) 和 下划线(_),不能包含空格、大写字母、标点符号(除连字符和下划线外)或特殊字符(如 !、@、# 等)
- 长度不超过 214 个字符
- 建议以字母开头
- 连字符(-)常用于分隔单词(如 react-dom),下划线(_)使用较少,避免连续使用连字符或下划线(如 my--package 不推荐)
- 名称应简洁易记,体现包的具体功能
- 避免禁用的名称,如 fs、npm、package、install、publish 等
范围包
包名格式如下的为范围包,适合个人或企业发布的系列包,如 @vue/cli 等
dos
@scope/package-name- scope 是npm 用户名或组织名
在发布时,默认为私有范围包(仅自己或授权用户可见,且需要付费),可指定为公共范围包(所有人可见可安装,免费)
c
npm publish --access public检验包名是否唯一
c
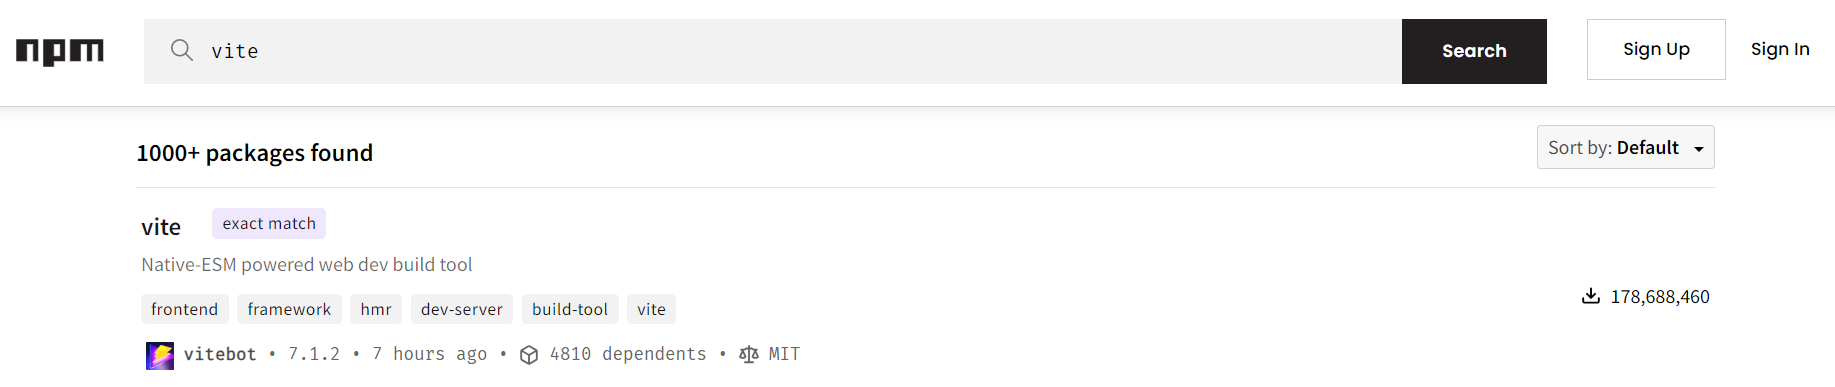
npm search 包名或在 npm官网 中搜索试试
2. 创建项目
推荐的项目目录结构
c
package-name/
├── package.json          # 包核心配置(必选)
├── README.md             # 包说明文档(必选)
├── LICENSE               # 开源许可证(推荐)
├── CHANGELOG.md          # 版本变更记录(推荐)
├── .gitignore            # Git 忽略文件
├── .npmignore            # npm 发布忽略文件(可选,默认继承.gitignore)
├── tsconfig.json         # TypeScript 配置(如使用 TS)
├── src/                  # 源代码目录(核心逻辑)
│   ├── index.js          # 入口文件(导出核心功能)
│   ├── utils/            # 工具函数/辅助模块
│   ├── core/             # 核心业务逻辑
│   ├── types/            # 类型定义(如使用 TS 或 JSDoc)
│   └── constants/        # 常量定义
├── dist/                 # 编译/打包后的输出目录
│   ├── index.js          # 编译后的入口文件
│   ├── index.cjs         # CommonJS 版本(如支持双模块)
│   └── index.mjs         # ES 模块版本(如支持双模块)
├── test/                 # 测试目录
│   ├── unit/             # 单元测试
│   ├── integration/      # 集成测试
│   └── fixtures/         # 测试用例数据
├── docs/                 # 详细文档(可选)
├── examples/             # 使用示例(可选)
└── scripts/ # 辅助脚本(如构建、发布脚本)- 小型包可简化结构(如省略 core/、docs/ 等目录)。
- 前端工具包可能需要 browser/ 目录区分浏览器环境代码。
- 命令行工具需在 package.json 中配置 bin 字段,并在 src/ 中添加 CLI 入口。
使用 vite 的库模式开发
因 vite 并没有提供现成简易的模板,建议按下文的方式创建项目
以包名 @ecclub/util 为例,创建文件夹 "util" ,内部目录结构为:
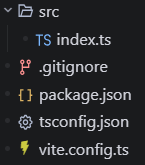
具体代码如下:
src/index.ts
按需改成任意业务代码,但一定要用 export 对外导出!
c
export function sum(a: number, b: number) {
  return a + b;
}
.gitignore
c
node_modules/
dist/
package.json
需自定义的字段有:
- name 包的名称
- description 包的描述
- keywords 包的关键词数组
- author 包的作者
相关的依赖根据需要添加,已添加的依赖可以考虑升级到最新版
c
{
  "name": "@ecclub/util",
  "version": "1.0.0",
  "type": "module",
  "description": "EC编程俱乐部开发的工具库",
  "main": "./dist/index.umd.cjs",
  "module": "./dist/index.js",
  "types": "./dist/index.d.ts",
  "files": [
    "dist",
    "index.d.ts"
  ],
  "scripts": {
    "build": "tsc && vite build"
  },
  "keywords": [
    "util"
  ],
  "author": "朝阳 <603092378@qq.com>",
  "license": "MIT",
  "devDependencies": {
    "typescript": "~5.9.2",
    "vite": "^7.0.6",
    "vite-plugin-dts": "^4.5.4"
  }
}
tsconfig.json
基本无需更改,可根据需要添加 ts 配置
c
{
  "compilerOptions": {
    "target": "es2022",
    "useDefineForClassFields": true,
    "module": "esnext",
    "lib": ["ES2022", "DOM", "DOM.Iterable"],
    "skipLibCheck": true,

    /* Bundler mode */
    "moduleResolution": "bundler",
    "allowImportingTsExtensions": true,
    "isolatedModules": true,
    "moduleDetection": "force",
    "noEmit": true,

    /* Linting */
    "strict": true,
    "noUnusedLocals": true,
    "noUnusedParameters": true,
    "noFallthroughCasesInSwitch": true,
    "noUncheckedSideEffectImports": true
  },
  "include": ["src"]
}
vite.config.ts
基本无需更改,可根据需要添加 vite 配置
c
import { defineConfig } from "vite";
import dts from "vite-plugin-dts";

export default defineConfig({
  build: {
    lib: {
      entry: "./src/index.ts",
      name: "index",
      fileName: "index",
    },
  },
  plugins: [
    dts({
      // 生成类型声明文件
      insertTypesEntry: true,
    }),
  ],
});
使用 npm 开发
以包名 mypack-test 为例
-
新建文件夹 mypack-test
-
用vscode 打开文件夹 mypack-test
-
终端执行 npm init 生成 package.json 文件,按提示输入相关信息或一路回车,最后输入 y 回车即可。

蓝框内的部分为包的信息,可根据需要自行输入(或等生成package.json后再修改)
package.json 中各字段的含义详见
https://blog.csdn.net/weixin_41192489/article/details/150345315 -
新建文件index.js,内容为
要点:定义的函数/变量一定要对外导出!
js/* 函数功能------求和 参数------两个数字 */ function sum(a, b) { return a + b; } module.exports = { sum: sum, }; -
新建文件README.md,内容为包相关的信息
-
新建文件 .npmignore,内容为发布时不需要打包的文件,如
cppnode_modules *.log
3. 打包项目
若使用 npm 开发则跳过此步
此处以 vite 库模式开发为例:
先安装依赖
c
npm i再执行打包脚本

得到
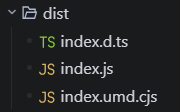
4. 发布 npm 包
先检查 npm 的下载源是否为官方源,若不是,则需重新设置为官方源
dos
npm config set registry https://registry.npmjs.org/注册 npm 账号
dos
npm adduser或者直接去官网注册 https://www.npmjs.com/
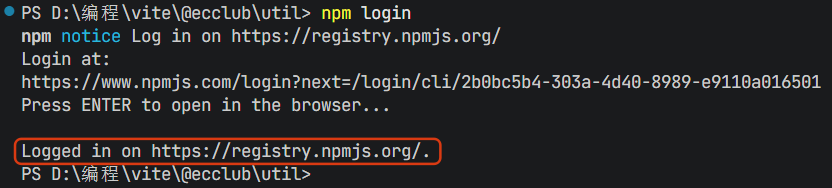
登录 npm 账号
dos
npm login
按提示按下 Enter 后,会用浏览器打开 npm 官网进行登录

输入账号密码后,点击登录按钮
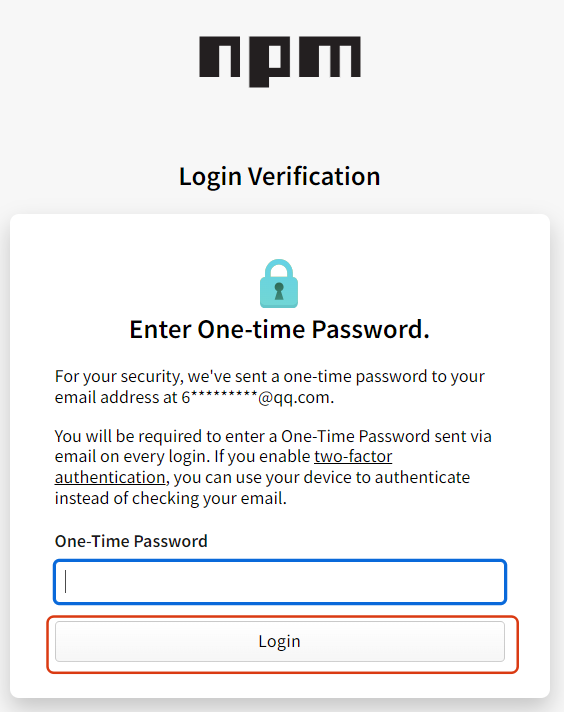
输入注册 npm 账号时绑定的邮箱中收到的一次性验证码后点击登录按钮
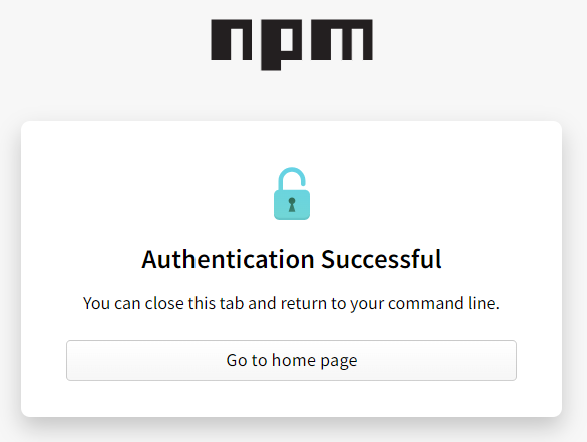
回到命令行,可见已完成登录
发布非范围包
dos
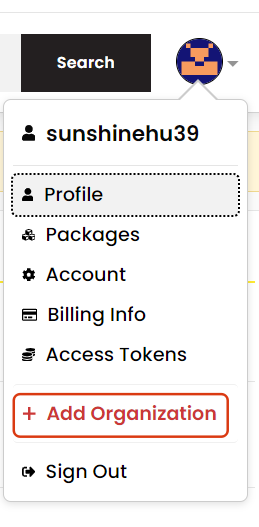
npm publish发布范围包
需先在 npm 官网创建组织
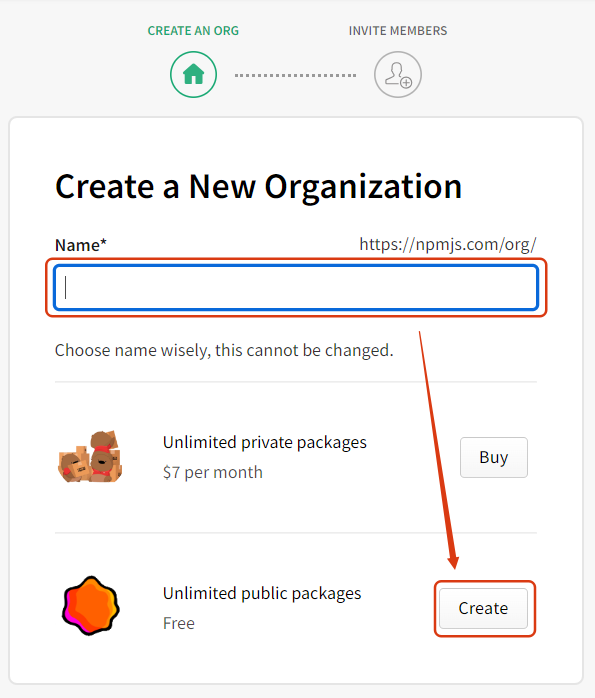
输入自定义的组织名(需全网唯一)后点击 Create 按钮
创建成功后,可见

在 package.json 中,我们定义的包名为
c
"name": "@ecclub/util",现在可以发布包啦!
c
npm publish --access public验证是否发布成功
方法一:在官网(按最新发布)搜索包名
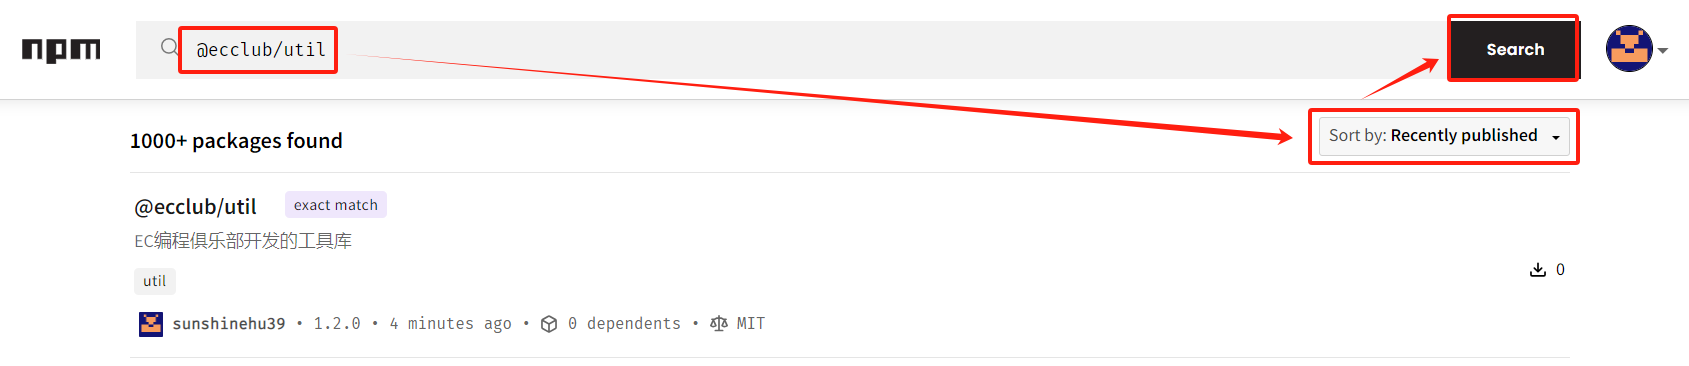
方法二:用命令行验证
c
npm view @ecclub/util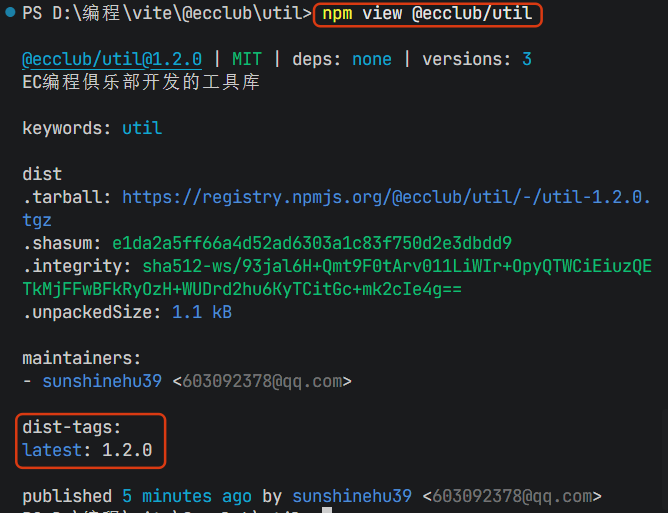
方法三:安装包试用
c
npm i @ecclub/util页面中使用
c
import { sum } from "@ecclub/util";

console.log(sum(1, 2)); // 得到 3
5. 修改 npm 包后重新发布
打包项目
同第 3 步
更新版本号
- 修复bug,例如 1.0.0 → 1.0.1
ts
npm version patch- 新增功能,例如 1.0.1 → 1.1.0
ts
npm version minor - 不兼容旧版本的更新,需升级主版本,如 1.1.0 → 2.0.0
ts
npm version major可见 package.json 中版本号发生了变化
c
"version": "1.2.0",(也可不执行命令,直接手动修改 package.json 中的版本号)
发布修改后的 npm 包
同第 4 步