一、实现"图片预览页"中的数据获取:
由于先前在"分类列表页"中已经将获取到的图片列表数据存储在了本地中,因此在图片预览页中只需要从本地中拿数据即可:
ini
const storgClassList = uni.getStorageSync("storgClassList") || [];然后又因为"图片预览页"中要求显示的是大图效果,而获取到的图片数据中的图片是小图效果,因此要先遍历图片数组,给每一个图片对象都添加大图属性。
javascript
 const classList=ref([])
 classList.value=storgClassList.map((item)=>{
    return {
       ...item,
       picurl:item.smallPicurl.replace("_small.webp", ".jpg")
     }
   })
然后再去用数据渲染页面:
ini
<swiper-item v-for="item in classList" :key="item._id">
  <image :src="item.picurl" mode="" />
</swiper-item>
二、实现用户在"每日推荐"或者在"分类列表页"中点击图片,可以跳转到"图片预览页"中,并预览当前被点击的图片:
"每日推荐"中实现跳转:
xml
  <!-- 每日推荐 -->
		<view class="select" v-if="randomList">
			<common-title>
				<template #name>每日推荐</template>
				<template #custom>
					<view class="date">
						<uni-icons type="calendar" size="18"></uni-icons>
						<view class="text">
							<uni-dateformat :date="Date.now()" format="dd日"></uni-dateformat>
						</view>
					</view>
				</template>
			</common-title>
			<view class="content">
				<scroll-view scroll-x>
					<view class="box" v-for="item in randomList" :key="item._id" @click="goPreview(item._id)">
						<image :src="item.smallPicurl" mode="aspectFill"></image>
					</view>
				</scroll-view>
			</view>
		</view>
javascript
 const goPreview = (id) => {
		//由于"图片预览页"中显示的数据都是从本地中获取的
		//因此跳转到预览页之前,需要先把每日推荐中的图片数据存储在本地中。
		// 在执行跳转到预览页。
		uni.setStorageSync("storgClassList", randomList.value);
		uni.navigateTo({
			url: "/pages/preview/preview?id=" + id
		})
	}
"分类列表"页中实现跳转到"图片预览页";
xml
<template>
	<!-- 加载盒子 -->
	<view class="loadingLayout" v-if="classList.length===0 && noData===false">
		<uni-load-more status="loading"></uni-load-more>
	</view>
	<!-- 内容盒子 -->
    <view class="classlist" v-if="classList">
        <view class="content">
			<navigator :url="'/pages/preview/preview?id='+item._id" class="item" v-for="item in classList" :key="item._id">
				<image :src="item.smallPicurl" mode="aspectFill"></image>
			</navigator>
		</view>
    </view>
	<view class="loadingLayout" v-if="classList.length!==0 || noData===true">
				<uni-load-more :status="noData?'noMore':'loading'"></uni-load-more>
	</view>

	<view class="safe-area-inset-bottom"></view>
</template>
再到"图片预览页"中获取其他页面跳转来时传递的id值:(在onLoad生命周期函数中接收)
ini
let currentId=ref(null)  //当前用户选中的图片Id值
const currentInfo = ref(null); //当前用户选中的图片的全部信息

onLoad((e)=>{
   let {id=null}=e
   //再根据图片的id值找到对应图片的索引值
   currentId.value=id
   currentIndex.value = classList.value.findIndex(item => item._id == currentId.value)

   //找到对应的图片索引后,利用索引,可以拿到对应图片的全部信息
   currentInfo.value = classList.value[currentIndex.value]
   })
再利用swiper组件的current属性:

current属性可以指定当前轮播图组件中正在显示的图片索引值:
ruby
<swiper :current="currentIndex"></swiper>三、实现图片左右切换时,相应的图片显示:
轮播图组件在进行左右切换时,会触发@change事件,并且会将当前显示的图片的索引作为参数传入:
ini
<swiper :current="currentIndex" @change="swiperChange"></swiper>
ini
const swiperChange=(e)=>{
  currentIndex.value=e.detail.current
  currentInfo.value=classList.value[currentIndex.value]
 }
实现用户选中的图片的信息渲染:
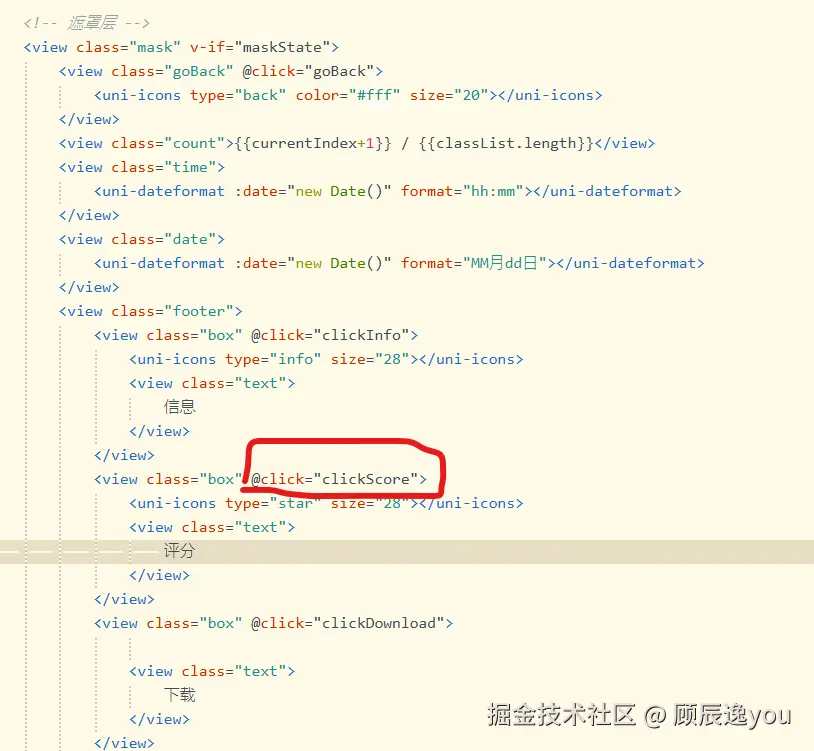
"图片页数"显示:
ini
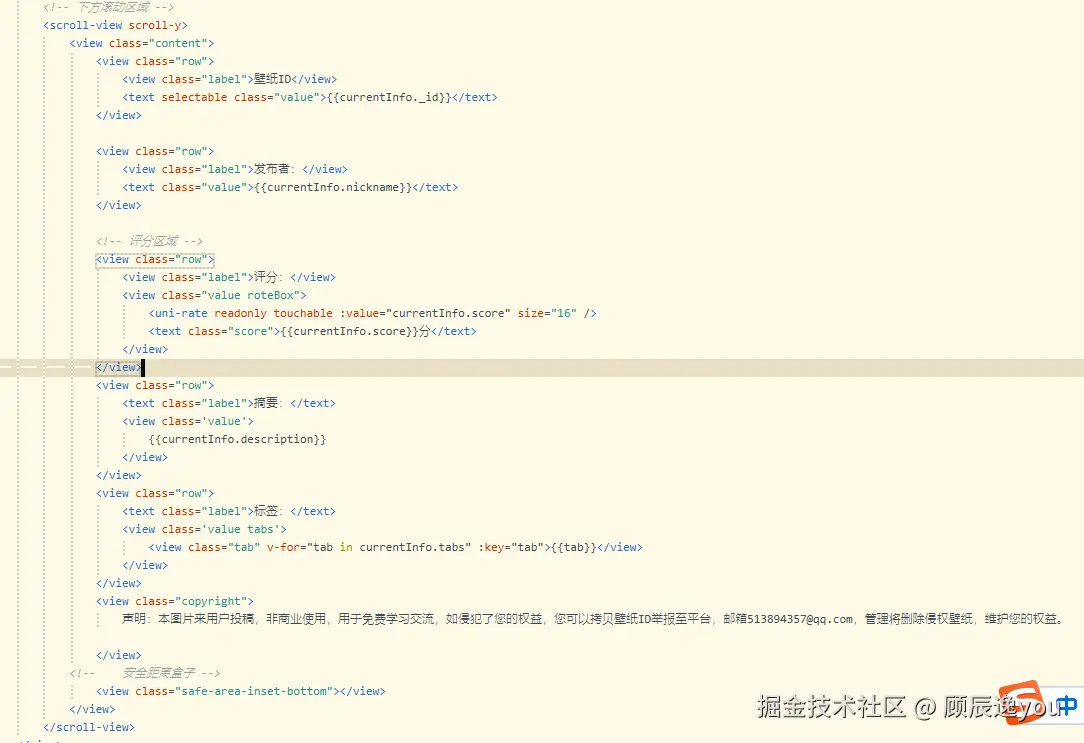
<view class="count">{{currentIndex+1}} / {{classList.length}}</view>"图片id显示":
ini
<view class="row">
   <view class="label">壁纸ID</view>
   <text selectable class="value">{{currentInfo._id}}</text>
</view>
"发布者信息"显示:
ini
<view class="row">
   <view class="label">发布者:</view>
   <text class="value">{{currentInfo.nickname}}</text>
</view>
"评分显示":

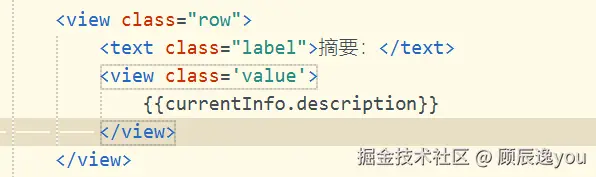
"图片摘要"显示:
"信息弹框"中的标签显示:

!!!四、进行性能优化
即在图片预览的过程中,不要直接把所有的图片资源都直接加载出来,这样会浪费性能。
处理方式:
提前将快要显示的图片的前、后张都加载出来:
1、准备一个数组用于存放已加载的图片的索引值 2、封装一个函数专门用于处理加载图片
javascript
 let readImgs=ref([])
 //往存放已加载的图片的索引值数组中添加数据:

 const readImgsFn=()=>{
   readImgs.value.push(
      currentIndex.value<=0? classList.value.length-1 : currentIndex.value--, //前一张图片的索引
      currentIndex.value,  //当前正在显示的图片的索引
      currentIndex.value>=classList.value.length? 0:currentIndex.value++ //后一张图片的索引
   )
   //最后再对索引数组进行去重,避免图片重复加载
   readImgs.value = [...new Set(readImgs.value)];
 }
scss
 onLoad((e)=>{
    //接收从其他页面跳转过来时携带的参数id
    currentId.value=e.id
    //再根据图片的id值找到对应的图片的索引值
    currentIndex.value=classList.value.findIndex(item=>item.id==id)
    //再根据图片的索引值获取到对应图片的全部信息
    currentInfo.value=classList.value[currentIndex.value]
    //最后进行加载图片,根据当前用户选择的图片id对应的图片索引,加载出它的前后两张图片数据
    //直接调用封装好的函数
    readImgFn()

  })
scss
const swiperChange=(e)=>{
   //用户在组件中左右切换图片显示时,会切换当前显示的图片的索引值

   //因此也要将其切换到的图片的前后两张都先加载出来

   currentIndex.value=e
   currentInfo.value=classList.value[currentIndex.value]

   //直接调用封装好的函数
   readImgsFn()
 })
最后再进行判断显示:
ruby
<swiper>
   <swiper-item v-for="(item,index) in classList" :key="" :current="" @change="">
   //如果当前正在显示的图片的索引值包含在已加载的图片索引值数组中,则图片直接显示
   <image v-if="readImgs.includes(index)" :src="" mode="" />
   </>
</>
五、在"图片预览页"中添加一个"安全距离"盒子,避免内容被遮挡
 给"安全盒子"设置一个高度,添加先前设置好的通用样式类名.safe-area-inset-bottom
!!!六、实现"评分"功能:
用户点击"图片预览页"下方工具栏中的评分图标,会打开一个评分弹框。然后可以进行评分:
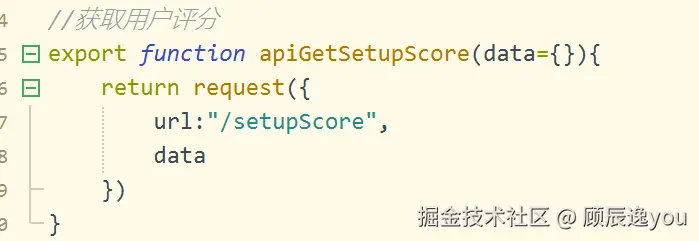
1、封装一个接口方法用于向服务器请求评分:
api/apis.js:
2、用户在打开评分弹框之前需要先判断当前图片是否已被评分:
a、准备一个变量用来表示图片评分的状态
csharp
let isScore=ref(false)
b、准备一个变量用来表示评分值
csharp
let userScore=ref(0)
** 注意,如果当前图片已有评分值(已被评分),则图片信息中会含有userScore属性值; 未被评分的图片中userScore的值是0。 **
所以可以通过看图片信息中是否有userScore值,来判断用户是否评过分。
ini
const clickScore=()=>{
if(currentInfo.value.userScore)
   {
      //如果当前图片信息中含有userScore属性值,则说明该图片已被评分
      isScore.value=true  //更改评分状态为true
      userScore.value=currentInfo.value.userScore   //更改当前图片的分值
   }
   scorePopup.value.open()  //弹框显示
}
若图片已被评分,则弹框打开后,标题会显示"评分过了~",否则显示"壁纸评分":
ini
  //评分弹框:
  <uni-popup ref="scorePopup">
      ...
      <view class="title">{{isScore?'评分过了~':'壁纸评分'}}
  </uni-popup>
若图片已被评分,则弹框打开后,"确认评分"按钮会被禁用:
ini
//评分弹框
<uni-popup ref="scorePopup">

<button @click="submitScore" :disabled="isScore || userScore==0" type="default" size="mini" plain>确认评分</button>
且"评分组件"也是一样的,当图片已被评分,则"评分组件"也会被禁用:
ini
<uni-popup ref="">

<view class="content">

//利用v-model双向绑定评分值,组件改变,则分值跟着改变,分值改变,组件中的显示也改变。   当图片已被评分时,组件禁用
	<uni-rate v-model="userScore" allowHalf :disabled="isScore" disabled-color="#FFCA3E" />

	<text class="text">{{userScore}}分</text>

</view>
3、用户在"评分弹框"中点击"确认评分"按钮,触发submitScore方法:(调用接口方法请求评分)
"评分弹框"中:
ini
<view class="footer">
	<button @click="submitScore" type="default" size="mini" plain>确认评分</button>
</view>
scss
const submitScore=async()=>{
   //先显示"加载中"图标:
   uni.showLoading({
      title:"加载中..."
    })

  //准备接口方法需要的参数
  let {classid,_id:wallId}=currentInfo.value

  //调用接口方法
  let res=await apiGetSetupScore({
     classid,
     wallId,
     userScore:userScore.value
   })

  //隐藏"加载中"图标:

  uni.hideLoading()

  //判断是否获取评分成功
  if(res.errCode===0)
  {
     uni.showToast({
       title:"评分成功" ,
       icon:"none"
     })

    //更改当前图片显示的评分值
    classList.value[currentIndex.value].userScore=userScore.value

    //更改本地中原本存储的图片列表(因为图片的评分值改变了)

    uni.setStorageSync("storgClassList", classList.value);

    //且关闭弹框

    clickScoreClose()
 }}
4、关闭弹框:
ini
<view class="close" @click="clickScoreClose">

	<uni-icons type="closeempty" size="18" color="#999"></uni-icons>

</view>


const clickScoreClose=()=>{
   scorePopup.value.close()
   userScore.value=0
   isScore=false
 }
五、!!!实现图片下载功能:
当用户点击"图片预览页"下方工具栏中的"下载图标",开始执行下载:
利用uniapp中的uni.saveImageToPhotosAlbum()方法(用法官网可见)
arduino
  uni.saveImageToPhotosAlbum({
     filePath:图片文件路径 //该路径只能是本地临时文件路径或者永久文件路径,不可以是网络图片路径
   })
所以要先将网络图片路径转化成本地路径:
利用uni.getImageInfo()方法
css
uni.getImageInfo({
  src:网络图片路径
})
less
const clickDownload=()=>{
   uni.getImageInfo({
      //先将网络图片路径转化成本地路径
      src:currentInfo.value.picurl,

      success:(res)=>{
        //成功转化后,执行success中的回调函数,开始执行下载图片
        uni.saveImageToPhotosAlbum({
           filePath:res.path,

           //成功下载后,执行success回调函数,弹出成功提示
           success:(res)=>{
              uni.showToast({
                title:"保存成功,请到相册查看",
                Icon:"none"
              })
             },

          //下载失败时,执行fail中的回调函数
          fail:(err)=>{

             //判断失败原因:第一种是用户点击下载后,又点击取消;第二种是用户未进行授权
             if(err.errMsg=='saveImageToPhotosAlbum:fail cancel')
           {
              //说明属于第一种失败原因

              uni.showToast({
                 title:"保存失败,请重新点击下载",
                 Icon:"none"
               })
              return;
         }

         //否则就是属于第二种,用户未进行授权

         //则弹出提示,引导用户进行授权

         uni.showModal({
            title:"授权提示",
            content:"需要授权保存相册",

            //用户点击确认后,执行success中的回调函数

            success:(res)=>{
               if(res.confirm)
               {
                  //如果用户点击确认,则打开授权设置界面
                  uni.openSetting({

                  //成功打开授权设置界面后,执行success中的回调函数
                     success:(setting)=>{
                        if(setting.authSetting['scope.writePhotosAlbum'])
                        {
                           //如果出现setting.authSetting['scoped.writePhotosAlbum'],则说明用户授权成功,则弹出提示,授权成功

                          uni.showToast({
                            title:"获取授权成功",
                            icon:"none"
                          })
                        }else{

                          //否则授权失败
                          uni.showToast({
                            title:"获取权限失败",
                            icon:"none"
                         })
      }}})}}})}


}
但是这个是在除了H5平台,才会这样执行下载图片,如果是在H5平台,则只能提示用户长按图片保存
所以这里也要进行一个条件编译
eg:
php
//#ifdef H5
    uni.showModal({
      content:"请长按图片保存"
      showCancel:false
    })
//#endif还需要先打开"mp.weixin.qq.com"-->找到"开发管理"-->"找到服务器域名"-->
request合法域名: (是接口基地址地址)
downloadFile合法域名:
mp-0cb878b7-99ec-44ea-8246-12b123304b05.cdn.bspapp.com
六、利用try{}catch处理请求下载图片时出现的异常问题
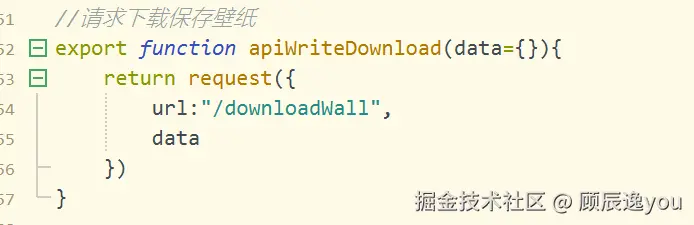
1、封装接口方法用于向服务器请求下载保存图片:
api/apis.js:
2、在"图片预览页"中点击"下载"图标时,执行下载操作时,调用接口方法,请求下载保存图片:
点击"下载图标",触发事件---显示加载中图标---进行条件编译---准备请求参数---调用接口方法,请求下载保存图片---请求失败时抛出错误信息---请求成功后,开始执行下载操作---使用uni.getImageInfo将网络图片地址转化成本地路径---成功后执行success,使用uni.saveImageToPhotosAlbum---下载成功执行success,弹出成功提示---下载失败执行fail,判断失败原因,属于第二种的话,利用uni.openSetting打开授权界面,成功打开后,执行success,让用户实现授权---成功授权后弹出提示---失败也要弹出提示---最后执行complete中的操作(关闭加载中图标。)
javascript
const clickDownload=async()=>{

// #ifdef H5
     uni.showModal({
	      content: "请长按保存壁纸",
	      showCancel: false
    })
// #endif

// #ifndef H5
     try {
        //显示"加载中"图标
        uni.showLoading({
          title:"加载中...",
          mask:true
       })

       //准备接口需要的参数
       let {classid,_id:wallId}=currentInfo.value

       //调用接口方法,传入参数,请求下载保存图片
       let res=await apiWriteDownload({classid,wallId})

       //如果res.errCode!==0,则抛出错误信息
       if(res.errCode!==0) throw res;

       //请求成功后,开始执行下载操作:

       uni.getImageInfo({
          ...
          uni.saveImageToPhotosAlbum({
             ...
             success:...  //下载成功
             fail:...      //下载失败
             complete:()=>{
                uni.hideLoading()
              }
            })
         })
       }catch(err)=>{
          uni.hideLoading()
        }
    //#endif
七、实现将"图片预览页"分享给朋友或者分享到朋友圈:
利用onShareAppMessage和onShareTimeline
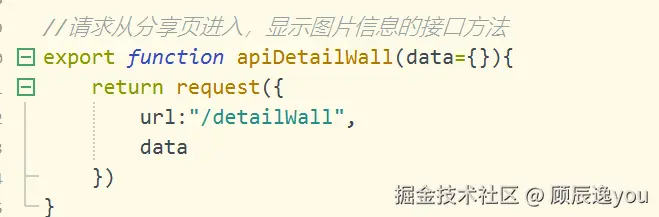
1、封装一个接口方法用于请求从"分享页"中点击进去跳转显示的图片预览页:
2、当用户点击"分享按钮"时,触发onShareAppMessage/onShareTimeline
javascript
onShareAppMessage((e)=>{
  return {
     title:"咸虾米壁纸",
     path:"/pages/preview/preview?id="+currentId.value+"type=share"
  }
})
由于在图片预览页中,是要求获取用户点击的图片的id值的(通过传入的图片id值,找到当前要显示的图片的索引值,再获取到当前显示图片的全部信息),因此在分享时,也要将当前被分享的图片id值携带传入。
还需要携带一个参数type=share传入,这样才能知道什么时候是从"分享页"点击进入的,什么时候是从"分类列表页"中点击进入的。
携带参数type=share表示当前是从"分享页"点击进入的。
javascript
onLoad((e)=>{
  currentId.value=e.id

  if(e.type==='share'){
     //则表示当前界面是由用户从"分享页"点击进入的
     const res=await apiDetailWall({id:currentId.value})
     //同样也要给每一个图片对象都添加"大图属性"

     classList.value=res.data.map((item)=>{
       return {
         ...item,
         picurl:item.smallPicurl.replace("_small.webp", ".jpg")
       }
    })
 }
 ...})
javascript
//分享朋友圈

onShareTimeline(()=>{

	return {

		title:"咸虾米壁纸",

		query:"id="+currentId.value+"&type=share"

	}

})
八、处理"图片预览页"中点击"信息图标"后出现的弹框中,下方未占满空间问题
先清除组件自带的底部安全距离 uni_modules/uni-popup/components/uni-popup/uni.popup.vue
再给弹框组件下方自己添加一个盒子,给它设置安全距离(添加类名.safe-area..)
九、完成页面通屏效果显示:

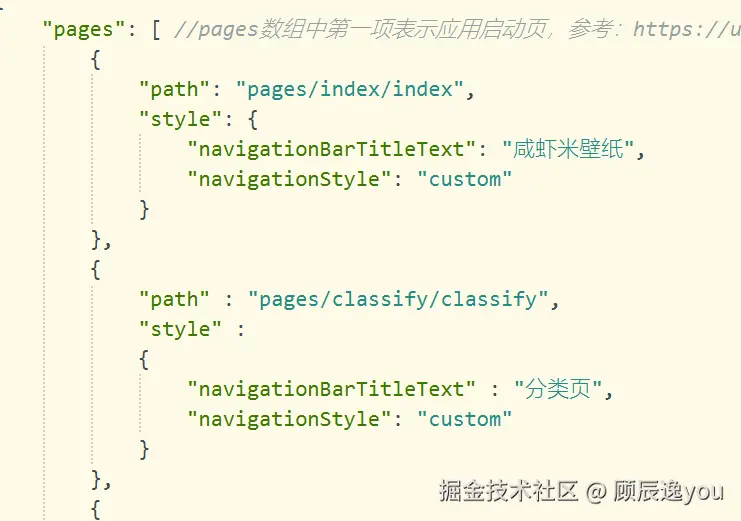
添加navigationStyle:"custom"
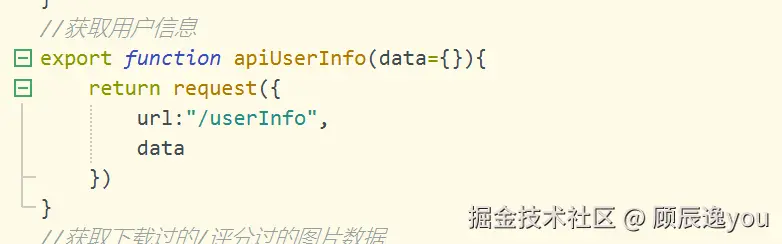
十、获取"个人中心页"的真实数据显示:
1、封装接口方法
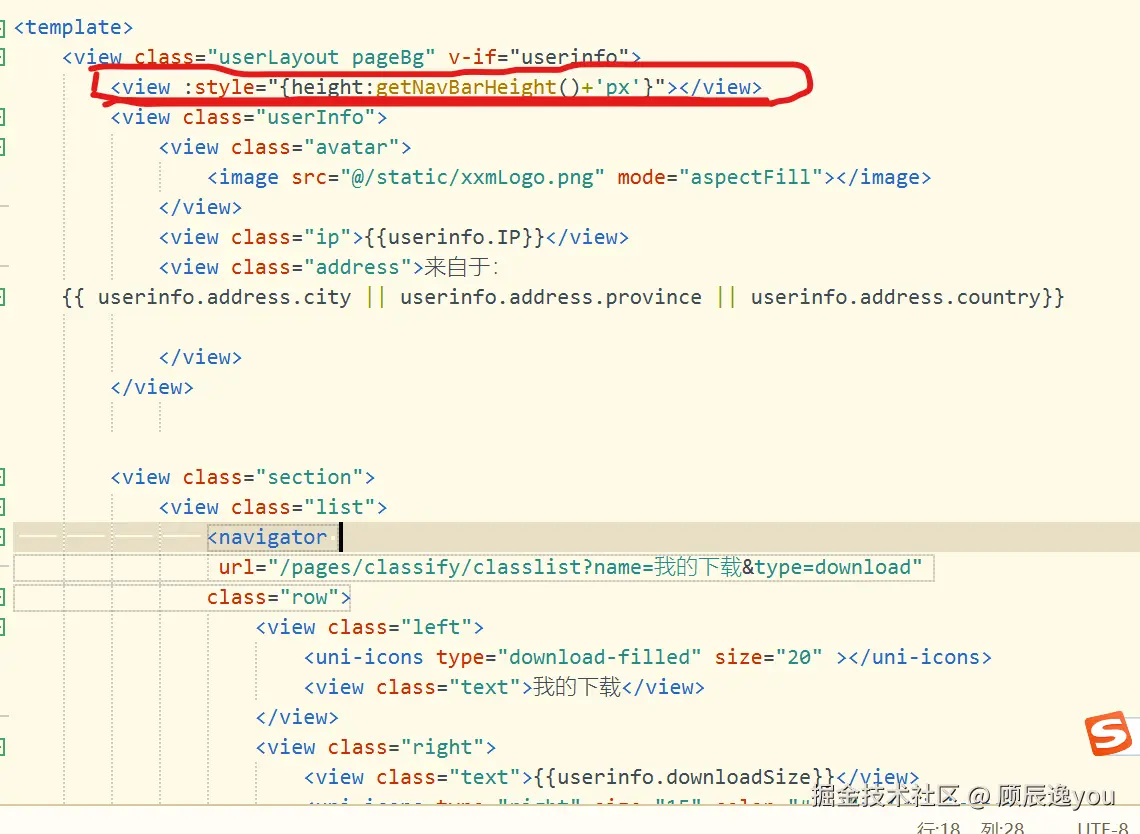
2、设置顶部安全距离:
由于"个人中心页"顶部未设置状态栏高度,因此要先给内容顶部添加一个空盒子,并给它设置状态栏高度。
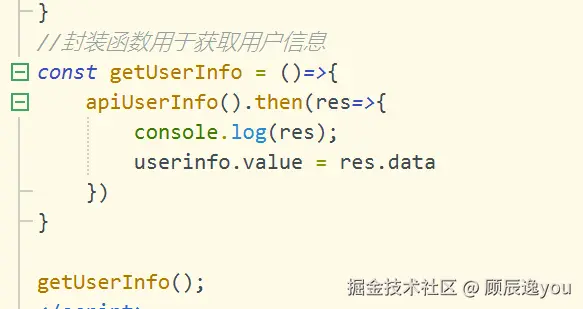
3、封装一个函数用于调用接口方法,获取数据
4、实现点击"我的下载","我的评分"可以跳转到"分类列表页",并且显示出"下载过的"/"评分过的"图片数据
首先封装一个接口方法用于请求"下载过的"/"评分过的"图片数据:
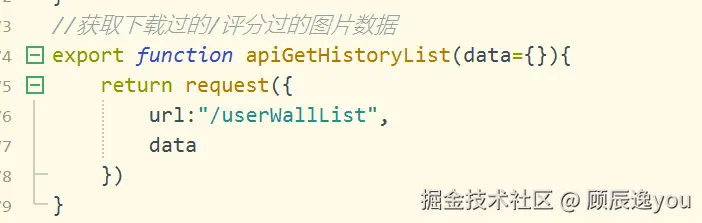
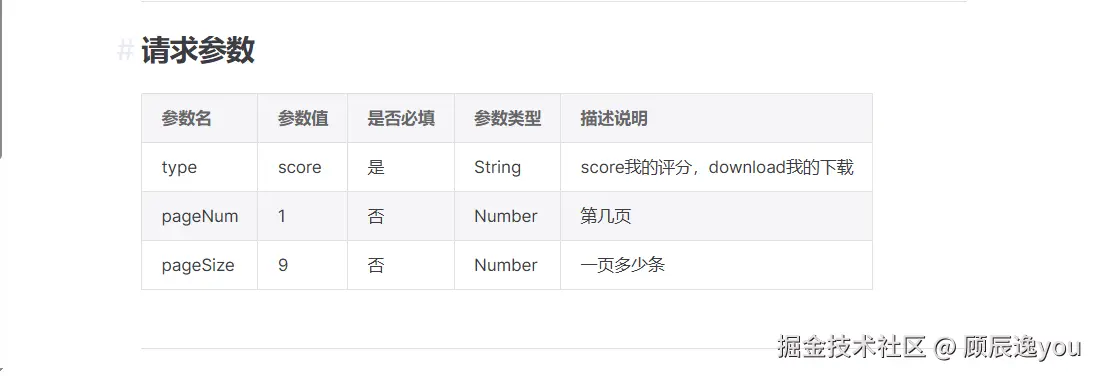
该接口方法要求传入这三个参数。
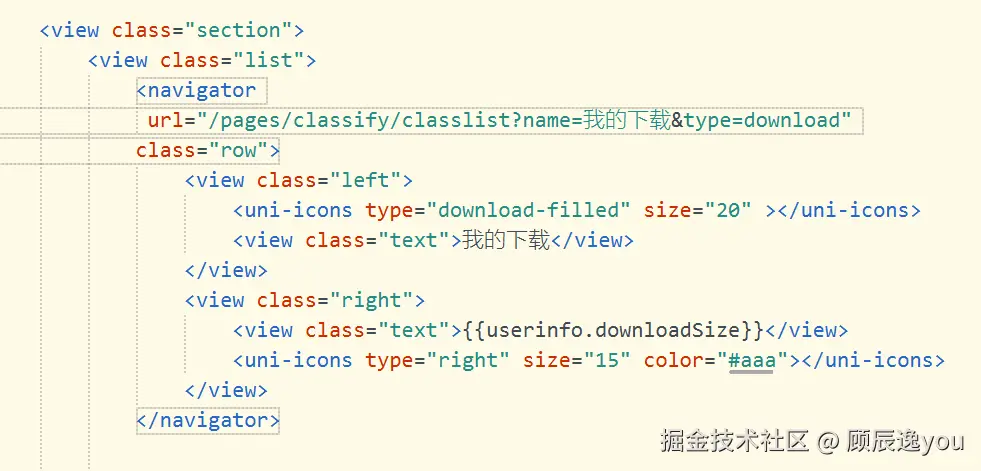
"我的下载":
ini
<navigator url="/pages/classify/classlist?name=我的下载&type=download">因为接口要求传入参数type,所以路由跳转时需要携带参数type
"我的评分":
ini
<navigator url="/pages/classify/classlist?name=我的评分&type=score">传入参数name是因为"分类列表页"中要求显示导航栏标题,所以要携带参数name传入
"分类列表页"中:
typescript
let queryParams={
   pageSize:12
   pageNmu:1
 }

onLoad((e)=>{
   let {id=null,name=null,type=null}=e

   if(id) queryParams.classid=id  //如果id值存在,则说明是从"专题推荐"或者是"分类页"中点击图片跳转而来,则给请求对象queryParams添加属性classid

   if(type) queryParams.type=type  //如果type值存在,则说明是从"个人中心页"点击"我的下载"/"我的评分"跳转而来,则给请求对象queryParams添加属性type
   ...
   getClassList()
 })
scss
const getClassList=async()=>{
   let res;
   if(queryParams.classid)  res=await  api apiGetClassList(queryParams)

   if(queryparams.type)  res = await apiGetHistoryList(queryParams);

   classList.value=[...classList.value,...res.data]
   ...

 }