Gsap动画库基本使用与原理
npm run gsap- 官方文档:
https://gsap.com/docs/v3/
js
import * as THREE from "three";
// 导入轨道控制器
import { OrbitControls } from "three/examples/jsm/controls/OrbitControls";
// 导入动画库
import gsap from "gsap";

// 目标了解threejs基本内容
// 1. 创建场景
const scene = new THREE.Scene();

// 2.创建一个(透视)相机对象 角度75° 屏幕的宽高比
const camera = new THREE.PerspectiveCamera(
  75,
  window.innerWidth / window.innerHeight,
  0.1, //近端
  1000 //远端的景深
);

// 3.设置相机位置
camera.position.set(0, 0, 10); // x y z坐标

// 4.添加到场景当中
scene.add(camera);

// 5.添加物体
// 5.1创建集合体对象
const cubeGeometry = new THREE.BoxGeometry(1, 1, 1);
// 5.2设置材质(基础网格材质)
const cubeMaterial = new THREE.MeshBasicMaterial({ color: 0x00ff00 });
// 5.3根据集合体和材质创建物体
const cube = new THREE.Mesh(cubeGeometry, cubeMaterial);

// 5.4设置物体的移动
// cube.position.set(5, 0, 0);
// 5.5设置某个轴的同上
// cube.position.x = 5;
// 5.6 设置缩放
// cube.scale.set(3, 2, 1); //这设置是整体进行设置,分别是x轴3被,y轴2倍,z轴一倍
// cube.scale.x = 2;

// 旋转
// cube.rotation.set(Math.PI / 4, 0, 0); //按照x轴旋转45°,y不旋转,z不旋转,还有第四个参数(非必填默认'xyz')

// 5.5将几何体添加到场景中(场景中没有物体也是不会显示的)
scene.add(cube);

// 6.初始化渲染器(进行渲染)
const renderer = new THREE.WebGLRenderer();
// 6.1 设置渲染的尺寸大小(这里根据屏幕的尺寸大小进行渲染)
renderer.setSize(window.innerWidth, window.innerHeight);

// 7.渲染的东西(渲染是往canvas上面去画的)添加到元素中(这里添加到body中)
document.body.appendChild(renderer.domElement); //这个是canvas

// 8.使用渲染器通过相机将场景渲染进来
// renderer.render(scene, camera); //这里渲染会定型后面就需要重新渲染才能看到每个面

// 9.显示3维立体的图形(轨道控制器)
// 9.1 创建轨道控制器
const controls = new OrbitControls(camera, renderer.domElement); //相机 和 监控的对象

// 10. 添加坐标轴辅助器
const axesHelper = new THREE.AxesHelper(5);
scene.add(axesHelper);

// 11. 设置动画
gsap.to(cube.position, { x: 5, duration: 5, ease: 'power1.inOut' }); //花费5s到5这个位置
gsap.to(cube.rotation, { x: Math.PI * 2, duration: 5, ease: 'power1.inOut' }); //旋转

// 设置一个渲染函数
function render() {
  renderer.render(scene, camera);
  requestAnimationFrame(render); //动画帧->渲染下一帧
}

render();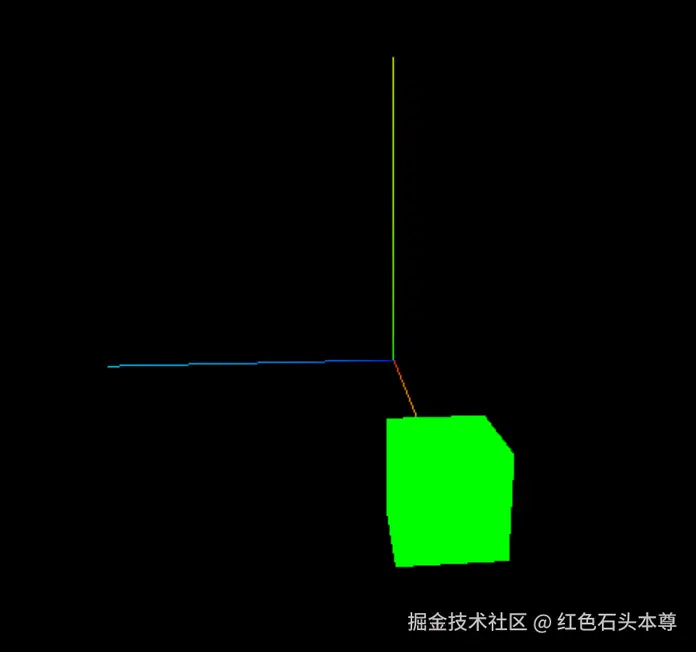
- 动画的ease:
- 找对应的方式
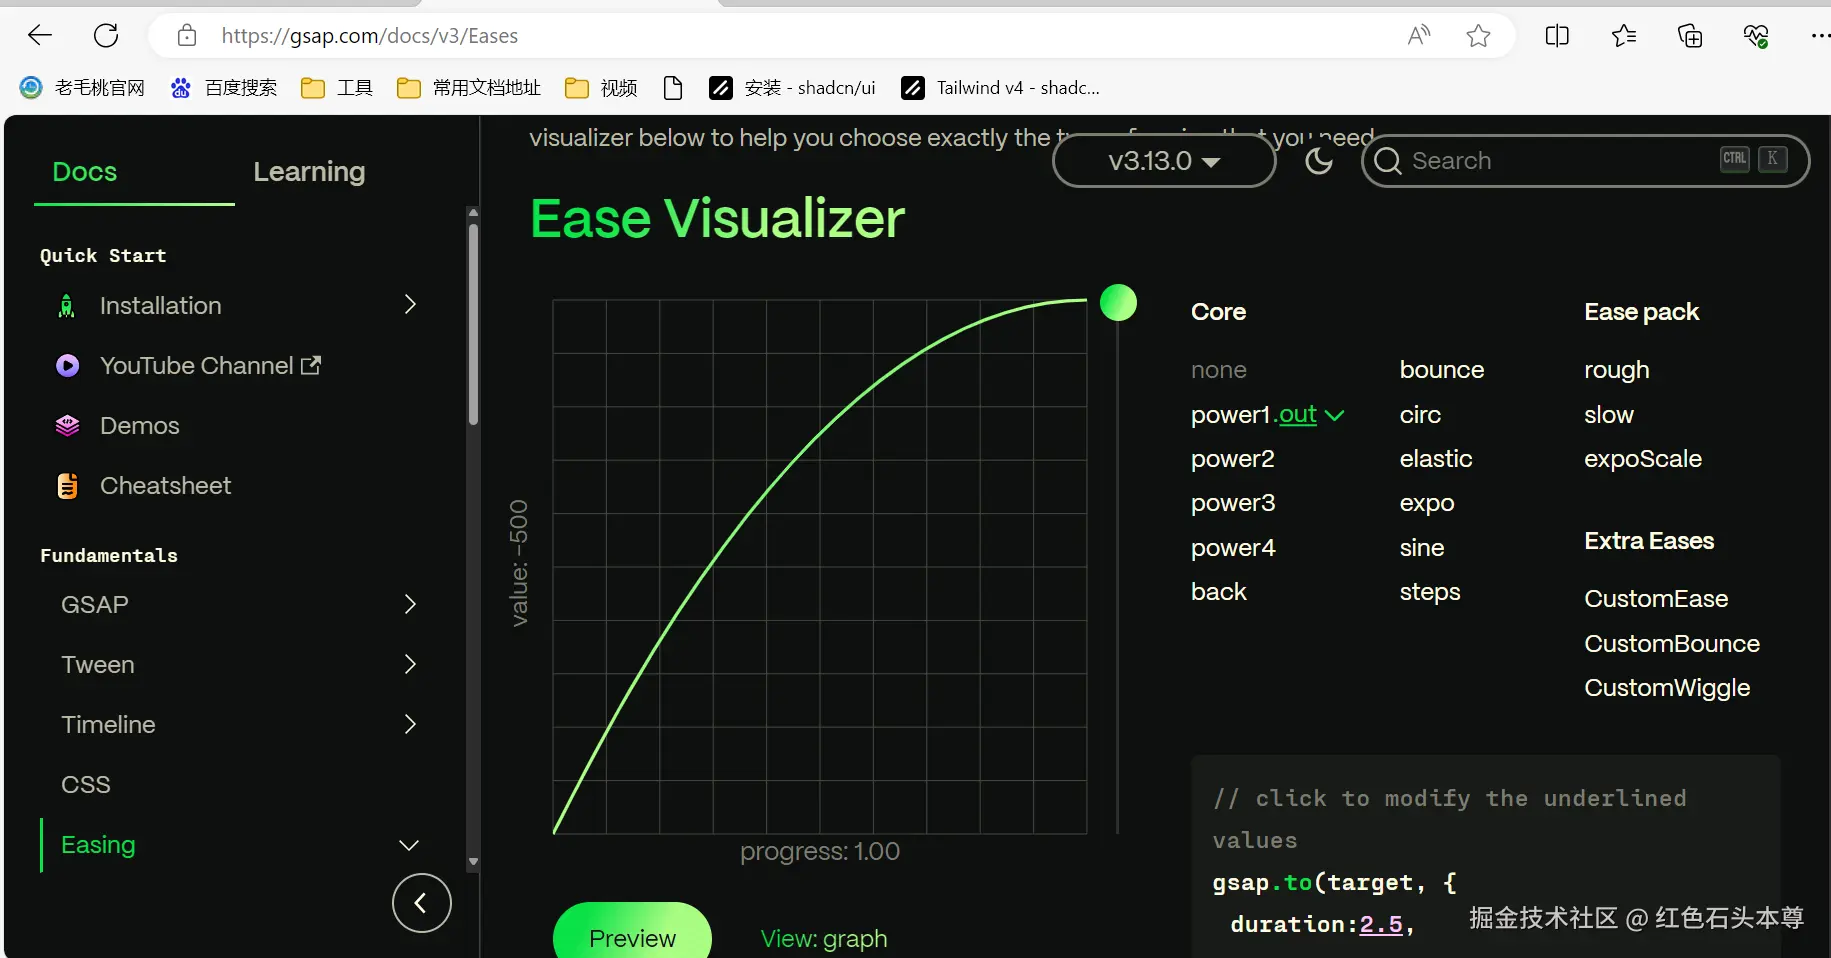
- 找对应的方式
Gsap控制动画属性与方法
- 全部代码
js
import * as THREE from "three";
// 导入轨道控制器
import { OrbitControls } from "three/examples/jsm/controls/OrbitControls";
// 导入动画库
import gsap from "gsap";

// 目标了解threejs基本内容
// 1. 创建场景
const scene = new THREE.Scene();

// 2.创建一个(透视)相机对象 角度75° 屏幕的宽高比
const camera = new THREE.PerspectiveCamera(
  75,
  window.innerWidth / window.innerHeight,
  0.1, //近端
  1000 //远端的景深
);

// 3.设置相机位置
camera.position.set(0, 0, 10); // x y z坐标

// 4.添加到场景当中
scene.add(camera);

// 5.添加物体
// 5.1创建集合体对象
const cubeGeometry = new THREE.BoxGeometry(1, 1, 1);
// 5.2设置材质(基础网格材质)
const cubeMaterial = new THREE.MeshBasicMaterial({ color: 0x00ff00 });
// 5.3根据集合体和材质创建物体
const cube = new THREE.Mesh(cubeGeometry, cubeMaterial);

// 5.4设置物体的移动
// cube.position.set(5, 0, 0);
// 5.5设置某个轴的同上
// cube.position.x = 5;
// 5.6 设置缩放
// cube.scale.set(3, 2, 1); //这设置是整体进行设置,分别是x轴3被,y轴2倍,z轴一倍
// cube.scale.x = 2;

// 旋转
// cube.rotation.set(Math.PI / 4, 0, 0); //按照x轴旋转45°,y不旋转,z不旋转,还有第四个参数(非必填默认'xyz')

// 5.5将几何体添加到场景中(场景中没有物体也是不会显示的)
scene.add(cube);

// 6.初始化渲染器(进行渲染)
const renderer = new THREE.WebGLRenderer();
// 6.1 设置渲染的尺寸大小(这里根据屏幕的尺寸大小进行渲染)
renderer.setSize(window.innerWidth, window.innerHeight);

// 7.渲染的东西(渲染是往canvas上面去画的)添加到元素中(这里添加到body中)
document.body.appendChild(renderer.domElement); //这个是canvas

// 8.使用渲染器通过相机将场景渲染进来
// renderer.render(scene, camera); //这里渲染会定型后面就需要重新渲染才能看到每个面

// 9.显示3维立体的图形(轨道控制器)
// 9.1 创建轨道控制器
const controls = new OrbitControls(camera, renderer.domElement); //相机 和 监控的对象

// 10. 添加坐标轴辅助器
const axesHelper = new THREE.AxesHelper(5);
scene.add(axesHelper);

// 11. 设置动画
let animate1 = gsap.to(cube.position, {
  x: 5,
  duration: 5,
  ease: "power1.inOut",
  repeat: 2, //重复动画的次数,无限次循环给 -1
  yoyo: true, //往返运动 默认值 false
  delay: 2, // 延迟时间 2s 默认值 0
  onStart: () => {
    console.log("动画开始");
  },
  onComplete: () => {
    console.log("动画完成");
  },
}); //花费5s到5这个位置
gsap.to(cube.rotation, { x: Math.PI * 2, duration: 5, ease: "power1.inOut" }); //旋转

// 当鼠标点击后停止 -> 这样就可以主动去控制动画停止了
document.addEventListener("click", () => {
  if (animate1.isActive()) {
    //isActive是方法
    //如果是在动画的状态
    animate1.pause(); //暂停
  } else {
    animate1.resume(); //恢复动画
  }
});

// 设置一个渲染函数
function render() {
  renderer.render(scene, camera);
  requestAnimationFrame(render); //动画帧->渲染下一帧
}

render();- 动画部分的使用
js
// 11. 设置动画
let animate1 = gsap.to(cube.position, {
  x: 5,
  duration: 5,
  ease: "power1.inOut",
  repeat: 2, //重复动画的次数,无限次循环给 -1
  yoyo: true, //往返运动 默认值 false
  delay: 2, // 延迟时间 2s 默认值 0
  onStart: () => {
    console.log("动画开始");
  },
  onComplete: () => {
    console.log("动画完成");
  },
}); //花费5s到5这个位置
gsap.to(cube.rotation, { x: Math.PI * 2, duration: 5, ease: "power1.inOut" }); //旋转

// 当鼠标点击后停止 -> 这样就可以主动去控制动画停止了
document.addEventListener("click", () => {
  if (animate1.isActive()) {
    //isActive是方法
    //如果是在动画的状态
    animate1.pause(); //暂停
  } else {
    animate1.resume(); //恢复动画
  }
});

// 设置一个渲染函数
function render() {
  renderer.render(scene, camera);
  requestAnimationFrame(render); //动画帧->渲染下一帧
}

render();