在这篇文章中,主要讲一下标尺组件,这也是一个自定义的组件,核心是canvas,如图一

图一
这个刻度尺是和画布相结合,当画布移动时,刻度尺也会跟随移动,画布缩放时,刻度尺也会跟随缩放
话不多说,先展示核心代码
标尺组件
html
<template>
  <canvas ref="canvasRulerRef" class="ruler-canvas"></canvas>
</template>

<script setup lang="ts">
import { ref, onMounted, onBeforeUnmount, watch, nextTick } from 'vue'

const props = defineProps({
  direction: { type: String as () => 'horizontal' | 'vertical', default: 'horizontal' },
  tickColor: { type: String, default: '#ccc' },
  textColor: { type: String, default: '#999' },
  unitSize: { type: Number, default: 100 },
  subTickCount: { type: Number, default: 5 },
  offset: { type: Number, default: 0 },
  valueScale: { type: Number, default: 100 },
  textOffsetX: { type: Number, default: 4 },
  textOffsetY: { type: Number, default: 10 }
})

const canvasRulerRef = ref<HTMLCanvasElement | null>(null)
let resizeObserver: ResizeObserver | null = null

const drawRuler = () => {
  const canvas = canvasRulerRef.value
  if (!canvas) return
  const ctx = canvas.getContext('2d')
  if (!ctx) return

  const dpr = window.devicePixelRatio || 1
  const rect = canvas.getBoundingClientRect()

  canvas.width = rect.width * dpr
  canvas.height = rect.height * dpr
  ctx.scale(dpr, dpr)

  const width = rect.width
  const height = rect.height

  ctx.clearRect(0, 0, width, height)

  const {
    direction,
    unitSize,
    offset,
    subTickCount,
    valueScale,
    tickColor,
    textColor,
    textOffsetX,
    textOffsetY
  } = props

  const step = unitSize / subTickCount
  const startSub = ((-offset % step) + step) % step
  const firstSubIndex = Math.floor((offset + startSub) / step)

  ctx.strokeStyle = tickColor
  ctx.fillStyle = textColor
  ctx.font = '10px sans-serif'
  ctx.textAlign = 'left'
  ctx.textBaseline = 'top'

  if (direction === 'horizontal') {
    // 小刻度
    for (let i = 0; i <= Math.ceil(width / step); i++) {
      const x = startSub + i * step
      const globalIndex = firstSubIndex + i
      if (globalIndex % subTickCount === 0) continue
      ctx.beginPath()
      ctx.moveTo(x, 0)
      ctx.lineTo(x, height * 0.5)
      ctx.stroke()
    }

    // 主刻度
    const start = ((-offset % unitSize) + unitSize) % unitSize
    const startIndex = Math.floor((offset + start) / unitSize)

    for (let x = start, i = 0; x <= width; x += unitSize, i++) {
      const value = (startIndex + i) * valueScale
      ctx.beginPath()
      ctx.moveTo(x, 0)
      ctx.lineTo(x, height)
      ctx.stroke()
      ctx.fillText(`${value}`, x + textOffsetX, textOffsetY)
    }
  } else if (direction === 'vertical') {
    // 小刻度
    for (let i = 0; i <= Math.ceil(height / step); i++) {
      const y = startSub + i * step
      const globalIndex = firstSubIndex + i
      if (globalIndex % subTickCount === 0) continue
      ctx.beginPath()
      ctx.moveTo(0, y)
      ctx.lineTo(width * 0.5, y)
      ctx.stroke()
    }

    // 主刻度
    const start = ((-offset % unitSize) + unitSize) % unitSize
    const startIndex = Math.floor((offset + start) / unitSize)

    for (let y = start, i = 0; y <= height; y += unitSize, i++) {
      const value = (startIndex + i) * valueScale
      ctx.beginPath()
      ctx.moveTo(0, y)
      ctx.lineTo(width, y)
      ctx.stroke()
      ctx.save()
      ctx.translate(textOffsetX, y + textOffsetY)
      ctx.rotate(-Math.PI / 2) // 逆时针旋转90度(文字朝下)
      ctx.fillText(`${value}`, 0, 0)
      ctx.restore()
    }
  }
}

onMounted(() => {
  nextTick(() => {
    drawRuler()
  })

  resizeObserver = new ResizeObserver(() => {
    drawRuler()
  })

  if (canvasRulerRef.value) {
    resizeObserver.observe(canvasRulerRef.value)
  }
})

onBeforeUnmount(() => {
  if (resizeObserver && canvasRulerRef.value) {
    resizeObserver.unobserve(canvasRulerRef.value)
  }
})

watch(
  () => [
    props.direction,
    props.unitSize,
    props.subTickCount,
    props.offset,
    props.tickColor,
    props.textColor,
    props.valueScale,
    props.textOffsetX,
    props.textOffsetY
  ],
  drawRuler
)
</script>

<style scoped>
.ruler-canvas {
  width: 100%;
  height: 100%;
  display: block;
  background-color: transparent;
  pointer-events: none;
}
</style>
这个组件的核心部分是canvas,至于为什么不用svg,这就要讲到这两个的区别了
1. 性能与适用场景
-
SVG 适合:
- 图标、Logo、图表(如流程图、地图)等需要无损缩放的场景。
- 交互需求简单的图形(如点击某个图形元素触发事件)。
- 图形元素数量较少的情况(因为每个元素都是 DOM 节点,过多会影响性能)。
-
Canvas 适合:
- 像素级操作的场景(如照片编辑、滤镜效果)。
- 动态生成的复杂图形(如游戏画面、数据可视化动画)。
- 图形元素数量极多(如粒子效果),此时 Canvas 性能更优。
2. 交互与事件
- SVG :每个图形元素都是独立的 DOM 节点,可直接绑定事件(如
onclick),交互逻辑简单直观。 - Canvas:没有内置的图形元素事件系统,需通过计算鼠标坐标与绘制区域的关系手动实现交互,复杂度较高。
然后我们再回到我们的标尺组件,标尺组件总共接受以下几个参数
- direction: { type: String as () => 'horizontal' | 'vertical', default: 'horizontal' }, //方向
- tickColor: { type: String, default: '#ccc' }, //刻度颜色
- textColor: { type: String, default: '#999' }, //字体颜色
- unitSize: { type: Number, default: 100 }, //单位长度,这个意思就是大刻度间距是多少,由于我们的标尺组件是分为大刻度和小刻度,这个参数指的就是大刻度,如图二
- subTickCount: { type: Number, default: 5 }, //小刻度的份数,是指大刻度之间有几份小刻度
- offset: { type: Number, default: 0 }, //标尺开始的刻度值
- valueScale: { type: Number, default: 100 }, //标尺的缩放值
- textOffsetX: { type: Number, default: 4 }, //文字的X轴偏移量
- textOffsetY: { type: Number, default: 10 } //文字的Y轴偏移量

图二
我之所以要自定义自己的标尺组件,是因为某些其他的标尺所占据的区域是整个页面,比如说在我的标尺组件中,横向标尺所占领的区域的高度就是20,不会影响到其他组件,如图三

图三
同理,纵向标尺所占据区域的宽度也就是20,如图四
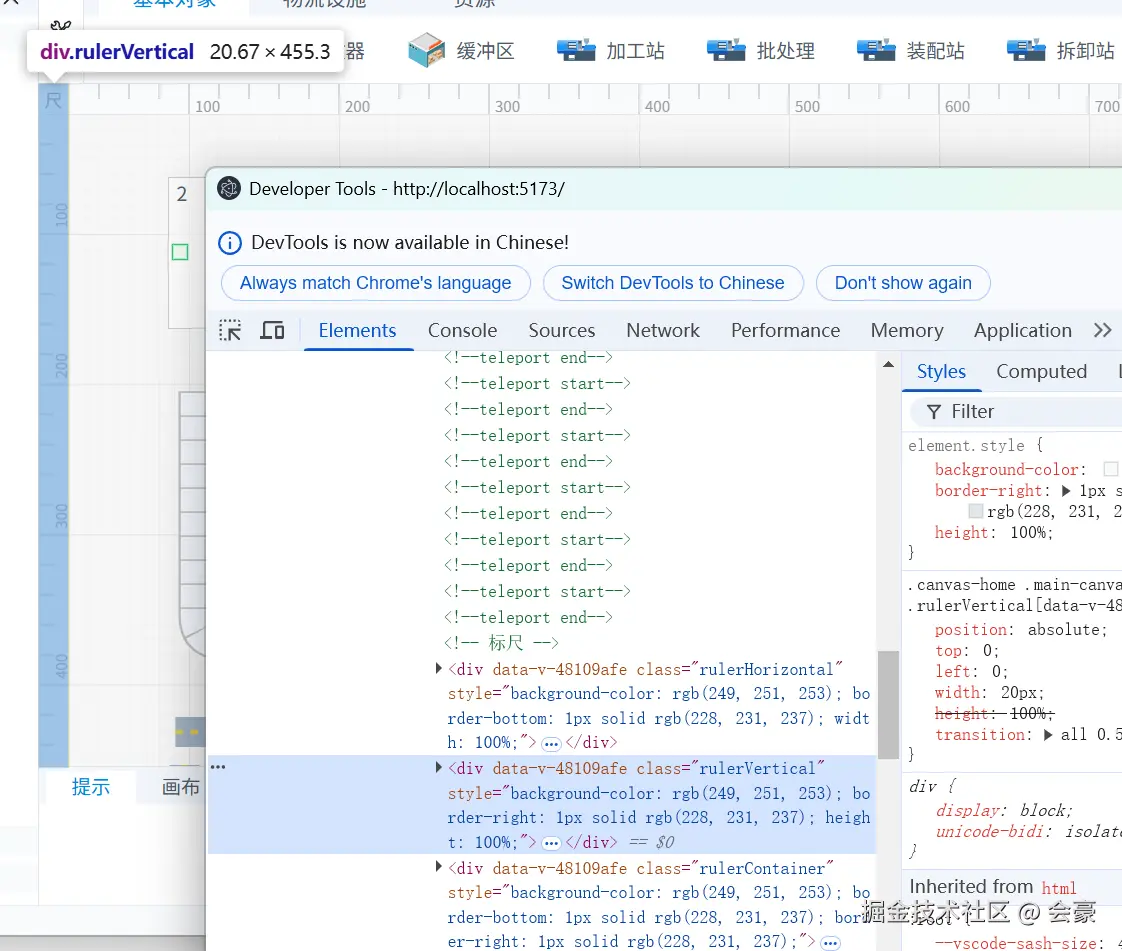
图四
接下来我们看一下在画布中怎么应用
实际应用
1. 首先准备div
html
      <!-- 标尺 -->
      <div
        class="rulerHorizontal"
        :style="{
          backgroundColor: themeStyle[theme].backgroundColor3,
          borderBottom: '1px solid ' + themeStyle[theme].borderColor1,
          width: isCanvasRuler ? '100%' : '0px'
        }"
      >
        <Ruler
          :direction="'horizontal'"
          :offset="canvasPosition.x"
          :unit-size="canvasScale * 100"
        />
      </div>
      <div
        class="rulerVertical"
        :style="{
          backgroundColor: themeStyle[theme].backgroundColor3,
          borderRight: '1px solid ' + themeStyle[theme].borderColor1,
          height: isCanvasRuler ? '100%' : '0px'
        }"
      >
        <Ruler
          :direction="'vertical'"
          :offset="canvasPosition.y"
          :unit-size="canvasScale * 100"
          :text-offset-x="10"
          :text-offset-y="-4"
        />
      </div>
      <div
        class="rulerContainer"
        :style="{
          backgroundColor: themeStyle[theme].backgroundColor3,
          borderBottom: '1px solid ' + themeStyle[theme].borderColor1,
          borderRight: '1px solid ' + themeStyle[theme].borderColor1
        }"
        @click="isCanvasRuler = !isCanvasRuler"
      >
        <span>尺</span>
      </div>
还有样式代码
css
    .rulerContainer {
      position: absolute;
      top: 0;
      left: 0;
      width: 20px;
      height: 20px;
      font-size: 12px;
      color: #808080;
      line-height: 20px;
      text-align: center;
      user-select: none;
      cursor: pointer;
    }
    .rulerHorizontal {
      position: absolute;
      top: 0;
      left: 0;
      width: 100%;
      height: 20px;
      transition: all 0.5s ease-in-out;
    }
    .rulerVertical {
      position: absolute;
      top: 0;
      left: 0;
      width: 20px;
      height: 100%;
      transition: all 0.5s ease-in-out;
    }
然后就可以直接使用了
2. 绑定缩放和位移
大家可以看到,在我的两个标尺都,都绑定了这两个参数
- canvasPosition
- canvasScale
那么当我们的画布进行缩放或移动时,只需要改变这两个参数的数值即可,如下代码所示
ts
  //画布-缩放事件
  canvas.on('scale', () => {
    //获取canvas的缩放级别
    const zoom = canvas.zoom()
    bgCanvas.zoom(zoom, { absolute: true })
    const { canvasScale } = storeToRefs(useCanvasParameterStore())
    canvasScale.value = zoom
  })

  //画布-移动事件
  canvas.on('translate', ({ tx, ty }: { tx: number; ty: number }) => {
    const { canvasPosition } = storeToRefs(useCanvasParameterStore())
    canvasPosition.value.x = -tx
    canvasPosition.value.y = -ty
  })
到此我们的标尺组件就讲解完毕了