版权归作者所有,如有转发,请注明文章出处:cyrus-studio.github.io/blog/
Frida Stalker
Frida Stalker 是 Frida 提供的一个强大的指令级追踪引擎,它能够在目标进程运行时,动态捕获每一条指令的执行情况。与传统的函数级 hook 不同,Stalker 可以深入到 原生汇编层面 ,追踪寄存器变化、内存访问、函数调用关系等底层细节。
相关链接:
-
Stalker 介绍:frida.re/docs/stalke...
-
api 文档:frida.re/docs/javasc...
相关文章:
Frida Stalker Trace 流程
在 Frida Stalker 中,通过将这几个 API 组合起来,我们就能构建一个完整的 trace 流程:
-
Stalker.follow:负责启动跟踪,它会附加到指定的线程上,对该线程的指令执行流进行捕获和分析。
-
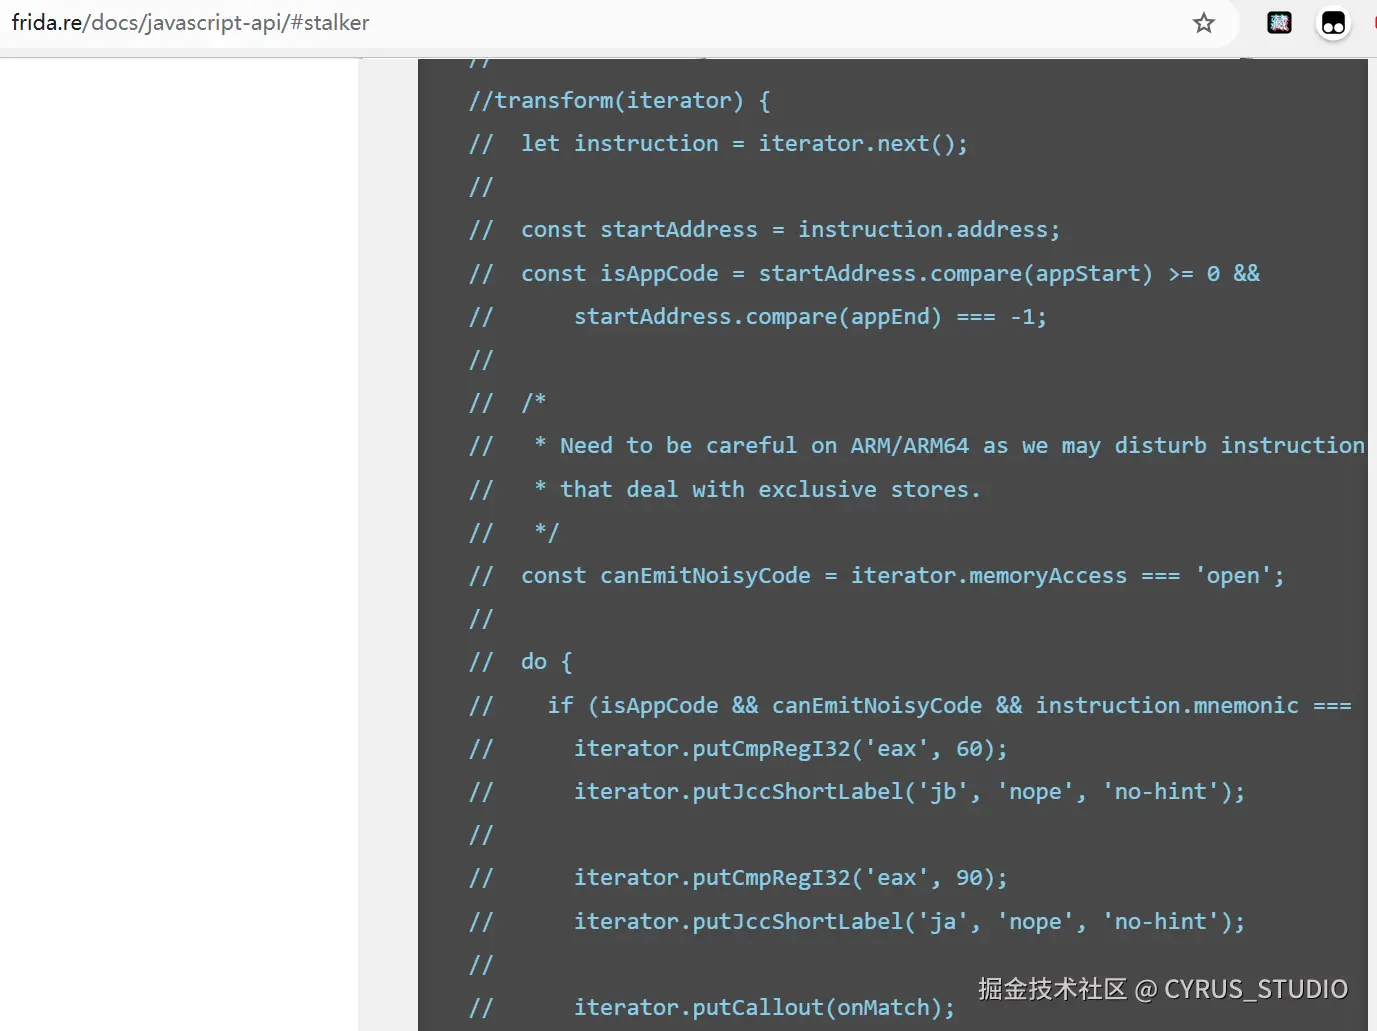
transform:提供了对指令流的加工入口。通过 transform(iterator),我们可以在指令生成阶段插入自定义逻辑。
-
iterator:是指令迭代器,用来逐条访问被捕获的指令。
-
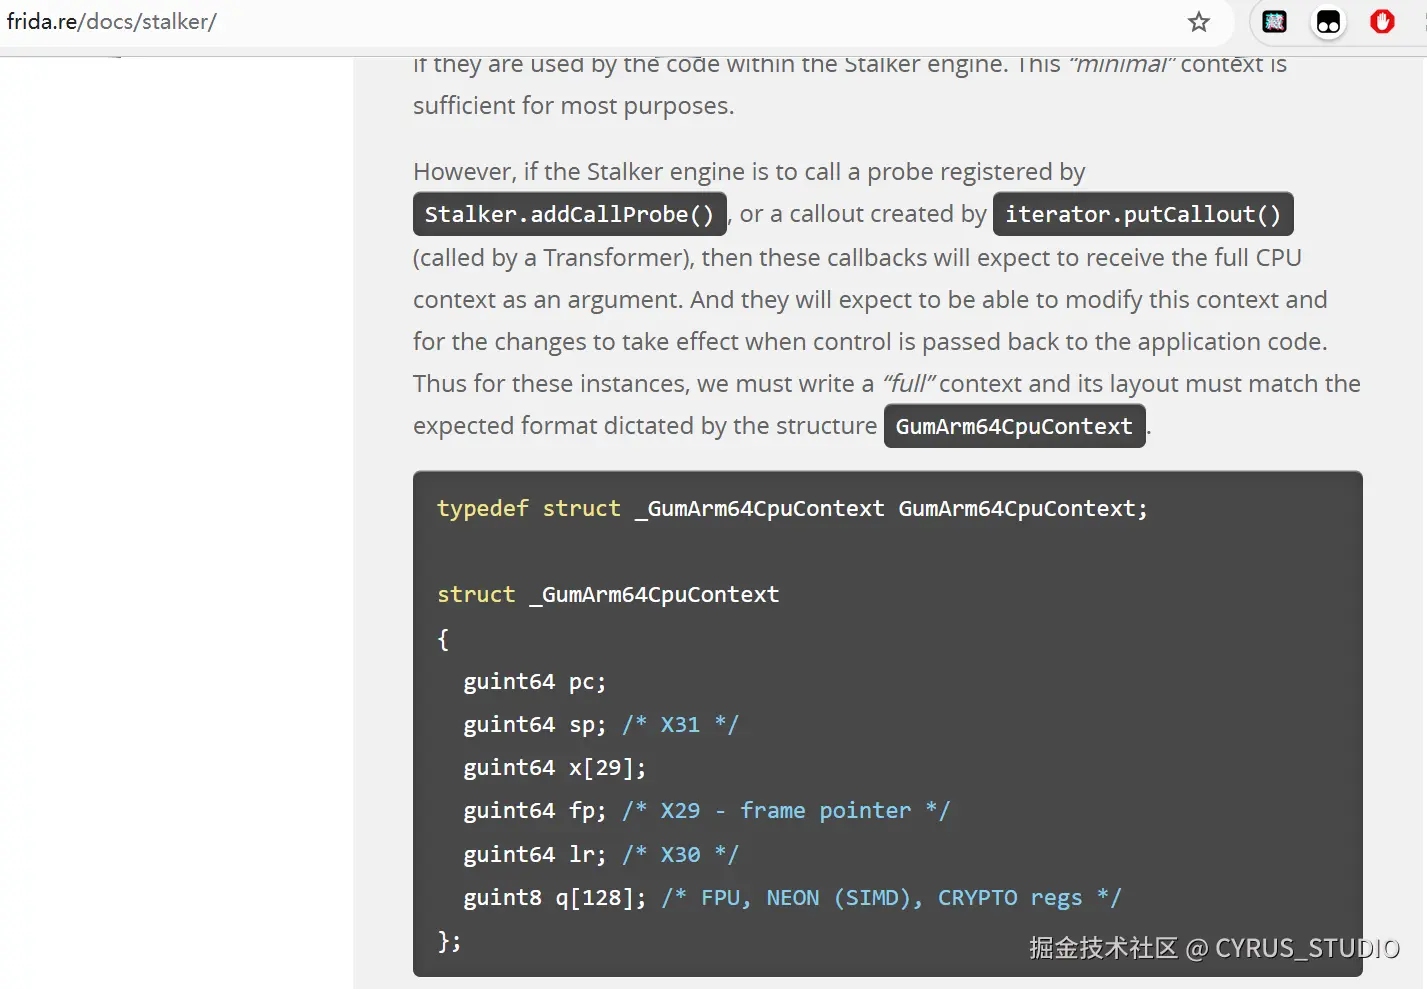
putCallout:它允许在某条指令执行时触发回调,把当时的 CPU 上下文(寄存器状态、内存地址等)传递给我们的 JavaScript 脚本。
Stalker.follow 启动跟踪 → transform 接管指令流 → iterator 遍历每条指令 → 在关键位置用 putCallout 输出寄存器或上下文信息 ,从而实现细粒度的指令跟踪与寄存器变化监控。
指令跟踪(transform 和 iterator)
在 Stalker.follow 的 transform 回调函数中,处理目标线程执行的每一条汇编指令。
iterator 是一个 指令迭代器对象,它让你能够 逐条处理目标线程将要执行的原始机器指令。
iterator 支持的方法
| 方法 | 作用 |
|---|---|
| next() | 获取下一条指令 |
| keep() | 保留指令(否则会被跳过) |
| putCallout(fn) | 插入 JS 回调(运行在主线程) |
通过实现 transform 回调,trace 指定函数,打印地址、指令、模块信息。
javascript
function getModuleByAddressSafe(address) {
    try {
        // 尝试获取模块
        var module = Process.getModuleByAddress(address);

        // 如果模块存在,返回模块
        if (module) {
            return module;
        } else {
            // 如果没有找到模块,返回 null
            return null;
        }
    } catch (e) {
        // 捕获异常,返回 null
        return null;
    }
}

/**
 * 指令跟踪
 *
 * @param targetModuleName 目标模块名
 * @param targetSymbol 函数偏移(或导出名)
 */
function trace(targetModuleName, targetSymbol) {

    // 获取模块基地址
    const base = Module.findBaseAddress(targetModuleName);
    if (base === null) {
        console.error("模块未加载:" + targetModuleName);
        return;
    }

    let targetFuncAddr;

    if (typeof targetSymbol === "string") {
        targetFuncAddr = Module.findExportByName(targetModuleName, targetSymbol);
    } else {
        targetFuncAddr = base.add(ptr(targetSymbol));
    }

    if (!targetFuncAddr) {
        console.error("找不到函数地址");
        return;
    }

    console.log("目标函数地址: " + targetFuncAddr);

    // 拦截目标函数,开始跟踪当前线程
    Interceptor.attach(targetFuncAddr, {
        onEnter(args) {
            let tid = Process.getCurrentThreadId()
            this.tid = tid
            console.log(`进入函数,开始 trace [${tid}]`);
            Stalker.follow(tid, {
                events: {
                    call: false,
                    ret: false,
                    exec: true,
                    block: false,
                    compile: false
                },
                transform(iterator) {
                    let instruction = iterator.next();
                    do {
                        const address = instruction.address;
                        const module = getModuleByAddressSafe(address);
                        let modInfo = "";

                        if (module && module.name === targetModuleName) {
                            const offset = ptr(address).sub(module.base);
                            modInfo = `[${module.name}!${offset}]`;

                            console.log(
                                `[${address}] ${modInfo} ${instruction.mnemonic} ${instruction.opStr}`
                            );
                        }
                        iterator.keep();
                    } while ((instruction = iterator.next()) !== null);
                },
            });
        },

        onLeave(retval) {
            console.log(`函数退出,停止 trace [${this.tid}]`);
            Stalker.unfollow(this.tid);
        }
    });
}


setImmediate(function () {
    trace("libnative-lib.so", 0x26058)
});
执行脚本
r
frida -H 127.0.0.1:1234 -F -l so_func_tracer.js输出如下:
ini
目标函数地址: 0x77ff5a6058
进入函数,开始 trace [12980]
[0x77ff5a6068] [libnative-lib.so!0x26068] mrs x8, tpidr_el0
[0x77ff5a606c] [libnative-lib.so!0x2606c] ldr x8, [x8, #0x28]
[0x77ff5a6070] [libnative-lib.so!0x26070] stur x8, [x29, #-8]
[0x77ff5a6074] [libnative-lib.so!0x26074] stur x0, [x29, #-0x40]
[0x77ff5a6078] [libnative-lib.so!0x26078] stur x1, [x29, #-0x48]
[0x77ff5a607c] [libnative-lib.so!0x2607c] stur x2, [x29, #-0x50]
[0x77ff5a6080] [libnative-lib.so!0x26080] ldur x0, [x29, #-0x40]
[0x77ff5a6084] [libnative-lib.so!0x26084] ldur x1, [x29, #-0x50]
[0x77ff5a6088] [libnative-lib.so!0x26088] bl #0x77ff5da810
[0x77ff5da810] [libnative-lib.so!0x5a810] adrp x16, #0x77ff5df000
[0x77ff5da814] [libnative-lib.so!0x5a814] ldr x17, [x16, #0xdd8]
[0x77ff5da818] [libnative-lib.so!0x5a818] add x16, x16, #0xdd8
...
寄存器跟踪(putCallout)
因为 transform 阶段是 静态处理指令结构,而没有运行时信息。你无法在那时访问寄存器、调用栈等。
putCallout 会在你指定的位置插入一个"钩子",在那一刻调用你指定的 JS 函数,提供当前上下文(CPU 寄存器状态)。
通过 putCallout 拿到 运行时环境(寄存器),打印寄存器信息
javascript
transform(iterator) {
    ...

    // 通过 putCallout 拿到 运行时环境(寄存器)
    iterator.putCallout(function (context) {

        const instruction = Instruction.parse(ptr(context.pc));

        let registers = JSON.stringify(context)

        console.log(
            `[${instruction.address}] ${modInfo} ${instruction.mnemonic} ${instruction.opStr} ${registers}`
        );
    })

    ...
},
输出如下:
css
目标函数地址: 0x77fe93d058
 进入函数,开始 trace [29244]
[0x77fe93d068] [libnative-lib.so!0x26068] mrs x8, tpidr_el0 {"pc":"0x77fe93d068","sp":"0x7fd1615b60","x0":"0x7892978180","x1":"0x7fd1615d24","x2":"0
x7fd1615d28","x3":"0x78928c6c00","x4":"0x7fd1617310","x5":"0x77a6e9f9eb","x6":"0x80000000","x7":"0x0","x8":"0xc1a1cd6540f6681f","x9":"0xc1a1cd6540f6
681f","x10":"0x430000","x11":"0x780d54b448","x12":"0x780d54b49c","x13":"0x780d54b4f0","x14":"0x780d54b550","x15":"0x0","x16":"0x77fe93d068","x17":"0
x77a6169648","x18":"0x7893666000","x19":"0x78928c6c00","x20":"0x77fe93d058","x21":"0x78928c6c00","x22":"0x7fd1615f70","x23":"0x77a6e9f9eb","x24":"0x4","x25":"0x7892bb5020","x26":"0x78928c6cb0","x27":"0x1","x28":"0x2","fp":"0x7fd1615cf0","lr":"0x789143a60c"}
[0x77fe93d06c] [libnative-lib.so!0x2606c] ldr x8, [x8, #0x28] {"pc":"0x77fe93d06c","sp":"0x7fd1615b60","x0":"0x7892978180","x1":"0x7fd1615d24","x2":
"0x7fd1615d28","x3":"0x78928c6c00","x4":"0x7fd1617310","x5":"0x77a6e9f9eb","x6":"0x80000000","x7":"0x0","x8":"0x7892bb5020","x9":"0xc1a1cd6540f6681f
","x10":"0x430000","x11":"0x780d54b448","x12":"0x780d54b49c","x13":"0x780d54b4f0","x14":"0x780d54b550","x15":"0x0","x16":"0x77fe93d068","x17":"0x77a
6169648","x18":"0x7893666000","x19":"0x78928c6c00","x20":"0x77fe93d058","x21":"0x78928c6c00","x22":"0x7fd1615f70","x23":"0x77a6e9f9eb","x24":"0x4","x25":"0x7892bb5020","x26":"0x78928c6cb0","x27":"0x1","x28":"0x2","fp":"0x7fd1615cf0","lr":"0x789143a60c"}
[0x77fe93d070] [libnative-lib.so!0x26070] stur x8, [x29, #-8] {"pc":"0x77fe93d070","sp":"0x7fd1615b60","x0":"0x7892978180","x1":"0x7fd1615d24","x2":
"0x7fd1615d28","x3":"0x78928c6c00","x4":"0x7fd1617310","x5":"0x77a6e9f9eb","x6":"0x80000000","x7":"0x0","x8":"0xc1a1cd6540f6681f","x9":"0xc1a1cd6540
f6681f","x10":"0x430000","x11":"0x780d54b448","x12":"0x780d54b49c","x13":"0x780d54b4f0","x14":"0x780d54b550","x15":"0x0","x16":"0x77fe93d068","x17":
"0x77a6169648","x18":"0x7893666000","x19":"0x78928c6c00","x20":"0x77fe93d058","x21":"0x78928c6c00","x22":"0x7fd1615f70","x23":"0x77a6e9f9eb","x24":"0x4","x25":"0x7892bb5020","x26":"0x78928c6cb0","x27":"0x1","x28":"0x2","fp":"0x7fd1615cf0","lr":"0x789143a60c"}
...
只打印变化的寄存器
实现寄存器变化监控:
-
使用 JSON.parse(JSON.stringify(context)) 将 CpuContext 转换为 JSON 对象,便于对比和遍历。
-
再用 Object.entries 转换成 寄存器名, 当前值 的数组。
-
对比当前和上一次的寄存器值,返回发生变化的寄存器(不包括 pc 寄存器)。
Object.entries() 用来将对象的 属性键值对 转换成一个 二维数组。
基本语法:
css
Object.entries(obj)-
参数:obj 是你要操作的对象。
-
返回值:一个数组,每个元素是 key, value 的形式。
文档:developer.mozilla.org/en-US/docs/...
代码实现如下:
javascript
/**
 * 寄存器变化跟踪,获取当前与上一次相比,返回发生变化的寄存器
 *
 * @param {CpuContext} context
 * @param {CpuContext} lastRegs 上一次寄存器的值
 * @returns {[string, string]} 寄存器名和当前值的数组
 */
function getDiffRegisters(context, lastRegs) {
    const changed = [];

    const regs = Object.entries(JSON.parse(JSON.stringify(context)))

    for (const [key, value] of regs) {

        // 判断寄存器值是否发生变化(不包括 pc 寄存器)
        if ("pc" !== key && value !== lastRegs[key]) {
            changed.push([key, value]);
        }

        // 更新寄存器快照
        lastRegs[key] = value;
    }

    return changed;
}
打印寄存器
javascript
// 通过 putCallout 拿到 运行时环境(寄存器)
iterator.putCallout(function (context) {

    const instruction = Instruction.parse(ptr(context.pc));

    let diffRegisters = getDiffRegisters(context, lastRegs)

    let registers = ''

    if (diffRegisters.length > 0) {
        registers = JSON.stringify(diffRegisters)
    }

    console.log(
        `[${instruction.address}] ${modInfo} ${instruction.mnemonic} ${instruction.opStr} ${registers}`
    );
})
输出如下:
less
[Remote::AndroidExample]-> 进入函数,开始 trace [5695]
寄存器初始状态:[["sp","0x7fc5aa8690"],["x0","0x6fb7794180"],["x1","0x7fc5aa86a4"],["x2","0x7fc5aa86a8"],["x3","0x6fb76e2c00"],["x4","0x7fc5aa9c90"]0x6ecc2159eb"],["x6","0x80000000"],["x7","0x0"],["x8","0xa862dcf4e192b34b"],["x9","0xa862dcf4e192b34b"],["x10","0x430000"],["x11","0x6f32564448"],["x12","0x6f3256449c"],["x13","0x6f325644f0"],["x14","0x6f32564550"],["x15","0x0"],["x16","0x6fb5610000"],["x17","0x6f2a193530"],["x18","0x6fb85c4000"],["x19","0x6fb76e2c00"],["x20","0x6ec8b28058"],["x21","0x6fb76e2c00"],["x22","0x7fc5aa88f0"],["x23","0x6ecc2159eb"],["x24","0x4"],["x25","0x6fb79d1020"],["x26","0x6fb76e2cb0"],["x27","0x1"],["x28","0x2"],["fp","0x7fc5aa8770"],["lr","0x6ecb4df670"]]
[0x6ec8b28068] [libnative-lib.so!0x26068] mrs x8, tpidr_el0 [["sp","0x7fc5aa84e0"],["x16","0x6ec8b28068"],["x17","0x6ecb4df648"],["fp","0x7fc5aa8670"],["lr","0x6fb561060c"]]
[0x6ec8b2806c] [libnative-lib.so!0x2606c] ldr x8, [x8, #0x28] [["x8","0x6fb79d1020"]]
[0x6ec8b28070] [libnative-lib.so!0x26070] stur x8, [x29, #-8] [["x8","0xa862dcf4e192b34b"]]
[0x6ec8b28074] [libnative-lib.so!0x26074] stur x0, [x29, #-0x40]
[0x6ec8b28078] [libnative-lib.so!0x26078] stur x1, [x29, #-0x48]
[0x6ec8b2807c] [libnative-lib.so!0x2607c] stur x2, [x29, #-0x50]
[0x6ec8b28080] [libnative-lib.so!0x26080] ldur x0, [x29, #-0x40]
[0x6ec8b28084] [libnative-lib.so!0x26084] ldur x1, [x29, #-0x50]
[0x6ec8b28088] [libnative-lib.so!0x26088] bl #0x6ec8b5c810 [["x1","0x7fc5aa86a8"]]
[0x6ec8b5c810] [libnative-lib.so!0x5a810] adrp x16, #0x6ec8b61000 [["lr","0x6ec8b2808c"]]
...
输出 trace log 到文件
通过 -o 设置项把日志输出到文件(exit frida 时候保存日志到文件)
c
frida -H 127.0.0.1:1234 -F -l script.js -o log.txt或者通过 tee 命令同时将标准输出内容打印到终端,并写入文件。(实时保存日志到文件)
bash
frida -H 127.0.0.1:1234 -F -l script.js | tee log.txt完整源码
javascript
function getModuleByAddressSafe(address) {
    try {
        // 尝试获取模块
        var module = Process.getModuleByAddress(address);

        // 如果模块存在,返回模块
        if (module) {
            return module;
        } else {
            // 如果没有找到模块,返回 null
            return null;
        }
    } catch (e) {
        // 捕获异常,返回 null
        return null;
    }
}

/**
 * 寄存器变化跟踪,获取当前与上一次相比,返回发生变化的寄存器
 *
 * @param {CpuContext} context
 * @param {CpuContext} lastRegs 上一次寄存器的值
 * @returns {[string, string]} 寄存器名和当前值的数组
 */
function getDiffRegisters(context, lastRegs) {
    const changed = [];

    const regs = Object.entries(JSON.parse(JSON.stringify(context)))

    for (const [key, value] of regs) {

        // 判断寄存器值是否发生变化(不包括 pc 寄存器)
        if ("pc" !== key && value !== lastRegs[key]) {
            changed.push([key, value]);
        }

        // 更新寄存器快照
        lastRegs[key] = value;
    }

    return changed;
}


/**
 * 指令跟踪
 *
 * @param targetModuleName 目标模块名
 * @param targetSymbol 函数偏移(或导出名)
 */
function trace(targetModuleName, targetSymbol) {

    // 获取模块基地址
    const base = Module.findBaseAddress(targetModuleName);
    if (base === null) {
        console.error("模块未加载:" + targetModuleName);
        return;
    }

    let targetFuncAddr;

    if (typeof targetSymbol === "string") {
        targetFuncAddr = Module.findExportByName(targetModuleName, targetSymbol);
    } else {
        targetFuncAddr = base.add(ptr(targetSymbol));
    }

    if (!targetFuncAddr) {
        console.error("找不到函数地址");
        return;
    }

    const baseAddr = Module.findBaseAddress(targetModuleName);
    const offset = targetFuncAddr.sub(baseAddr);

    console.log(`🎯 目标函数信息:
      📦 模块名称: ${targetModuleName}
      🧱 模块基址: ${baseAddr}
      📍 函数地址: ${targetFuncAddr}
      🔢 函数偏移: ${offset}`);

    const lastRegs = {};

    // 拦截目标函数,开始跟踪当前线程
    Interceptor.attach(targetFuncAddr, {
        onEnter(args) {
            // 线程 id
            let tid = Process.getCurrentThreadId()
            this.tid = tid
            console.log(`进入函数,开始 trace [${tid}]`);

            // 打印寄存器初始状态
            console.log('寄存器初始状态:' + JSON.stringify(getDiffRegisters(this.context, lastRegs)))

            Stalker.follow(tid, {
                events: {
                    call: false,
                    ret: false,
                    exec: true,
                    block: false,
                    compile: false
                },
                transform(iterator) {
                    let instruction = iterator.next();

                    do {
                        let address = instruction.address

                        const module = getModuleByAddressSafe(address);

                        // 判断是否目标 so 的指令
                        if (module && module.name === targetModuleName) {

                            let modInfo = "";

                            const offset = ptr(address).sub(module.base);

                            // 模块信息
                            modInfo = `[${module.name}!${offset}]`;

                            // 通过 putCallout 拿到 运行时环境(寄存器)
                            iterator.putCallout(function (context) {

                                const instruction = Instruction.parse(ptr(context.pc));

                                let diffRegisters = getDiffRegisters(context, lastRegs)

                                let registers = ''

                                if (diffRegisters.length > 0) {
                                    registers = JSON.stringify(diffRegisters)
                                }

                                console.log(
                                    `[${instruction.address}] ${modInfo} ${instruction.mnemonic} ${instruction.opStr} ${registers}`
                                );
                            })
                        }

                        iterator.keep();

                    } while ((instruction = iterator.next()) !== null);
                },
            });
        },

        onLeave(retval) {
            console.log(`函数退出,停止 trace [${this.tid}]`);
            Stalker.unfollow(this.tid);
        }
    });
}


setImmediate(function () {
    trace("libnative-lib.so", 0x26058)
});
修改 trace 函数中传参(目标so, 函数偏移地址) 实现指令跟踪&寄存器变化监控。
执行脚本
r
frida -H 127.0.0.1:1234 -F -l so_func_tracer.js