前言
在日常开发中,为文档和图片添加版权水印是一项常见需求。本文将详细介绍如何为PDF和图片添加自定义中文水印的思路。
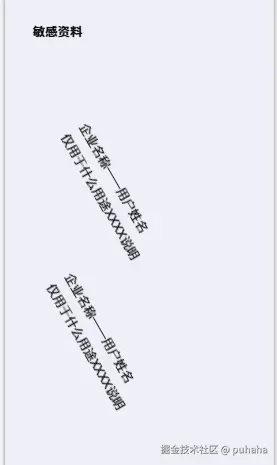
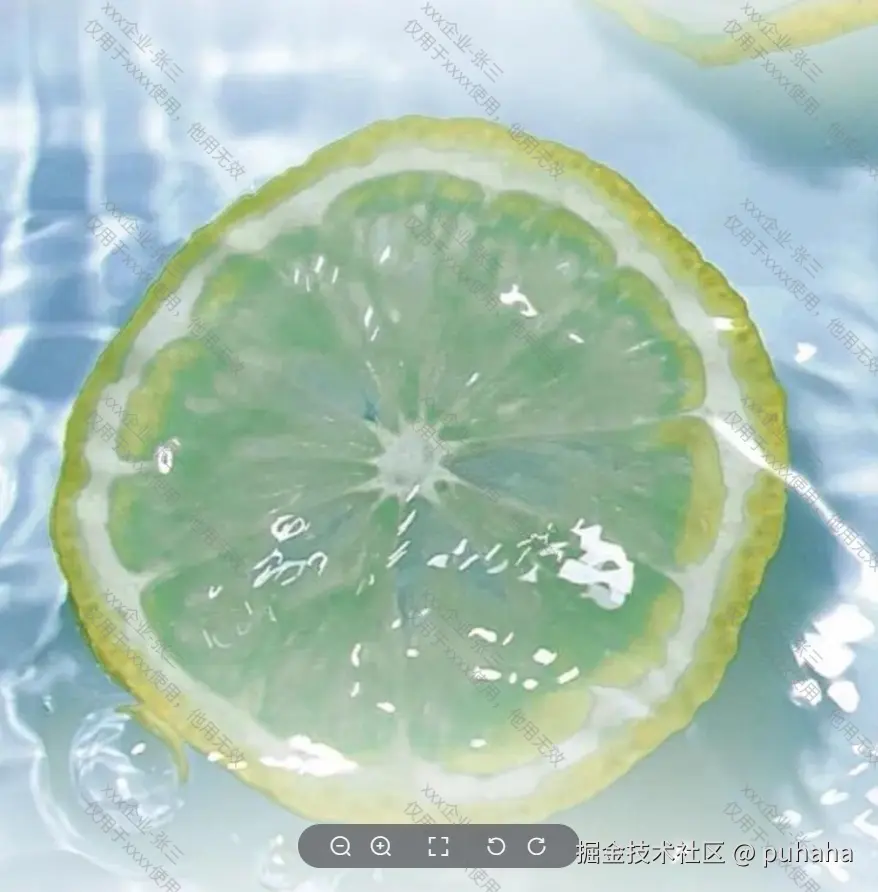
如图所示,水印需要两行,第一行是动态变化的,第二行是固定文案。所以还需要考虑文字长短从而改变每个水印之间的间距。
功能概述
这个方案提供了两个核心函数:
addWatermarkToPDF: 为PDF文件添加倾斜水印addWatermarkToImage: 为图片文件添加网格状水印
两个函数都支持自定义文本内容、字体大小、透明度、旋转角度等参数,特别优化了对中文文本的处理。
核心实现原理
方案一:采用pdf-lib实现水印,但是它要支持中文水印的话,还需借助和@pdf-lib/fontkit库来加载一个中文字体集实现。一般小一点的中文字体集都有5M左右,并且这种方案生成的水印可以复制,不是我想要的效果,于是pass了。
方案二:采用canvas生成水印,再结合pdf-lib绘制图片的方式,嵌入到pdf中。这种方案不用导入字体库,减去了加载字体的时间,所以速度比方案一快很多。
1. PDF水印实现
javascript
export async function addWatermarkToPDF(pdfUrl, companyName, personName, options = {}) {
// 参数配置
const {
fontSize = 30, // PDF点单位
opacity = 0.18,
angle = -45,
color = 'rgba(120,120,120,1)',
pixelRatio = Math.max(window.devicePixelRatio || 1, 2),
baseGap = 500, // 最小间隔
lineHeight = 1.4 // 行距
} = options;
// 构建水印文本
const firstLine = companyName && personName ? `${companyName}-${personName}` : companyName || personName || '';
const secondLine = '仅用于xxxx使用,他用无效';
const lines = [firstLine, secondLine];
// 单位转换函数
const ptToPx = pt => (pt * 96) / 72;
const pxToPt = px => (px * 72) / 96;
// 测量文本宽度
const cssFontSize = ptToPx(fontSize);
const measureCanvas = document.createElement('canvas');
const mctx = measureCanvas.getContext('2d');
mctx.font = `${cssFontSize}px sans-serif`;
const firstLineWidthCss = mctx.measureText(firstLine).width;
const firstLineWidthPt = pxToPt(firstLineWidthCss);
// 动态计算水印间隔
const xGap = Math.max(baseGap, firstLineWidthPt * 1.2);
const yGap = Math.max(250, fontSize * (lines.length + 1));
// 创建水印图片
const padding = 10;
const lineHeighCss = cssFontSize * lineHeight;
const cssWidth = Math.max(...lines.map(l => mctx.measureText(l).width)) + padding * 2;
const cssHeight = lines.length * lineHeighCss + padding * 2;
// 避免生成的水印模糊
const canvas = document.createElement('canvas');
canvas.width = cssWidth * pixelRatio;
canvas.height = cssHeight * pixelRatio;
const ctx = canvas.getContext('2d');
ctx.scale(pixelRatio, pixelRatio);
ctx.font = `${cssFontSize}px sans-serif`;
ctx.fillStyle = color;
ctx.textBaseline = 'top';
// 绘制文本行
lines.forEach((line, i) => {
ctx.fillText(line, padding, padding + i * lineHeighCss);
});
const dataUrl = canvas.toDataURL('image/png');
// 使用pdf-lib处理PDF
const existingPdfBytes = await fetch(pdfUrl).then(r => r.arrayBuffer());
const pdfDoc = await PDFDocument.load(existingPdfBytes);
const pngImage = await pdfDoc.embedPng(dataUrl);
const pages = pdfDoc.getPages();
const imgWPt = pxToPt(cssWidth);
const imgHPt = pxToPt(cssHeight);
// 为每页添加水印
for (const page of pages) {
const { width: pageW, height: pageH } = page.getSize();
const rotation = page.getRotation().angle || 0;
// 根据页面旋转调整水印角度
let finalAngle = angle;
if (rotation === 90) finalAngle = angle - 90;
else if (rotation === 270) finalAngle = angle + 90;
else if (rotation === 180) finalAngle = angle + 180;
// 平铺水印
for (let x = -pageW; x < pageW * 2; x += xGap) {
for (let y = -pageH; y < pageH * 2; y += yGap) {
page.drawImage(pngImage, {
x,
y,
width: imgWPt,
height: imgHPt,
rotate: degrees(finalAngle),
opacity
});
}
}
}
// 导出并下载
const pdfBytes = await pdfDoc.save();
const blob = new Blob([pdfBytes], { type: 'application/pdf' });
const link = document.createElement('a');
link.href = URL.createObjectURL(blob);
link.download = pdfUrl.split('/').pop() || 'watermarked.pdf';
link.click();
URL.revokeObjectURL(link.href);
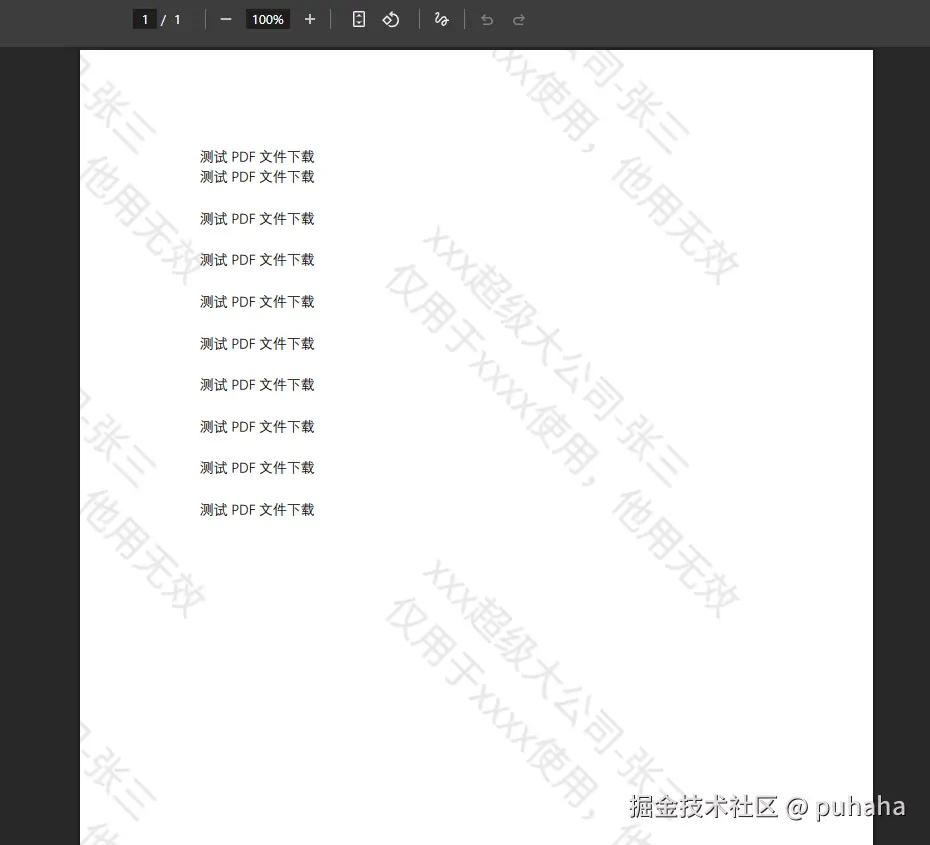
}效果展示
2. 图片水印实现
思路和pdf的类似,只不过不需要pdf-lib库了,先生成和上面一样的水印图,再创建canvas加载原图,遍历添加水印图即可。
javascript
export async function addWatermarkToImage(imageUrl, companyName, personName, options = {}) {
if (!imageUrl) return '';
const {
opacity = 0.38,
angle = 45,
color = 'rgba(120,120,120,1)',
pixelRatio = Math.max(window.devicePixelRatio || 1, 2),
lineHeight = 1.4,
crossOrigin = 'anonymous',
mimeType = 'image/png',
quality = 0.92,
fontRatio = 0.02, // 字体比例
gapRatio = { x: 0.25, y: 0.2 } // 间隔比例
} = options;
const firstLine = companyName && personName ? `${companyName}-${personName}` : companyName || personName || '';
const secondLine = '仅用于xxxx,他用无效';
const lines = [firstLine, secondLine];
const loadImage = (src, needCO) =>
new Promise((resolve, reject) => {
const img = new Image();
if (needCO) img.crossOrigin = crossOrigin;
img.onload = () => resolve(img);
img.onerror = reject;
img.src = src;
});
const baseImg = await loadImage(imageUrl, true);
const W = baseImg.naturalWidth || baseImg.width;
const H = baseImg.naturalHeight || baseImg.height;
const minSide = Math.min(W, H);
const adaptiveFontSize = Math.max(12, Math.round(minSide * fontRatio));
const measureCanvas = document.createElement('canvas');
const mctx = measureCanvas.getContext('2d');
mctx.font = `${adaptiveFontSize}px sans-serif`;
const firstLineWidthPx = mctx.measureText(firstLine).width;
// 动态间隔(比例 + 最小间隔限制)
let xGap = W * gapRatio.x;
let yGap = H * gapRatio.y;
const minXGap = Math.max(firstLineWidthPx * 3, 200); // 至少 200px
const minYGap = Math.max(adaptiveFontSize * 4, 150); // 至少 150px
xGap = Math.max(xGap, minXGap);
yGap = Math.max(yGap, minYGap);
const padding = 10;
const lineHeightPx = adaptiveFontSize * lineHeight;
const cssWidth = Math.max(...lines.map(l => mctx.measureText(l).width)) + padding * 2;
const cssHeight = lines.length * lineHeightPx + padding * 2;
const tileCanvas = document.createElement('canvas');
tileCanvas.width = cssWidth * pixelRatio;
tileCanvas.height = cssHeight * pixelRatio;
const tctx = tileCanvas.getContext('2d');
tctx.scale(pixelRatio, pixelRatio);
tctx.font = `${adaptiveFontSize}px sans-serif`;
tctx.fillStyle = color;
tctx.textBaseline = 'top';
tctx.textAlign = 'left';
lines.forEach((line, i) => {
tctx.fillText(line, padding, padding + i * lineHeightPx);
});
const tileDataUrl = tileCanvas.toDataURL('image/png');
const tileImg = await loadImage(tileDataUrl, false);
const outCanvas = document.createElement('canvas');
outCanvas.width = W * pixelRatio;
outCanvas.height = H * pixelRatio;
const ctx = outCanvas.getContext('2d');
ctx.scale(pixelRatio, pixelRatio);
ctx.drawImage(baseImg, 0, 0, W, H);
ctx.globalAlpha = opacity;
const rad = (angle * Math.PI) / 180;
for (let x = -W; x < W * 2; x += xGap) {
for (let y = -H; y < H * 2; y += yGap) {
ctx.save();
ctx.translate(x + cssWidth / 2, y + cssHeight / 2);
ctx.rotate(rad);
ctx.drawImage(tileImg, -cssWidth / 2, -cssHeight / 2, cssWidth, cssHeight);
ctx.restore();
}
}
ctx.globalAlpha = 1;
return outCanvas.toDataURL(mimeType, quality);
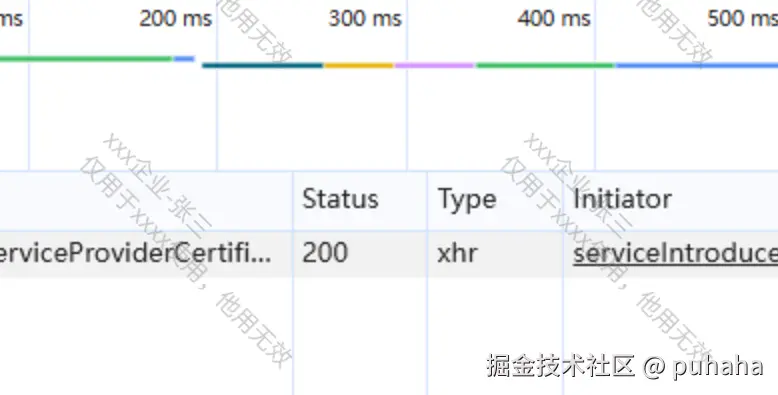
}效果展示
关键技术点
1. 高分辨率处理
通过pixelRatio参数确保在高DPI屏幕上水印依然清晰,这是通过将canvas尺寸放大再缩放实现的。
2. 自动间隔计算
水印间隔不是固定值,而是基于文本长度动态计算:
javascript
const xGap = Math.max(baseGap, firstLineWidthPt * 1.2);这确保了水印既不会过于密集也不会过于稀疏。
3. 页面旋转适配
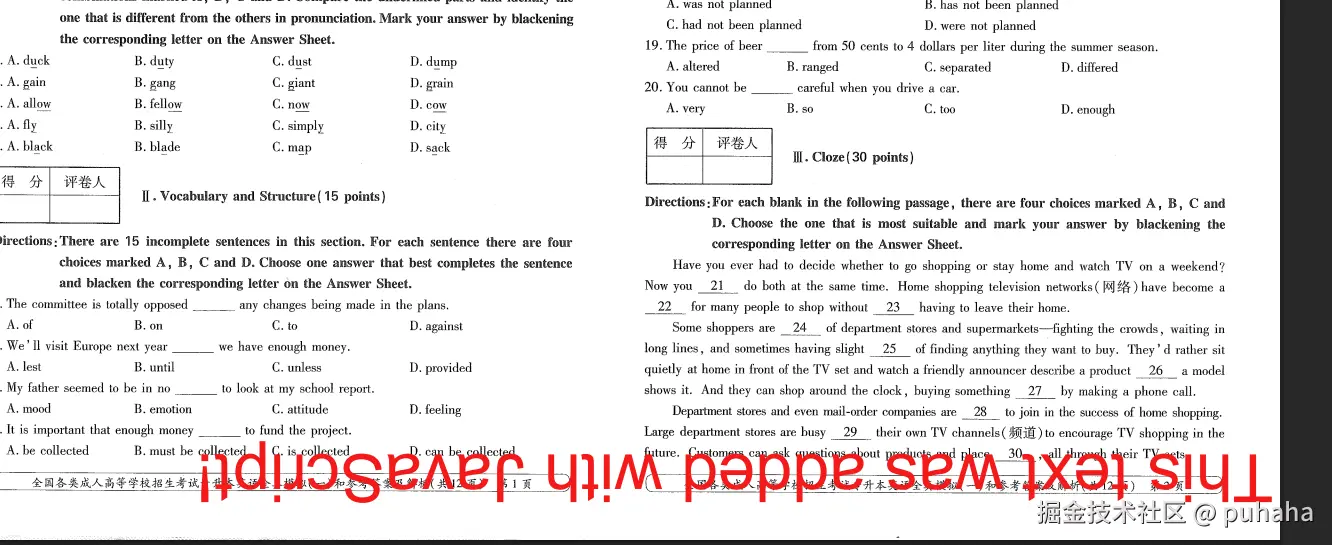
javascript
firstPage.drawText('This text was added with JavaScript!', {
x: 5,
y: height / 2 + 300,
size: 50,
font: helveticaFont,
color: rgb(0.95, 0.1, 0.1),
rotate: degrees(0),
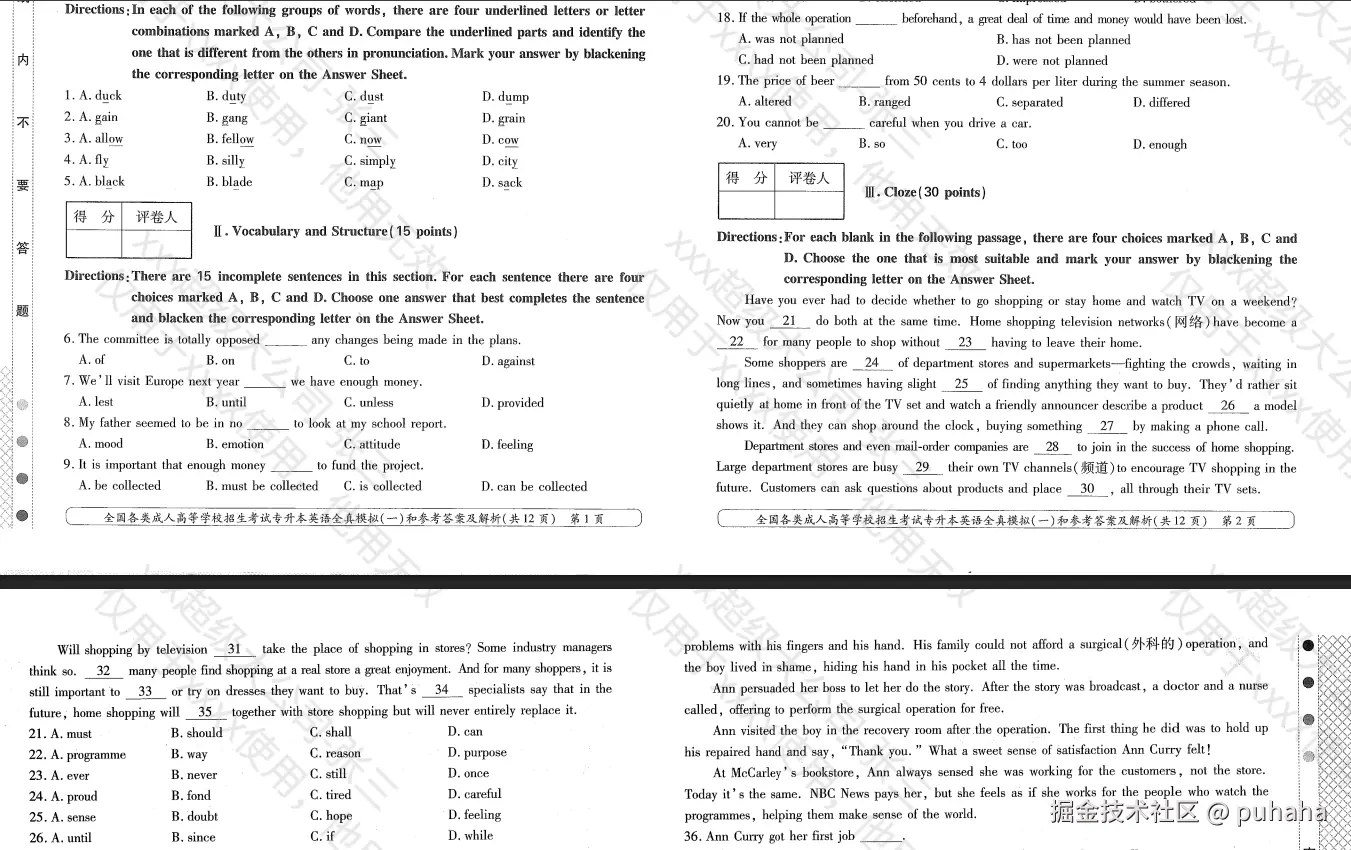
})上面这行代码,在每页高度>宽度的情况下,这段代码水印显示没什么问题。 反之,就会出现下面这种情况,水印倒转过来了
于是在添加水印前,应先判断pdf的方向
javascript
    const { width: pageW, height: pageH } = page.getSize();
    const rotation = page.getRotation().angle || 0;
    let finalAngle = angle;
    if (rotation === 90) finalAngle = angle - 90;
    else if (rotation === 270) finalAngle = angle + 90;
    else if (rotation === 180) finalAngle = angle + 180;
PDF处理时自动检测页面旋转角度并相应调整水印方向,保证水印始终以正确角度显示。
4. 跨域图片处理
图片水印函数支持crossOrigin参数,可以正确处理需要CORS的图片资源。