【木灵鱼儿】Nestjs 实现passport策略jwt鉴权(全局鉴权和白名单)
参考大佬的文章,丰富了一下其中细节,推荐看本篇之前先看nestjs官网中Passport (authentication)对于对称签名的实现流程和上述大佬的文章。本文默认读者已经看过nestjs官网的基础部分。
1. 安装依赖,生成公钥私钥
bash
pnpm add @nestjs/config @nestjs/passport passport-jwt passport-local @nestjs/jwt生成私钥
bash
# 生成一个2048位的RSA私钥
openssl genrsa -out private_key.pem 2048
提取公钥
bash
# 从私钥文件中提取出对应的公钥
openssl rsa -in private_key.pem -pubout -out public_key.pem
2. 公钥私钥的自定义配置文件
所有权限相关代码全放在src/auth文件夹下
src\auth\pem-conf.ts
typescript
import { readFileSync } from 'node:fs';
import { join } from 'node:path';

export default () => {
  const public_key = readFileSync(join(__dirname, 'public_key.pem'), 'utf8');
  const private_key = readFileSync(join(__dirname, 'private_key.pem'), 'utf8');

  return {
    public_key,
    private_key,
  };
};
在app.module.ts中加载配置文件,import auth模块 src\app.module.ts
python
import { Module } from '@nestjs/common';
import { AppController } from './app.controller';
import { AppService } from './app.service';
import { ConfigModule } from '@nestjs/config';
import pemConf from './auth/pem-conf';
import { AuthModule } from './auth/auth.module';

@Module({
  imports: [
    AuthModule,
    ConfigModule.forRoot({
      isGlobal: true,
      load: [pemConf],
    }),
  ],
  controllers: [AppController],
  providers: [AppService],
})
export class AppModule {}在nest-cli.json中添加assets属性,这样生成的私钥公钥的文件会在打包时,复制到./dist/auth文件夹中
json
{
  "sourceRoot": "src",
  "compilerOptions": {
    "deleteOutDir": true,
    "assets": [{ "include": "./auth/*.pem", "outDir": "./dist" }]
  }
}
3. 创建user模块,模拟用户数据
src\user\user.module.ts
typescript
import { Module } from '@nestjs/common';
import { UserService } from './user.service';

@Module({
  providers: [UserService],
  exports: [UserService],
})
export class UserModule {}
src\user\user.service.ts
typescript
import { Injectable } from '@nestjs/common';

export type User = {
  username: string;
  userId: number;
  password: string;
};

@Injectable()
export class UserService {
  private readonly users: User[] = [
    {
      userId: 1,
      username: 'john',
      password: 'changeme',
    },
    {
      userId: 2,
      username: 'maria',
      password: 'guess',
    },
  ];

  async findOne(username: string) {
    return this.users.find((user) => user.username === username);
  }
}
4. 生成access_token
生成token时,用local策略,后续验证token用jwt策略。local策略仅仅是判断前端传来的用户信息是否正确。
src\auth\auth.service.ts
typescript
import { Injectable } from '@nestjs/common';
import { User, UserService } from '../user/user.service';
import { JwtService } from '@nestjs/jwt';
import { ConfigService } from '@nestjs/config';

@Injectable()
export class AuthService {
  constructor(
    private readonly userService: UserService,
    private readonly jwtService: JwtService,
    private readonly configService: ConfigService,
  ) {}

  async validateUser(username: string, pass: string) {
    const user = await this.userService.findOne(username);
    if (user && user.password === pass) {
      const { password, ...result } = user;
      return result;
    }
    return null;
  }

  async login(user: User) {
    const payload = { username: user.username, sub: user.userId };
    return {
      access_token: await this.jwtService.signAsync(payload, {
        privateKey: this.configService.get('private_key'),
      }),
    };
  }
}
local.strategy.ts
typescript
import { Strategy } from 'passport-local';
import { PassportStrategy } from '@nestjs/passport';
import { Injectable, UnauthorizedException } from '@nestjs/common';
import { AuthService } from './auth.service';

@Injectable()
export class LocalStrategy extends PassportStrategy(Strategy) {
  constructor(private authService: AuthService) {
    super();
  }

  async validate(username: string, password: string) {
    const user = await this.authService.validateUser(username, password);

    if (!user) {
      throw new UnauthorizedException();
    }
    return user;
  }
}
添加local策略后,更新auth模块
src\auth\auth.module.ts
typescript
import { Module } from '@nestjs/common';
import { AuthService } from './auth.service';
import { AuthController } from './auth.controller';
import { PassportModule } from '@nestjs/passport';
import { LocalStrategy } from './local.strategy';
import { UserModule } from 'src/user/user.module';
import { JwtModule } from '@nestjs/jwt';
import { ConfigService } from '@nestjs/config';

@Module({
  imports: [
    PassportModule,
    UserModule,
    JwtModule.registerAsync({
      inject: [ConfigService],
      useFactory: (configService: ConfigService) => {
        return {
          publicKey: configService.get('public_key'),
          privateKey: configService.get('private_key'),
          signOptions: {
            algorithm: 'RS256',
            expiresIn: '30d',
          },
        };
      },
    }),
  ],
  providers: [AuthService, LocalStrategy],
  controllers: [AuthController],
})
export class AuthModule {}
给/auth/login接口加上local策略的守卫
auth.controller.ts
typescript
import {
Controller,
HttpCode,
HttpStatus,
Post,
Req,
UseGuards,
} from '@nestjs/common';
import { AuthGuard } from '@nestjs/passport';
import { AuthService } from './auth.service';
@Controller('auth')
export class AuthController {
constructor(private readonly authService: AuthService) {}
@HttpCode(HttpStatus.OK)
@UseGuards(AuthGuard('local'))
@Post('login')
login(@Req() req) {
return this.authService.login(req.user);
}
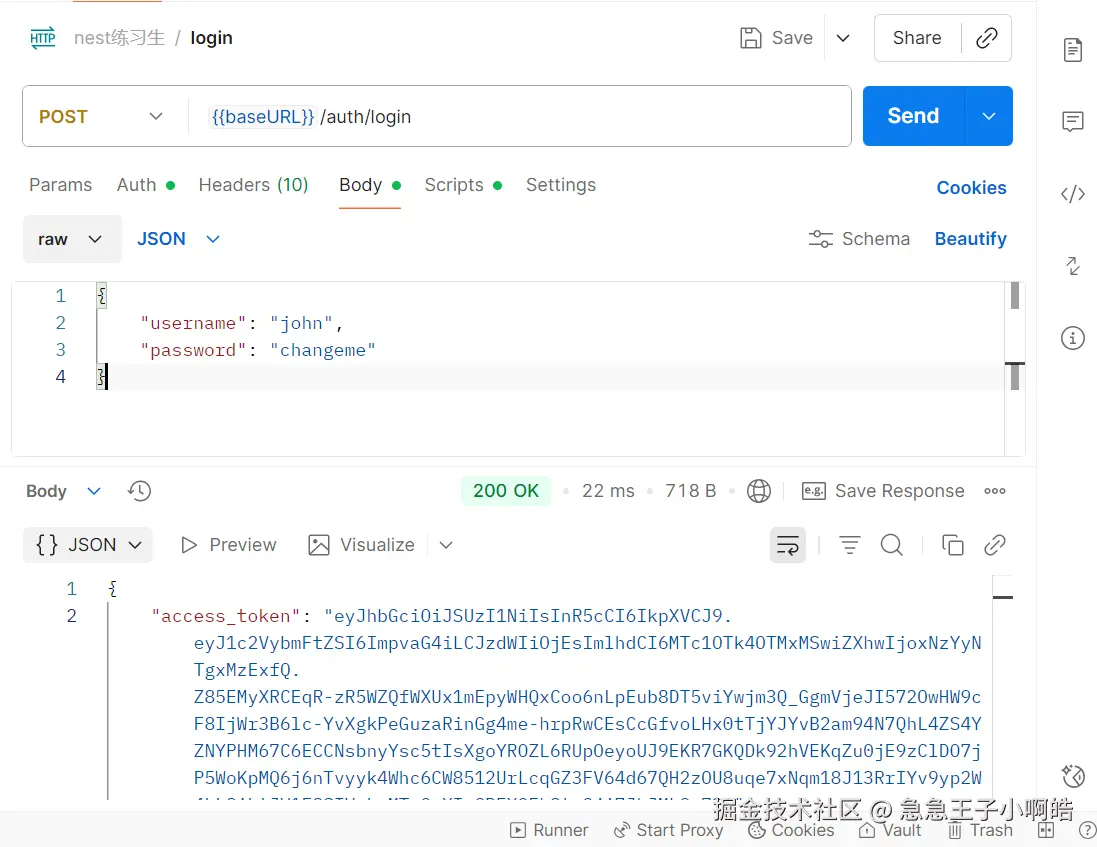
}postman 验证/auth/login接口,成功生成token
5. 全局守卫,验证token
添加jwt策略 src\auth\jwt.strategy.ts
typescript
import { ExtractJwt, Strategy } from 'passport-jwt';
import { PassportStrategy } from '@nestjs/passport';
import { Injectable } from '@nestjs/common';
import { ConfigService } from '@nestjs/config';

@Injectable()
export class JwtStrategy extends PassportStrategy(Strategy) {
  constructor(private readonly config: ConfigService) {
    super({
      jwtFromRequest: ExtractJwt.fromAuthHeaderAsBearerToken(),
      ignoreExpiration: false,
      secretOrKey: config.get('public_key')!,
    });
  }

  async validate(payload: any) {
    console.log('jwt策略的钩子,返回值会加到reuquest的user属性上', payload);
    return { userId: payload.sub, username: payload.username };
  }
}
添加全局jwt守卫。login接口直接放行,有@Public注解的接口也直接放行 src\auth\jwt-auth.guard.ts
typescript
import type { Request } from 'express';
import { ExecutionContext, Injectable } from '@nestjs/common';
import { Reflector } from '@nestjs/core';
import { AuthGuard } from '@nestjs/passport';
import { IS_PUBLIC_KEY } from './public';

@Injectable()
export class JwtAuthGuard extends AuthGuard('jwt') {
  constructor(private reflector: Reflector) {
    super();
  }

  canActivate(context: ExecutionContext) {
    const request = context.switchToHttp().getRequest<Request>();

    if (request.route.path === '/auth/login') return true;

    const isPublic = this.reflector.getAllAndOverride<boolean>(IS_PUBLIC_KEY, [
      context.getHandler(),
      context.getClass(),
    ]);
    if (isPublic) {
      return true;
    }
    return super.canActivate(context);
  }
}
定义@Public注解 src\auth\public.ts
typescript
import { SetMetadata } from '@nestjs/common';

export const IS_PUBLIC_KEY = 'isPublic';
export const Public = () => SetMetadata(IS_PUBLIC_KEY, true);更新auth.module.ts,全局应用jwt守卫,添加JwtStrategy策略
typescript
import { Module } from '@nestjs/common';
import { AuthService } from './auth.service';
import { AuthController } from './auth.controller';
import { PassportModule } from '@nestjs/passport';
import { LocalStrategy } from './local.strategy';
import { UserModule } from 'src/user/user.module';
import { JwtModule } from '@nestjs/jwt';
import { JwtStrategy } from './jwt.strategy';
import { APP_GUARD } from '@nestjs/core';
import { JwtAuthGuard } from './jwt-auth.guard';
import { ConfigService } from '@nestjs/config';

@Module({
  imports: [
    PassportModule,
    UserModule,
    JwtModule.registerAsync({
      inject: [ConfigService],
      useFactory: (configService: ConfigService) => {
        return {
          publicKey: configService.get('public_key'),
          privateKey: configService.get('private_key'),
          signOptions: {
            algorithm: 'RS256',
            expiresIn: '30d',
          },
        };
      },
    }),
  ],
  providers: [
    AuthService,
    LocalStrategy,
    JwtStrategy,
    {
      provide: APP_GUARD,
      useClass: JwtAuthGuard,
    },
  ],
  controllers: [AuthController],
})
export class AuthModule {}
在auth的controller里添加测试接口 src\auth\auth.controller.ts
typescript
import {
Controller,
Get,
HttpCode,
HttpStatus,
Post,
Req,
UseGuards,
} from '@nestjs/common';
import { AuthGuard } from '@nestjs/passport';
import { AuthService } from './auth.service';
import { Public } from './public';
@Controller('auth')
export class AuthController {
constructor(private readonly authService: AuthService) {}
@HttpCode(HttpStatus.OK)
@UseGuards(AuthGuard('local'))
@Post('login')
login(@Req() req) {
return this.authService.login(req.user);
}
@Get('profile')
getProfile(@Req() req) {
return req.user;
}
@Public()
@Get('public')
findAll() {
return [];
}
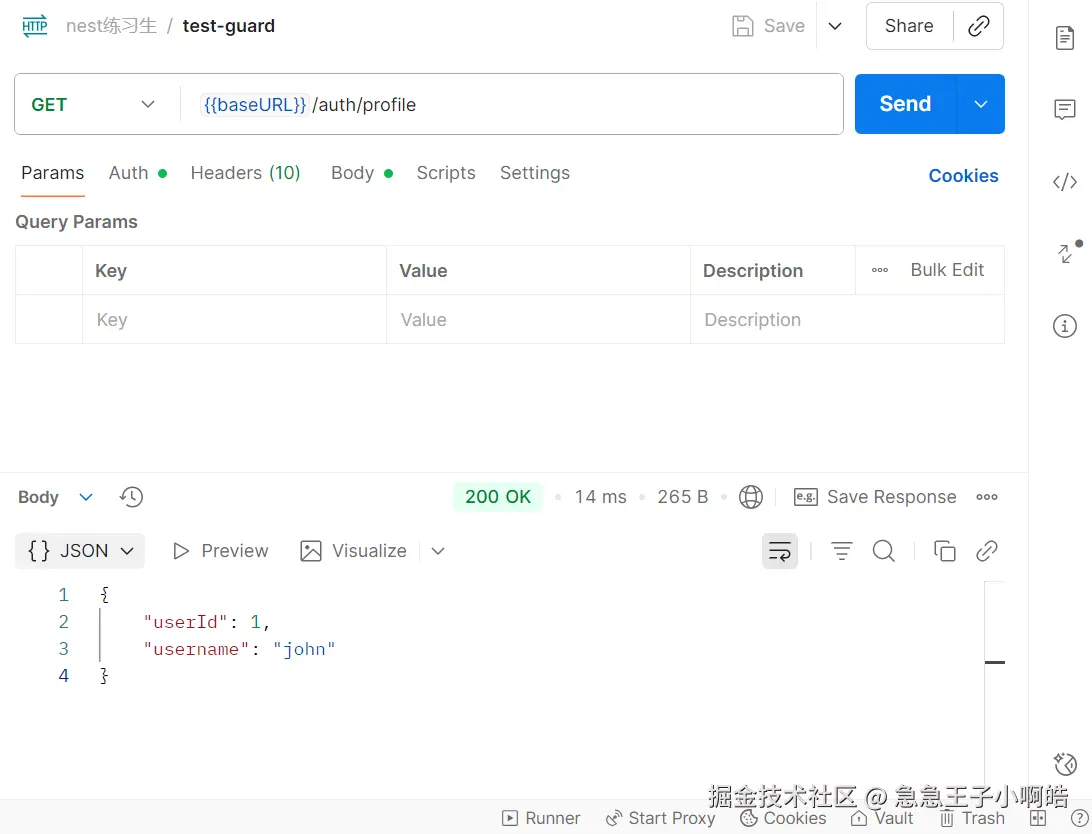
}postman验证接口/auth/profile