- 下载G6源码包,切换为4.8.21的分支。
打开项目根目录,创建一个source_code文件夹,通过git克隆G6源码
bash
git clone https://github.com/antvis/G6.git
cd G6
git checkout 4.8.21- 在package.json文件中,把原来的依赖删除,引入antvg6本地依赖。
cpp
"dependencies": {
	  "@antv/g": "^6.1.27",
    "@antv/g6": "file:source_code/G6/packages/g6",
    "@antv/g6-core": "file:source_code/G6/packages/core",
    "@antv/g6-pc": "file:source_code/G6/packages/pc",
}- 添加typescript和source-map-loader依赖
bash
npm i -D typescript@4.9.5
npm i -D source-map-loader
npm i -D cross-env
此时,package.json会多出:
bash
  "devDependencies": {
    "cross-env": "^10.0.0",
    "source-map-loader": "^5.0.0",
    "typescript": "^4.9.5"
}- 配置config-overrides.js文件
cpp
const MonacoWebpackPlugin = require('monaco-editor-webpack-plugin');
const path = require('path');
const paths = require('react-scripts/config/paths');

module.exports = function override(config, env) {
  config.plugins.push(
    new MonacoWebpackPlugin({
      languages: ['json'],
    })
  );

 // ===== 为了调试 antv/g6 源码,start =====

  // A) 允许从 src 之外导入(移除 CRA 的 ModuleScopePlugin)
  const ModuleScopePlugin = require('react-dev-utils/ModuleScopePlugin');
  config.resolve.plugins = (config.resolve.plugins || []).filter(
    (p) => !(p instanceof ModuleScopePlugin)
  );

  // B) 本地 G6 源码路径(根据你的目录调整)
  const G6_ROOT          = path.resolve(__dirname, 'source_code/G6');
  const PKG_G6_DIR       = path.resolve(G6_ROOT, 'packages/g6/src');
  const PKG_G6_PC_DIR    = path.resolve(G6_ROOT, 'packages/pc/src');
  const PKG_G6_CORE_DIR  = path.resolve(G6_ROOT, 'packages/core/src');

  const PKG_G6_INDEX       = path.resolve(PKG_G6_DIR, 'index.ts');
  const PKG_G6_PC_INDEX    = path.resolve(PKG_G6_PC_DIR, 'index.ts');
  const PKG_G6_CORE_INDEX  = path.resolve(PKG_G6_CORE_DIR, 'index.ts');

  // C) 支持解析 .ts/.tsx(补全扩展名)
  config.resolve.extensions = Array.from(
    new Set([
      '.web.mjs', '.mjs', '.web.js', '.js', '.json',
      '.web.jsx', '.jsx', '.web.ts', '.ts', '.web.tsx', '.tsx',
    ])
  );

  // D) alias:目录别名 + 精确入口别名($ 结尾)
  config.resolve.alias = {
    ...(config.resolve.alias || {}),
    '@antv/g6': PKG_G6_DIR,
    '@antv/g6-pc': PKG_G6_PC_DIR,
    '@antv/g6-core': PKG_G6_CORE_DIR,

    '@antv/g6$': PKG_G6_INDEX,
    '@antv/g6-pc$': PKG_G6_PC_INDEX,
    '@antv/g6-core$': PKG_G6_CORE_INDEX,
  };

  // E) 让 CRA 的 babel-loader 也编译这些外部源码目录
  const oneOfRule = config.module.rules.find((r) => Array.isArray(r.oneOf));
  if (oneOfRule) {
    const babelRule = oneOfRule.oneOf.find(
      (r) => r.loader && r.loader.includes('babel-loader') && r.include
    );
    if (babelRule) {
      const extraIncludes = [PKG_G6_DIR, PKG_G6_PC_DIR, PKG_G6_CORE_DIR];
      if (Array.isArray(babelRule.include)) {
        babelRule.include.push(...extraIncludes);
      } else {
        babelRule.include = [babelRule.include, ...extraIncludes];
      }
    }
  }

  // F) (可选)source-map-loader:放在 oneOf 外,且排除 src,避免截胡 JSX
  config.module.rules.push({
    test: /\.(js|mjs|jsx|ts|tsx)$/,
    enforce: 'pre',
    include: [
      path.resolve(__dirname, 'node_modules'),
      G6_ROOT,
    ],
    exclude: [path.resolve(__dirname, 'src')],
    use: ['source-map-loader'],
  });

  // G) 调试映射:开发更友好
  config.devtool = env === 'production' ? 'source-map' : 'eval-source-map';

  // ===== 为了调试 antv/g6 源码,end =====

  return config;
};- 在package.json中,script的start部分,要添加cross-env FAST_REFRESH=false
bash
  "scripts": {
    "start": "cross-env FAST_REFRESH=false react-app-rewired start",
},- 执行安装和启动命令
bash
npm i
npm run start-
打开浏览器访问之后,F12弹出控制台
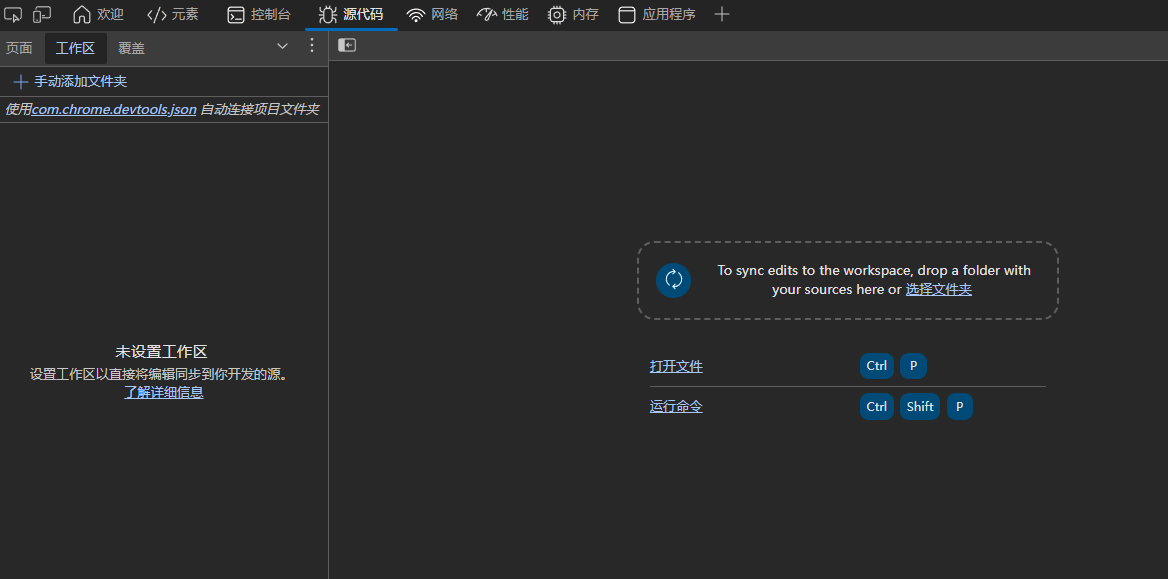
此时要手动添加你的react-app-rewired工程项目的根目录文件夹,以及G6源码的根文件夹。
-
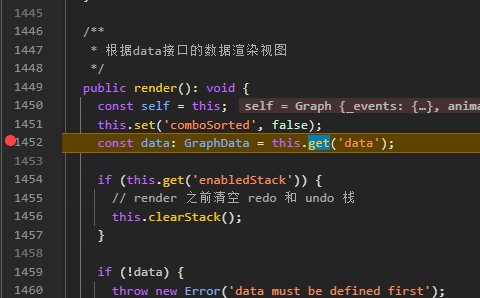
关闭并且新打开一个浏览器,F12进去,先打个断点
如果看到这样好几个圆点,意味着可以F11直接步入进去。
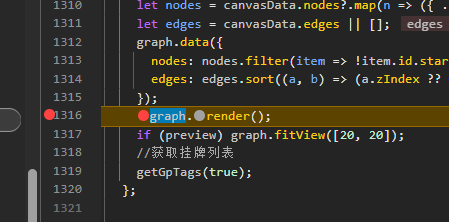
此时,我们已经成功debug到antvg6的源码的render函数。