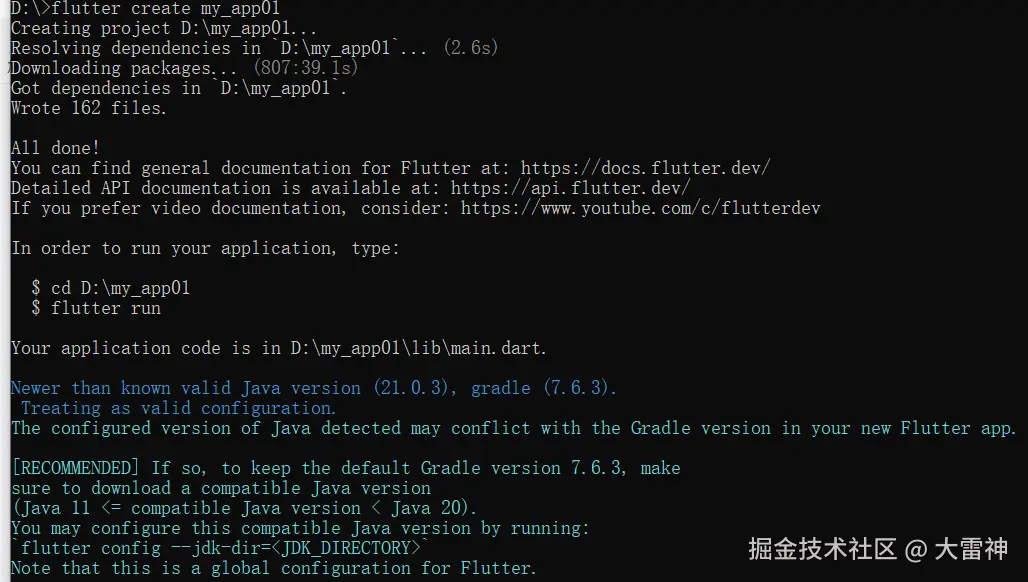
环境搭建完成 开始构建项目
 编辑
编辑
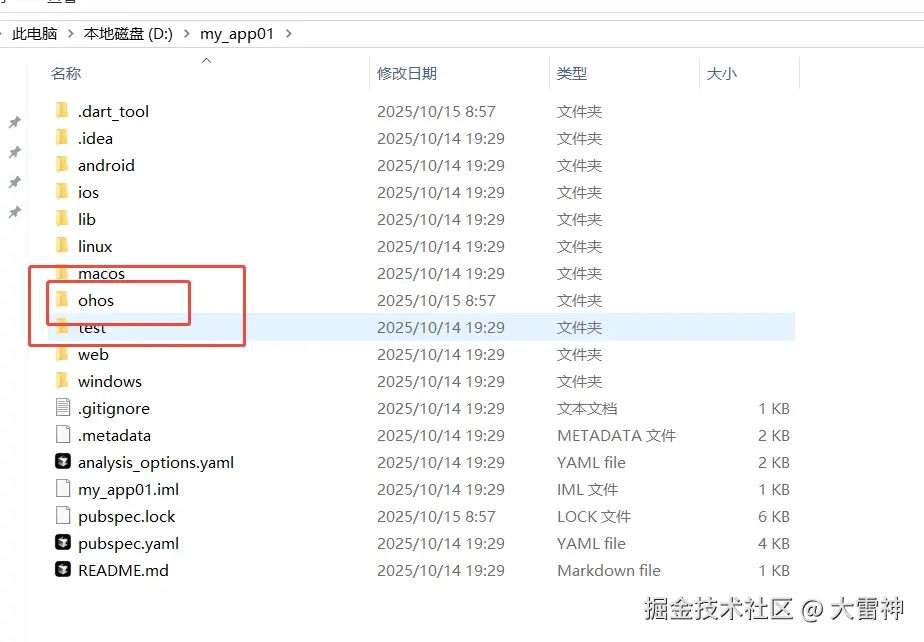
项目目录
打开项目以后 可以看到结构如下 里面的ohos就是鸿蒙代码
 编辑
编辑
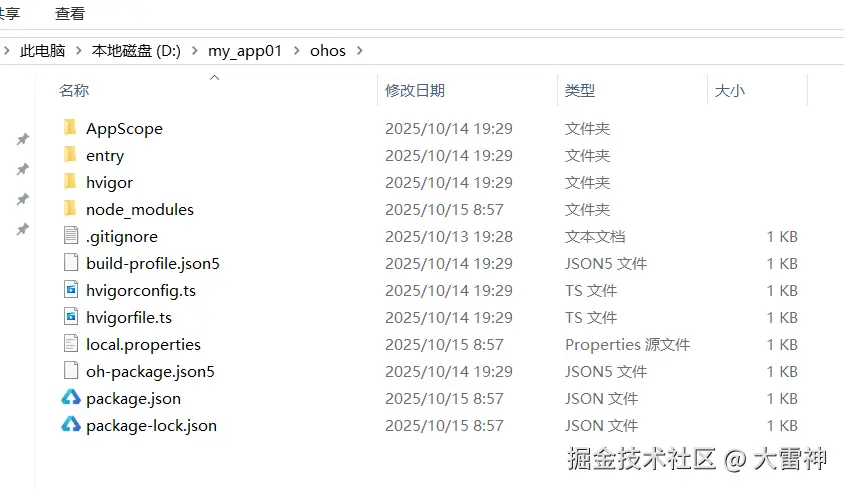
展开看看 熟悉吧
 编辑
编辑
不要直接去操作这些代码,肯定跑不起来的
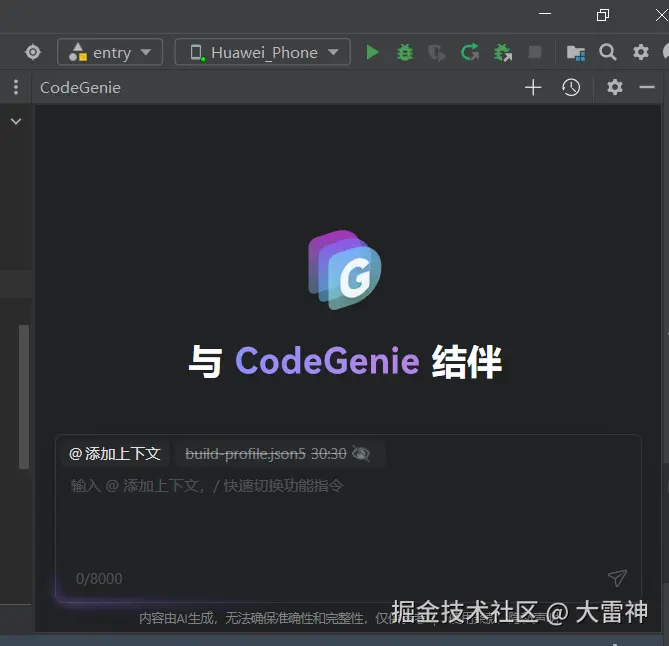
启动模拟器
这个时候打开DevEco工具 启动模拟器 随便用哪个项目打开都行 只启动模拟器就可以了
 编辑
编辑
启动以后
打包
打开项目目录 运行
flutter build hap --debug
构建鸿蒙项目包
 编辑
编辑
打包完成后开始运行flutter项目
在终端继续输入命令:
flutter run
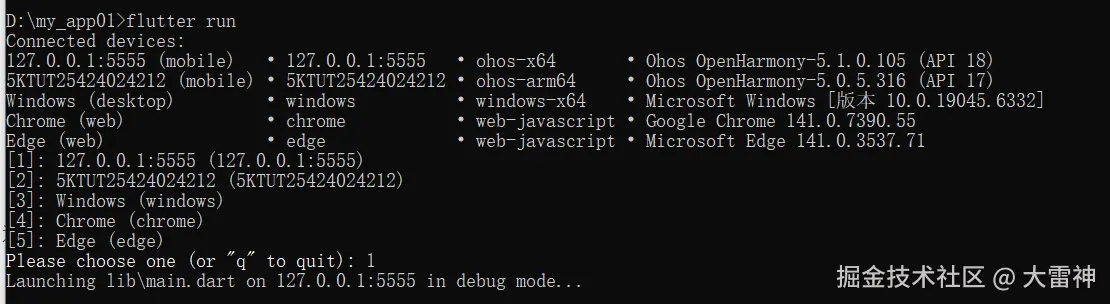 编辑然后选择1 用模拟器启动
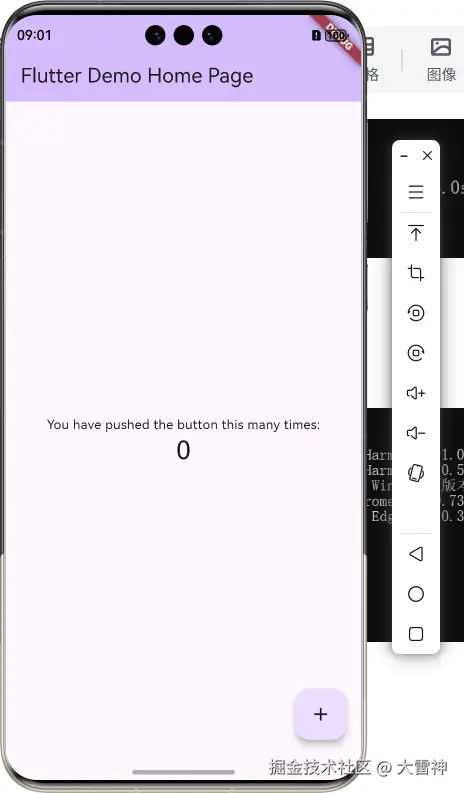
模拟器效果
 编辑
编辑
实操
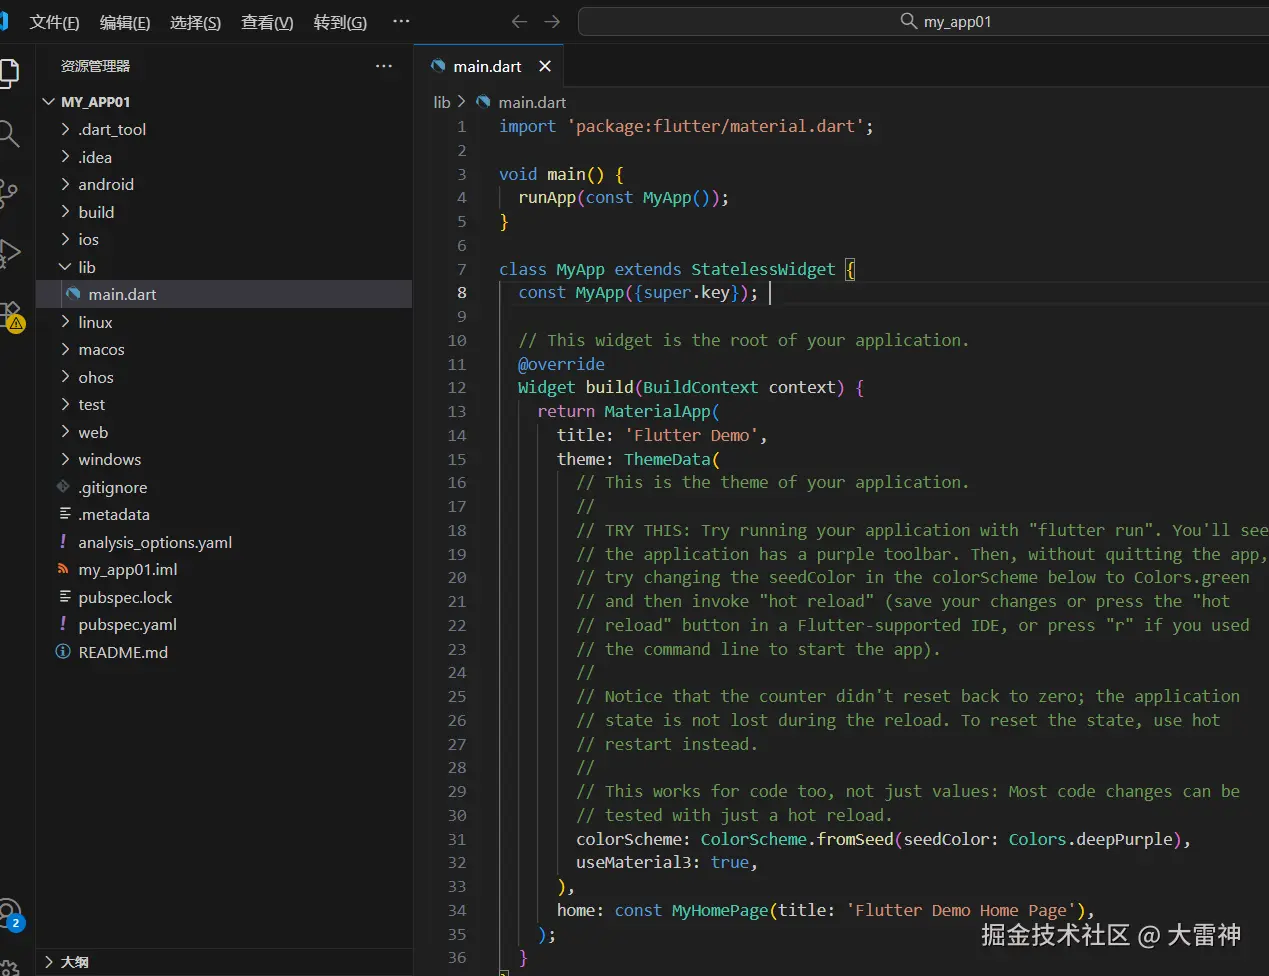
用vsCode打开项目 找到lib目录 里面的main.dart 就是程序的主入口
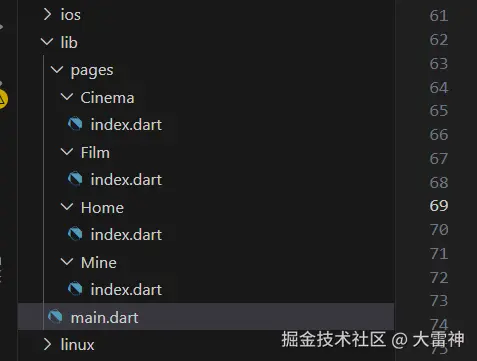
 编辑在lib中分别新建pages,在新建四个文件夹 Home Cinema Film Mine ,然后分别新建各自的默认页面 index.dart
 编辑
编辑
分别定义好自己的页面内容
Cinema/index
scala
import 'package:flutter/material.dart';

class CinemaPage extends StatelessWidget{
  const CinemaPage({super.key});
  @override
  Widget build(BuildContext context) {
   return const Center(
    child: Text('影院',style: TextStyle(fontSize: 24),),
   );
  }
}
Film/index
scala
import 'package:flutter/material.dart';

class FilmPage extends StatelessWidget {
  const FilmPage({super.key});

  @override
  Widget build(BuildContext context) {
    return const Center(
      child: Text('电影', style: TextStyle(fontSize: 24)),
    );
  }
}
Home/index
scala
import 'package:flutter/material.dart';

class HomePage extends StatelessWidget{
  const HomePage({super.key});
  @override
  Widget build(BuildContext context) {

    return const Center(
      child: Column(
        mainAxisAlignment: MainAxisAlignment.center,
        children: <Widget>[
          Text('首页',style: TextStyle(fontSize:24))
        ],
      )
    );


  }
}
Mine/index
scala
import 'package:flutter/material.dart';

class MinePage extends StatelessWidget {
  const MinePage({super.key});

  @override
  Widget build(BuildContext context) {
    return const Center(
      child: Text('我的', style: TextStyle(fontSize: 24)),
    );
  }
}
最后修改main.dart文件
scala
import 'package:flutter/material.dart';
import 'package:my_app01/pages/Cinema/index.dart';
import 'package:my_app01/pages/Home/index.dart';
import 'package:my_app01/pages/Film/index.dart';
import 'package:my_app01/pages/Mine/index.dart';


void main() {
  runApp(const MyApp());
}

class MyApp extends StatelessWidget {
  const MyApp({super.key});
  @override
  Widget build(BuildContext context) {
    return MaterialApp(
      title: 'Flutter Demo',
      theme: ThemeData(
        colorScheme: ColorScheme.fromSeed(seedColor: Colors.deepPurple),
        useMaterial3: true,
      ),
      home: const MainScreen(),
    );
  }
}

class MainScreen extends StatefulWidget {
  const MainScreen({super.key});

  @override
  State<MainScreen>createState()=>_MainScreenState();
}
class _MainScreenState extends State<MainScreen>{
  int _currentIndex = 0;
  final List<Widget> _page = const[
    HomePage(),
    CinemaPage(),
    FilmPage(),
    MinePage(),
  ];
  final List<BottomNavigationBarItem> _navBarItems = [
    const BottomNavigationBarItem(
      icon: Icon(Icons.home_outlined),
      activeIcon: Icon(Icons.home,color: Colors.blue),
      label: '首页'
    ),
    const BottomNavigationBarItem(
      icon: Icon(Icons.contacts_outlined),
      activeIcon: Icon(Icons.contacts, color: Colors.blue),
      label: '影院',
    ),
    const BottomNavigationBarItem(
      icon: Icon(Icons.people_outline),
      activeIcon: Icon(Icons.people, color: Colors.blue),
      label: '个人',
    ),
    const BottomNavigationBarItem(
      icon: Icon(Icons.person_outline),
      activeIcon: Icon(Icons.person, color: Colors.blue),
      label: '我的',
    ),
  ];
  @override
  Widget build(BuildContext context){
    return Scaffold(
      appBar: AppBar(
        title: Text(_getAppBarTitle()),
      ),
      body: _page[_currentIndex],
      bottomNavigationBar: BottomNavigationBar(
       items: _navBarItems,
        currentIndex: _currentIndex,
        onTap: (index) {
          setState(() {
            _currentIndex = index; // 更新当前索引
          });
        },
        type: BottomNavigationBarType.fixed, // 固定样式(支持4个以上)
        selectedItemColor: Colors.blue, // 选中项颜色
        unselectedItemColor: Colors.grey, // 未选中项颜色
      ),
    );
  }
  // 根据当前索引返回AppBar标题
  String _getAppBarTitle() {
    switch (_currentIndex) {
      case 0: return '首页';
      case 1: return '影院';
      case 2: return '电影';
      case 3: return '个人';
      default: return '我的应用';
    }
  }
}
先启动鸿蒙虚拟机 或者真机
编译成鸿蒙
先运行 flutter build hap
在运行 flutter run
最后的效果如下
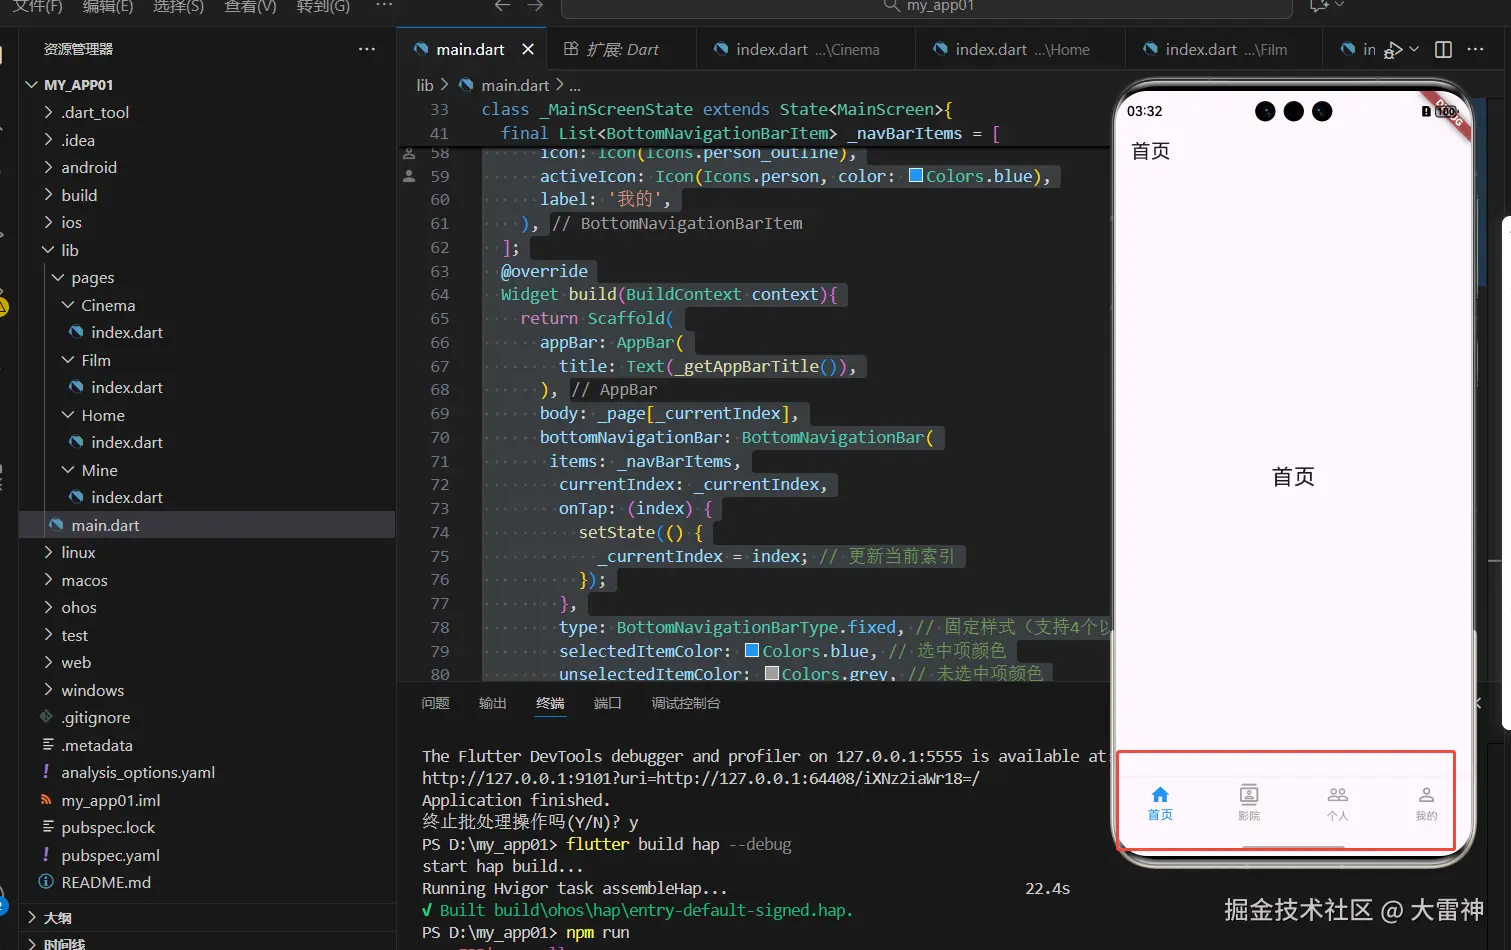 编辑
编辑
你学废了吗?
developer.huawei.com/consumer/cn...