阶段一:补齐系统级 ROS 2 与 SLAM 环境
操作位置: 全新原生系统终端(不要激活 Conda,确保是 Ubuntu 默认环境)
为了让系统拥有完整的命令行抓包能力、可视化工具以及建图算法,依次严格执行以下命令:
Bash
csharp
sudo apt update
# 1. 安装基础命令行工具与可视化工具
sudo apt install ros-humble-ros-base ros-humble-ros2cli ros-humble-rviz2 -y
# 2. 安装 Cartographer 核心与 ROS 2 接口
sudo apt install ros-humble-cartographer ros-humble-cartographer-ros -y
# 3. 安装地图发布服务器 (用于将内部栅格转为 ROS /map)
sudo apt install ros-humble-nav2-map-server -y
阶段二:Isaac Sim 物理雷达 (PhysX Lidar) 部署
操作位置: Isaac Sim UI 界面 (Stage 树与 Property 面板)
-
创建雷达: 顶部菜单点击
Create -> Sensors -> PhysX Lidar -> Rotating。 -
挂载层级: 将生成的
PhysX_Lidar拖入你的机器人基座层级下,重命名为Lidar(路径示例:/tiago_dual/base_footprint/Lidar)。 -
物理防穿模与"平视"配置:
- 选中
Lidar,在 Property ->Transform中,将 Z 轴平移 (Translate Z) 设为0.25或0.3(抬高雷达防止扫到地板)。 - 确保 X、Y、Z 旋转 (Rotate) 全部严格清零为
0.0。
- 选中
-
引擎"防呆"与 2D 降维配置:
-
在 Property ->
Lidar卷展栏中配置:Horizontal FOV: 180.0Vertical FOV: 0.2 (极其关键,设为 0.2 欺骗物理引擎防止除零报错)Vertical Resolution: 0.2 (与 FOV 相等,强制只发射单层 2D 射线)Rotation Rate: 0.0 (瞬间获取完整半圆)Min Range: 0.3 (穿透自身外壳)Max Range: 15.0
-
阶段三:Action Graph 底层通信图表搭建
操作位置: Isaac Sim UI 界面 (Action Graph 窗口)
创建图表并添加以下节点,完成严格的数据绑定与连线:
1. 节点与执行流 (Exec) 连线:
On Playback Tick(Tick) ➔Isaac Read Lidar Beams Node(Exec In)Isaac Read Lidar Beams Node(Exec Out) ➔ROS2 Publish Laser Scan(Exec In)On Playback Tick(Tick) ➔ROS2 Publish Clock(Exec In)On Playback Tick(Tick) ➔ROS2 Publish Transform Tree(Exec In)
2. 核心数据流 (Data) 连线:
- 仿真时间同步: 将
Isaac Read Simulation Time的Simulation Time引脚,分别连给ROS2 Publish Clock和ROS2 Publish Laser Scan的Timestamp引脚。 - 雷达矩阵打包 (从 Read Beams 连向 Publish Laser Scan): 严格对应连接
Azimuth Range、Depth Range、Horizontal Fov、Horizontal Resolution、Intensities Data、Linear Depth Data、Num Cols、Num Rows、Rotation Rate。
3. 关键属性配置 (Property 面板):
Isaac Read Lidar Beams Node:lidarPrim绑定为/tiago_dual/base_footprint/Lidar。ROS2 Publish Laser Scan:topicName填scan,frameId填Lidar。ROS2 Publish Transform Tree:parentPrim绑定为/tiago_dual/base_footprint/base_link;targetPrims绑定为/tiago_dual/base_footprint/Lidar。
(完成后按 Ctrl + S 保存场景)
阶段四:Python 代码接管 Odom 与底盘 TF 发布
操作位置: 代码编辑器 (shop_teleop.py)
为了突破 Isaac Lab 环境对 Action Graph Odom 的屏蔽,在 Python 脚本主循环中注入原生 ROS 2 发布逻辑:
Python
ini
# --- 文件顶部追加导入 ---
from isaacsim.core.utils.extensions import enable_extension
enable_extension("isaacsim.ros2.bridge")
import rclpy
from nav_msgs.msg import Odometry
from geometry_msgs.msg import TransformStamped
from tf2_msgs.msg import TFMessage  # 绕过缺失的 tf2_ros
from builtin_interfaces.msg import Time

# --- 初始化节点 (在 world.reset() 之后) ---
rclpy.init()
odom_node = rclpy.create_node('isaac_odom_publisher')
odom_pub = odom_node.create_publisher(Odometry, '/odom', 10)
tf_pub = odom_node.create_publisher(TFMessage, '/tf', 10)

# --- 物理主循环内部追加 (获取姿态并发布) ---
while simulation_app.is_running():
    # ... (你的键盘控制与物理 step 代码) ...

    sim_time = world.current_time
    ros_time = Time(sec=int(sim_time), nanosec=int((sim_time - int(sim_time)) * 1e9))
    pos, ori = tiago.get_world_pose()  # ori: [w, x, y, z]
    lin_vel = tiago.get_linear_velocity()
    ang_vel = tiago.get_angular_velocity()

    # 1. 发布 Odom
    odom_msg = Odometry()
    odom_msg.header.stamp = ros_time
    odom_msg.header.frame_id = 'odom'
    odom_msg.child_frame_id = 'base_link'
    odom_msg.pose.pose.position.x = float(pos[0])
    odom_msg.pose.pose.position.y = float(pos[1])
    odom_msg.pose.pose.position.z = float(pos[2])
    odom_msg.pose.pose.orientation.x = float(ori[1])
    odom_msg.pose.pose.orientation.y = float(ori[2])
    odom_msg.pose.pose.orientation.z = float(ori[3])
    odom_msg.pose.pose.orientation.w = float(ori[0])
    # ... (赋值线速度与角速度) ...
    odom_pub.publish(odom_msg)

    # 2. 发布底层 TF (odom -> base_link)
    t = TransformStamped()
    t.header.stamp = ros_time
    t.header.frame_id = 'odom'
    t.child_frame_id = 'base_link'
    t.transform.translation.x = float(pos[0])
    t.transform.translation.y = float(pos[1])
    t.transform.translation.z = float(pos[2])
    t.transform.rotation.x = float(ori[1])
    t.transform.rotation.y = float(ori[2])
    t.transform.rotation.z = float(ori[3])
    t.transform.rotation.w = float(ori[0])

    tf_msg = TFMessage()
    tf_msg.transforms.append(t)
    tf_pub.publish(tf_msg)

    rclpy.spin_once(odom_node, timeout_sec=0.0)
阶段五:创建专属 Cartographer 配置文件
操作位置: 原生系统终端
执行 nano ~/tiago_retail_2d.lua,填入经过调优、且包含完整校验键值的专属参数:
Lua
ini
include "map_builder.lua"
include "trajectory_builder.lua"

options = {
  map_builder = MAP_BUILDER,
  trajectory_builder = TRAJECTORY_BUILDER,
  map_frame = "map",
  tracking_frame = "base_link",
  published_frame = "odom",
  odom_frame = "odom",
  provide_odom_frame = false,
  publish_frame_projected_to_2d = true,
  use_pose_extrapolator = true,
  use_odometry = true,
  use_nav_sat = false,
  use_landmarks = false,

  num_laser_scans = 1,
  num_multi_echo_laser_scans = 0,
  num_subdivisions_per_laser_scan = 1,
  num_point_clouds = 0,

  lookup_transform_timeout_sec = 0.2,
  submap_publish_period_sec = 0.3,
  pose_publish_period_sec = 5e-3,
  trajectory_publish_period_sec = 30e-3,

  -- 强制校验键值
  rangefinder_sampling_ratio = 1.,
  odometry_sampling_ratio = 1.,
  fixed_frame_pose_sampling_ratio = 1.,
  imu_sampling_ratio = 1.,
  landmarks_sampling_ratio = 1.,
}
MAP_BUILDER.use_trajectory_builder_2d = true
TRAJECTORY_BUILDER_2D.min_range = 0.3
TRAJECTORY_BUILDER_2D.max_range = 15.0
TRAJECTORY_BUILDER_2D.missing_data_ray_length = 16.0
TRAJECTORY_BUILDER_2D.use_imu_data = false
TRAJECTORY_BUILDER_2D.use_online_correlative_scan_matching = true
TRAJECTORY_BUILDER_2D.real_time_correlative_scan_matcher.linear_search_window = 0.1
TRAJECTORY_BUILDER_2D.real_time_correlative_scan_matcher.translation_delta_cost_weight = 10.
TRAJECTORY_BUILDER_2D.real_time_correlative_scan_matcher.rotation_delta_cost_weight = 1e-1
return options
阶段六:终极启动序列 (四线并行)
必须按照以下顺序在四个不同的终端启动系统:
终端 1 (环境:Conda env_isaaclab) 注入环境变量并拉起物理世界:
Bash
bash
export isaac_sim_package_path=/home/ubuntu/miniconda3/envs/env_isaaclab/lib/python3.10/site-packages/isaacsim
export RMW_IMPLEMENTATION=rmw_fastrtps_cpp
export LD_LIBRARY_PATH=$LD_LIBRARY_PATH:$isaac_sim_package_path/exts/isaacsim.ros2.bridge/humble/lib
python tiago_dual_isaac/shop_teleop.py
# 务必在 Isaac Sim 界面点击 Play
终端 2 (环境:原生系统,Source ROS 2)
拉起 Cartographer 核心(强制使用仿真时间):
Bash
arduino
source /opt/ros/humble/setup.bash
ros2 run cartographer_ros cartographer_node \
    -configuration_directory ~/ \
    -configuration_basename tiago_retail_2d.lua \
    --ros-args -p use_sim_time:=true
终端 3 (环境:原生系统,Source ROS 2)
拉起地图生成服务器:
Bash
arduino
source /opt/ros/humble/setup.bash
ros2 run cartographer_ros cartographer_occupancy_grid_node \
    -resolution 0.05 \
    -publish_period_sec 1.0 \
    --ros-args -p use_sim_time:=true
终端 4 (环境:原生系统,Source ROS 2)
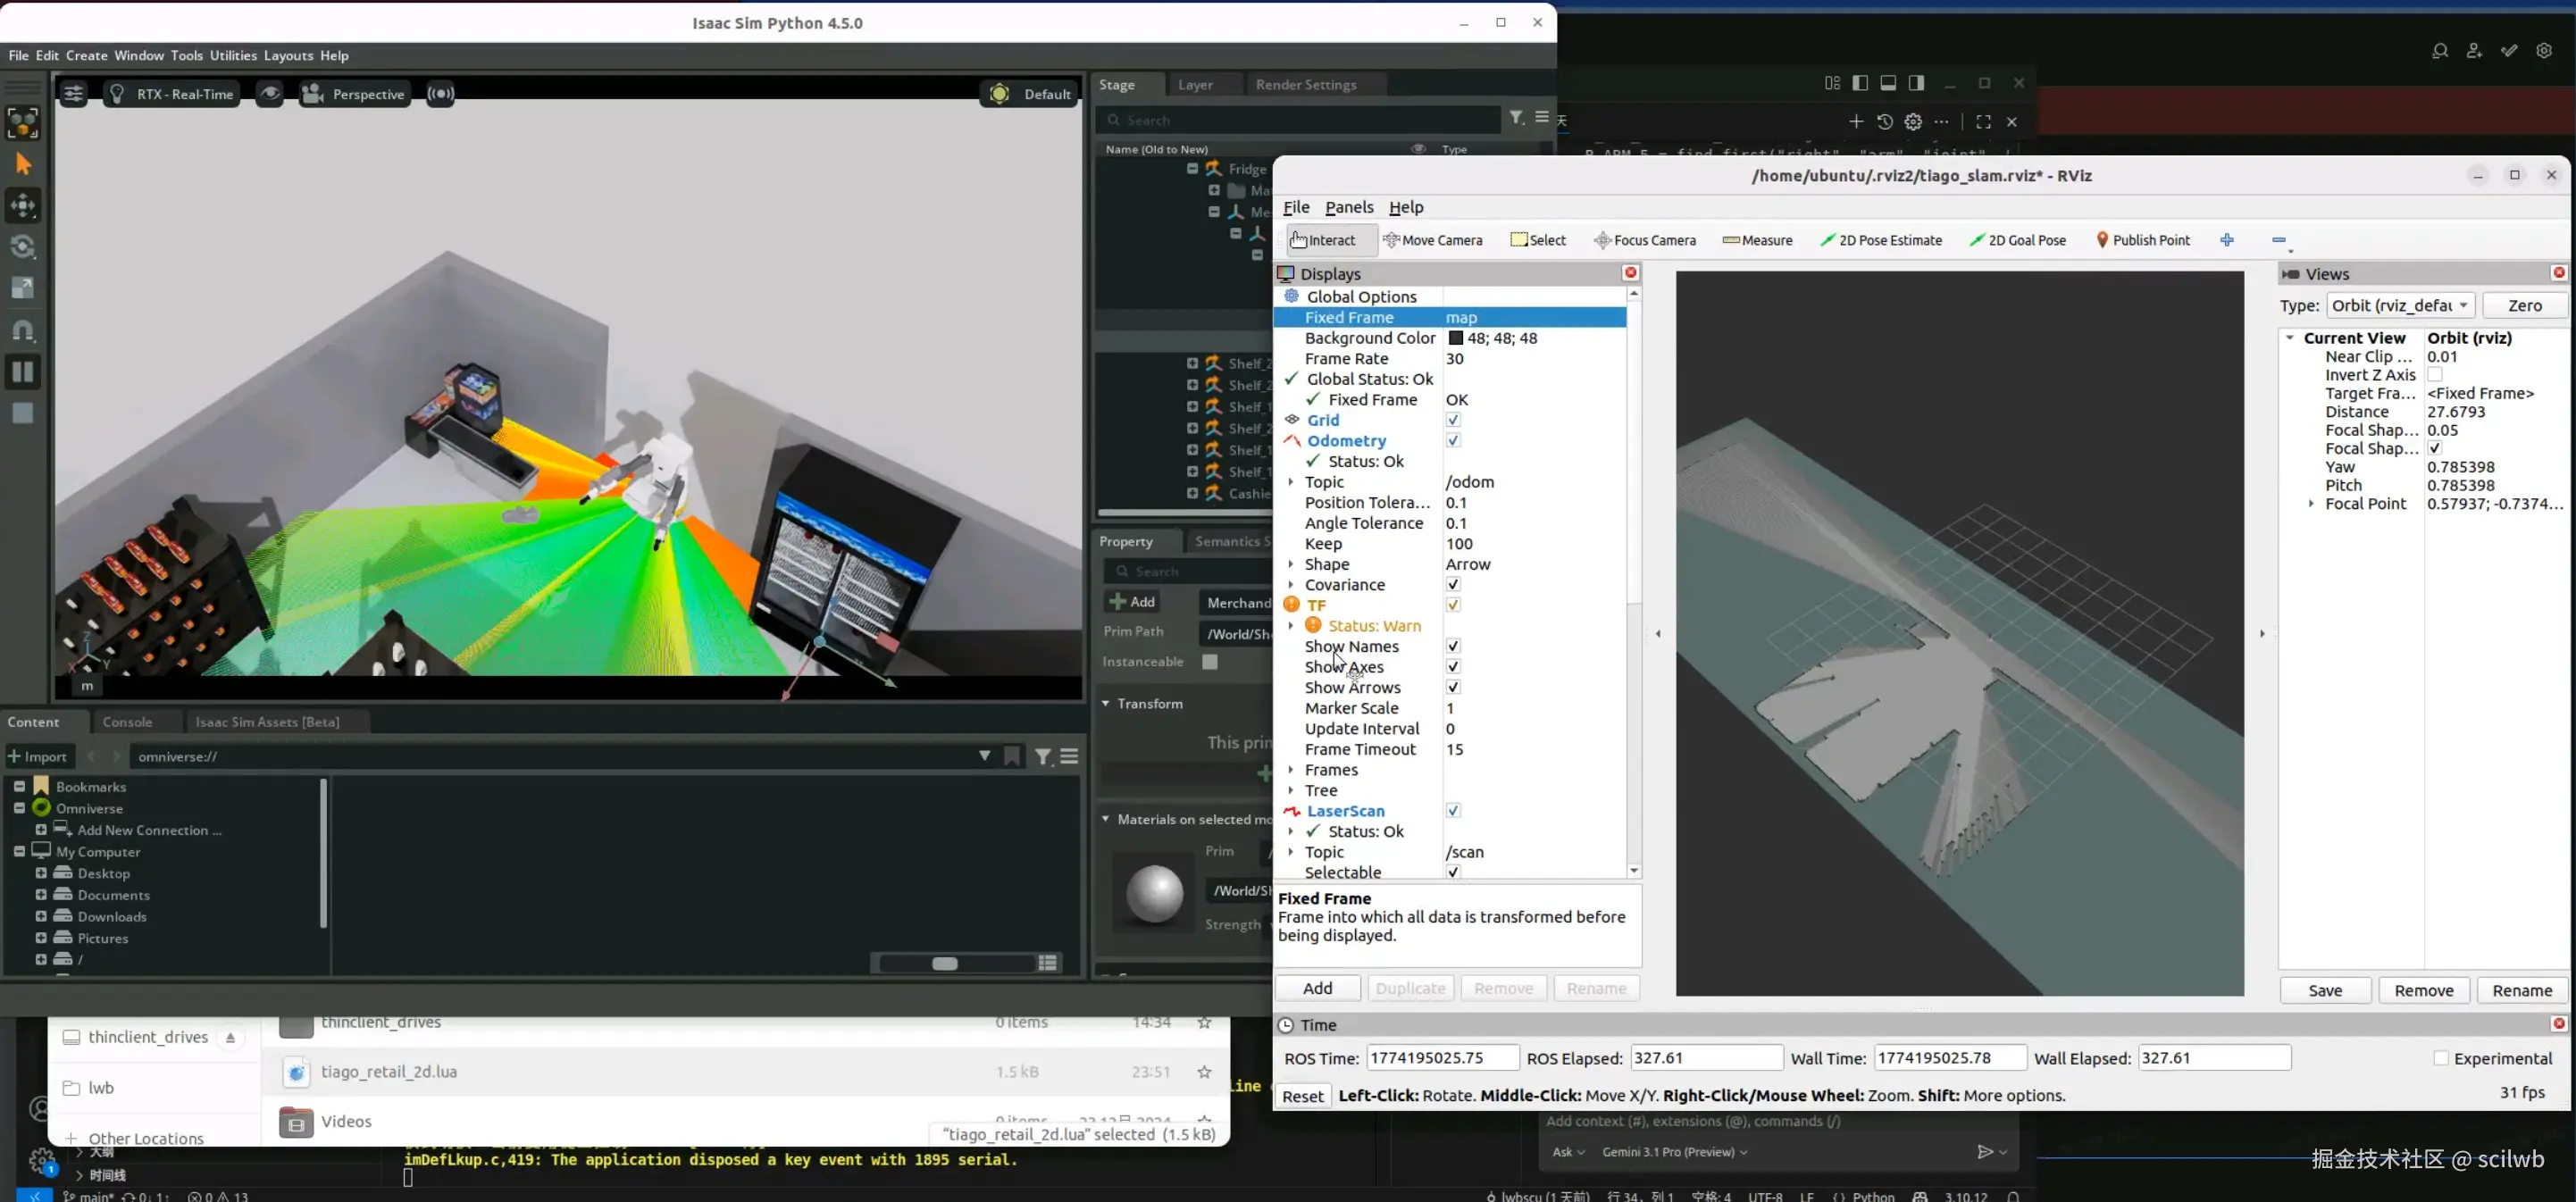
拉起可视化中枢:
Bash
go
source /opt/ros/humble/setup.bash
rviz2
# 在 RViz2 中:将 Fixed Frame 改为 `map`,依次 Add `Map`、`TF`、`LaserScan`。