文章安装的是 openclaw2026.2.1 版本。
openclaw2026.3 及以上有安全限制,要求必须通过 HTTPS 或本地安全上下文(如 localhost)访问。这是为了防止未加密的连接被中间人攻击或滥用,可以用nginx做代理。
后面可能会添加关联到企业微信
一、服务器准备
一台至少4G内存的服务器
二、openclaw安装
-
环境准备
yum install -y git wget gcc-c++ make cmake yum install -y wget tar xz xz-devel cd /usr/local/src wget -c https://nodejs.org/dist/v24.12.0/node-v24.12.0-linux-x64.tar.xz tar xf node-v24.12.0-linux-x64.tar.xz mv node-v24.12.0-linux-x64 /usr/local/node echo 'export PATH=/usr/local/node/bin:$PATH' >> /etc/profile source /etc/profile node -v npm -v #设置国内镜像源; npm config set registry https://registry.npmmirror.com npm config set git $(which git) 运行setup命令,指定本地模式(适配在线部署场景) openclaw setup -
开始安装
# 执行全局安装; npm install -g openclaw@2026.2.1 --verbose --force # 如果安装失败可以使用 npm uninstall -g openclaw 卸载 -
配置文件,使用七牛云的千问大模型
1.vim ~/.openclaw/openclaw.json
{
"meta": {
"lastTouchedVersion": "2026.2.1",
"lastTouchedAt": "2026-04-03T08:38:22.202Z"
},
"wizard": {
"lastRunAt": "2026-04-03T08:38:22.191Z",
"lastRunVersion": "2026.2.1",
"lastRunCommand": "doctor",
"lastRunMode": "local"
},
"models": {
"mode": "merge",
"providers": {
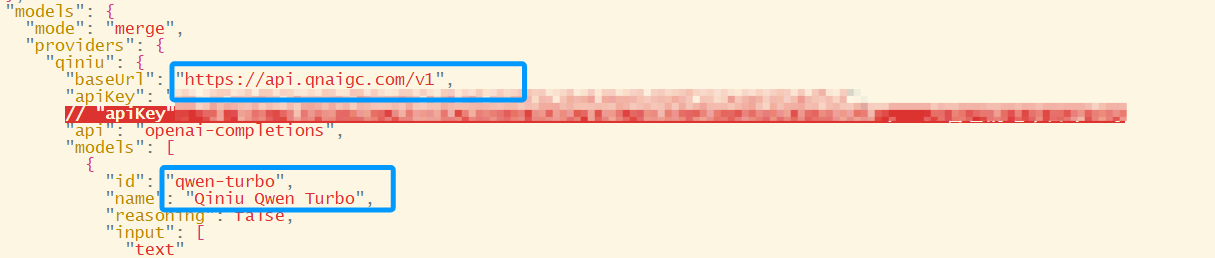
"qiniu": {
"baseUrl": "https://api.qnaigc.com/v1",
"apiKey": "xxxxxxxxxxxxxxxxxxx",
"api": "openai-completions",
"models": [
{
"id": "qwen-turbo",
"name": "Qiniu Qwen Turbo",
"reasoning": false,
"input": [
"text"
],
"cost": {
"input": 0,
"output": 0,
"cacheRead": 0,
"cacheWrite": 0
},
"contextWindow": 200000,
"maxTokens": 8192
}
]
}
}
},
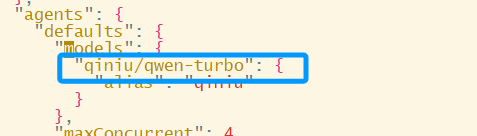
"agents": {
"defaults": {
"models": {
"qiniu/qwen-turbo": {
"alias": "qiniu"
}
},
"maxConcurrent": 4,
"subagents": {
"maxConcurrent": 8
}
},
"list": [
{
"id": "main",
"name": "main",
"workspace": "/root/.openclaw/workspace",
"agentDir": "/root/.openclaw/agents/main/agent",
"model": "qiniu/qwen-turbo"
}
]
},
"messages": {
"ackReactionScope": "group-mentions"
},
"commands": {
"native": "auto",
"nativeSkills": "auto",
"restart": true
},
"gateway": {
"port": 18789,
"mode": "local",
"bind": "lan",
"controlUi": {
"allowInsecureAuth": true
},
"auth": {
"mode": "token",
"token": "3f650da1b6ccce9297efeb1990d5a2520bb5951723b87016"
}
},
"plugins": {
"entries": {}
}
}
2.~/.openclaw/agents/main/agent/auth-profiles.json
{
"qiniu:default": {
"provider": "qiniu",
"mode": "api-key"
}
}
3.# 修复配置文件
openclaw doctor --fix
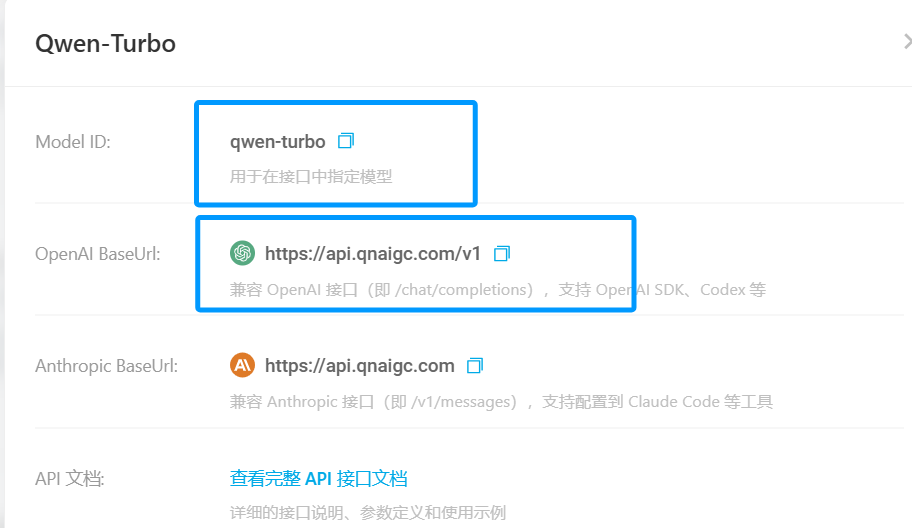
注意修改 apiKey,还有 models里面的baseUrl、id,name自定义
以及修改
由于是采用七牛云厂商上的,所以登录七牛云查看,找到信息填入上方
-
启动
openclaw gateway