1、安装Docker
详见:https://mp.weixin.qq.com/s/CrjQTLJM0YbJ9SC4GIfKsg2、安装Penpot
详见:https://help.penpot.app/technical-guide/getting-started/docker创建目录:
mkdir penpot切换目录:
cd penpot下载:
bash
# 方式1:
wget https://raw.githubusercontent.com/penpot/penpot/main/docker/images/docker-compose.yaml

# 方式2:
# 详见:https://mp.weixin.qq.com/s/XTbT3wKp_W2fiK7pGpo7Qg
wget https://gh-proxy.com/https://raw.githubusercontent.com/penpot/penpot/main/docker/images/docker-compose.yaml
查看docker-compose.yaml文件:
bash
详见:
https://github.com/penpot/penpot/blob/main/docker/images/docker-compose.yaml
https://raw.githubusercontent.com/penpot/penpot/main/docker/images/docker-compose.yaml
bash
## Common flags:
# demo-users
# email-verification
# log-emails
# log-invitation-tokens
# login-with-github
# login-with-gitlab
# login-with-google
# login-with-ldap
# login-with-oidc
# login-with-password
# prepl-server
# registration
# secure-session-cookies
# smtp
# smtp-debug
# telemetry
# webhooks
##
## You can read more about all available flags and other
## environment variables here:
## https://help.penpot.app/technical-guide/configuration/#penpot-configuration
#
# WARNING: if you're exposing Penpot to the internet, you should remove the flags
# 'disable-secure-session-cookies' and 'disable-email-verification'
x-flags: &penpot-flags
  PENPOT_FLAGS: disable-email-verification enable-smtp enable-prepl-server disable-secure-session-cookies

x-uri: &penpot-public-uri
  PENPOT_PUBLIC_URI: http://localhost:9001

x-body-size: &penpot-http-body-size
  # Max body size
  PENPOT_HTTP_SERVER_MAX_BODY_SIZE: 367001600
  # Deprecation warning: this variable is deprecated. Use PENPOT_HTTP_SERVER_MAX_BODY (defaults to 367001600)
  PENPOT_HTTP_SERVER_MAX_MULTIPART_BODY_SIZE: 367001600

## Penpot SECRET KEY. It serves as a master key from which other keys for subsystems
## (eg http sessions, or invitations) are derived.
##
## We recommend to use a trully randomly generated
## 512 bits base64 encoded string here. You can generate one with:
##
## python3 -c "import secrets; print(secrets.token_urlsafe(64))"
x-secret-key: &penpot-secret-key
  PENPOT_SECRET_KEY: change-this-insecure-key

networks:
  penpot:

volumes:
  penpot_postgres_v15:
  penpot_assets:
  # penpot_traefik:

services:
  ## Traefik service declaration example. Consider using it if you are going to expose
  ## penpot to the internet, or a different host than `localhost`.

  # traefik:
  #   image: traefik:v3.3
  #   networks:
  #     - penpot
  #   command:
  #     - "--api.insecure=true"
  #     - "--entryPoints.web.address=:80"
  #     - "--providers.docker=true"
  #     - "--providers.docker.exposedbydefault=false"
  #     - "--entryPoints.websecure.address=:443"
  #     - "--certificatesresolvers.letsencrypt.acme.tlschallenge=true"
  #     - "--certificatesresolvers.letsencrypt.acme.email=<EMAIL_ADDRESS>"
  #     - "--certificatesresolvers.letsencrypt.acme.storage=/traefik/acme.json"
  #   volumes:
  #     - "penpot_traefik:/traefik"
  #     - "/var/run/docker.sock:/var/run/docker.sock"
  #   ports:
  #     - "80:80"
  #     - "443:443"

  penpot-frontend:
    image: "penpotapp/frontend:${PENPOT_VERSION:-latest}"
    restart: always
    ports:
      - 9001:8080

    volumes:
      - penpot_assets:/opt/data/assets

    depends_on:
      - penpot-backend
      - penpot-exporter

    networks:
      - penpot

    # labels:
      # - "traefik.enable=true"

      # ## HTTPS: example of labels for the case where penpot will be exposed to the
      # ## internet with HTTPS using traefik.

      # - "traefik.http.routers.penpot-https.rule=Host(`<DOMAIN_NAME>`)"
      # - "traefik.http.routers.penpot-https.entrypoints=websecure"
      # - "traefik.http.routers.penpot-https.tls.certresolver=letsencrypt"
      # - "traefik.http.routers.penpot-https.tls=true"

    environment:
      << : [*penpot-flags, *penpot-http-body-size]

  penpot-backend:
    image: "penpotapp/backend:${PENPOT_VERSION:-latest}"
    restart: always

    volumes:
      - penpot_assets:/opt/data/assets

    depends_on:
      penpot-postgres:
        condition: service_healthy
      penpot-valkey:
        condition: service_healthy

    networks:
      - penpot

    ## Configuration envronment variables for the backend container.

    environment:
      << : [*penpot-flags, *penpot-public-uri, *penpot-http-body-size, *penpot-secret-key]

      ## Database connection parameters. Don't touch them unless you are using custom
      ## postgresql connection parameters.

      PENPOT_DATABASE_URI: postgresql://penpot-postgres/penpot
      PENPOT_DATABASE_USERNAME: penpot
      PENPOT_DATABASE_PASSWORD: penpot

      ## Valkey (or previously redis) is used for the websockets notifications. Don't touch
      ## unless the valkey container has different parameters or different name.

      PENPOT_REDIS_URI: redis://penpot-valkey/0

      ## Default configuration for assets storage: using filesystem based with all files
      ## stored in a docker volume.

      PENPOT_OBJECTS_STORAGE_BACKEND: fs
      PENPOT_OBJECTS_STORAGE_FS_DIRECTORY: /opt/data/assets

      ## Also can be configured to to use a S3 compatible storage.

      # AWS_ACCESS_KEY_ID: <KEY_ID>
      # AWS_SECRET_ACCESS_KEY: <ACCESS_KEY>
      # PENPOT_OBJECTS_STORAGE_BACKEND: s3
      # PENPOT_OBJECTS_STORAGE_S3_ENDPOINT: <ENDPOINT>
      # PENPOT_OBJECTS_STORAGE_S3_BUCKET: <BUKET_NAME>

      ## Telemetry. When enabled, a periodical process will send anonymous data about this
      ## instance. Telemetry data will enable us to learn how the application is used,
      ## based on real scenarios. If you want to help us, please leave it enabled. You can
      ## audit what data we send with the code available on github.

      PENPOT_TELEMETRY_ENABLED: true
      PENPOT_TELEMETRY_REFERER: compose

      ## Example SMTP/Email configuration. By default, emails are sent to the mailcatch
      ## service, but for production usage it is recommended to setup a real SMTP
      ## provider. Emails are used to confirm user registrations & invitations. Look below
      ## how the mailcatch service is configured.

      PENPOT_SMTP_DEFAULT_FROM: no-reply@example.com
      PENPOT_SMTP_DEFAULT_REPLY_TO: no-reply@example.com
      PENPOT_SMTP_HOST: penpot-mailcatch
      PENPOT_SMTP_PORT: 1025
      PENPOT_SMTP_USERNAME:
      PENPOT_SMTP_PASSWORD:
      PENPOT_SMTP_TLS: false
      PENPOT_SMTP_SSL: false

  penpot-exporter:
    image: "penpotapp/exporter:${PENPOT_VERSION:-latest}"
    restart: always

    depends_on:
      penpot-valkey:
        condition: service_healthy

    networks:
      - penpot

    environment:
      << : [*penpot-secret-key]
      # Don't touch it; this uses an internal docker network to
      # communicate with the frontend.
      PENPOT_PUBLIC_URI: http://penpot-frontend:8080

      ## Valkey (or previously Redis) is used for the websockets notifications.
      PENPOT_REDIS_URI: redis://penpot-valkey/0

  penpot-postgres:
    image: "postgres:15"
    restart: always
    stop_signal: SIGINT

    healthcheck:
      test: ["CMD-SHELL", "pg_isready -U penpot"]
      interval: 2s
      timeout: 10s
      retries: 5
      start_period: 2s

    volumes:
      - penpot_postgres_v15:/var/lib/postgresql/data

    networks:
      - penpot

    environment:
      - POSTGRES_INITDB_ARGS=--data-checksums
      - POSTGRES_DB=penpot
      - POSTGRES_USER=penpot
      - POSTGRES_PASSWORD=penpot

  penpot-valkey:
    image: valkey/valkey:8.1
    restart: always

    healthcheck:
      test: ["CMD-SHELL", "valkey-cli ping | grep PONG"]
      interval: 1s
      timeout: 3s
      retries: 5
      start_period: 3s

    networks:
      - penpot

    environment:
      # You can increase the max memory size if you have sufficient resources,
      # although this should not be necessary.
      - VALKEY_EXTRA_FLAGS=--maxmemory 128mb --maxmemory-policy volatile-lfu

  ## A mailcatch service, used as temporal SMTP server. You can access via HTTP to the
  ## port 1080 for read all emails the penpot platform has sent. Should be only used as a
  ## temporal solution while no real SMTP provider is configured.

  penpot-mailcatch:
    image: sj26/mailcatcher:latest
    restart: always
    expose:
      - '1025'
    ports:
      - "1080:1080"
    networks:
- penpot详见:https://help.penpot.app/technical-guide/configuration/#secret-key
创建.env文件:
说明:如果在浏览器访问链接,可以正常显示,请忽略.env文件
bash
# 配置文件内容:
#PENPOT_VERSION: 2.12.0
#PENPOT_VERSION: 2.14.2
#PENPOT_VERSION: latest
PENPOT_VERSION: main
创建并启动容器:
docker-compose up -d查看容器列表:
docker ps查看数据卷列表:
docker volume ls查看日志:
docker-compose logs
bash
# 报错内容:
WARNING Memory overcommit must be enabled! Without it, a background save or replication may fail under low memory condition. Being disabled, it can also cause failures without low memory condition, see https://github.com/jemalloc/jemalloc/issues/1328. To fix this issue add 'vm.overcommit_memory = 1' to /etc/sysctl.conf and then reboot or run the command 'sysctl vm.overcommit_memory=1' for this to take effect.

# 执行命令,解决报错:
sysctl vm.overcommit_memory=1
停止并销毁容器:
docker-compose down删除数据卷:
docker volume rm penpot_penpot_assets penpot_penpot_postgres_v15删除镜像:
bash
# 如果拉取penpotapp的相关镜像是latest版本:

docker rmi penpotapp/frontend:latest \
  penpotapp/backend:latest \
  penpotapp/exporter:latest \
  valkey/valkey:8.1 \
  postgres:15 \
  sj26/mailcatcher:latest
bash
# 如果拉取penpotapp的相关镜像是main版本:

docker rmi penpotapp/frontend:main \
  penpotapp/backend:main \
  penpotapp/exporter:main \
  valkey/valkey:8.1 \
  postgres:15 \
  sj26/mailcatcher:latest
3、浏览器访问
假设当前ip为192.168.186.128
浏览器访问:http://192.168.186.128:9001
登录:
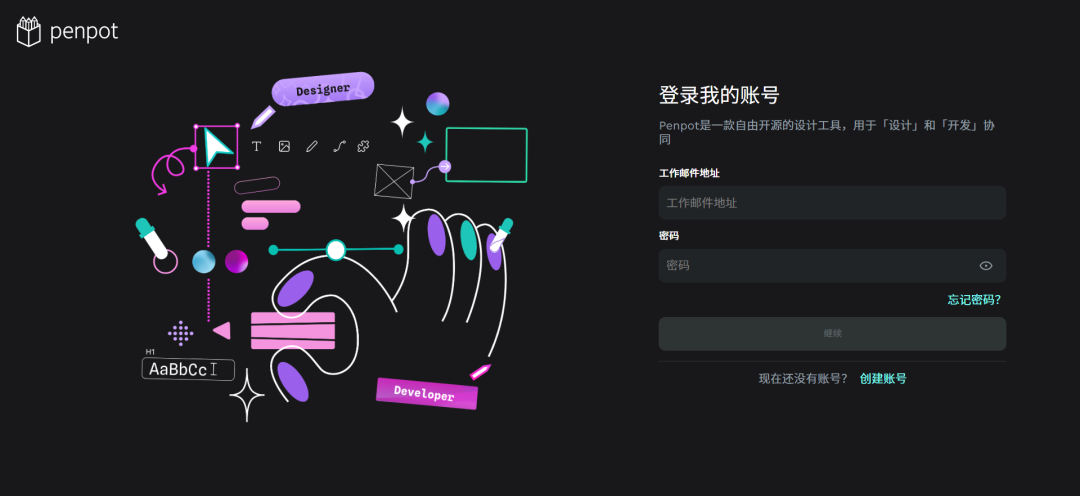
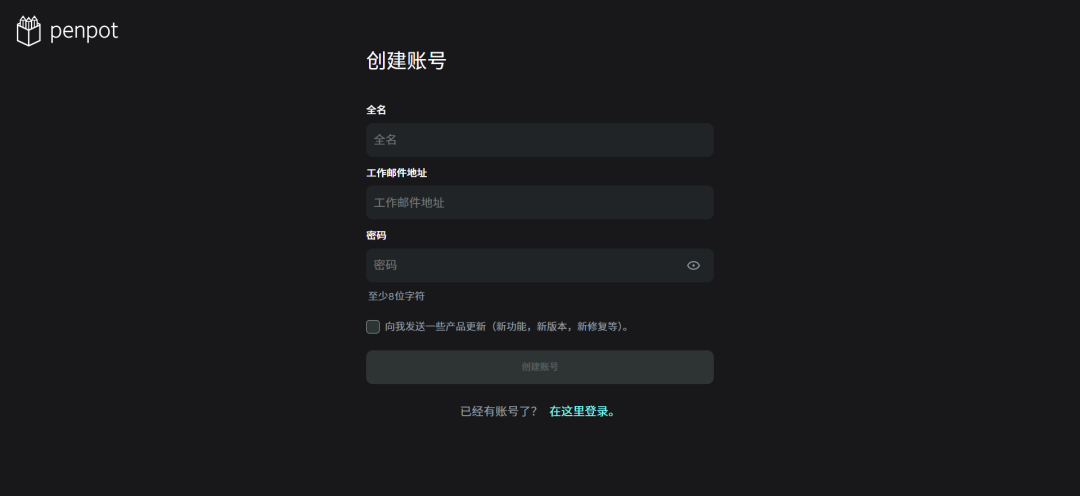
创建账号:
管理后台:
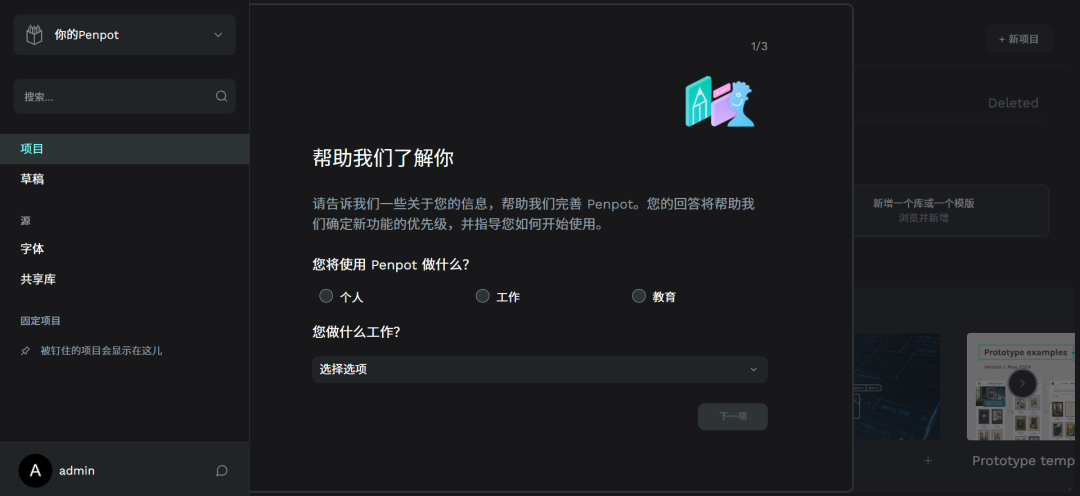
"帮助我们了解你"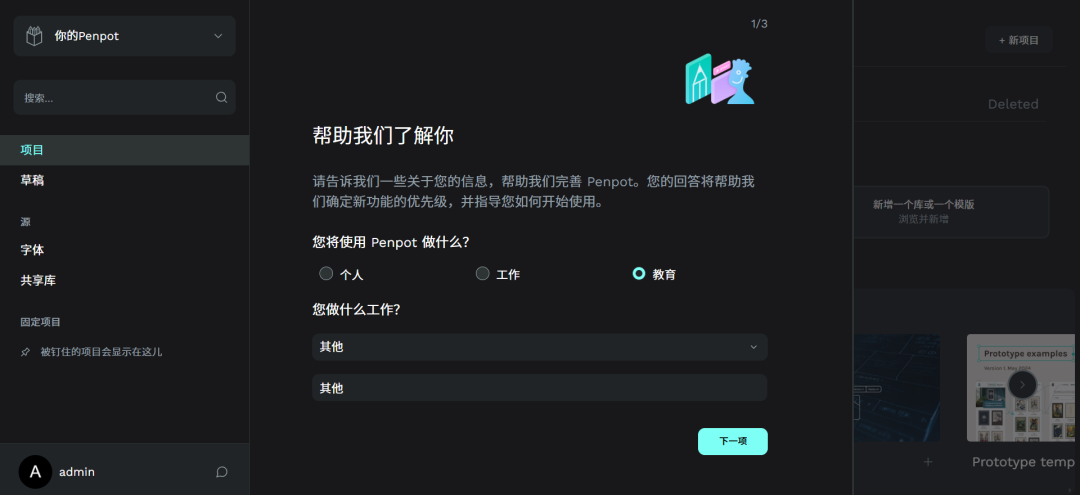
"这些工具中您最常使用哪个"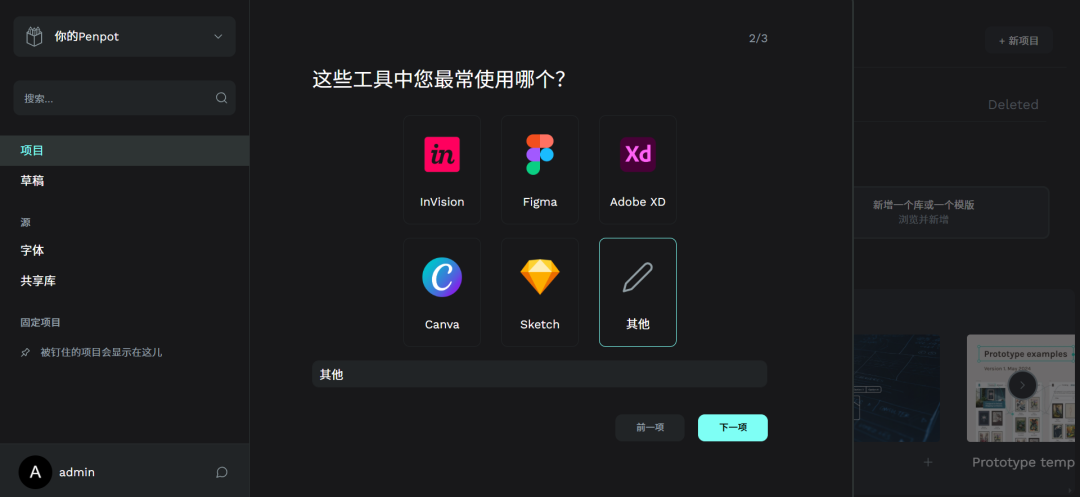
"您想从哪里开始"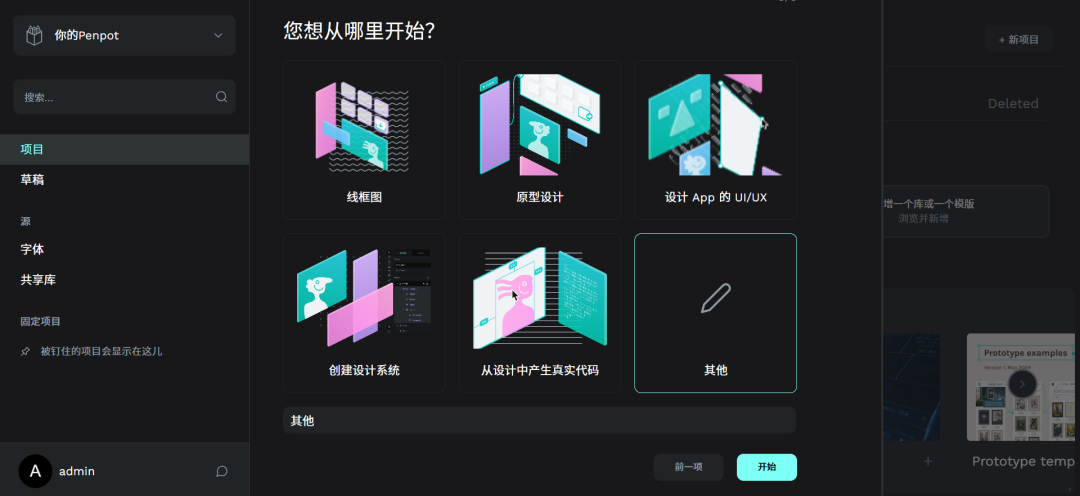
"想要接收 Penpot 新闻"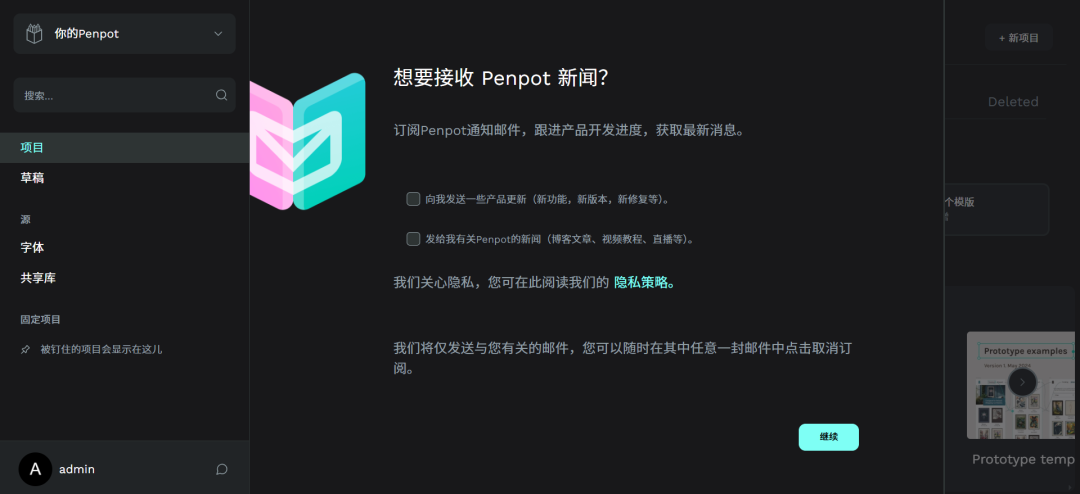
"以个人身份开始"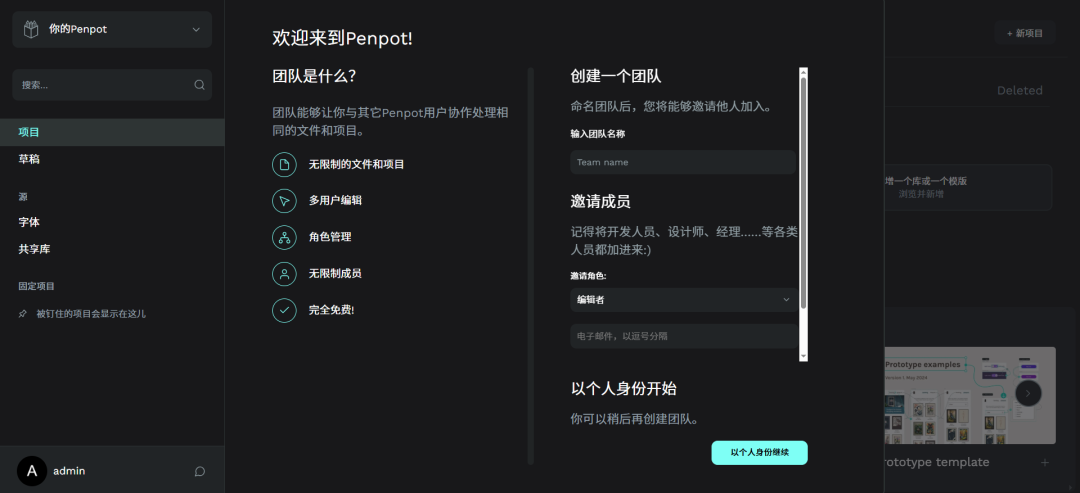
"项目"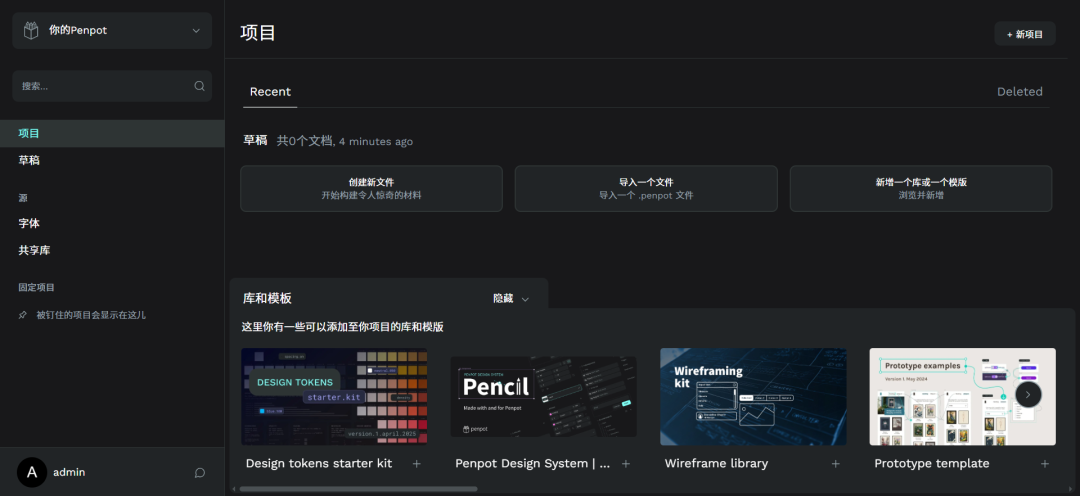
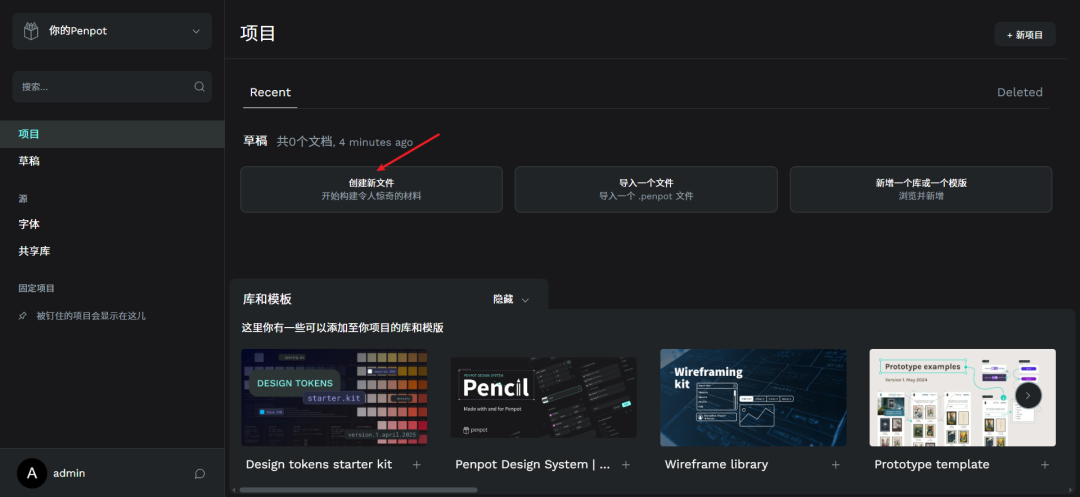
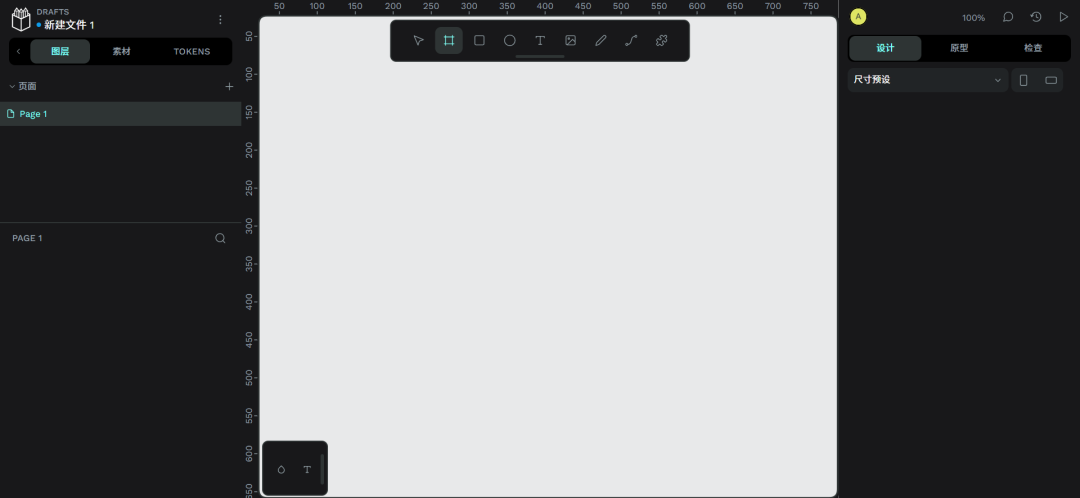
创建新文件:
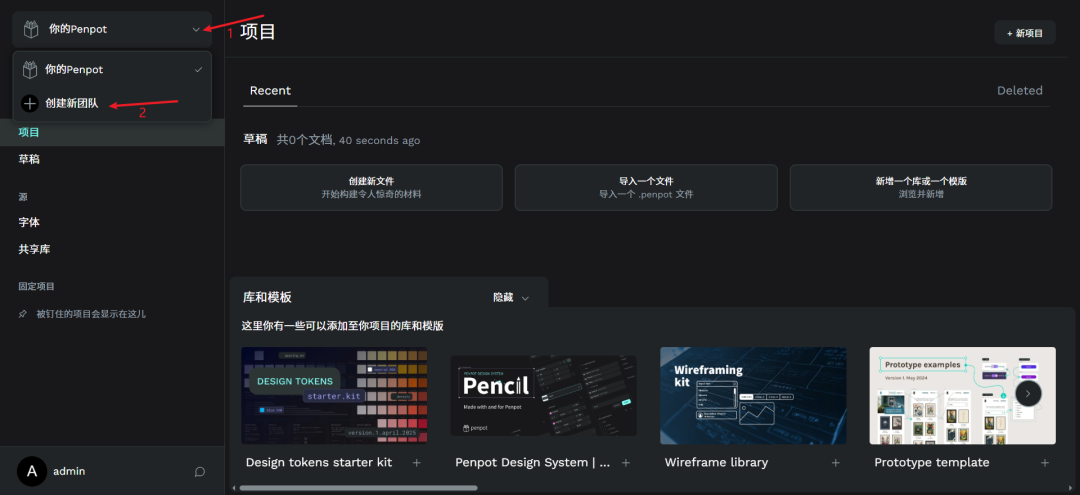
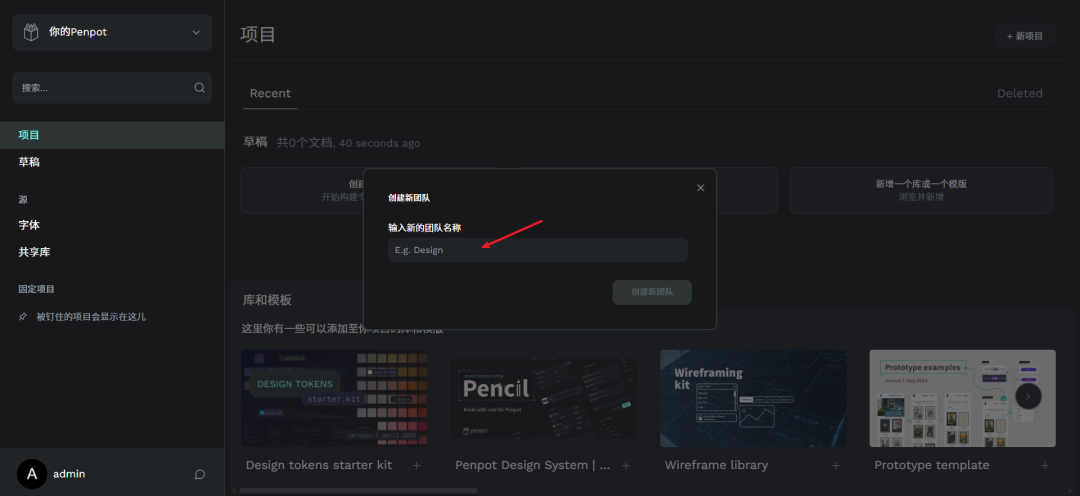
创建新团队:
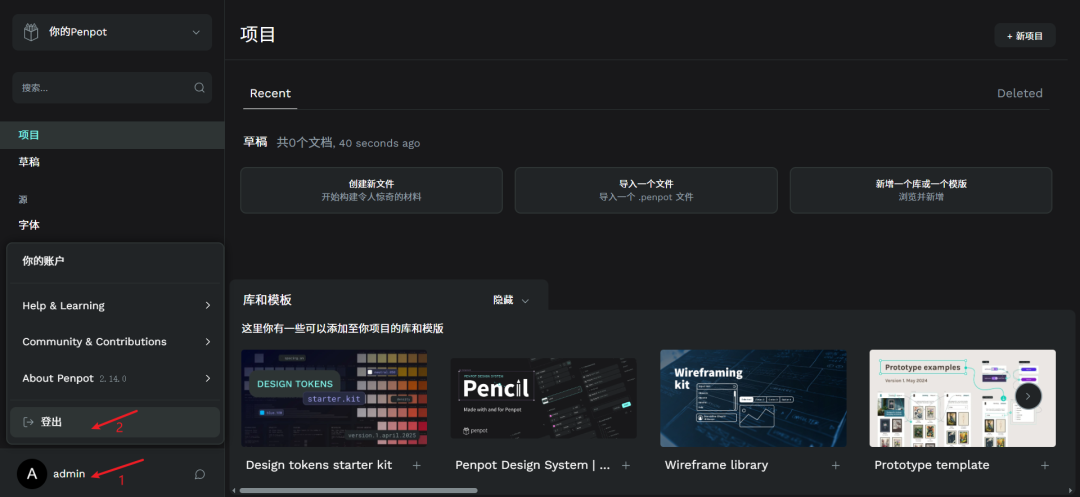
登出:
4、详见
bash
https://penpot.app
https://github.com/penpot/penpot
https://help.penpot.app/technical-guide/getting-started/docker
https://mp.weixin.qq.com/s/iA9o43ordXmMaRqU_4MlTQ