官方学习视频链接:鸿蒙应用开发实战课-华为开发者学堂
今天来介绍ArkUI动画效果的使用,首先是ArkUI的属性动画,通过可动画属性改变引起UI上产生的连续视觉效果,即为属性动画,ArkUI提供三种动画接口animate To、animation和keyframeAnimate To驱动组件属性按照动画参数进行连续的变化,产生属性动画。
以下代码中的三个按钮代表三个动画接口,需要注意,animation属性会影响到整体的动画效果,除了第二种方式,这边建议把组件的animation属性给注释掉,以下代码我没设置复原,所以要观察动画效果的话,每点击一次按钮都需要重启预览器
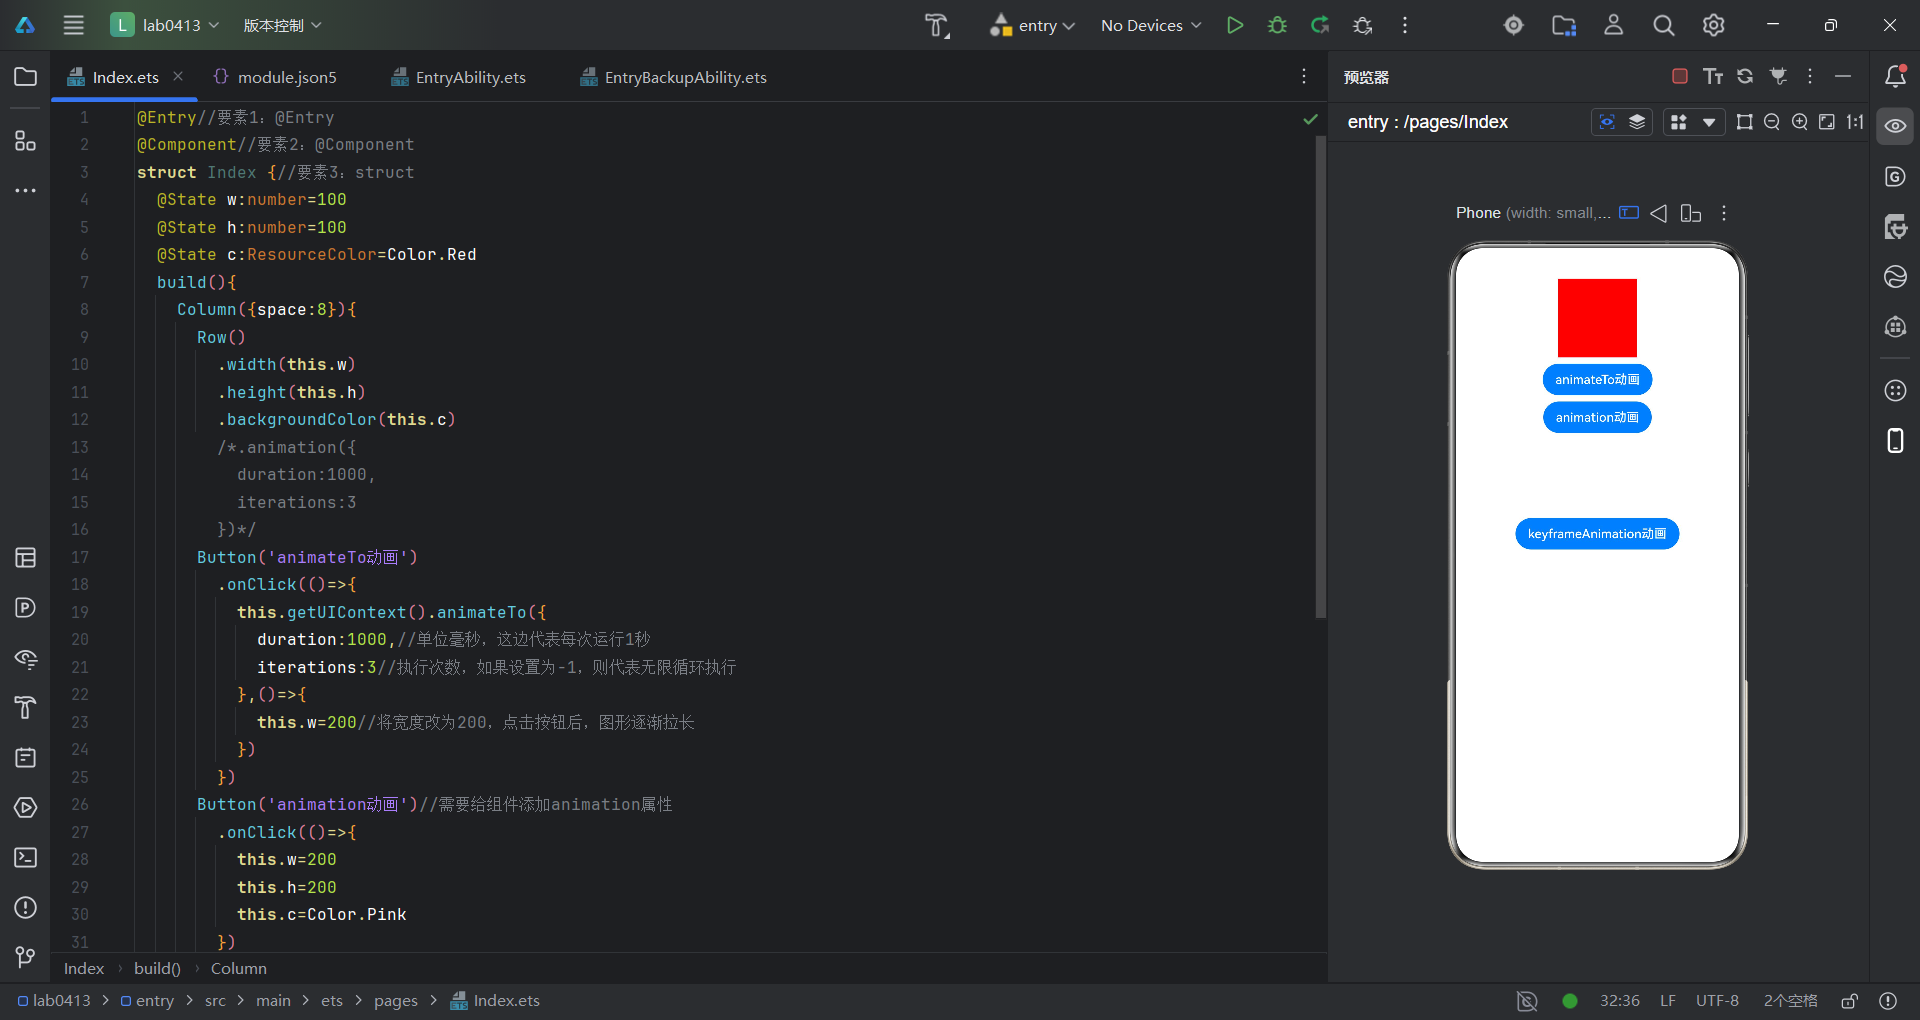
@Entry//要素1:@Entry
@Component//要素2:@Component
struct Index {//要素3:struct
  @State w:number=100
  @State h:number=100
  @State c:ResourceColor=Color.Red
  build(){
    Column({space:8}){
      Row()
        .width(this.w)
        .height(this.h)
        .backgroundColor(this.c)
        /*.animation({
          duration:1000,
          iterations:3
        })*/
      Button('animateTo动画')
        .onClick(()=>{
          this.getUIContext().animateTo({
            duration:1000,//单位毫秒,这边代表每次运行1秒
            iterations:3//执行次数,如果设置为-1,则代表无限循环执行
          },()=>{
            this.w=200//将宽度改为200,点击按钮后,图形逐渐拉长
          })
        })
      Button('animation动画')//需要给组件添加animation属性
        .onClick(()=>{
          this.w=200
          this.h=200
          this.c=Color.Pink
        })
      Button('keyframeAnimation动画')
        .onClick(()=>{
          this.getUIContext().keyframeAnimateTo({
            iterations:-1
          },[//第二个属性是一个数组,这是一个分段动画,以下数组即为每段动画的参数
            {duration:1000,event:()=>{this.w=200}},
            {duration:1000,event:()=>{this.h=200}},
            {duration:1000,event:()=>{this.c=Color.Blue}},
          ])
        })

    }
    .width('100%')
    .height('100%')
  }
}
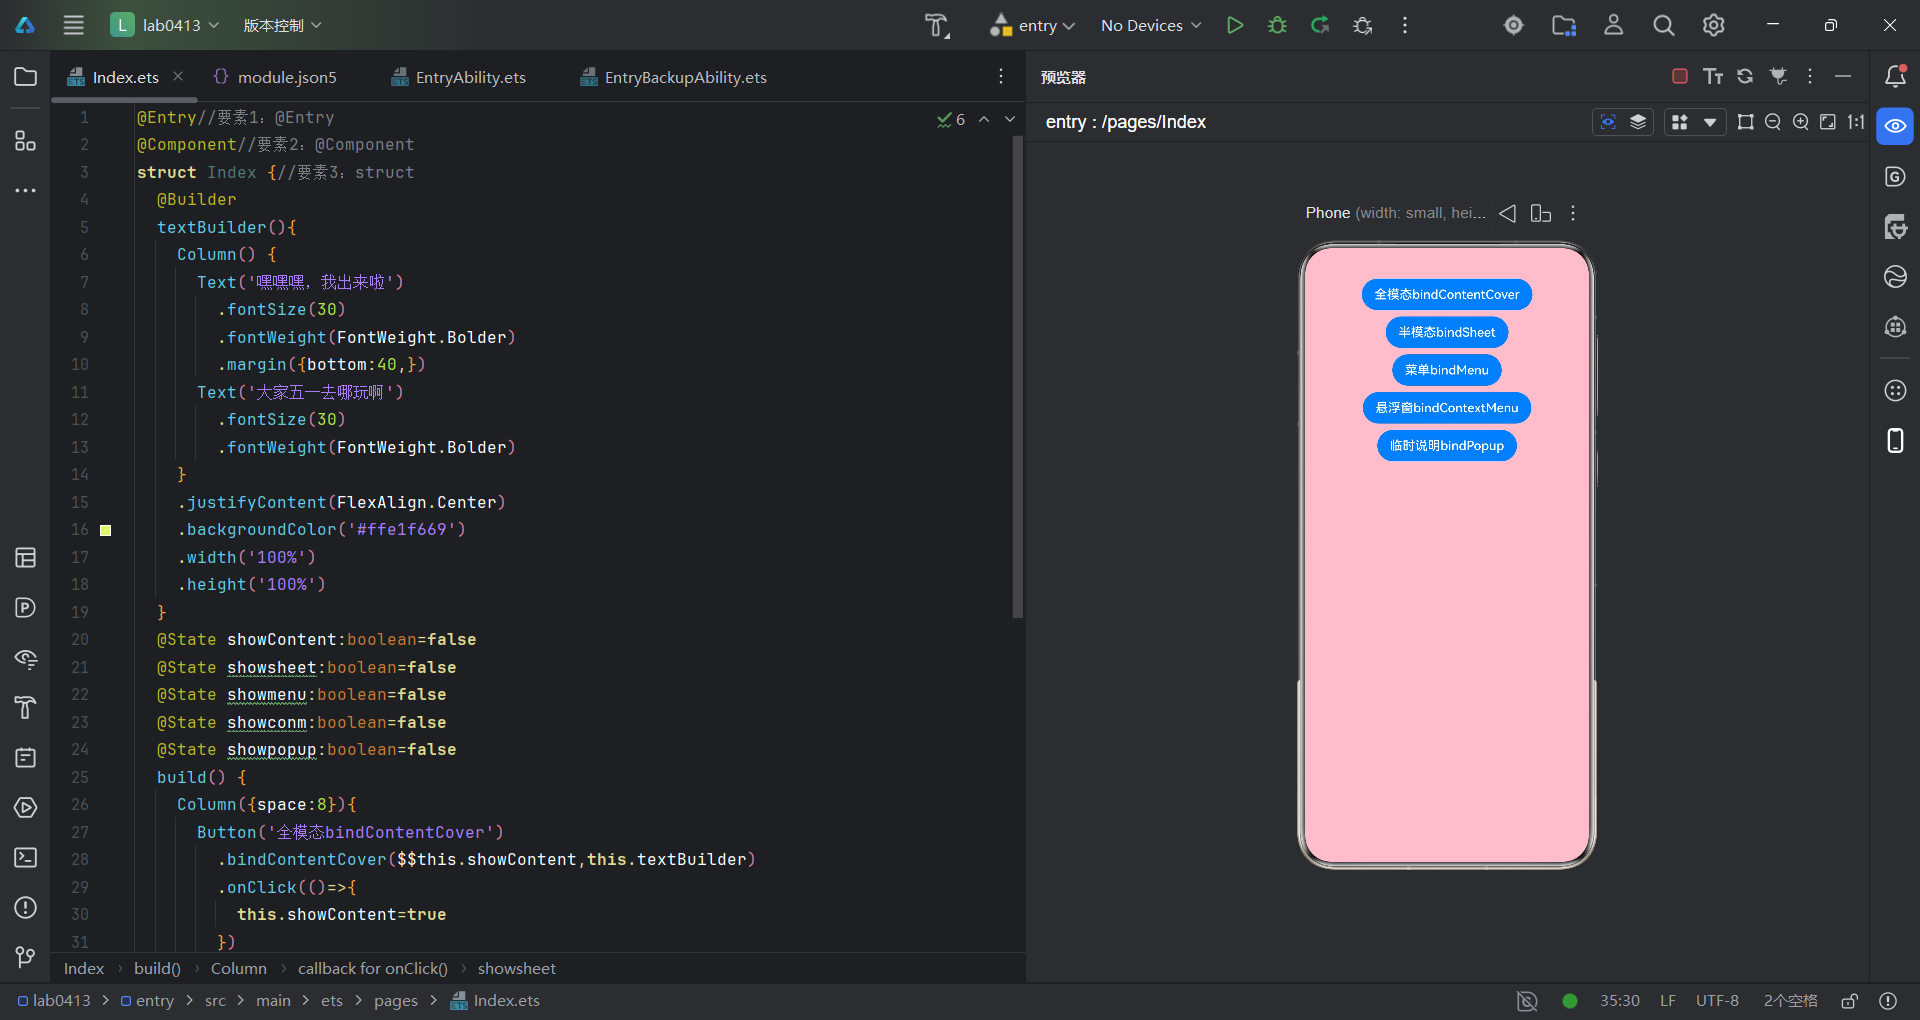
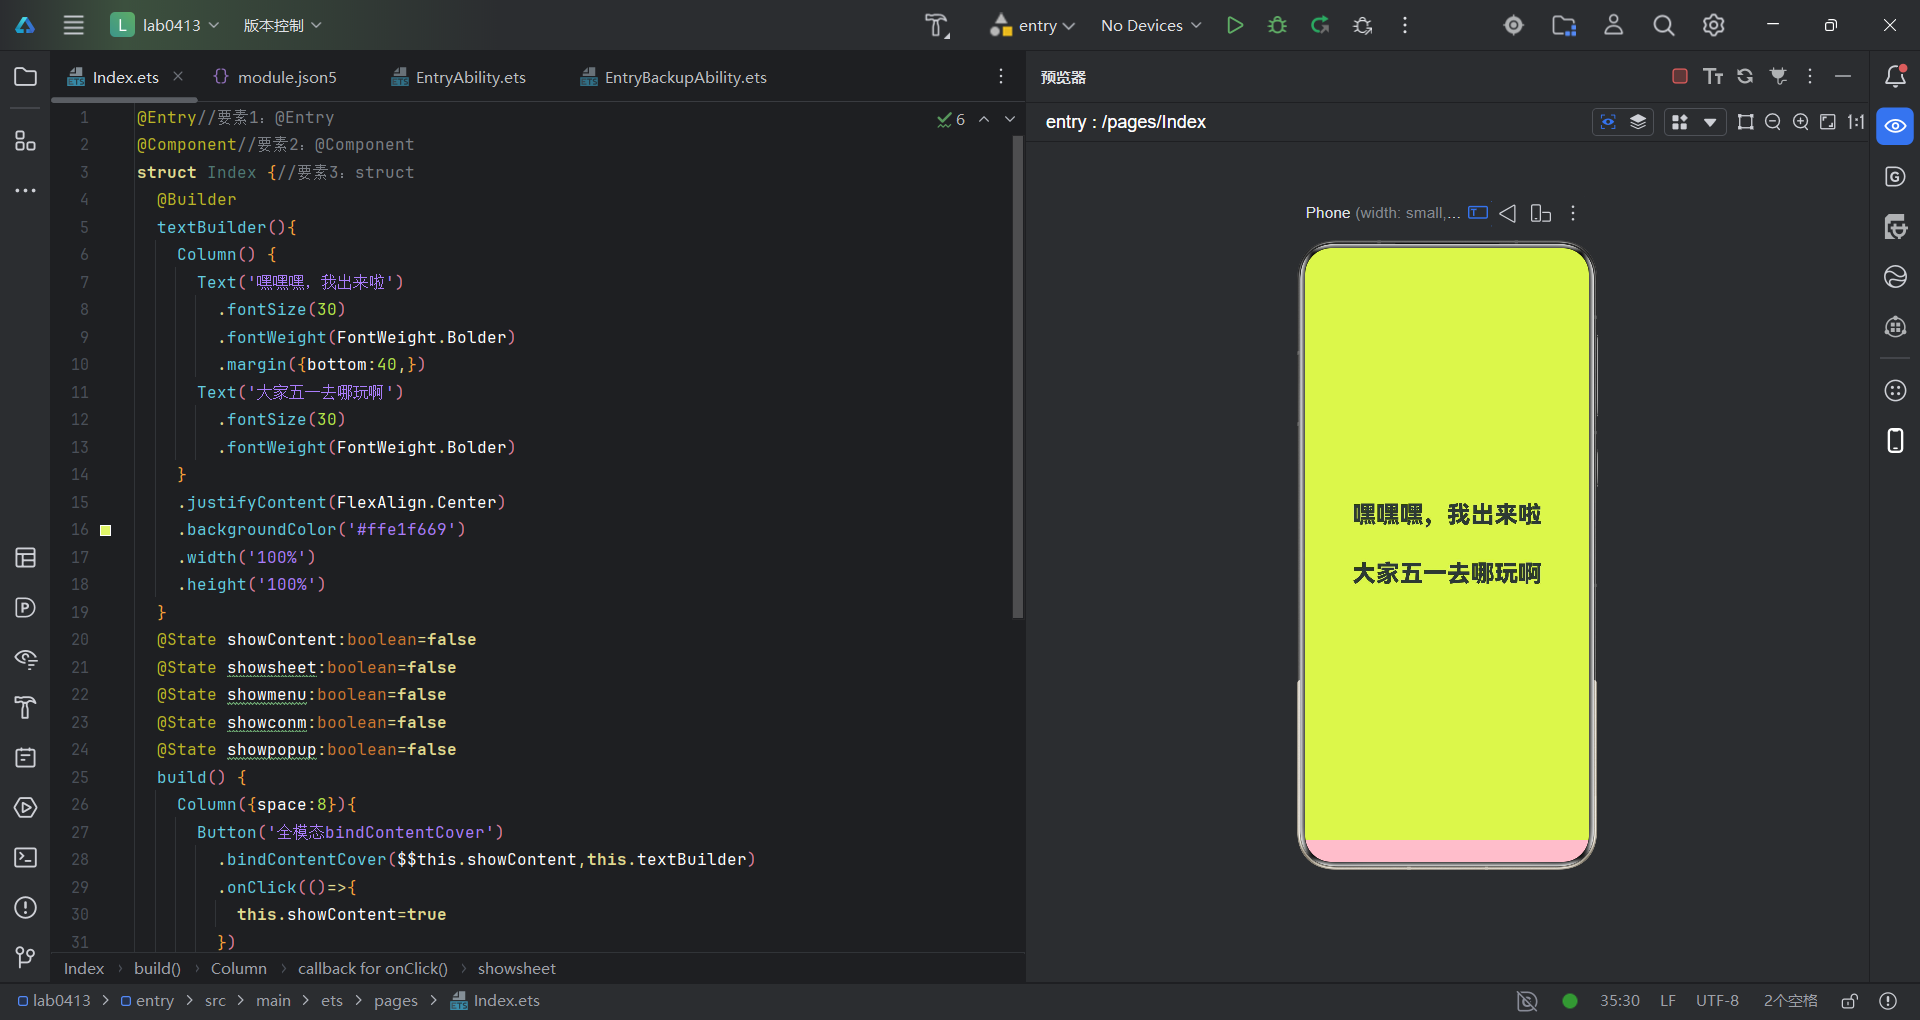
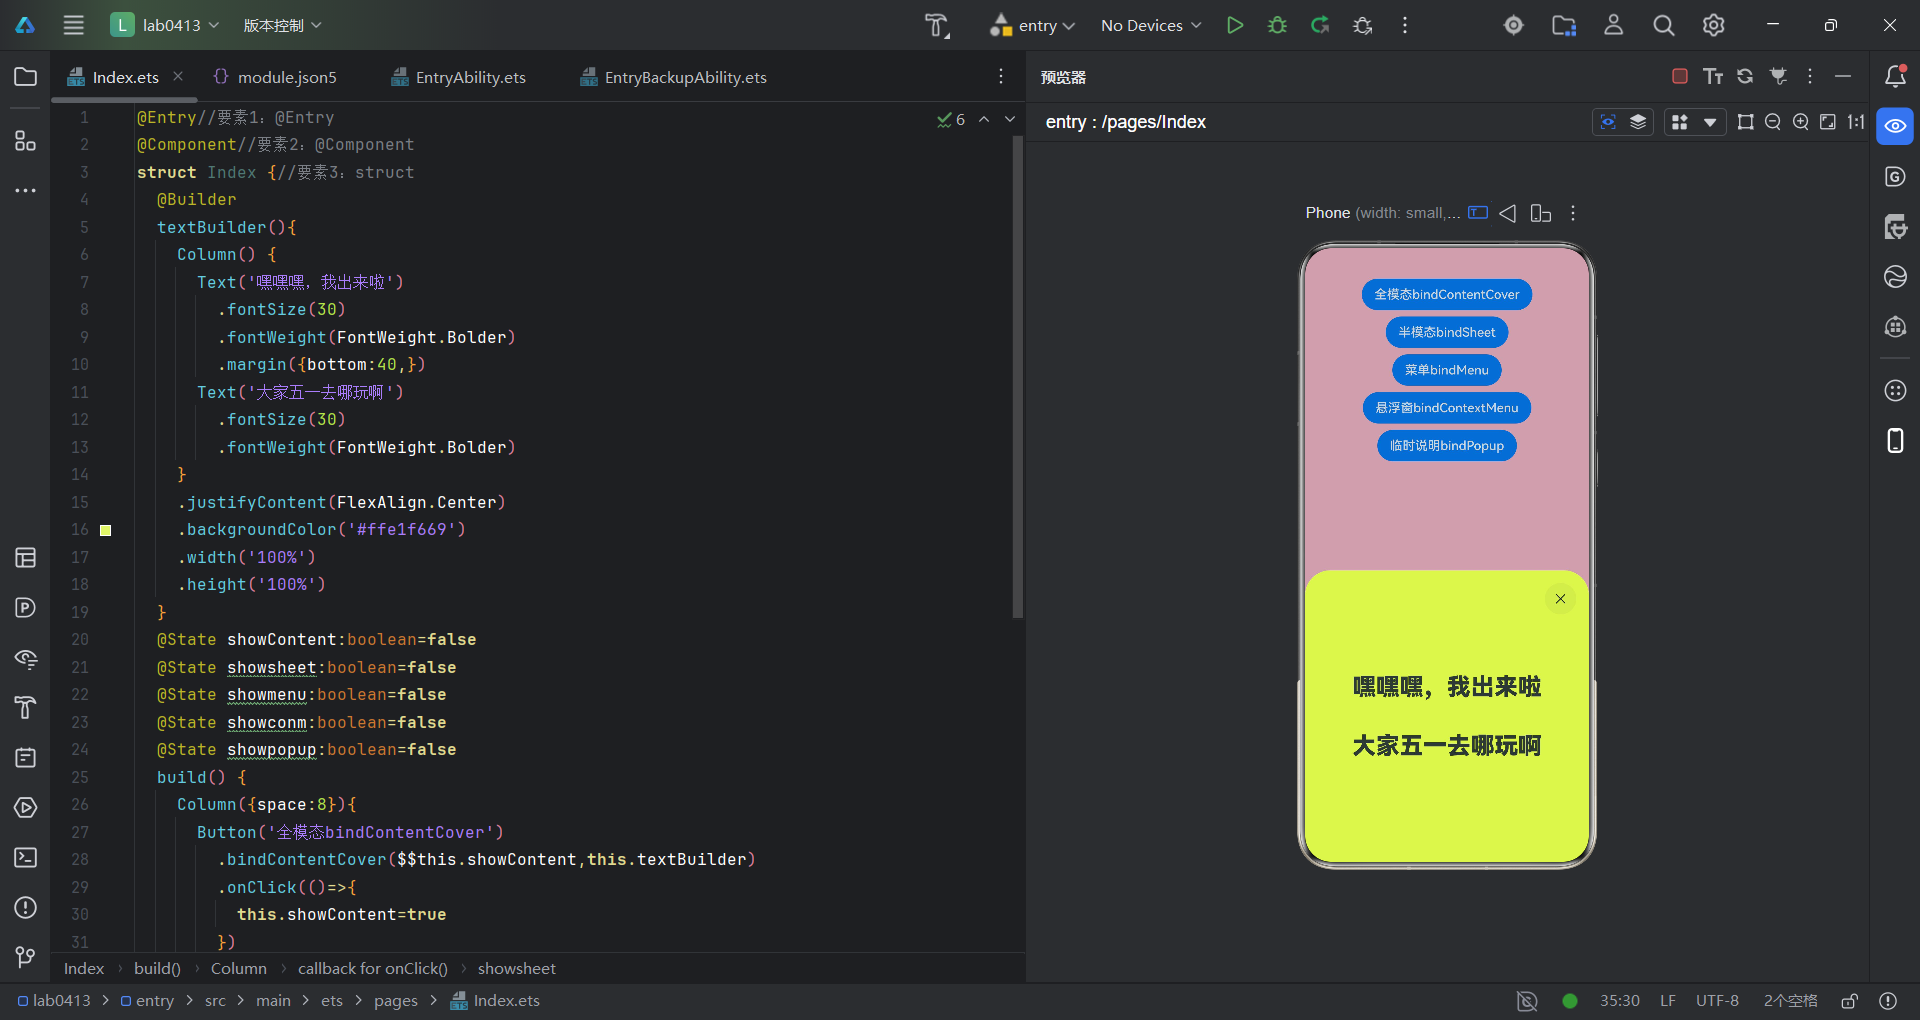
模态转场是新的界面覆盖在旧的界面上,旧的界面不消失的一种转场方式。给组件设置右侧接口可以触发模态转场效果
初始界面
全模态转场
半模态转场
菜单
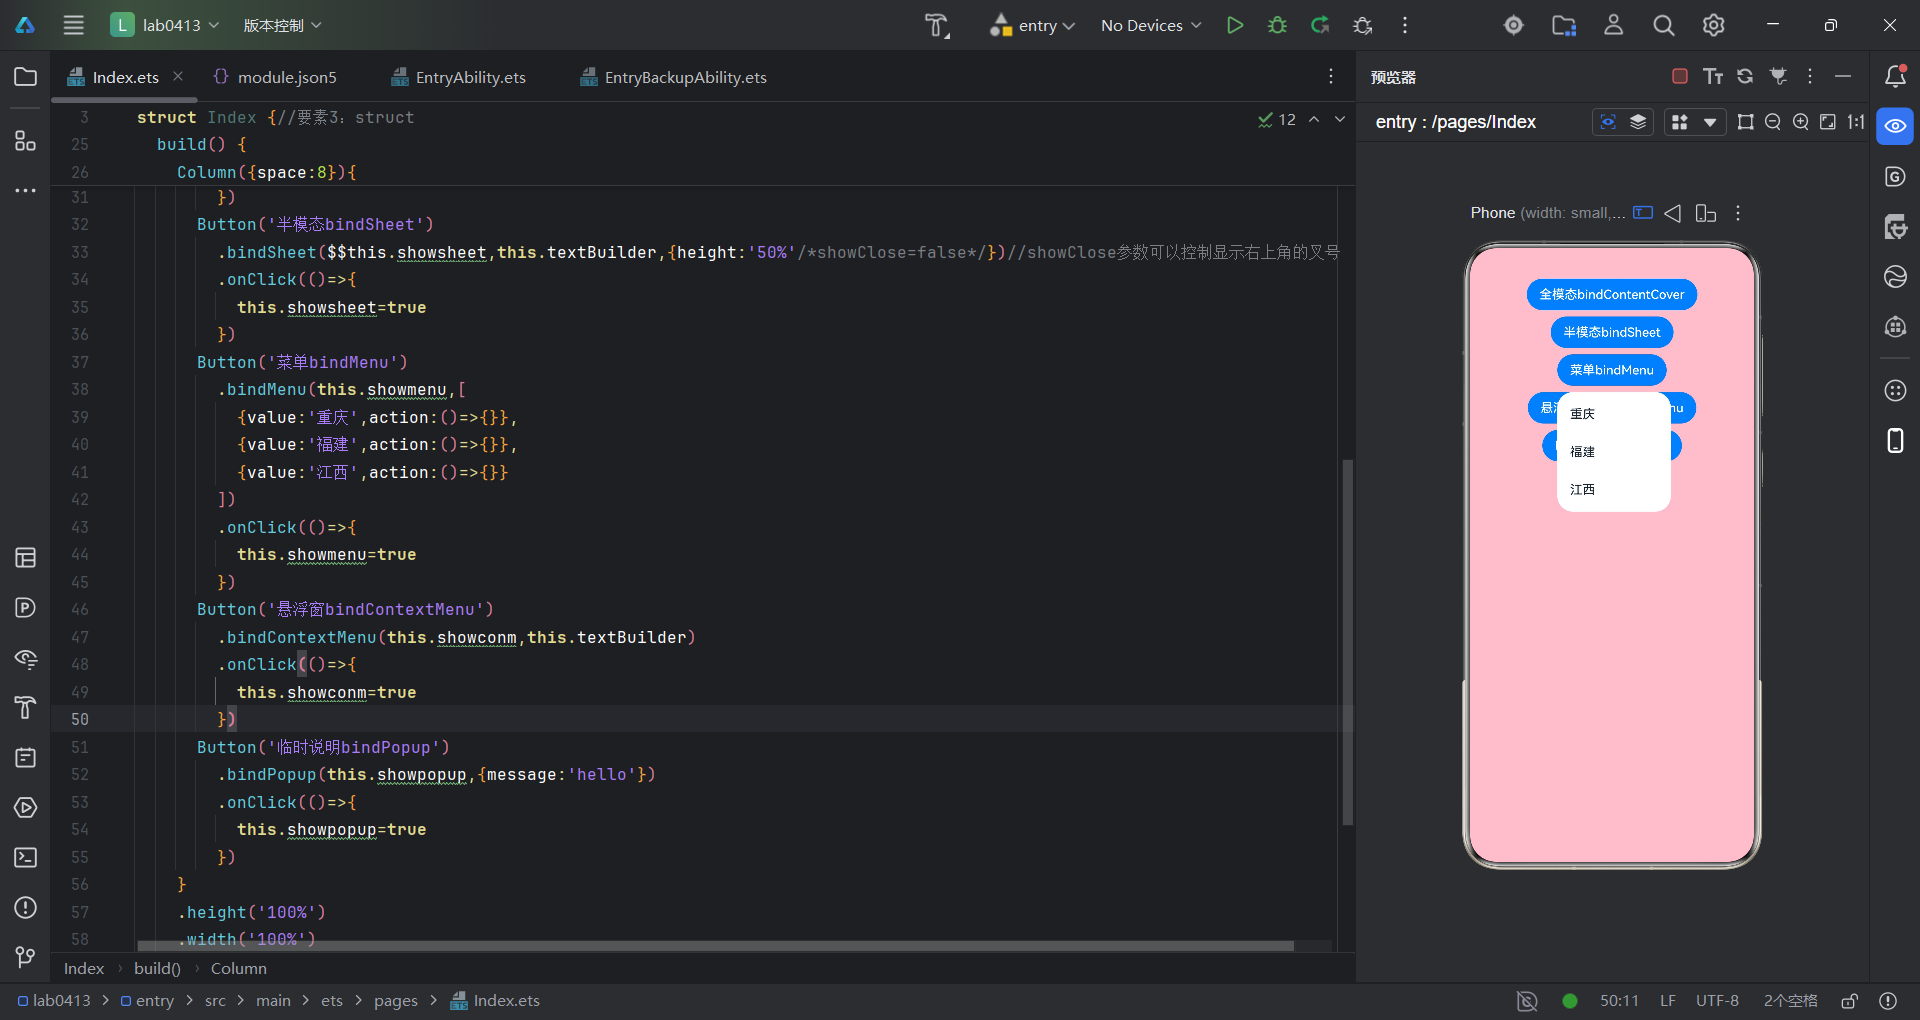
悬浮窗
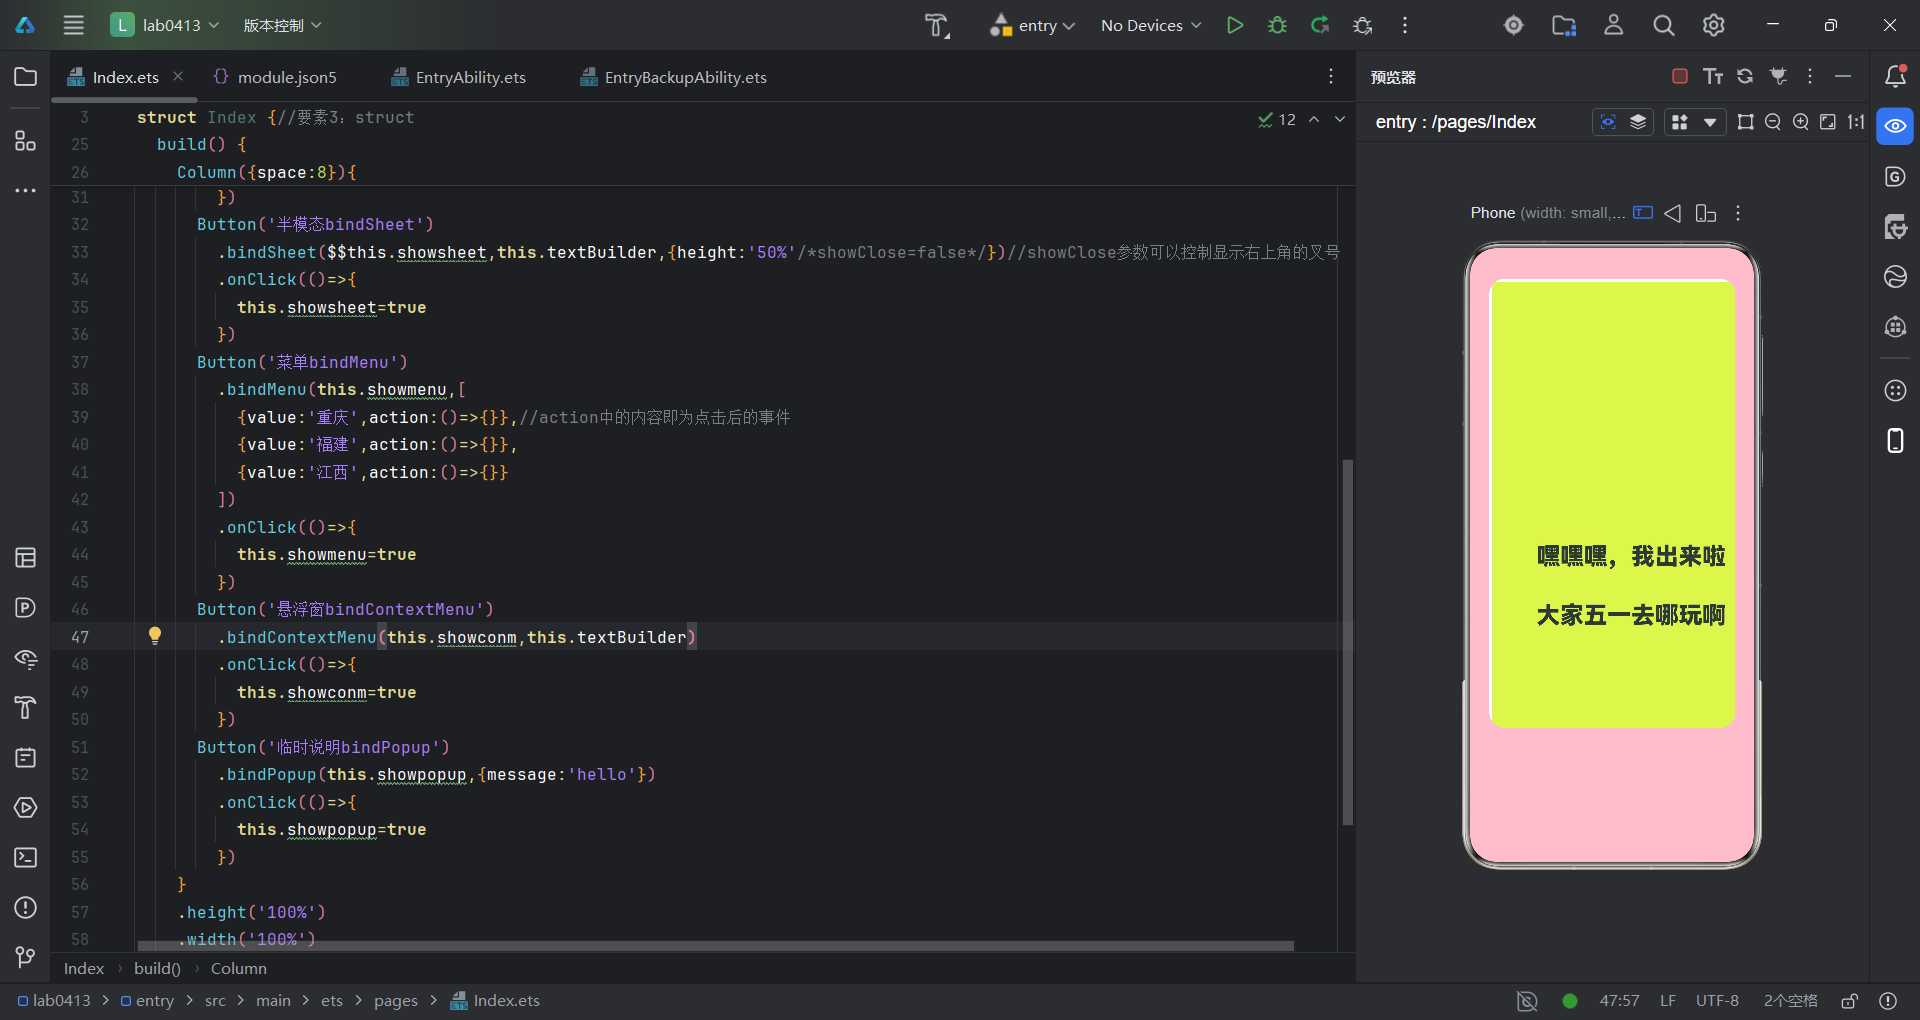
临时说明
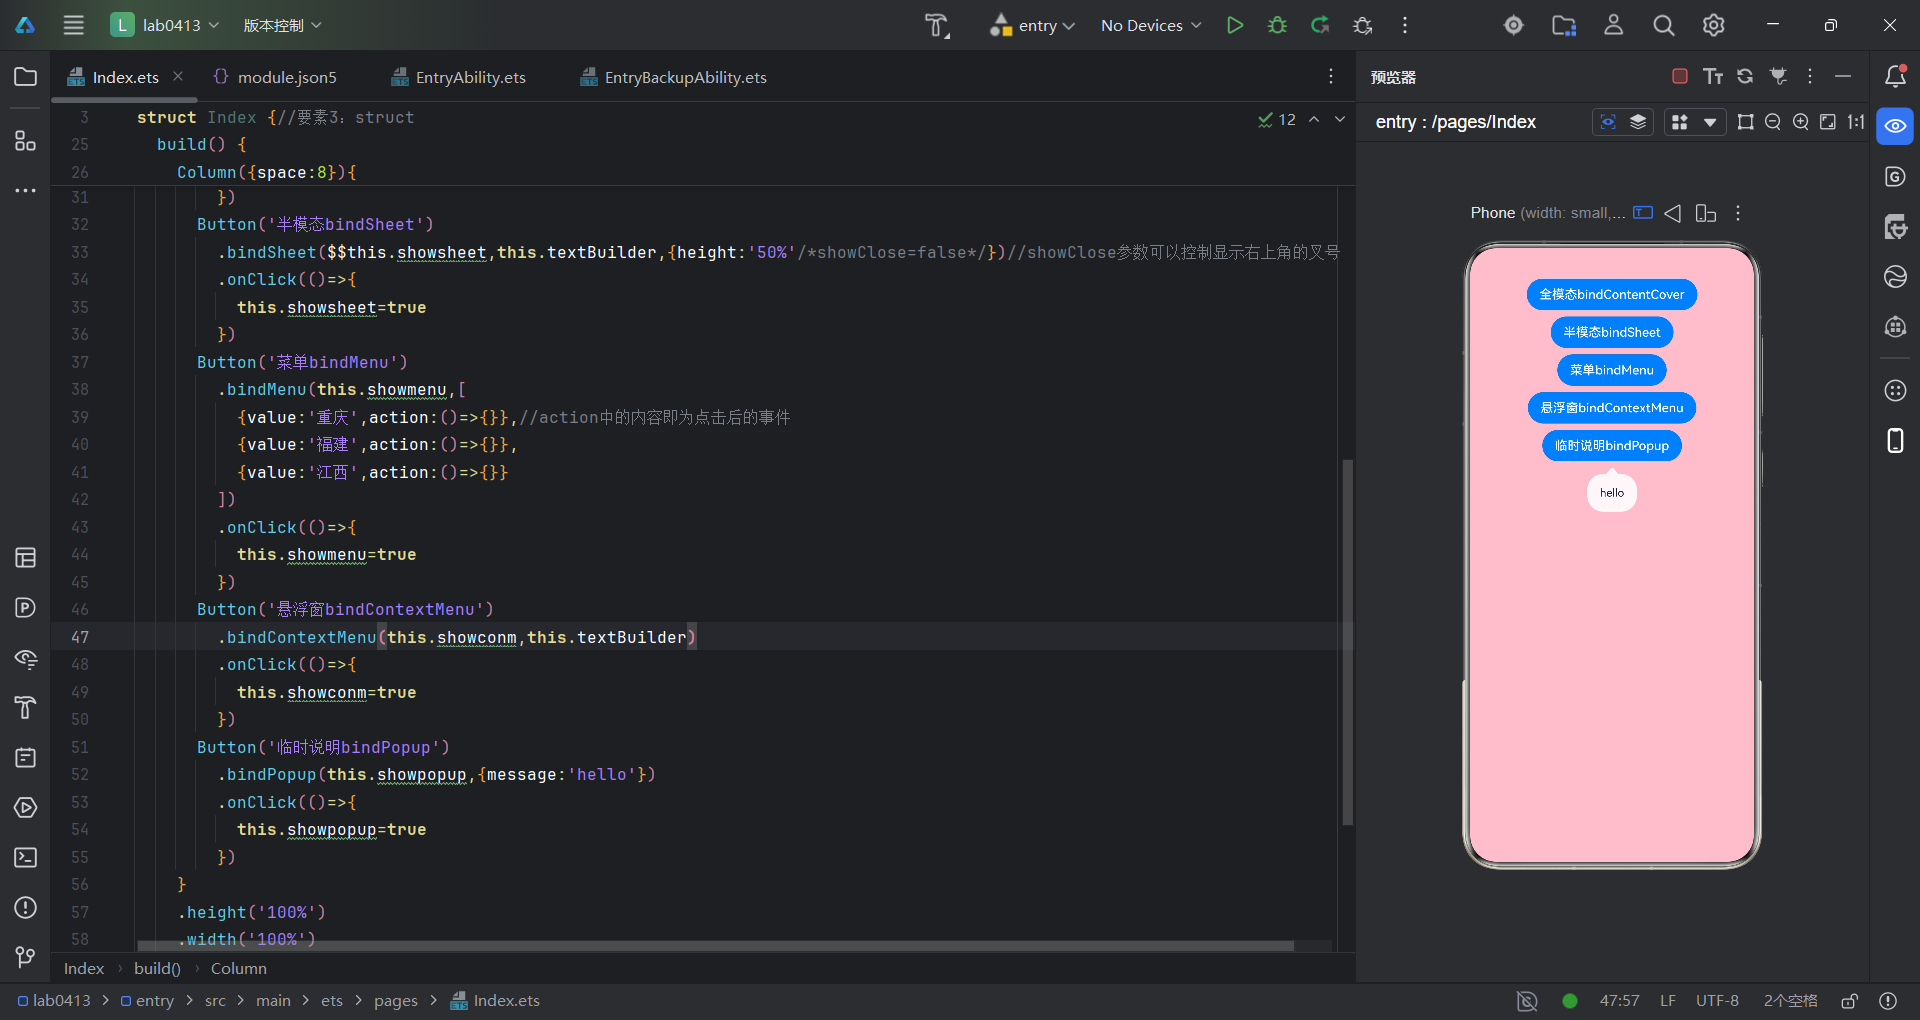
完整代码:
@Entry//要素1:@Entry
@Component//要素2:@Component
struct Index {//要素3:struct
  @Builder
  textBuilder(){
    Column() {
      Text('嘿嘿嘿,我出来啦')
        .fontSize(30)
        .fontWeight(FontWeight.Bolder)
        .margin({bottom:40,})
      Text('大家五一去哪玩啊')
        .fontSize(30)
        .fontWeight(FontWeight.Bolder)
    }
    .justifyContent(FlexAlign.Center)
    .backgroundColor('#ffe1f669')
    .width('100%')
    .height('100%')
  }
  @State showContent:boolean=false
  @State showsheet:boolean=false
  @State showmenu:boolean=false
  @State showconm:boolean=false
  @State showpopup:boolean=false
  build() {
    Column({space:8}){
      Button('全模态bindContentCover')
        .bindContentCover($$this.showContent,this.textBuilder)
        .onClick(()=>{
          this.showContent=true
        })
      Button('半模态bindSheet')
        .bindSheet($$this.showsheet,this.textBuilder,{height:'50%'/*showClose=false*/})//showClose参数可以控制显示右上角的叉号
        .onClick(()=>{
          this.showsheet=true
        })
      Button('菜单bindMenu')
        .bindMenu(this.showmenu,[
          {value:'重庆',action:()=>{}},//action中的内容即为点击后的事件
          {value:'福建',action:()=>{}},
          {value:'江西',action:()=>{}}
        ])
        .onClick(()=>{
          this.showmenu=true
        })
      Button('悬浮窗bindContextMenu')
        .bindContextMenu(this.showconm,this.textBuilder)
        .onClick(()=>{
          this.showconm=true
        })
      Button('临时说明bindPopup')
        .bindPopup(this.showpopup,{message:'hello'})
        .onClick(()=>{
          this.showpopup=true
        })
    }
    .height('100%')
    .width('100%')
    .backgroundColor(Color.Pink)
    .expandSafeArea([SafeAreaType.SYSTEM],[SafeAreaEdge.TOP,SafeAreaEdge.BOTTOM])

  }
}