本文记录一次用 Go 构建本地 LLM 网关的实践,重点分享其中的路由决策、错误分类和自适应重试机制。项目对外暴露标准 OpenAI 兼容 API,内部聚合多个上游模型服务,根据实时状态自动选择可用模型,并在失败时自动切换。
GitHub:github.com/HugeRivers/... Release 下载:github.com/HugeRivers/...
一、为什么要做本地 LLM 网关
日常开发中大量使用 AI 编程工具时,经常会遇到模型服务不稳定的情况:
- 某个模型突然返回 429 限流;
- 不同服务商的响应速度和稳定性差异很大;
- IDE 里切换模型配置比较繁琐,打断开发节奏。
一个自然的想法是:在本地跑一个轻量网关,统一代理多个模型端点,由网关根据实时状态自动选择可用模型,并在失败时自动重试。这样客户端只需要配一个地址,不用关心背后切换逻辑。
这就是我做这个 Go 项目的原因。它本质上是一个本地 LLM 路由网关,核心解决三个问题:
- 协议统一:对外暴露标准 OpenAI API,内部适配多种协议;
- 动态路由:根据延迟、成功率等指标动态选择模型;
- 故障自愈:遇到限流或异常时自动切换,并记录状态。
为什么用 Go 写?
这个项目主要面向个人本地/小范围使用,定位是:
- 轻量:后台常驻,内存占用越低越好;
- 单二进制:一个文件跑起来,不依赖 Python/Node 运行时;
- 跨平台 :macOS、Windows、Linux 都能用,最好还能打包成
.app或托盘程序; - 快启动:秒级启动,关掉终端也不影响。
Go 编译出来一个静态二进制,十几 MB,本地跑占用内存轻松控制在几十 MB 以内。
二、整体架构
网关分为四层:
bash
┌─────────────────────────────────────────────┐
│  Client (Cursor / Claude Code / curl ...)   │
└──────────────────┬──────────────────────────┘
                   │ OpenAI-compatible API
                   ▼
┌─────────────────────────────────────────────┐
│  HTTP API (gin)                             │
│  /v1/chat/completions /v1/models /health    │
└──────────────────┬──────────────────────────┘
                   │
                   ▼
┌─────────────────────────────────────────────┐
│  Router                                     │
│  Strategy → Backend Selection → Retry Loop  │
│  Cooldown / Health Tracker / Sticky Session │
└──────────────────┬──────────────────────────┘
                   │
                   ▼
┌─────────────────────────────────────────────┐
│  Protocol Adapters                          │
│  OpenAI / Anthropic / Gemini / Bedrock      │
└──────────────────┬──────────────────────────┘
                   │
                   ▼
┌─────────────────────────────────────────────┐
│  Upstream LLM Services                      │
└─────────────────────────────────────────────┘
数据流向很直接:客户端请求 → 网关鉴权 → 路由选择 backend → 协议适配 → 转发上游 → 返回结果。失败时进入重试循环,换 backend 再试。
三、核心技术点
3.1 模型池与健康追踪
网关在内存中维护一个模型池 model.Pool,每个 backend 保存自己的运行状态:
go
type BackendModel struct {
    ProviderID   string
    ModelID      string
    BaseURL      string
    APIKey       string
    APIFormat    string

    Status         Status      // healthy / cooldown / invalid
    CooldownUntil  time.Time
    SuccessCount   int64
    ErrorCount     int64
    ConsecErrors   int64
    LatencyHistory *RingBuffer
}
Pool.Available() 只返回当前健康且不在冷却期的 backend。每次请求结束后,成功或失败都会更新对应 backend 的统计,供后续路由决策使用。
3.2 路由策略:为什么选 Thompson Sampling
常见的路由策略有几种:
- 轮询:简单公平,但不考虑 backend 质量差异;
- 固定优先级:配置成本高,新 backend 很难得到验证机会;
- 贪心:总是选当前最好的,但可能错过更好的新 backend;
- Thompson Sampling:基于历史数据维护概率分布,天然平衡"探索"与"利用"。
我最终选了 Thompson Sampling。它的核心思想是把每个 backend 看作一个伯努利老虎机,用 Beta 分布描述其真实成功率的不确定性:
go
func (s *Scorer) betaParams(b *model.BackendModel) (alpha, beta float64) {
    success := float64(b.SuccessCount) + 1
    failure := float64(b.ErrorCount) + 1
    return success, failure
}
每次路由时,从每个 backend 的 Beta 分布中采样一个可靠性得分,再结合速度和策略权重计算总分:
go
func (s *Scorer) SampleScore(b *model.BackendModel) float64 {
    alpha, beta := s.betaParams(b)
    sampledReliability := sampleBeta(s.rng, alpha, beta)

    speed := s.speedScore(b)
    intelligence := s.intelligenceScore(b)

    return s.weights.Reliability*sampledReliability +
        s.weights.Speed*speed +
        s.weights.Intelligence*intelligence
}
预置了四种权重策略:
go
Balanced = StrategyWeights{Reliability: 0.5, Speed: 0.25, Intelligence: 0.25}
Smartest = StrategyWeights{Reliability: 0.35, Speed: 0.1,  Intelligence: 0.55}
Fastest  = StrategyWeights{Reliability: 0.35, Speed: 0.55, Intelligence: 0.1}
Reliable = StrategyWeights{Reliability: 0.7,  Speed: 0.15, Intelligence: 0.15}
这样做的好处是:新 backend 即使样本少,也有一定概率被选中验证;老 backend 如果表现稳定,会获得更高的期望得分。
3.3 错误分类:不同错误不同处理
LLM 上游返回的错误类型很多,不能一刀切地重试。我设计了一个统一的错误结构:
go
type ProviderError struct {
    Code    int
    Message string

    Retryable      bool
    Cooldown       time.Duration
    SkipModel      bool
    SkipProvider   bool
    MarkKeyInvalid bool

    Category      ErrorCategory
    RateLimitType RateLimitType
}
关键分类逻辑:
| 状态码 | 处理 |
|---|---|
| 400 | 参数不兼容可重试,否则直接返回 |
| 401/403 | 标记访问凭证无效,不重试 |
| 404 | 模型不存在,冷却 2 分钟后重试 |
| 429 | 按 RPM/RPD/TPM/Provider-wide 分级冷却 |
| 402 | 跳过整个 Provider,长冷却 |
| 5xx/408 | 可重试,累计 3 次进冷却 |
| 网络错误 | 按超时/连接拒绝/DNS 等细分处理 |
其中 429 的细分最重要,因为不同限流类型的恢复时间完全不同:
go
func getCooldownForRateLimit(rt RateLimitType) time.Duration {
    switch rt {
    case RateLimitPerMinute, RateLimitPerMinuteTokens:
        return 90 * time.Second
    case RateLimitPerDay, RateLimitPerDayTokens:
        return 2 * time.Minute
    case RateLimitProviderWide:
        return 24 * time.Hour
    case RateLimitConcurrent:
        return 30 * time.Second
    default:
        return 90 * time.Second
    }
}
3.4 指数退避冷却
backend 进入冷却的时长不是固定的,而是根据连续错误数指数增长:
ini
duration = min(baseCooldown * 2^(consecErrors-1), maxCooldown)默认 base=5min,max=1h。实现:
go
func (m *Manager) calculateDuration(b *model.BackendModel) time.Duration {
    consec := b.ConsecErrors
    if consec <= 1 {
        return m.baseCooldown
    }
    mult := uint(consec - 1)
    d := m.baseCooldown * (1 << mult)
    if d > m.maxCooldown {
        d = m.maxCooldown
    }
    return d
}
冷却到期后通过 time.AfterFunc 自动调用 Recover(),不需要外部干预。
3.5 路由循环
Route() 是网关的心脏:
go
func (r *Router) Route(ctx context.Context, req *Request) (*Result, error) {
    tried := make([]*model.BackendModel, 0, r.maxRetries+1)
    chain := make([]string, 0, r.maxRetries+1)

    for attempt := 0; attempt <= r.maxRetries; attempt++ {
        candidates := r.pool.Available()
        filtered := r.filterAvailable(candidates, tried)

        selected, _ := r.strategy.Select(ctx, filtered, req)
        tried = append(tried, selected)

        result, err := r.forwarder.Forward(ctx, selected, req.RawBody)
        if err == nil {
            r.stats.Record(...)
            return &Result{Success: true, ...}, nil
        }

        pe := errors.ParseProviderError(err, status, nil)
        if !r.handleError(selected, pe, latency) {
            return &Result{Success: false, ...}, nil
        }

        select {
        case <-time.After(r.retryDelay):
        case <-ctx.Done():
            return &Result{Success: false, Error: ctx.Err()}, nil
        }
    }

    return &Result{
        Success: false,
        Error:   fmt.Errorf("all backends failed"),
        ErrorStatus: http.StatusServiceUnavailable,
    }, nil
}
要点:
tried防止同一轮重试重复选同一个 backend;- 每次循环重新拉
Available(),因为上一轮可能触发新冷却; - 支持 Sticky Session,多轮对话尽量固定在同一模型;
- 流式请求单独走
RouteStream(),失败时返回 502。
3.6 协议适配
对外统一 OpenAI API,对内通过 Adapter 接口适配不同协议:
go
type Adapter interface {
    Forward(ctx context.Context, backend *model.BackendModel, body []byte) (*ForwardResult, error)
    ForwardStream(ctx context.Context, backend *model.BackendModel, body []byte, w http.ResponseWriter, flusher Flusher) (*ForwardResult, error)
    Probe(ctx context.Context, backend *model.BackendModel) error
}
以 OpenAI 适配器为例,转发前会把请求体里的 model 字段重写为实际 backend 的模型 ID:
go
func rewriteModel(body []byte, targetModel string) ([]byte, error) {
    var raw map[string]interface{}
    if err := json.Unmarshal(body, &raw); err != nil {
        return nil, err
    }
    raw["model"] = targetModel
    return json.Marshal(raw)
}
目前实现了 OpenAI、OpenAI Responses、Anthropic、Gemini、Bedrock 五种协议。
四、本地运行方式
项目用 Go 1.26 编写,依赖很少,编译简单:
bash
git clone https://github.com/HugeRivers/FreeModelGateway.git
cd FreeModelGateway
make build
./bin/fmg
启动后访问 http://localhost:10086,默认账号 admin/admin。
数据全部存在本地 ~/.fmg/data.db,访问凭证用 AES 加密,不会外传。
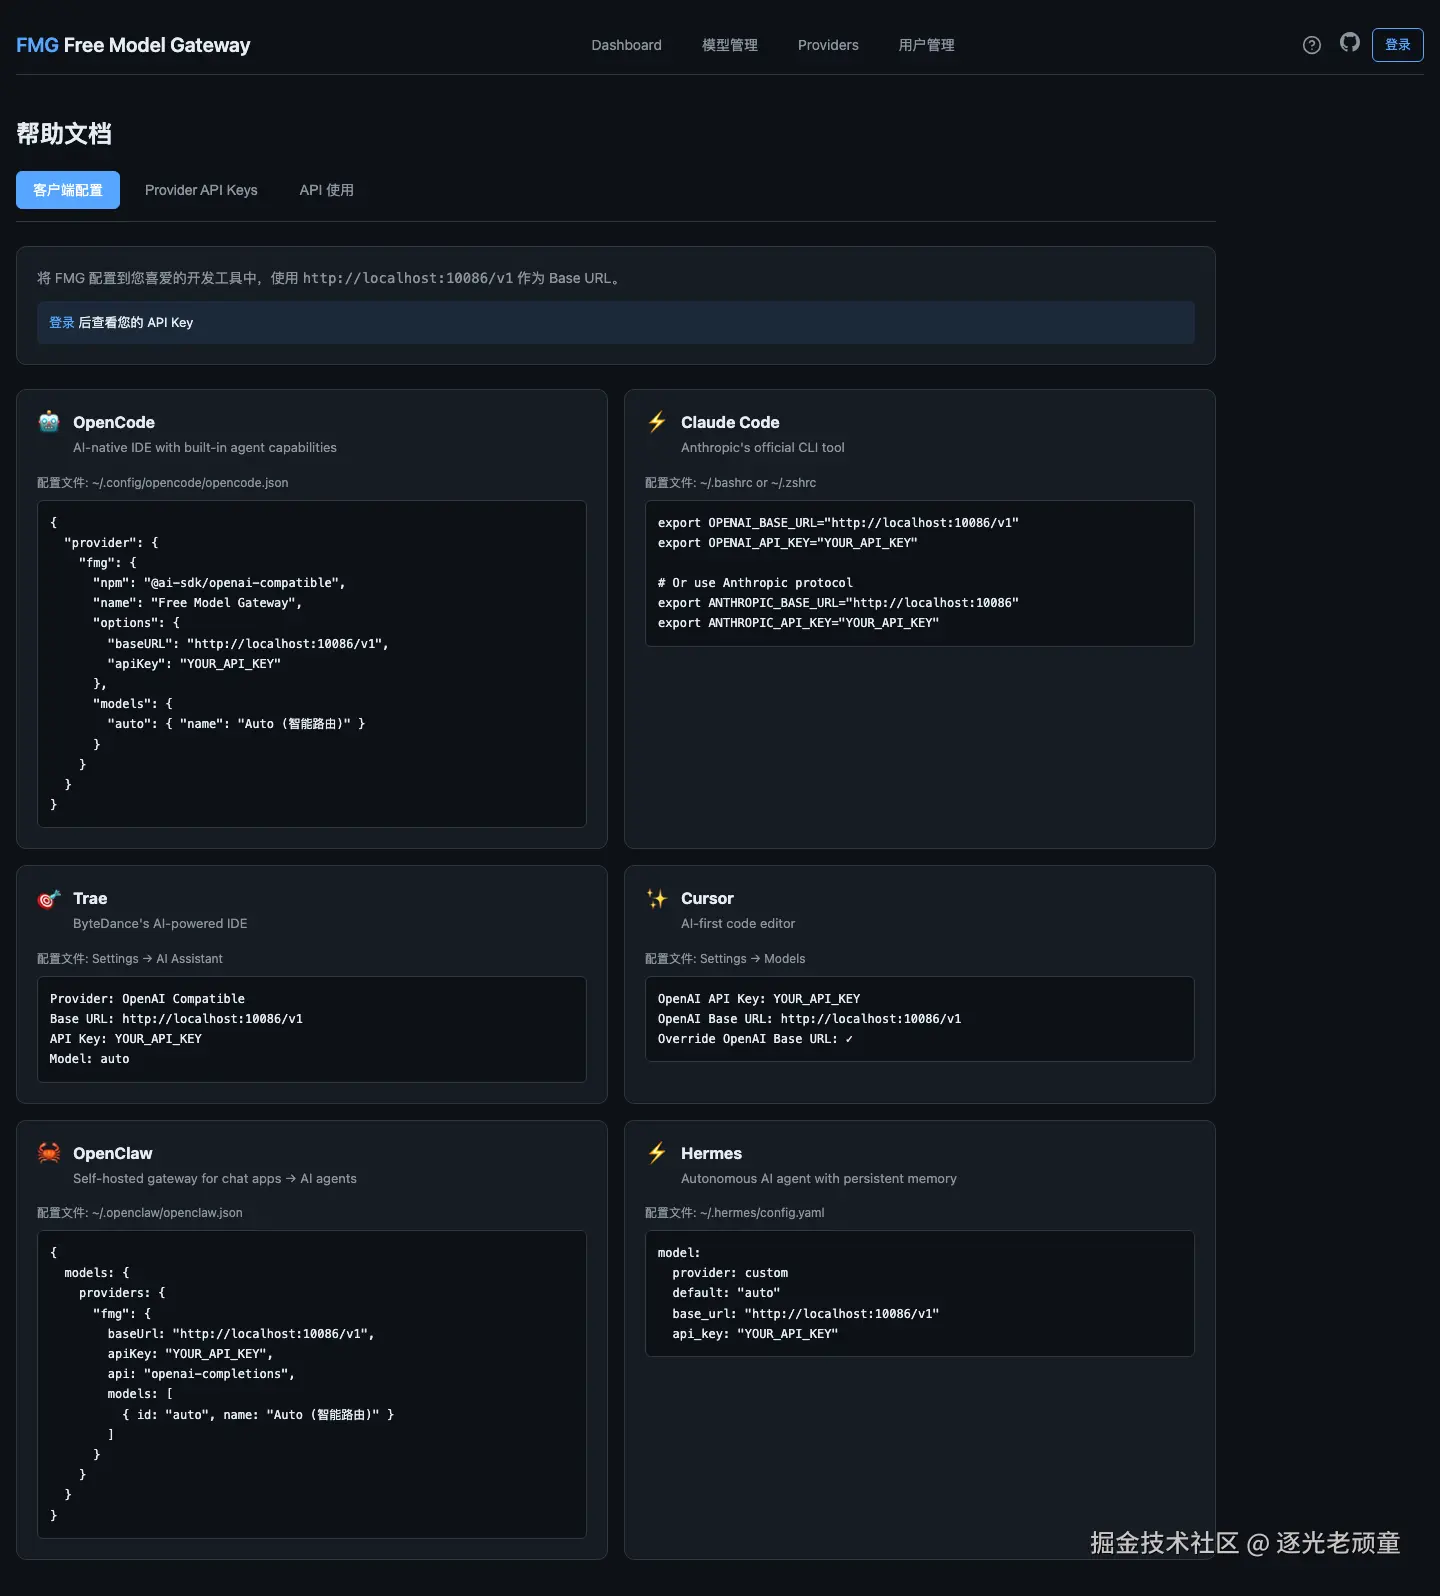
在 IDE 中使用时,把 Base URL 指向 http://localhost:10086/v1,model 填 auto 即可走智能路由。响应里会带 metadata 说明实际命中的 backend。
五、Web 管理后台
网关内置了一个 Vue3 写的单页管理后台,启动后访问 http://localhost:10086:
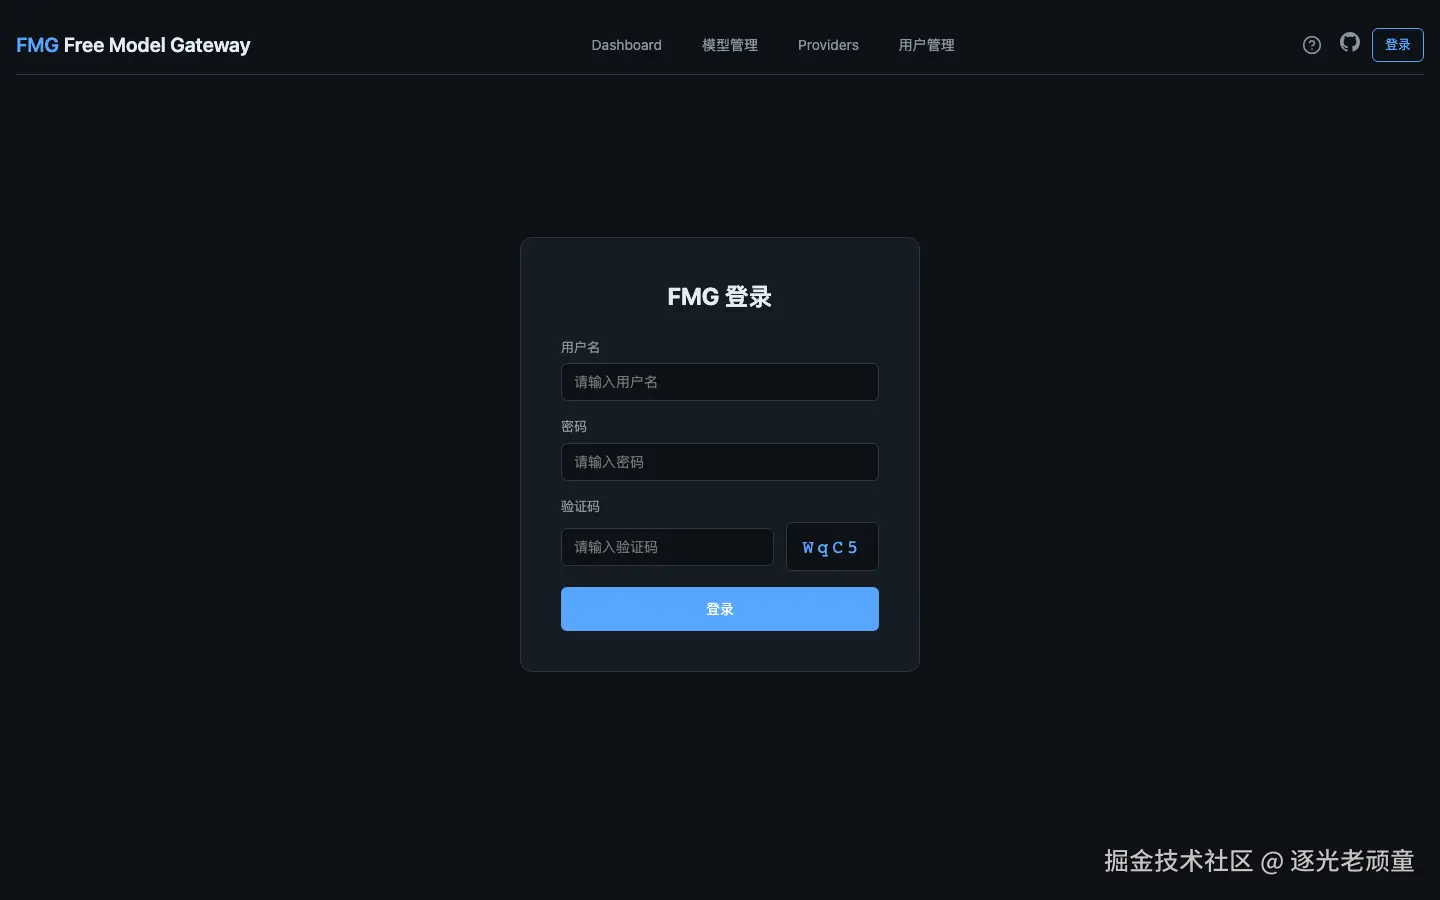
登录页
默认管理员账号 admin / admin,首次登录后建议修改密码。
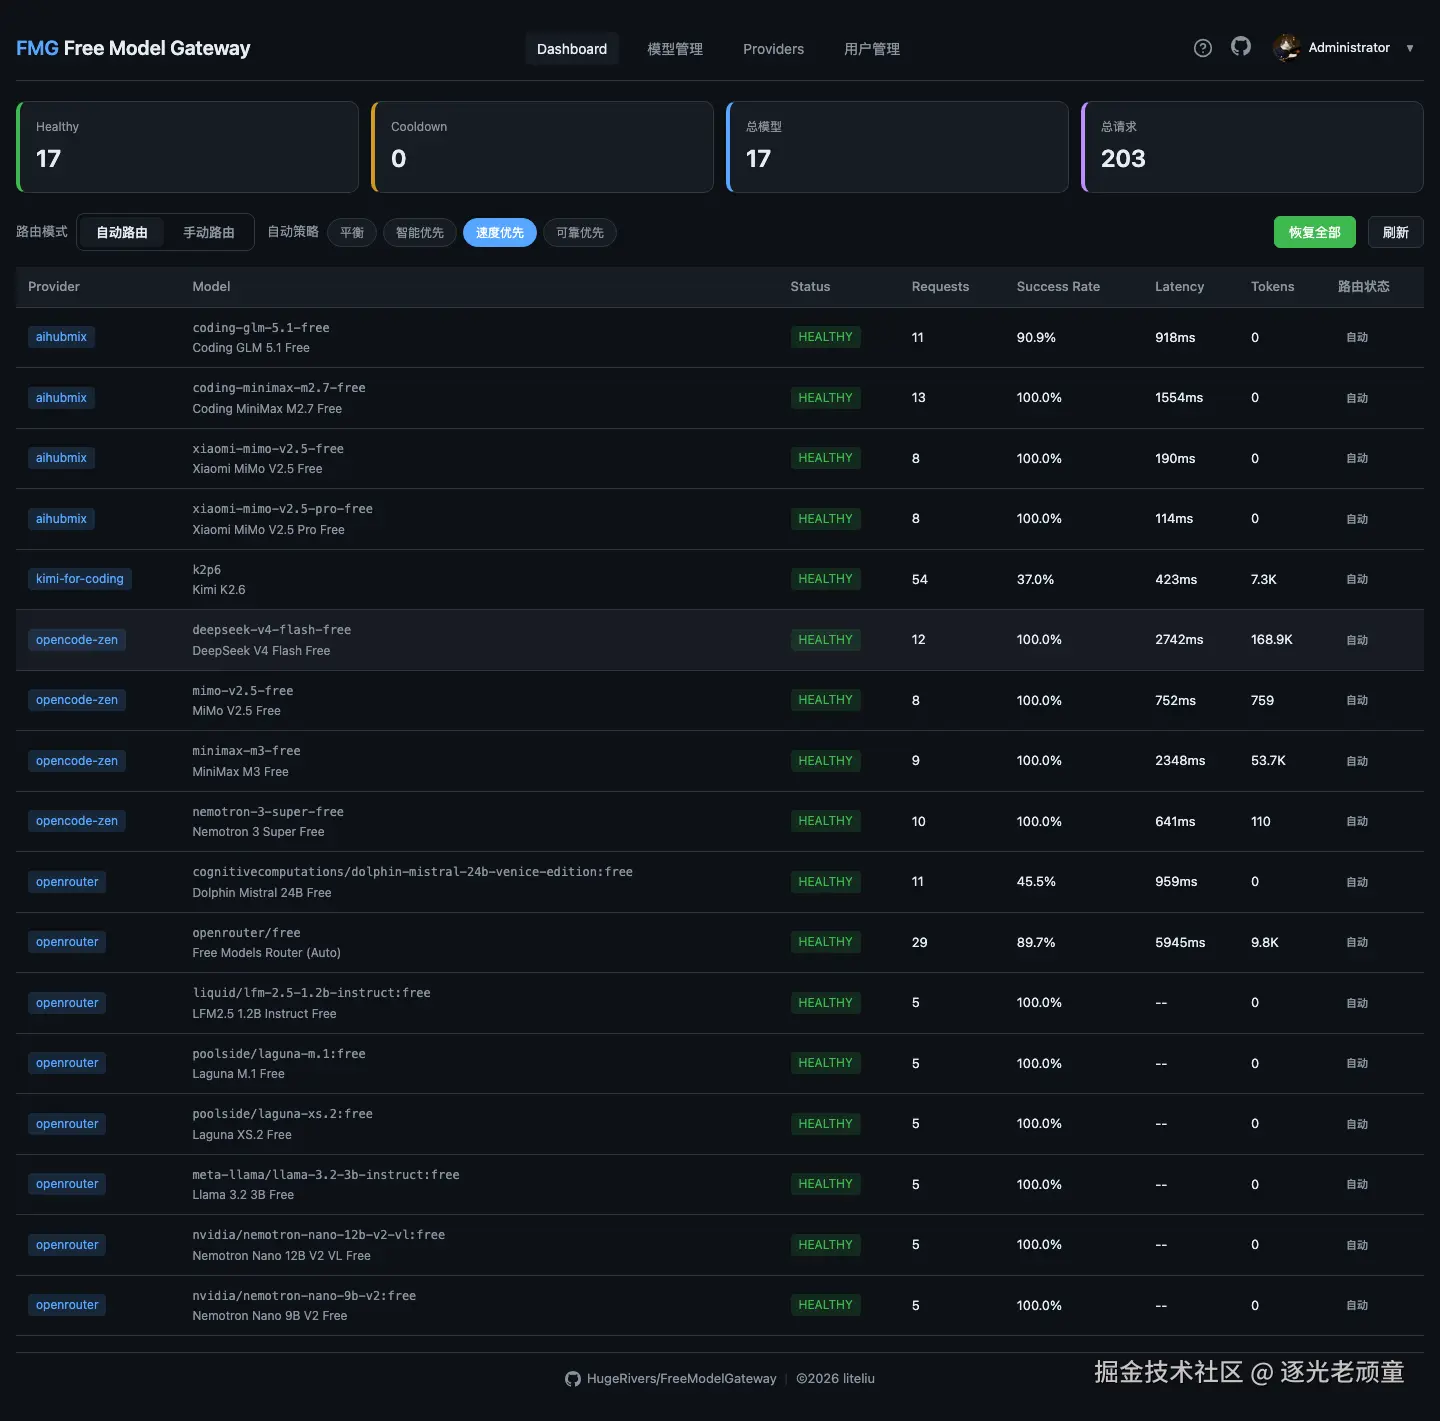
Dashboard
实时展示所有模型状态、请求统计、当前路由策略、最近使用的模型。
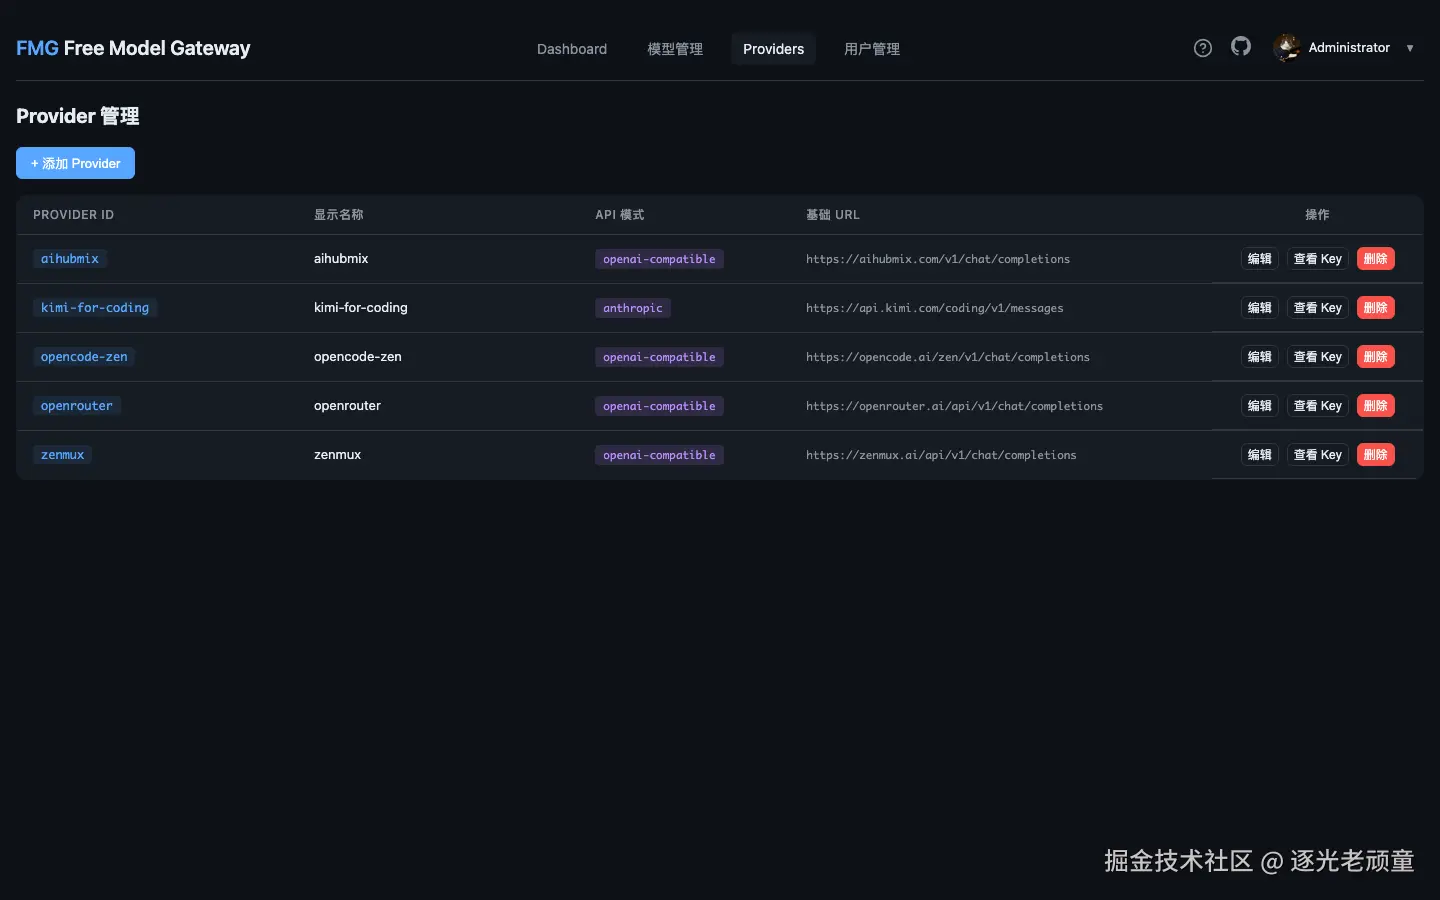
Provider 管理
配置各平台访问凭证,支持内置模板和自定义 Provider。
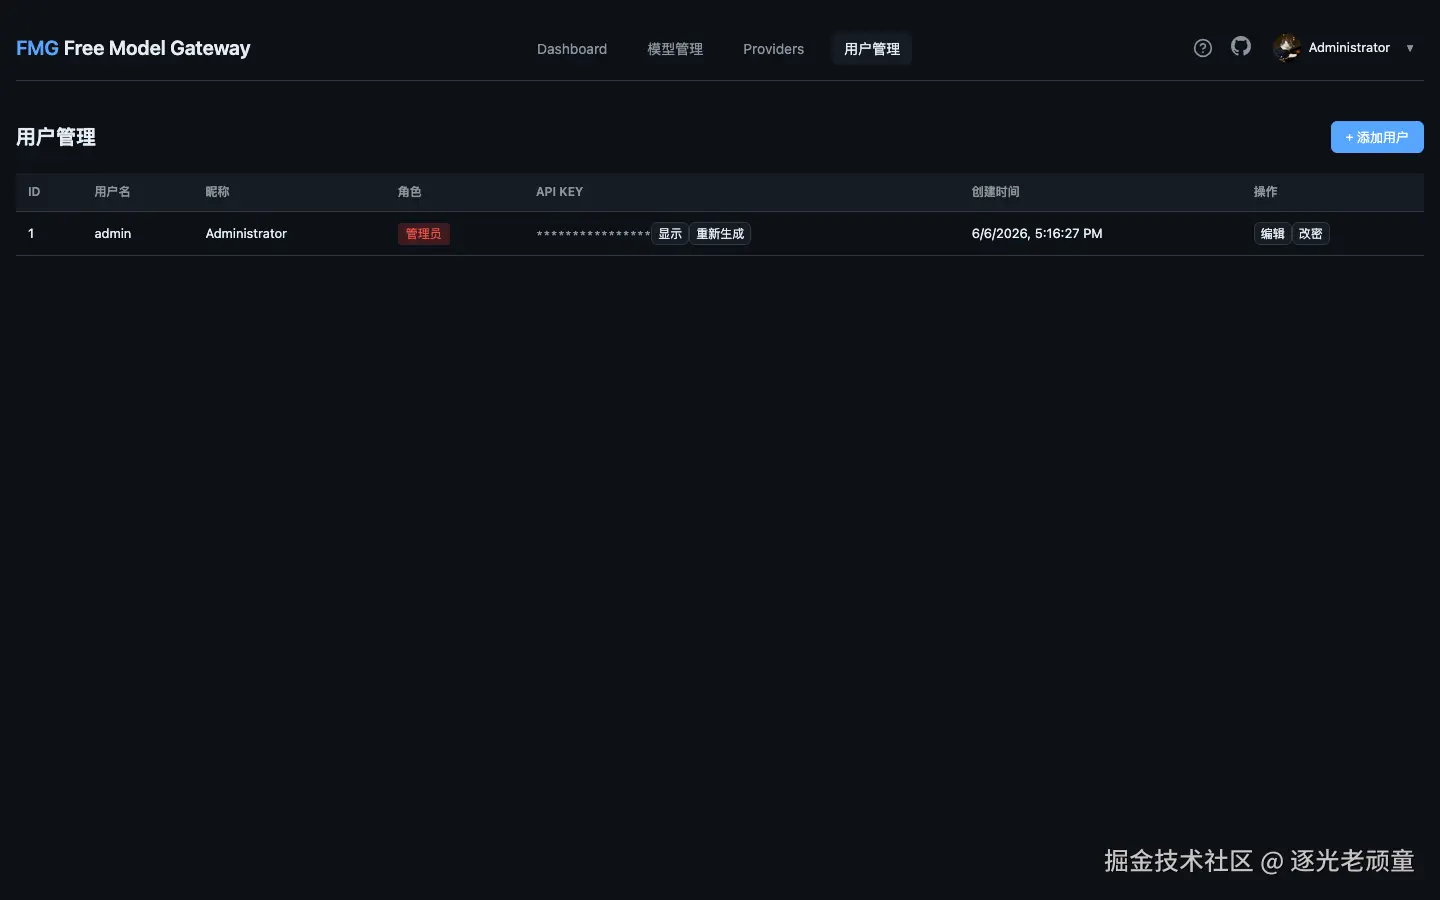
用户管理
管理员可以创建用户、分配角色、管理访问凭证。
帮助中心
内置常见开发工具的集成配置方法。
六、几个设计取舍
为什么用 Go?
本地常驻服务,希望内存占用低、启动快、单二进制分发。Go 编译出的静态二进制只有十几 MB,非常合适。
为什么用 SQLite?
本地网关数据量很小(配置 + 统计),SQLite 零配置、单文件、备份方便。配合纯 Go 的 modernc.org/sqlite,没有 C 依赖。
为什么不做成云端服务?
访问凭证是敏感信息,本地自托管才能确保数据不离开本机。
七、总结
这个网关的核心价值不是"聚合多少模型",而是把路由决策、错误处理、状态恢复这些逻辑从客户端里抽出来,做成一个可观测、可配置的本地服务。
技术上有几个点我觉得值得借鉴:
- Thompson Sampling 做路由,比固定优先级更灵活;
- 错误分类要足够细,429 不能一刀切;
- 冷却时长用指数退避,既避免频繁重试,又能自动恢复;
- 协议适配用接口隔离,新增协议成本很低。
源码和 release 在文末同名 GitHub 仓库。